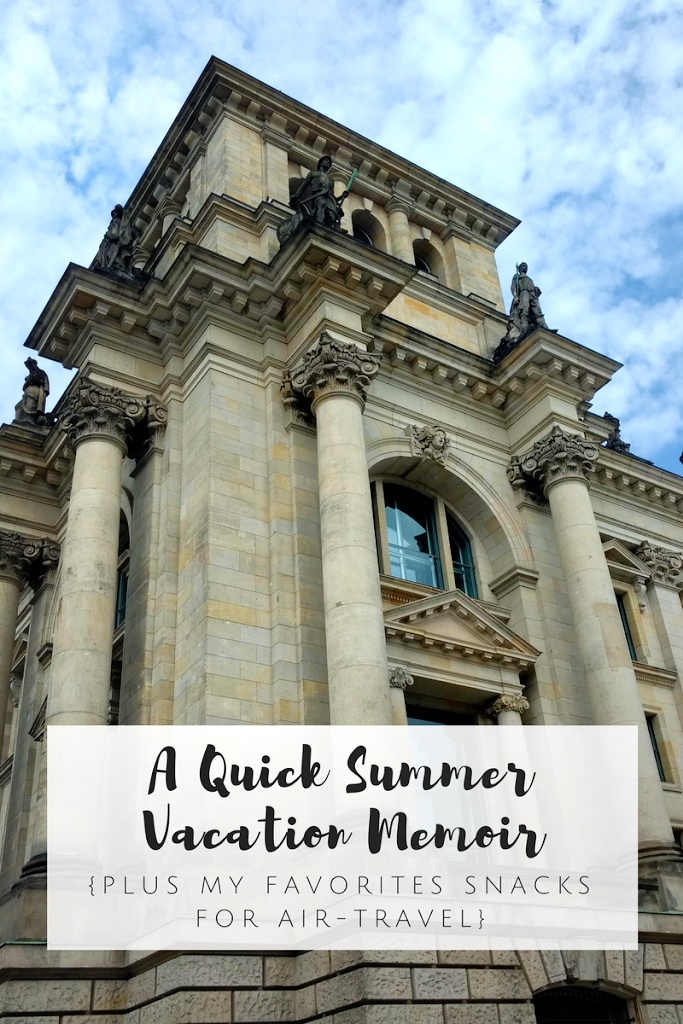
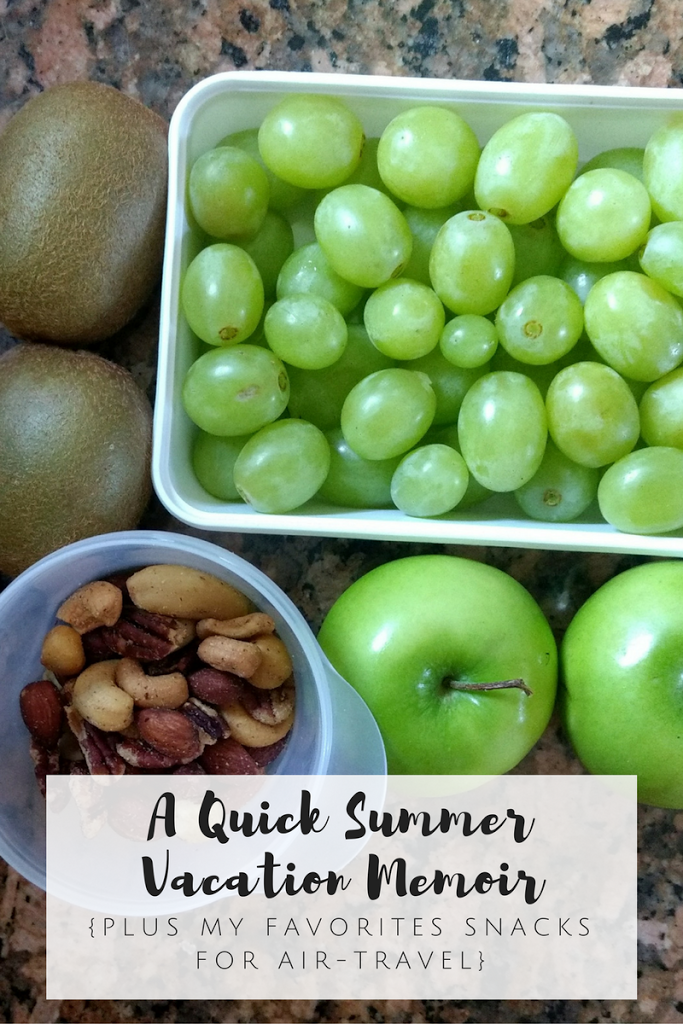
A Quick Summer Vacation Memoir {Plus, My Favorite Snacks for Air Travel}
Hi There!
Finally back to the habit of writing after a few weeks without posting…So sorry about that! (after 3 weeks on vacation on USA, I came home to find a dead laptop (that finally decided to turn on last week) and 2 days after that, a broken smartphone. Well, I’m still trying to find a good deal on the “right phone” which apparently is like seeing a shooting star, but hopefully, we are going to start posting regularly again soon! 🙂 Enough tragedy for now… lol.. Let’s move on…
It might sound crazy what I am about to say but there is something fascinating about the whole travelling experience that gets me excited. I don’t know if it is the fact that I am learning something new, or that I want to push myself to do certain things differently (like packing lighter and lighter every time, or finding healthy foods for travelling…) or just the fact of being on another country and experience a different culture, but it is just SOOO cool! 🙂 I was also very excited to see my mother-in-law and finally eat proper caribbean food not cooked by me. Wohoo!
On our way to USA we spent one day in Berlin. The trip is just 1 hour by airplane so, even though I took my healthy snacks with me, we didn’t eat that much. Once in Berlin, I had the opportunity to finally meet a facebook friend, we have being fb friends for around 5 or 6 years. She kindly spent the day with us and showed us a few city landmarks. We went to The Brandenburg Gate, the Reichstag which is home for the Parliment now, and to the Memorial of the Murdered Jews of Europe (picture below).

Then, our friend invited us to an extravagant hindu restaurant where I had the most amazing vegan meal I’ve ever tasted: Vegetables Tutong; which is a blend of vegetables (mine had brocooli, potatoes and peppers) in a massaman curry with coconut milk and roasted peanuts. Oh my! It was so delicious that I almost ate the bowl, lol. I will have to make a rendition of this in the near future because it seems to be easy and honestly so filling and yummy.
After that, we headed to the Fernsehturm, close to Alexanderplatz which is now a radio station and is the tallest building in Germany (It was surreal looking it from the ground because I could see it from the airplane! O.o)


It was a long day, we walked a lot so we were really tired, but before heading to our airbnb room (Did you know that airbnb is awesome solution for people traveling on a budget? We have had a great experince so far!), we stopped by the supermarket to replenish our snacks vault for next day long flight. So, This is a ”sample” of what I prepared for snacking:
CLICK HERE to Get €30 (US$40) off your first stay with Airbnb
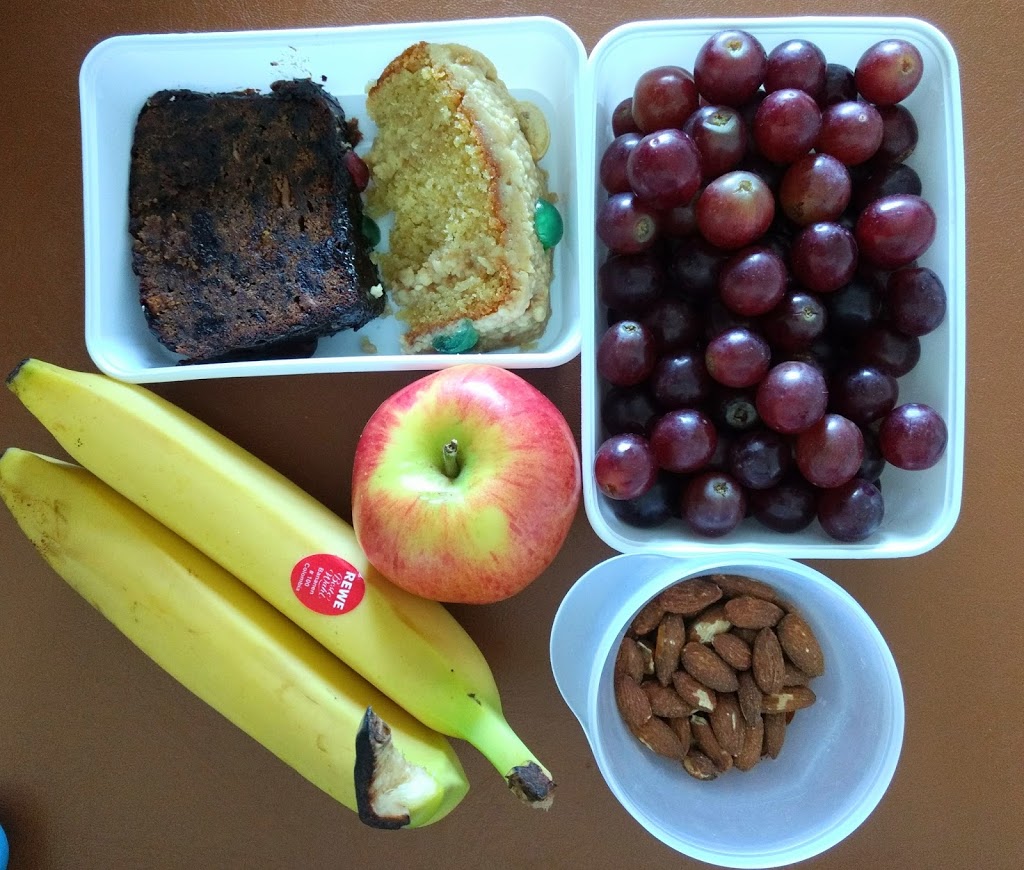
Cakes Slices / Muffins
I had already on hand some pieces of cakes (2 fruit cake slices (made with plums) and 2 coconut cake slices) that our lovely friend who took us to the airport in amsterdam gave us early that day. What I loved about these cake slices is that they were homemade and had just the right amount of sweetness. Also, because they were made with a lot of plums and the other one coconut, they were an excellent source of fiber, which for me is great 😛
Fresh Fruits
To those cake slices I summed up a couple of fresh fruits.
– Bananas (I got 6): I love bananas for travelling because they are like a complete meal and my son loves them too so I always take some bananas. Only con is that they can be smashed easily if you just throw them in your bag. To avoid this what I do is I store them in a plastic bag and then, I put them on top of everything else in my personal bag.
– Apples (I got 3): Apples are probably the most travel friendly snack because they can survive almost any condition of temperature and you can just throw them as is on your bag without them getting all smashed.
– Grapes: (I got 1Kg Seedless Grapes): Grapes are just super travel friendly as well, easy to transport and eat withput getting all messed up.
– On our travel back to holland I packed the same fruits mentiones before plus some kiwis

– On our return flight I also grabbed 1kg of fresh cherries which I recently discovered that 21 cherries (which is A LOT) are just 100 calories. They are full of vitamin C, full of flavor and delicious.
Roasted Nuts / Seeds
Roasted almonds are definitely one of my favorite healthy snacks. They, again, are super travel-friendly and of course very nutritious. They provide you with energy, plant-based protein and healthy fats. Of course you can replace almonds with your favorite nut / seeds of a blend (My favorite Almonds, cashews, walnuts and Macadamia)
Cookies / Crakers:
– Store-bought Coconut Cookies (hubby’s favorite): Well, this are not a “healthy option” but is just something I grabbed from the supermarket to please my husband, but of course they are tons of healthy options out there. Look on the health isle or the protein isle on the supermarket.
With those healthy snacks we always have more than enough snacks to survive. It is not like we want to stuff ourselves with all that food but I just want to make sure we have enough in case our son don’t want to eat the meal on-board (he is usually vegan and extreme in his choices) 🙂 Anyways, As for today we never have gone out of healthy snacks while travelling, on the contrary! (usually we have fruits left lol)
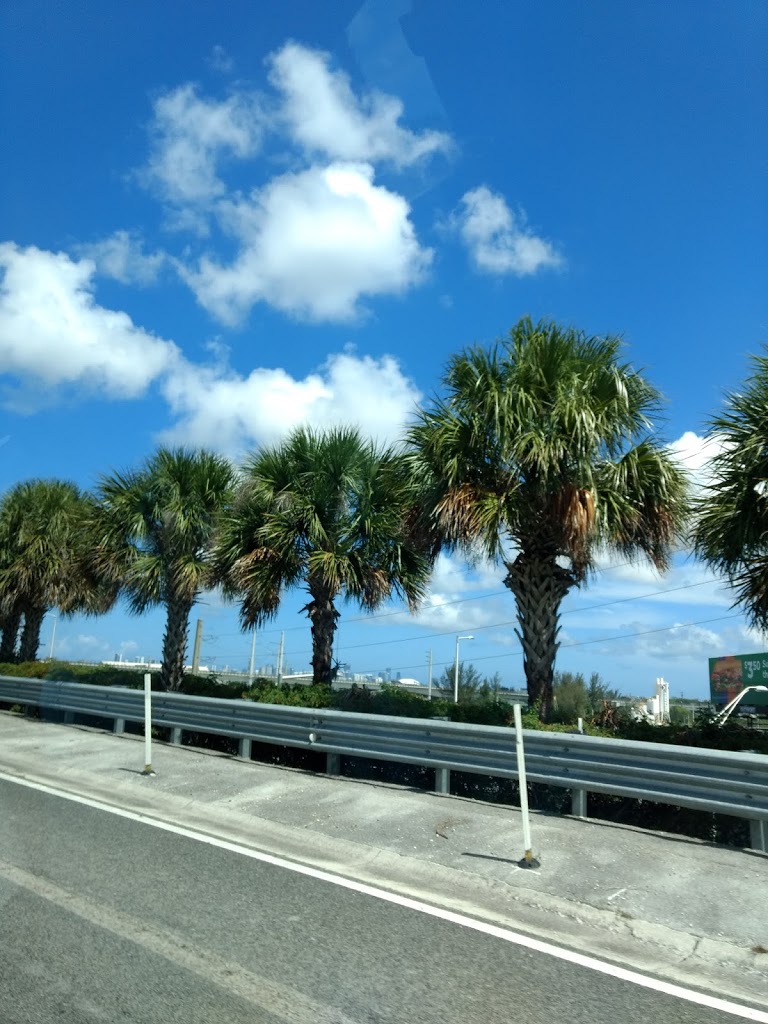
Good to see and feel a poweful sunny day when we arrived to Miami. It was much needed after spending a rainy day in Berlin.
So, this is all for today guys!
Now tell me, what healthy snack do you prefer while traveling? Let us know in the comment section below and on instagram! 🙂
Until next time…
A Quick Summer Vacation Memoir {Plus, My Favorite Snacks for Air Travel} Read More »


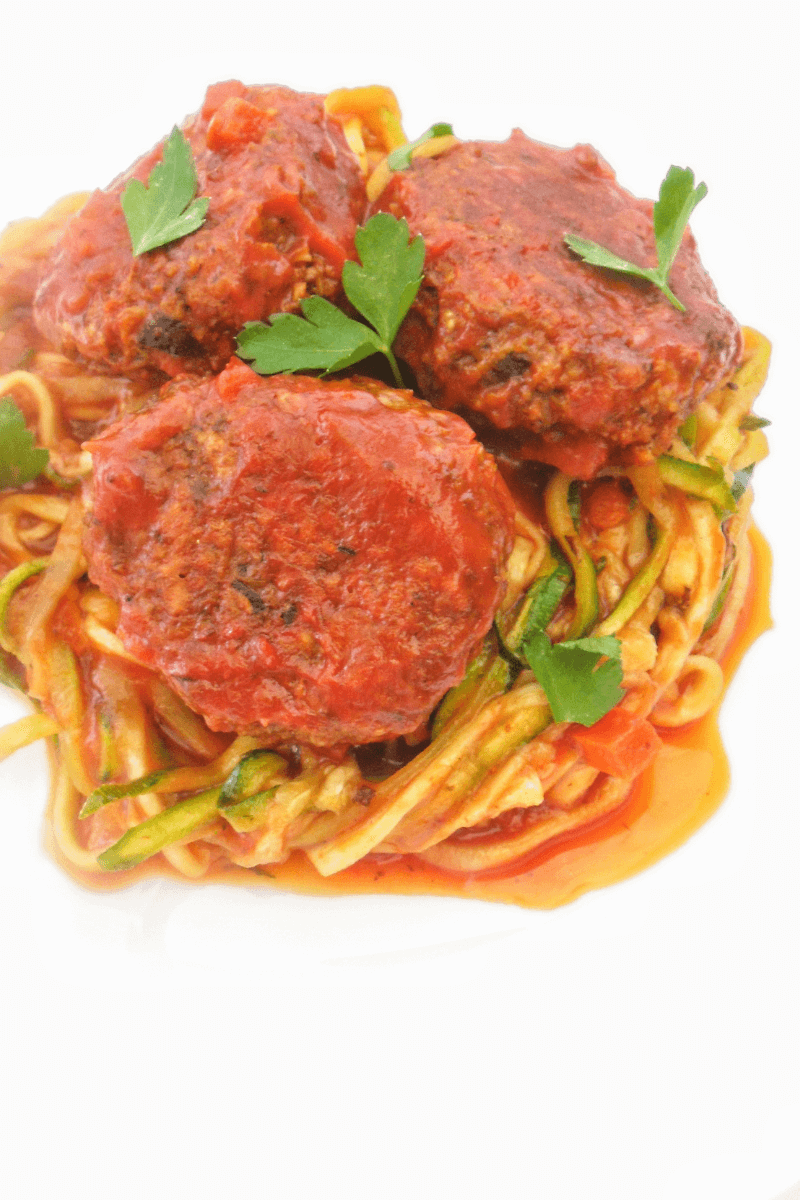
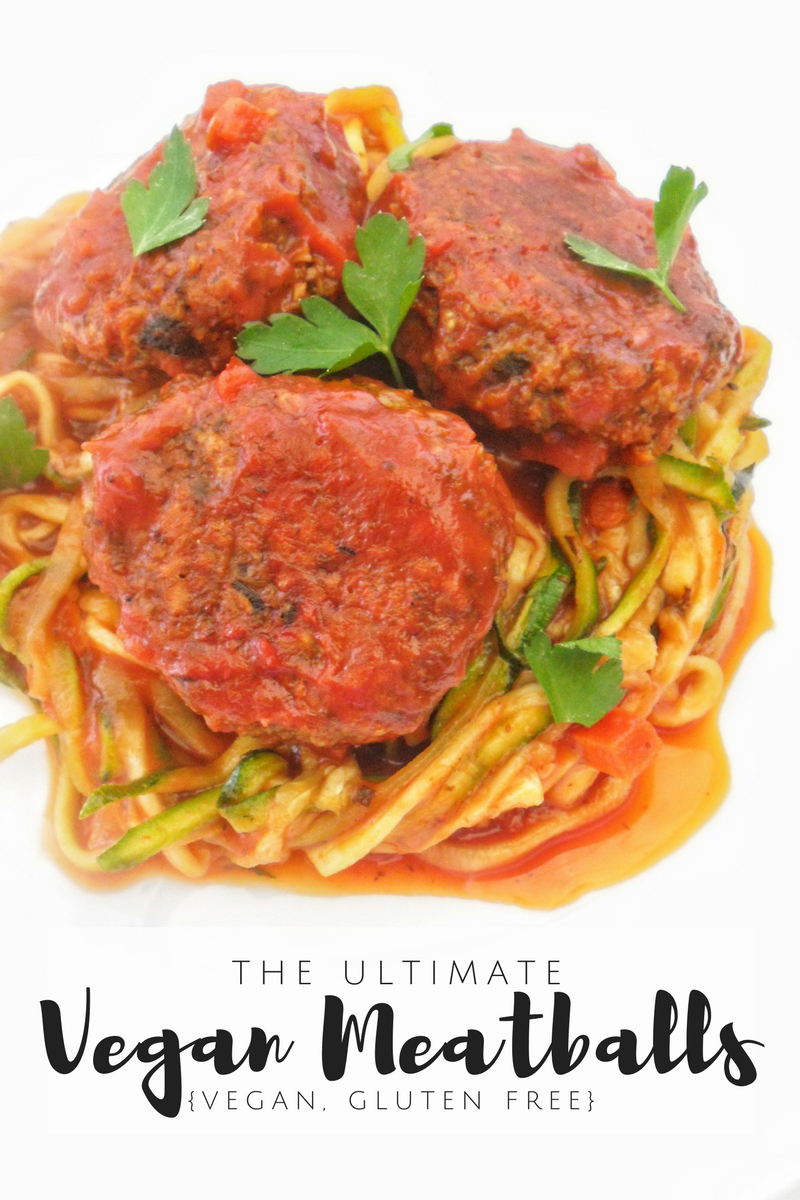
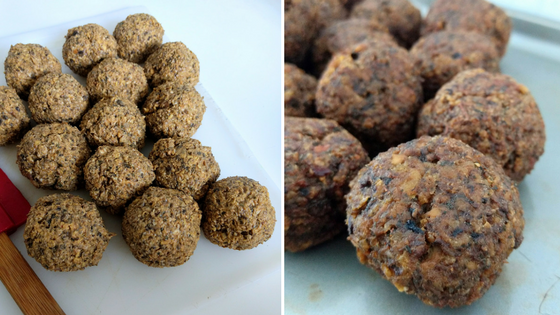
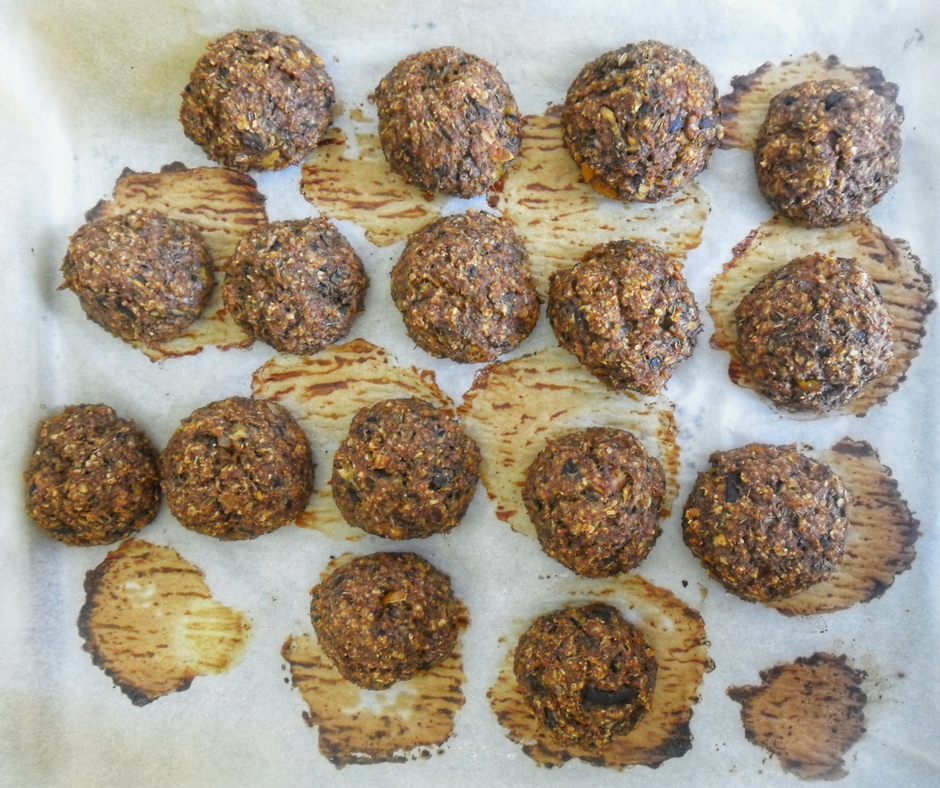
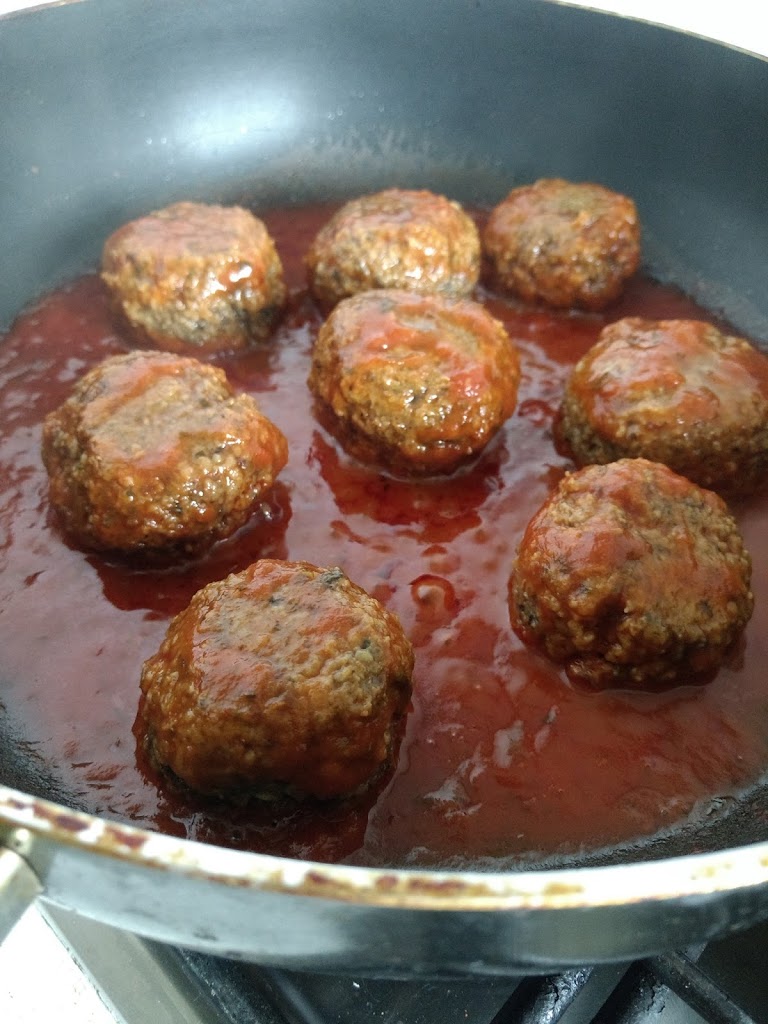
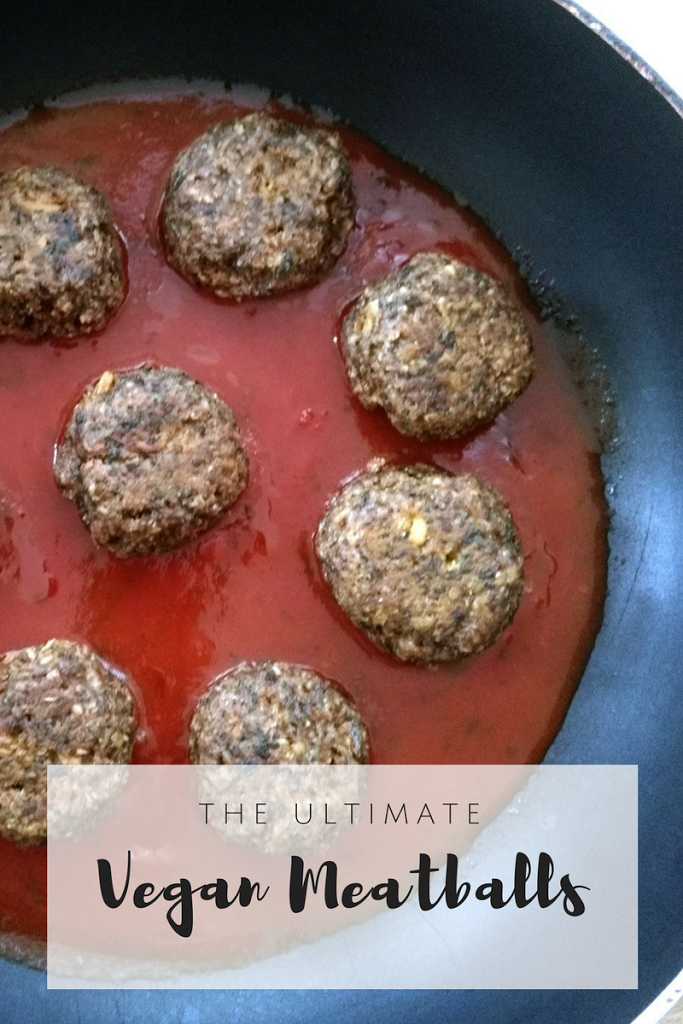
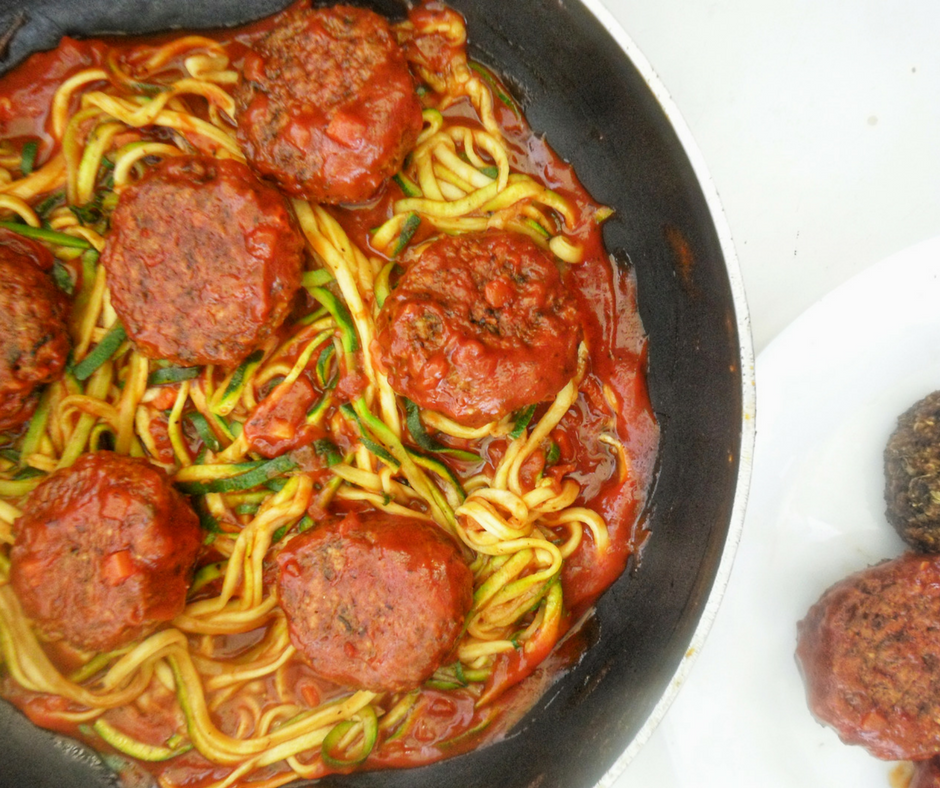 Have you tried The Ultimate Vegan Meatballs yet? Let us know in the comment section below! And, don’t forget to tag us #sisterblissdiary when you make your Ultimate Vegan Meatballs. Don’t be shy and follow as well on