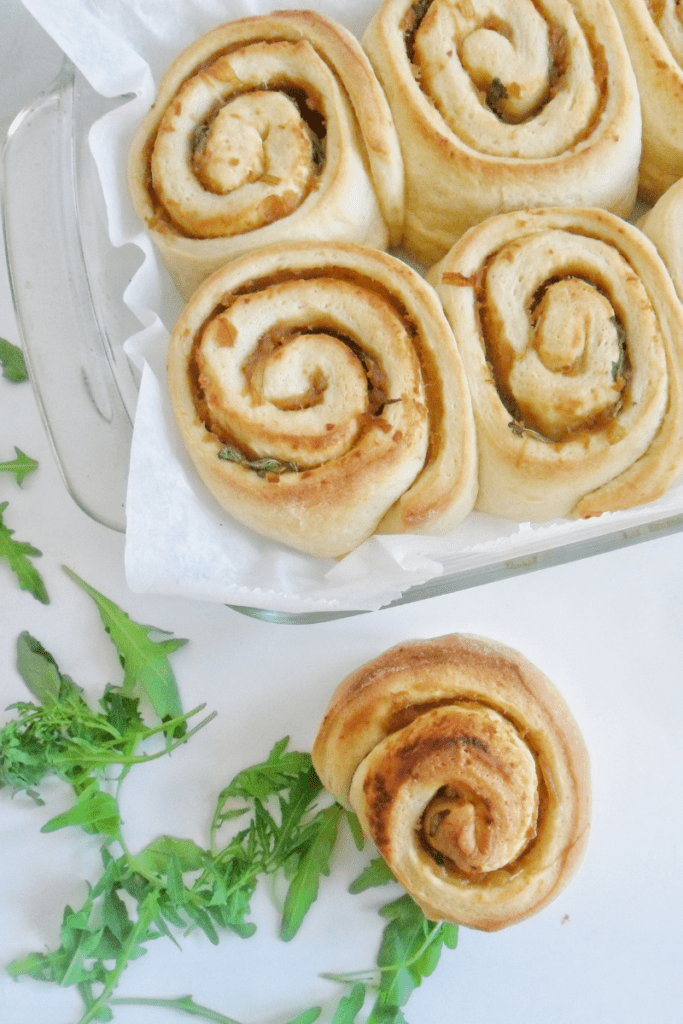
Caramelized Onion & Arugula Rolls {Dairy-Free}
- Originally Published:
- Last Modified: May 26, 2024
- Hannah Abreu
Recipes happen as any other event in life, some are even the result of unexpected situations, like these Caramelized Onion Paste & Arugula Rolls, that have quickly become a favorite. Bare with me as we explore this incredibly delicious combo in form of dinner rolls.
For weeks I have been thinking about making cinnamon rolls as a gift for a lovely couple. I bought all of my ingredients and when I was ready to make them, I just changed my mind. Why make it sweet when savory rolls can be as delicious? As usual, I opened the fridge and quickly scanned what I had. Onion and arugula seemed like the perfect savory combo at the time, even when I haven’t tried it before, but I went with it and this is the results!
For weeks I have been thinking about making cinnamon rolls as a gift for a lovely couple. I bought all of my ingredients and when I was ready to make them, I just changed my mind. Why make it sweet when savory rolls can be as delicious? As usual, I opened the fridge and quickly scanned what I had. Onion and arugula seemed like the perfect savory combo at the time, even when I haven’t tried it before, but I went with it and this is the results!
Make the Dough
To make these delicious Caramelized Onions & Arugula Rolls you’ll start by making a brioche-style dough, since it has a bit of resting time. While the yeast is working its magic, you can go ahead and make the caramelized onions paste.
If you love this recipe, you may be interested in Coconut Milk Brioche with Chocolate Chunks & Vegan Challah

Make the Caramelized Onion paste
Traditionally, caramelized onions require a lot of time to cook, plus fat and sugar, but for this recipe I followed Cook’s Illustrated method which calls for no sugar and a secret-not-so-secret ingredient and got 225 gr onion paste. Here’s how to make it:
{CARAMELIZED ONIONS PASTE}
3 pounds yellow onions, julienne
3/4 cups water
2 Tbsps Oil
3/4 tsp salt
1 Tbsp water + 1/8 tsp baking soda.
PREPARATION:
1) Cook the onions with water, oil and salt over high heat until the water is evaporated and onions sizzle.
2) Cook on medium-high while pressing & stirring the onions consistently for about 15-20 minutes or until the onions are well browned and sticky.
3) Combine a tablespoon of water with baking soda, add the solution to the onions and cook for another minute until the solution has completely evaporated.
4) Let the caramelized onions cool down and process to a fine paste with a food processor or blender.

Caramelized Onions & Arugula Rolls
Ingredients
- 400 g All Purpose flour
- 100 g Bread flour
- 14 g Dry yeast
- 250 ml Lukewarm milk I used evaporated soy milk. You can use coconut to keep soy-free
- 60 g Sugar
- 12 g Salt
- 90 g Egg yolks
- 150 g Vegetable shortening You can use butter if not dairy-free
- 225 g caramelized onions paste
Instructions
- Mix dry and make a well on the center.
- Add liquids, eggs and 2/3 of the fat. Mix until a rough dough forms.
- Transfer to a lightly floured surface and knead for 10-15 minutes, until you get a soft dough.
- Transfer to a lightly oiled bowl and let rest for 1hr at room temperature or until double in size.
- Knead the remaining shortening in, and let rise for another hour.
- Punch the dough and form a ball. Let rest in the counter for 10 min to relax. Roll into a rectangular shape, about 17 x 15 inches.
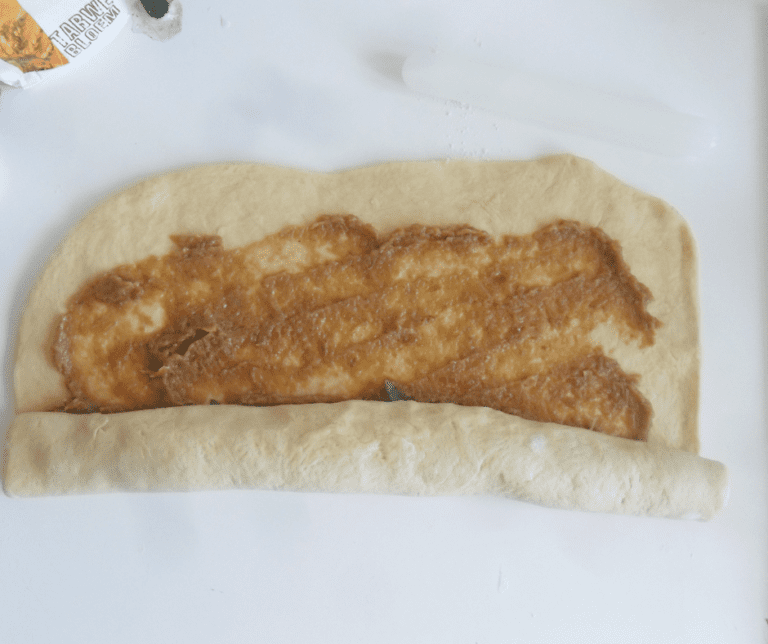
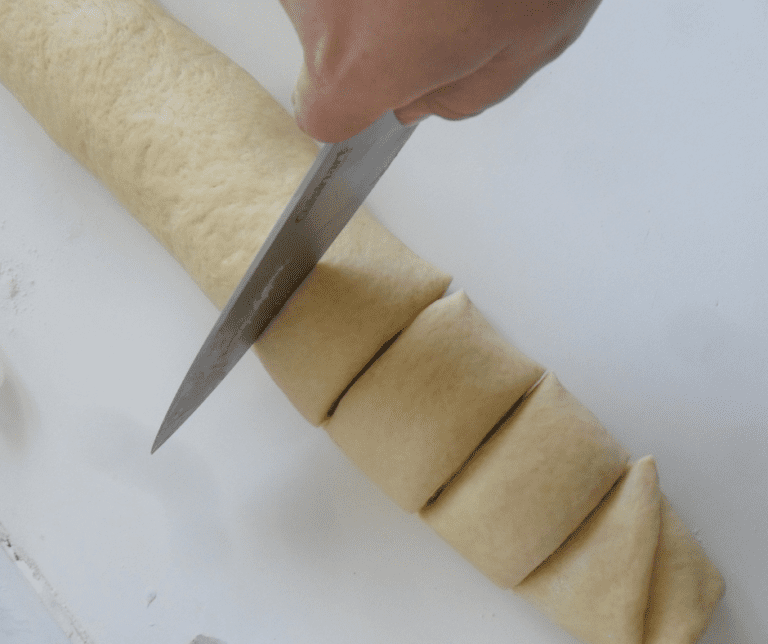
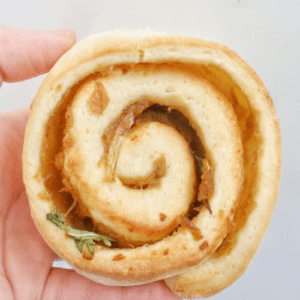
- Spread the caramelized onions paste evenly and add the arugula. Shape into a roll and cut into 10 rolls.
- Arrange on a baking sheet with baking paper and bake in a preheated oven at 350°F for 20 -25 minutes, or until the rolls are lightly golden on top.
- If desired, brush the top lightly with olive oil as soon as they get out of the oven. Let rest on the baking sheet for a few minutes before transferring to a cooling rack to cool completely (if you can really wait for that!!)
