Hannah Abreu

I am a food lover, baking addict and full-time mom, fascinated with new ingredients, vegan food, hassle-free cooking and travel. Follow my adventures and discoveries here on the blog and instagram!

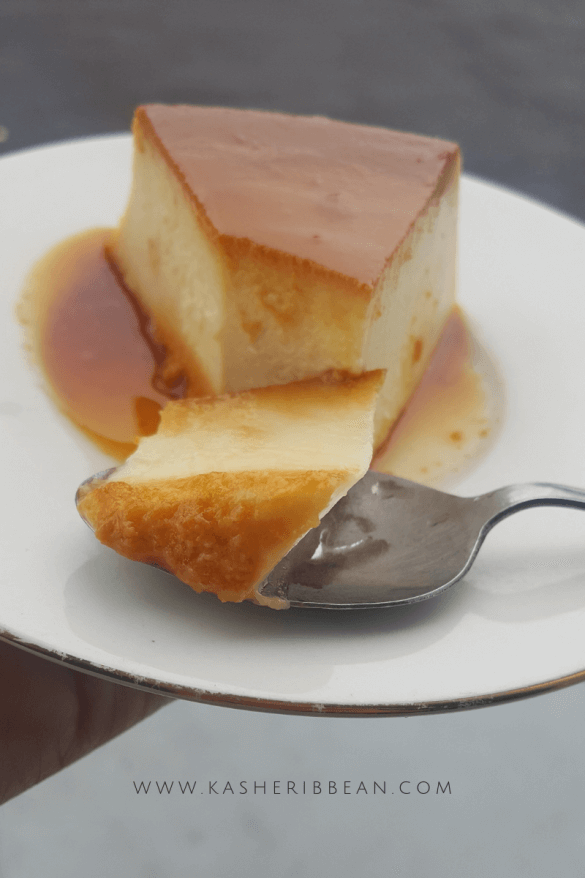
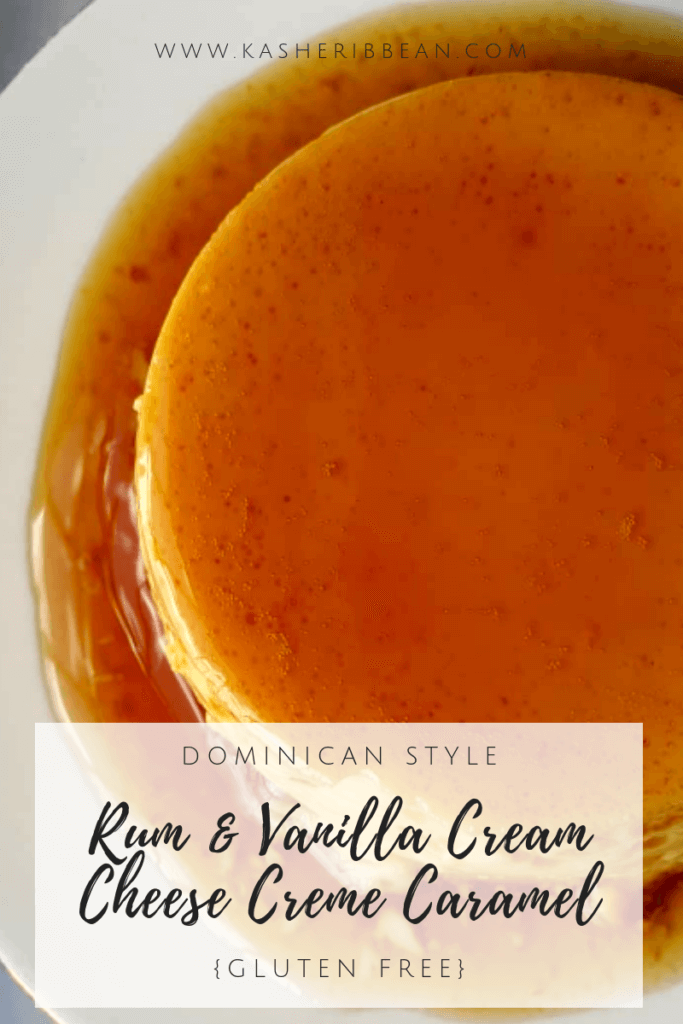
Rum & Vanilla Cream Cheese Creme Caramel {Gluten Free}

Rum & Vanilla Cream Cheese Creme Caramel {Gluten Free}

Shabuoth is coming and with it, all the cheesy and creamy recipes afloat including this sexy Rum & Vanilla Cream Cheese Creme Caramel, perfect for the occasion!

It feels almost surreal that is almost Shabuoth again!! My God! Am I the only one who feels the years is just flying?! Nobody got time to waste, so I want to keep it simple and precise with a classic recipe like the popular Rum & Vanilla Cream Cheese Creme Caramel.


As you may know, Flan or Creme Caramel is a custard-based dessert, easy to make and if done right, brilliantly decadent to say the least. And, because this one has a cream cheese base, you could potentially skip the caramel, make a cookie base for the bottom, bake and you’ll have Cheesecake! (Consider that a bonus recipe 😛 ) If you are looking for a non-dairy version, check out our Coconut Creme Caramel.
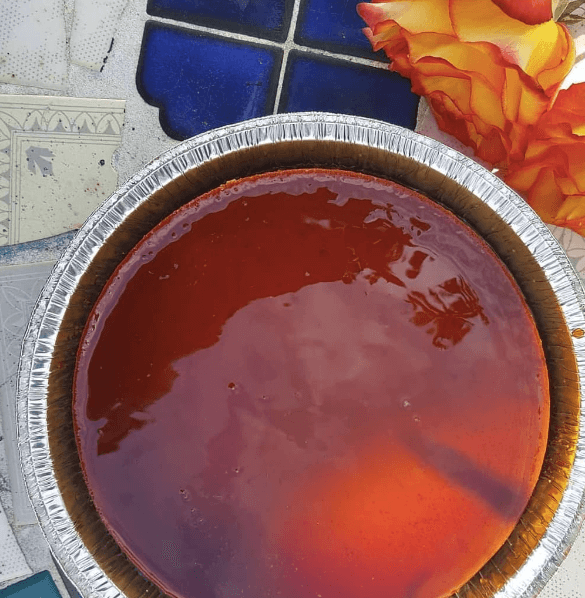
 

A super easy and delicious dessert for Shabuoth

Rum; Vanilla Cream Cheese Flan {Gluten Free}

Course Dessert
Cuisine Dominican Republic
Servings 8

Ingredients
  

  • 100 gr Granulated Sugar
  • 30 ml Water
  • 400 ml Full Fat Evaporated Milk
  • 400 ml Condensed Milk
  • 400 ml Eggs
  • 200 gr Cream Cheese
  • 40 ml Rum (Optional but recommended)*
  • 1/2 Tbsp Vanilla Extract
  • Pinch of salt

Instructions
 

  • Preheat oven to 180°C (350°F).
  • In a small pot, place the sugar and water and stir to dissolve. Cover with a lid and cook over medium high heat, swirling occasionally until the caramel starts to form and you see an light amber color. Continue to cook to achieve a caramel color. Quickly pour the caramel in the pan and swirl to coat the bottom.
  • In a blender, add the ingredients for the custard and pulse for a few seconds. Strain the custard mixture through a fine sieve and into the prepared pan.
  • Transfer a bigger pan to the oven, place the prepared pan with the custard inside and add enough water to come halfway up the sides of the pan.
  • Cover the pan loosely with a silicone baking mat or aluminum foil and bake for 35-40 minutes or until the custard is set on the edges and a little jiggly on the center.
  • Remove the pan from the hot water, and remove the baking mat from the top and let it reach room temperature before refrigerating until cold, preferably overnight.
  • To release from the pan, first run a sharp knife on the edge of the pan and invert carefully onto a serving plate.
  • Serve cold.

Notes

  • If adding rum extract, 1/2 tbsp is enough.
Keyword cream cheese, creme caramel, flan, quesillo

Have you made this recipe yet?  We want to see your pictures! Use the tag #kasheribbean to share with us and, don’t forget to follow on instagram and pinterest to keep up with our easy recipes from us and the blogosphere!


Rum & Vanilla Cream Cheese Creme Caramel {Gluten Free} Read More »

Spinach-Basil & Walnut Pesto {Vegan}

Vegan Fetuccini with Spinach-Basil & Walnut Pesto

Spinach-Basil & Walnut Pesto: an excellent source of nutrition and a very forgiving and flavorful recipe; made in no time. It’s no secret that Pesto is probably the easiest pasta sauce ever created, and for this, it has a special place in my kitchen, and since pesto is essentially herbs + garlic + nuts + EVOO, it is very forgiving, and with just a few tweaks, you can have endless combinations!


I love using Spinach in my pesto for various reasons. First, spinach is readily available in a lot of places, and also, it is relatively cheap. But, you can’t ignore the distinctive beautiful flavor of fresh basil, and that is why is important in this recipe. Sometimes it can be hard to find, and in some places can be “expensive”, but if you can find it don’t skip it!

Roasting the walnuts is essential in this recipe. No oil needed, just lightly roast in a pan  over low heat, to bring out the aromas and nutty flavor. Once you’ve done this, your ingredients are ready for the blender. 


If keeping the bright green is important to you (both spinach and basil are sensitive to heat and will turn dark green over time), you can go through the extra step of blanching the herbs in salted boiling water. Before starting, make sure to prepare a bowl with iced water and have it ready in the counter. Now, bring a pot of salted water to a boil, add your herbs and let them cook for about ten seconds. Then, with the help of a slotted spoon take your herbs and place in the iced water (this will stop the cooking process, allowing the herbs to stay green). Make sure you squeeze the herbs dry before starting with your pesto. 

Pesto is ready in no time, so is a good idea to have your pasta cooking while you gather the ingredients for this yummy and easy Spinach-Basil & Walnut Pesto. 

I like to serve my hot fettuccine with Spinach-Basil & Walnut Pesto with some toasted almond flour, or grated macadamia nuts! (grated macadamia nuts look like parmesan cheese!)

Spinach, Basil & Walnut Pesto {Vegan}

Course Pasta
Cuisine talian
Servings 4

Ingredients
  

  • 300 gr Fresh Baby Spinach
  • 100 gr Fresh Basil
  • 150 gr Dry Roasted Walnuts
  • 75 ml Extra Virgin Olive Oil
  • 2 Fresh Garlic clove
  • Salt & Pepper to taste
  • 400 gr Pasta, cooked

Instructions
 

  • Blanch your herbs before blending to keep the bright color of the pesto.
  • Add all ingredients to a blender or food processor (Make in batches if you have a small blender to avoid overheating) and pulse a few times to achieve a chunky consistency.
  • Season with salt and pepper to taste.
  • Mix in with your preferred pasta and enjoy!

Notes

To blanch the herbs: 
1. Have a bowl with iced water ready in the counter
2. Bring a pot of salted water to a boil. Once is boiling, add your herbs and let them cook for about ten seconds.
3. Remove the herbs from the boiling water with the help of a slotted spoon.
4. Place the herbs in the bowl with iced water.
5. Squeeze the herbs dry before adding to the blender. 
Keyword pesto, spinach, walnut

Have you make this Spinach-Basil & Walnut Pesto, or any other from the blog? Use the tag #kasheribbean to share on social media and, don’t forget to follow on instagram and pinterest to keep up with our easy recipes from us and the blogosphere!


Spinach-Basil & Walnut Pesto {Vegan} Read More »

Caribbean Vibes: Fried Yellow Plantains {Vegan, GF}

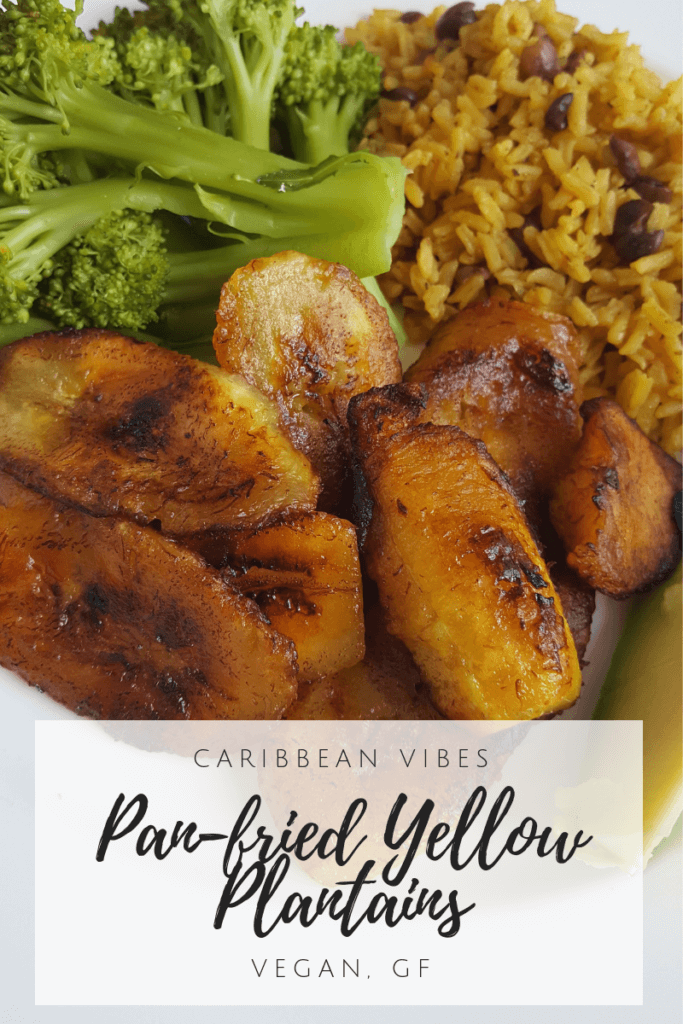
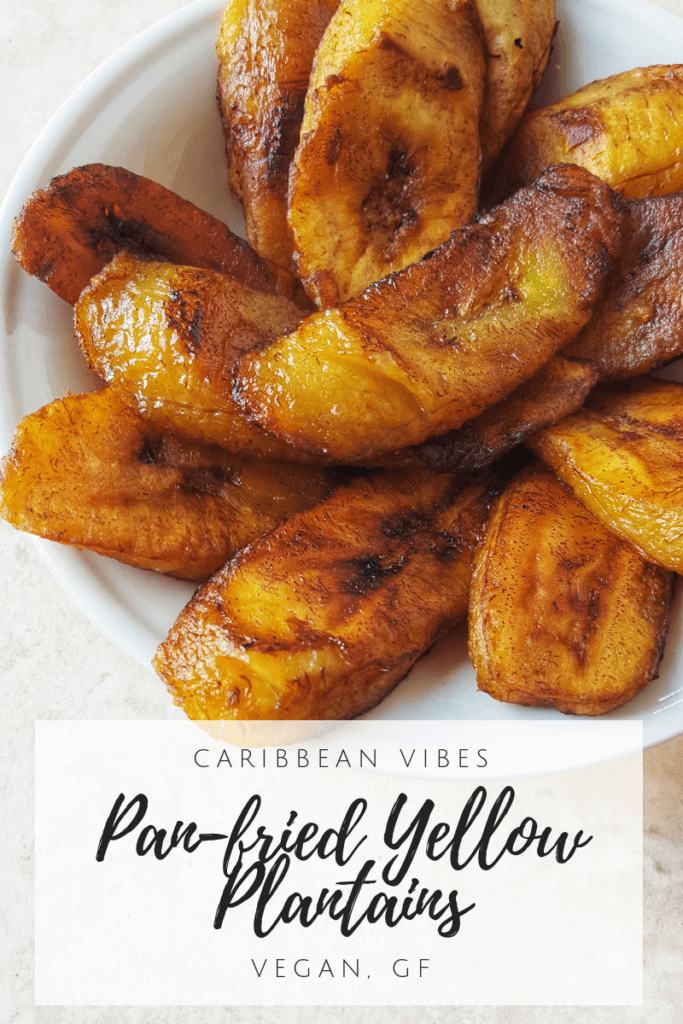
Caribbean Vibes: Pan-Fried Yellow Plantains {Vegan, GF}

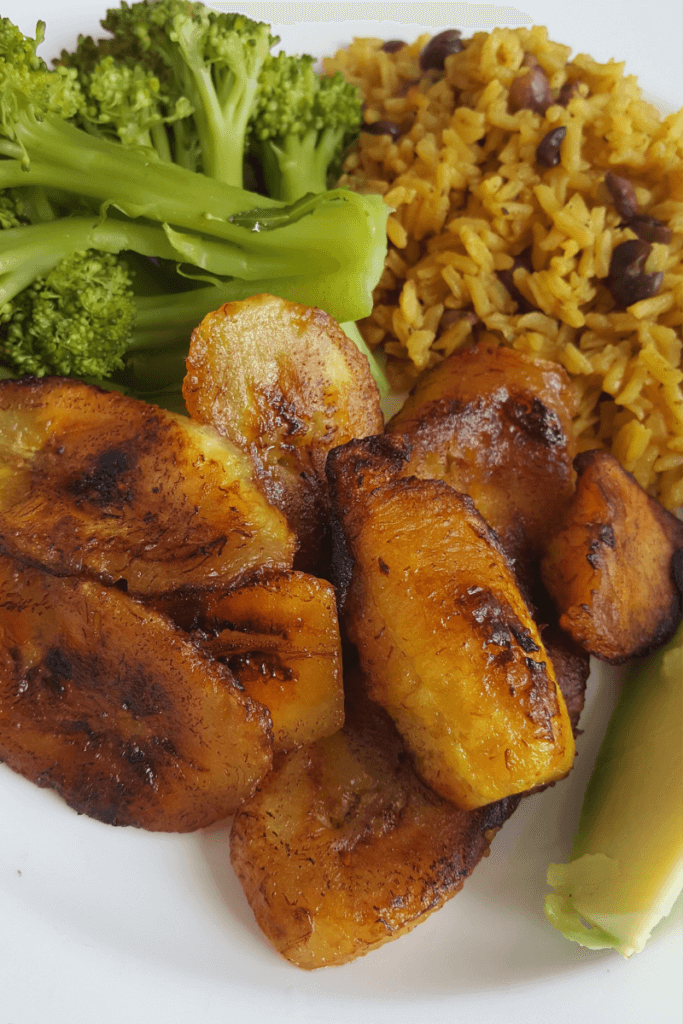
Pan-Fried Yellow Plantains are so easy and delicious! And with their crispy edges and lightly sweet flavor, they are the perfect side dish at any time.

When I was growing up, back in the Dominican Republic, I could clearly see in my family people having certain preferences. When gatherings came about, you either had a strong preference for stewed kidney beans, or you loved stewed pigeon peas. You either liked sweet cream of beans (made with red beans) or you ate the white version (made with broad beans) and the same was true for plantains. You either loved fritos maduros (fried yellow plantains) or you were team tostones (fried green plantains).

I remember always leaning towards “team tostones” (I love crunchy stuff!), but as I grew older I started to embrace those foods that were usually preferred by my sister, including pigeon peas and fried yellow plantains. Maybe is a sentimental thing. Who knows?!

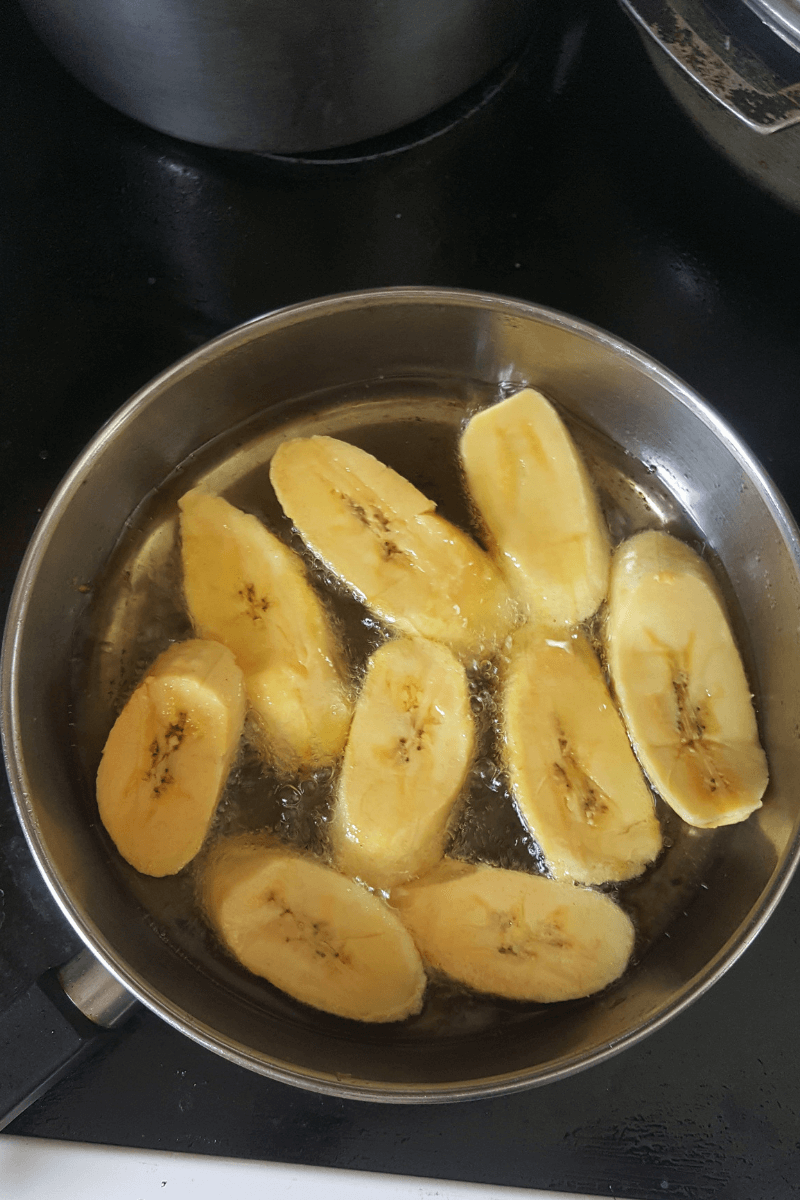
When making fried yellow plantains, you need to choose the right ones, which will be yellow color and have very dark/black spots on them (like the picture below). The black spots are the perfect indicator that the plantains are ripe enough and perfect for this recipe. 


The perfect yellow plantain is also firm to the touch but no completely. It should feel ripe with a certain resistance. You don’t want a plantain that is too ripe (with the peel mostly black) because it will be difficult to slice, it won’t hold its shape when cooking, it will absorb a lot of oil and it will be mushy. If you have yellow plantains that are overly ripe, they won’t be good for this recipe but you can use them to make Vegan Banana Bread (using yellow plantains instead!)


When you go to certain supermarkets, you sometimes see yellow plantain with a perfect bright yellow peel. If you buy those, wait for a few days until it ripens a bit more and you can see black spots. If you cook them right away, the fried yellow plantains won’t have the soft interior and caramelized flavor that is so characteristic.

Caribbean Vibes: Pan-Fried Yellow Plantains {Vegan, GF}

Course Side Dish
Cuisine Caribbean, Dominican Republic

Ingredients
  

  • 3 Ripe Yellow Plantains
  • Pinch of salt
  • Vegetable oil (for frying)

Instructions
 

  • Before starting, have a plate with paper towels ready in the counter to drain excess oil.
  • Heat the vegetable oil
  • Peel and cut the yellow plantains as desired (lengthwise, round or at an angle)
  • Fry the plantain slices over medium-low heat until brown on the bottom. Turn over and cook the other size until golden brown.
  • Carefully remove the plantains fron the oil, with the help of tongs or a slotted spoon, and place over paper towels to drain for a minute or two.
  • You can now season with a pinch of salt, if desired. Preferably, serve immediately.
Keyword caribbean, Plantains

Have you make this recipe or any other from the blog? Use the tag #kasheribbean to share on social media and, don’t forget to follow on instagram and pinterest to keep up with our easy recipes from us and the blogosphere!


Caribbean Vibes: Fried Yellow Plantains {Vegan, GF} Read More »

Easy Chocolate Mousse {Passover-Friendly, GF}

Easy Chocolate Mousse Cake {Passover-friendly, Gluten-Free}

If you still haven’t decided on what dessert to make for Pesach, this Luscious Passover-Friendly Mousse Cake will be the perfect end to your Passover Celebration!

If you are having a hard time coming up with a menu for your Pesach, we have prepared for you a couple of post to help you in your journey: 


5 Full Menu Ideas for Passover
10 Massoth-free Breakfast Ideas to enjoy during Pesach and all year-round

Making this Mousse cake is very straight-forward process and extremely easy. As a bonus, you can make it vegan as well.

This recipe calls for almond flour, which I find to be available in most places these days, but if for some reason you can’t find it, you can buy peeled whole or silvered almonds and pulse a few times in a food processor until you have course granules. Just be careful not to process too much or you’ll make almond butter instead. You can also use other nuts to make the flour, and that I leave to your preference.

Easy Chocolate Mousse Cake {Passover-Friendly, GF}

Course Dessert
Servings 8

Equipment

  • 1 20 cm Cake Pan Springform cake pan or Round pyrex work

Ingredients
  

Base:

  • 100 gr Caster Sugar
  • 150 gr Almond Flour
  • 70 gr Salted Butter room temperature
  • 30 gr Cocoa Powder

Mousse

  • 400 gr 74% Chocolate semi sweet
  • 150 ml Milk any kind
  • 100 gr Cocoa Powder
  • 600 ml Heavy Whipping Cream, cold 35% Fat. Substitute plant-based if needed
  • 2 tsp Cointreau, Orange Liqueur Optional but recommended. Can use another liquor as well or extract.

Instructions
 

Base:

  • In a bowl, mix all ingredients and flatten the mixture on a 20 cm baking pan (Preferably use a pan with removable bottom)
  • Place in the prepared base in the refrigerator for about 15 minutes to harden.

Mousse:

  • Simmer the whole milk and mix with the cocoa powder until dissolved. Mix well.
  • Add the hot chocolate milk over the semi sweet chocolate and set aside until the chocolate is melted. Mix well, and let it reach room temperature before mixing in with the whipped cream.
  • Beat the cold whipping cream with the orange liqueur to soft picks.
  • Add the chocolate mixture to the whipped cream and mix well.
  • Spread the mousse over the prepared almond crust and place in the refrigerator overnight.
  • Serve cold.

Notes

You can use vegan butter, instead of butter and substitute the whipping cream with vegan whipping cream or full fat coconut milk. 
Keyword Gluten-free, Mousse, passover

When you make these Passover-Friendly Chocolate Mousse Cake use the tag #kasheribbean to share on social media and, don’t forget to follow on instagram and pinterest for more easy kasher recipes!

Easy Chocolate Mousse {Passover-Friendly, GF} Read More »

My First Influenster’s Boss Babe Vox Box

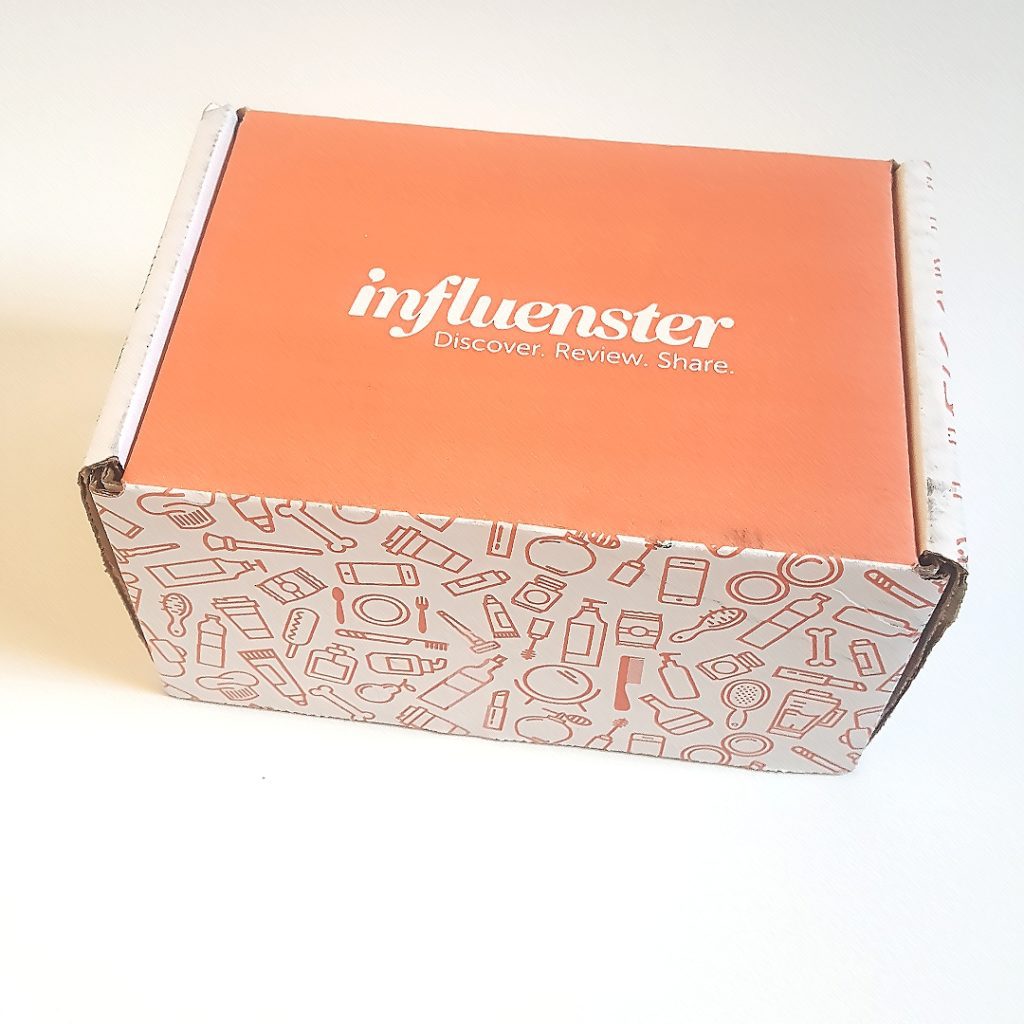
My first Influenster's Boss Babe Box.

I first found out about Influenster while I was looking for makeup samples. I was just getting into makeup again after a decade, so after a quick internet search I landed on their website. Their concept sounded pretty good to me: Sign up for free, complete your profile, write reviews of your favorite products and get a chance of getting free products to review, so I decided t give it a go. 


After about a month or so, I got a notification on my phone that I was selected for the Boss Babe Vox Box and I should expect to receive it in a matter of days. A week later my first box was delivered. I was super duper excited to say the least! (First, because I hardly win anything, and second because their products really matched my interests!)

What did I get in my first box?

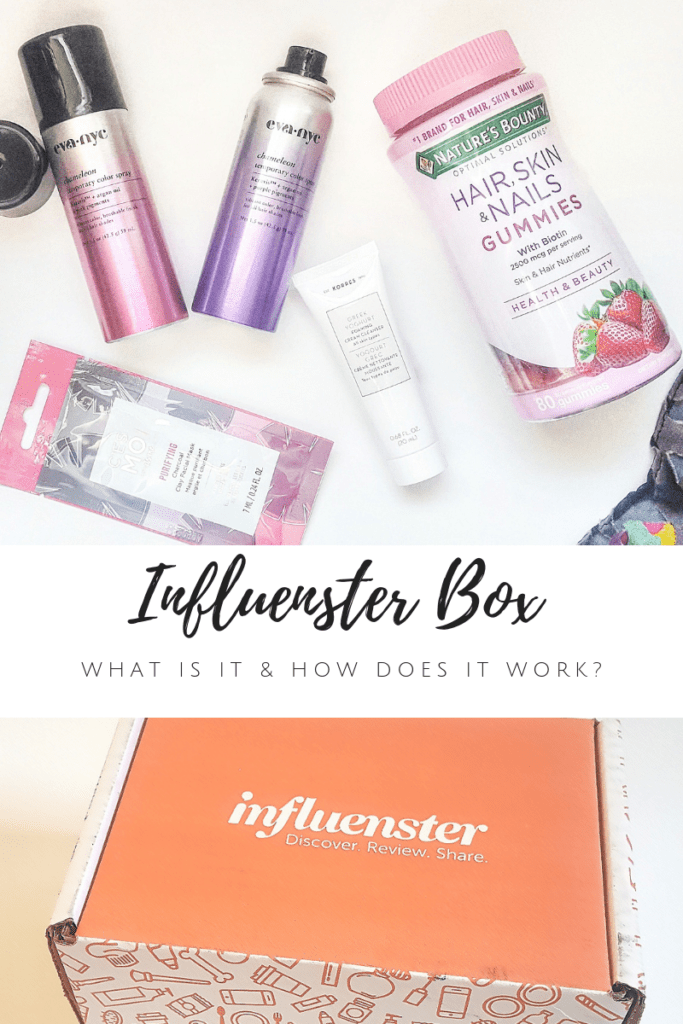
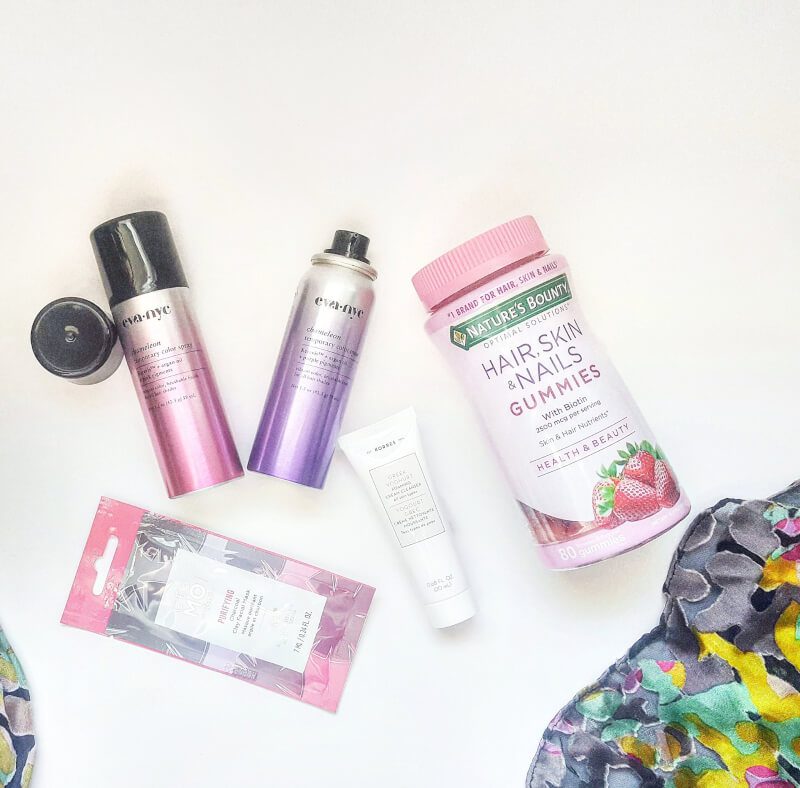
In my first box, I got several beauty products. Most of them I have never heard of before. Here is what I got: 

Greek Yoghurt Cream Cleanser by Korres USA

This product was fantastic. It has a really nice texture, it is very light and leaves a wonderful feel on my skin. What I like the most is that I don’t feel any residue afterward.

C’est Moi Purifying Charcoal Clay Facial Mask

This product was also great. After use, I could feel my pores so clean and literally breathing. It is very light in texture and, of course, it is dark; so I suggest you apply with gloves to not mess up with your nails and don’t leave it more than the recommended time or apply in areas that are not recommended or you may end up with a darker spot on those areas.

Hair, Skin & Nails Gummies from Nature’s Bounty:

Definitely, this product works! I can tell you that because back in February my nails were super fragile and breaking every second, so I always keep them short; and now, a little over a month after starting using them, and for the first time in years, I can grow my nails and style with french tips! Ha!

Eva NYC Chamaleon Temporary Color Spray:

I wanted to love this product so much but it didn’t actually work for me. I first used the purple one and it didn’t show up in my hair. In the description, they claim to be a brushable spray. It doesn’t get super hard like other sprays, but for me, it was not easy to brush either. The pink color shows a tiny bit better on my dark hair, but not much of a difference. I am not super adventurous with my hair so I really didn’t mind, and apparently, it can work well on lighter hair.

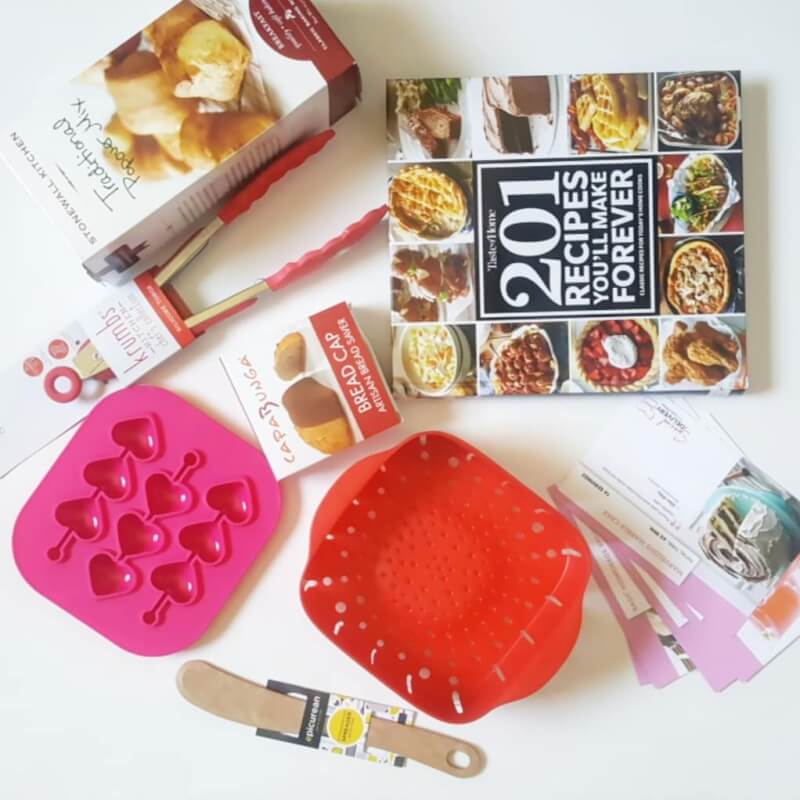
Special Delivery Box from Taste of Home Coupon 

I got a coupon to try this subscription box for free. The Special Delivery Box from Taste of Home is delivered 4 times a year, and in each box you get a selection of Taste of Home approved recipes, approved products and gadgets and a copy of one Taste of Home cookbooks (which I wasn’t expecting so it was a nice surprise!).

You can get this box as part of a subscription, or you can get a single box as a treat for yourself or a birthday present for yourself or your foodie friend! Check the Special Delivery Box Subscription here. You can also watch the unboxing video here

First Impression & Final Thoughts

As you can see, you get a ton of value on these Influenster’s boxes. I loved my experience because I got to discover new products, which are backed you by tons of reviews from people like me and not celebrities. And also, I get to try the products before buying at the store, so I don’t have to waste money if the product doesn’t work for me. 


Influenster is great too because as a social platform, you get the opportunity to connect with other bloggers and influencers with similar interests to yours, which is and added bonus. 


Make sure you check Influenster website for more information, and don’t forget to follow us on Instagram & Pinterest for more! 

Until next time,

Hannah

My First Influenster’s Boss Babe Vox Box Read More »