May 2018

Cauliflower Mash {Low Carb, GF}

Hello dear readers! Today I want to share with you how to make a delicious and mega easy Cauliflower Mash!

I have to confess, I am not a huge fan of puree, but when I heard about this I had to give it a try! I ended up making this yummy puree countless times in the first 3 weeks after, because I couldn’t believe how much it tasted like potato mash (which I love once in a while!).

Want More GF Recipes? Check out The Ultimate Vegan Meatballs, Moroccan Carrot Salad & Roasted Beets

First time making Cauliflower Mash

I would have never believed that you can get such a luscious mash out of the almost tasteless cauliflower and with such little ingredients and effort, because last time I made potato puree, it had not just plenty of butter and half pound of cream cheese, but also required an arm workout.

Obviously, I was very skeptical; but my cooking curiosity won and I am so glad I decided to try the Cauliflower mash for myself.

Cauliflower Mash is very handy on the aftermath of a “carb overload” (like when your mother in law makes for you the most delicious high-carb Caribbean food) 😛

I am not a strict calories or carbs counter, but balance is good plus, we all have some goals to achieve 🙂

Simple ingredients

This cauliflower mash is made out of 4 simple ingredients: cauliflower, roasted garlic, butter and salt. Easily substitute with your preferred buttery spread to make it vegan.

I personally love roasted garlic for this recipe and if you are looking for a mash that taste almost exactly like its potato cousin, I highly recommend you use it, instead of raw garlic.

You can easily roast a garlic head on the stove top by placing it just as is, over low flame, for about 5 minutes, until is a bit charred. Avoid high flame or roasting for too long because the garlic can dry out really quickly and you will end up with charcoal instead of roasted garlic. Wrap the garlic head with aluminum foil to avoid any mess.

How to make Cauliflower Mash

Cut the cauliflower into florets and boil or steam for 10-15 minutes, or until the cauliflower is fork tender. Reserve a few tablespoons of the liquid (you most likely won’t need it, but just in case!) and drain the florets.

At this point, you puree the cauliflower just as is, with the rest of the ingredients. Or, if you want the creamiest of cauliflower mash, take an extra step.

You’ll be surprise how much water comes out of cauliflower! So, for a better and creamier mash, sautee the florets with a tablespoon of butter on medium flame, and then, proceed to puree with a food processor or immersion blender.

Yummy…

Have you ever tried Cauliflower Mash? What do you serve it with? Let us know in the comments section below! And don’t forget to follow on  instagram and pinterest to show off your versions of this yummy low-carb luscious treat with the hashtag #kasheribbean.

If you love this recipe we appreciate you share with your friends and family! It really means a lot to us!

Happy cooking! ?


Cauliflower Mash {Low Carb, GF} Read More »

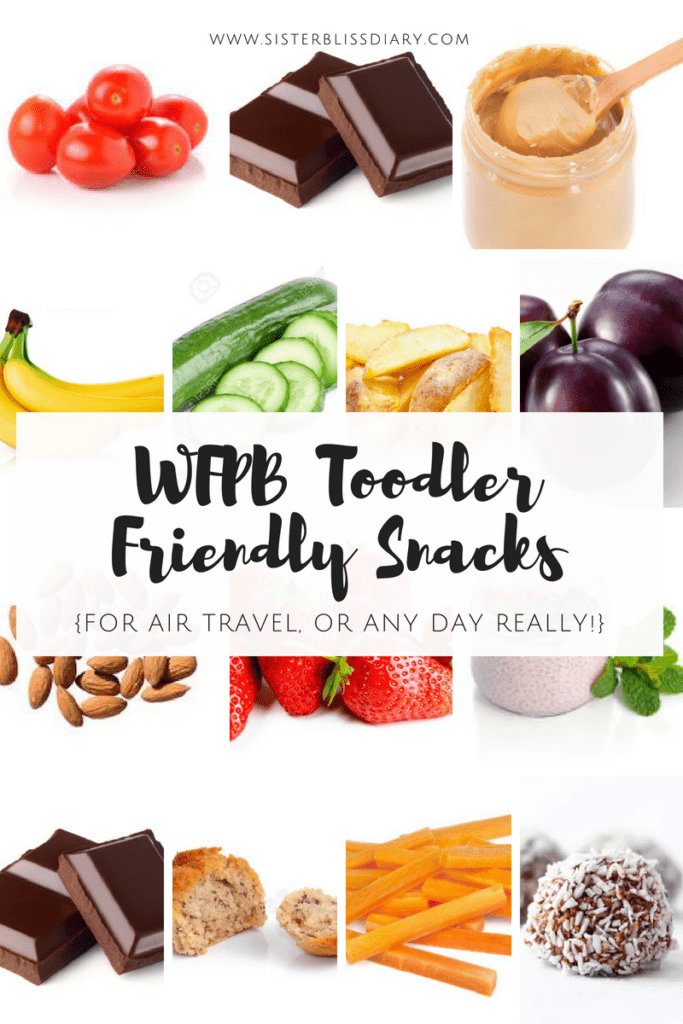
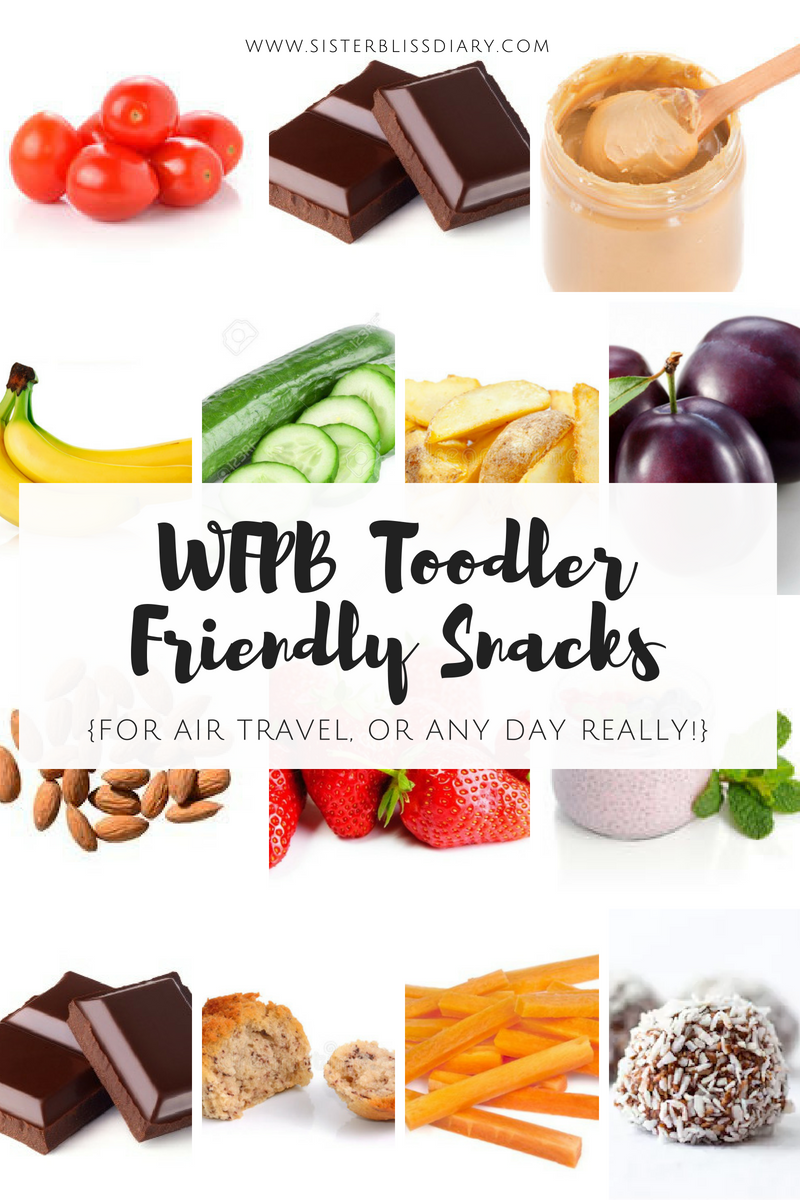
WFPB Toddler Friendly Snacks

Hello everyone! Today I am very excited to share with you my favorite 20+ WFPB Toddler Friendly Snacks for traveling (or any day really!)

I was missing so much to write another travel related post and decided to focus on vegan snacks that are toddler friendly.

I don’t know about you, but my 4 year old eats like a adult, specially when traveling; and because I don’t like most of the vegan options that are usually available on airports (lots of bread, tasteless veggies, fried foods and sweets) I wanted to make my own list of toddler’s friendly snacks, to serve as a reminder to myself that THERE ARE BETTER OPTIONS, and also to help you overcome your own snack-blockage with some amazing whole food Plant-Based ideas.

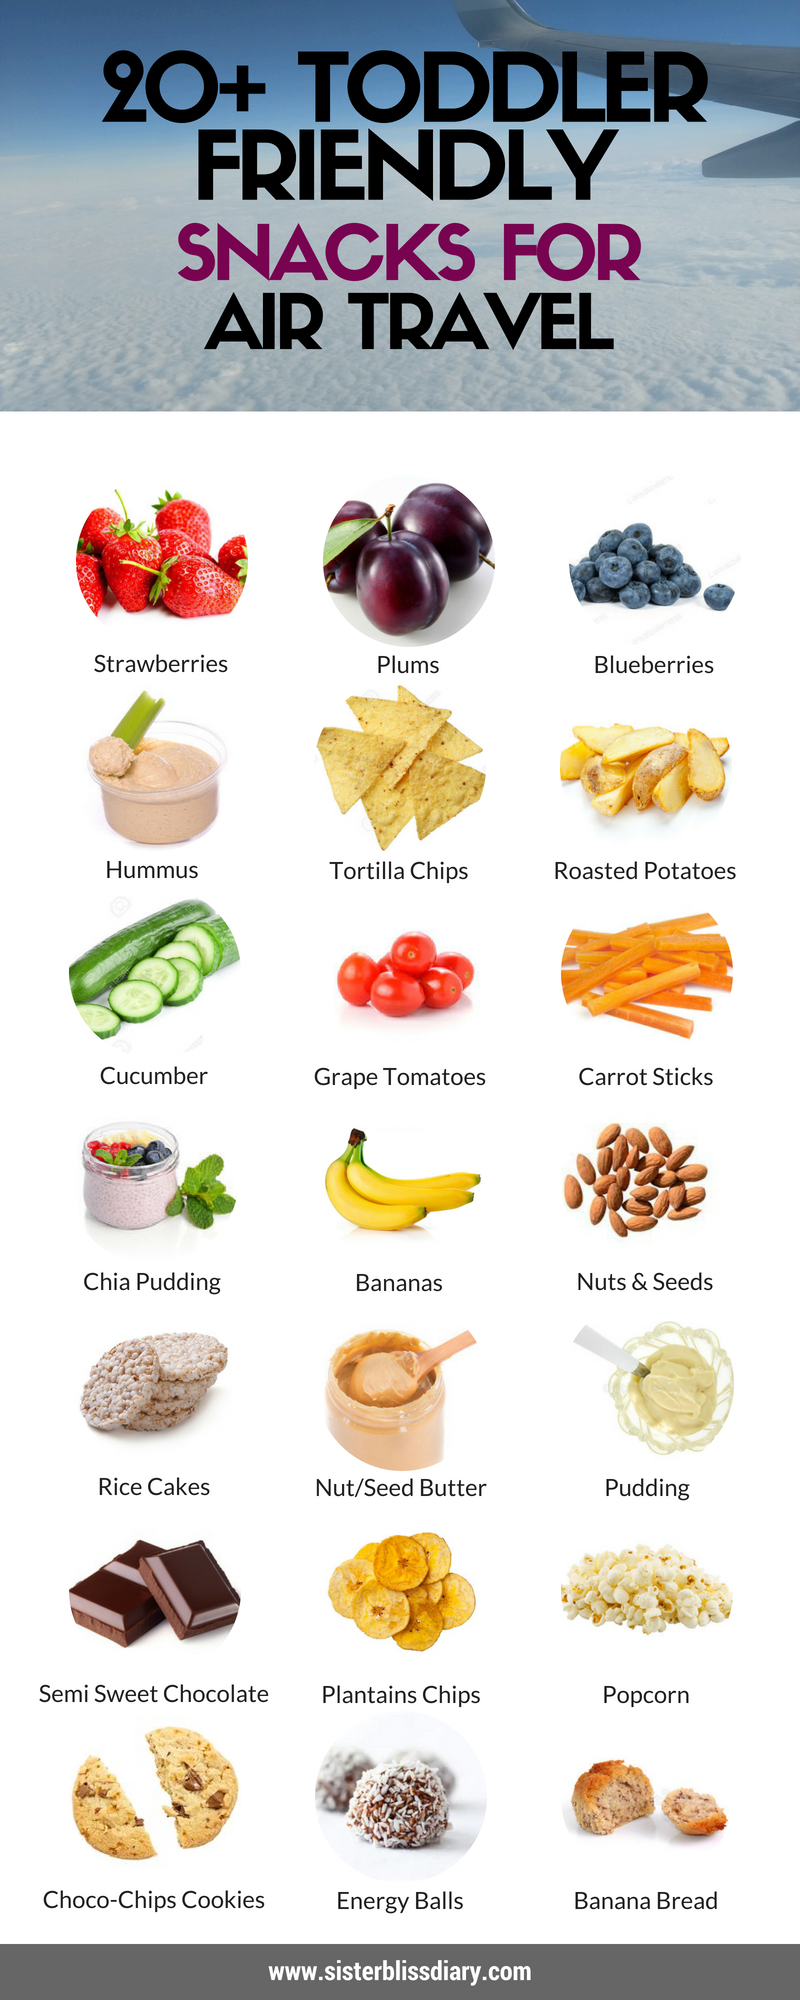
As you can see from the chart below, a few of these snacks involve a little bit of cooking (nothing out of this world so don’t panic!). For those, I link to the easy recipe so that you can make them yourself.

Of course, you can buy those few cooked items; which I don’t personally prefer because some products tend to be heavy on sugar and additives. Only exception to this rule for me will be hummus, because the store-bought version is more stable out of the fridge. Anyways, sometimes you cannot beat convenience so, if you can find healthy options on your local grocery store or you don’t mind, the choice is yours.

These WFPB snacks are so delicious you’ll have to remember to share with your toddler. Seriously! Or, maybe you should pack double servings! lol

Last but not least, because some of this snacks are fresh fruits, I suggest you have on hand some small containers so you don’t end up with fruit puree on your bag. Below you can find some of the more recommended on Amazon.


20+ WFPB Toddler Friendly Snacks for Air Travel

  1. Strawberries
  2. Plums
  3. Blueberries
  4. Hummus or Coconut Butter
  5. Tortilla Chips. Use plain tortillas and bake them for a few minutes until golden.
  6. Roasted Potatoes. Toss a few spices over your potatoes cubes or wedges (I usually use salt + pepper + Za’atar, or salt + pepper + turmeric + paprika or salt + garlic powder + paprika. Bake in a preheated oven at 245°C (475°F) until golden brown.
  7. Baby Cucumber
  8. Grape Tomatoes
  9. Carrot sticks
  10. Chocolate Chia Pudding. The easiest of all puddings on earth! Just mix, shake and refrigerate. You can also make Chia Jam by adding chia seeds to your favorite fruit puree.
  11. Bananas. Alway a favorite!
  12. Dry Roasted Nuts & Seeds. Another must. Just eat in moderation.
  13. Rice Cakes. Don’t know what these have but lately they are a favorite.
  14. Nut/Seeds Butter. Always good to add some protein and healthy fats to your fruits and veggies.
  15. Dairy-Free Pudding. I love love love this coconut pudding! So easy to make, flavorful and you just need a handful of ingredients! This one in particular is made with coconut milk which makes it extra creamy, but you can of course use another plant based milk and add some melted semi sweet chocolate for added yumminess.
  16. Semi Sweet Chocolate. This is another must! I mean, I either enjoy semi sweet chocolate than those extra sugary sweets on board. I particularly love 74% Chocolate Bar I find in my local grocery store and the 70% Lindt Excellence Chocolate Bar
  17. Plantain Chips are a fav here (platano power! lol) but if you prefer use plain potato chips.
  18. Popcorn. If you are not a fan like me, use dry roasted chickpeas.
  19. Chocolate Chunks Cookies.
  20. Energy Balls. This are probably the easiest and yummiest of all energy balls I’ve tasted. Don’t have honey, maple or rice malt syrup? Add soaked (in hot water) medjool dates to bind everything together.
  21. Banana Bread Muffins. Our mega easy banana bread recipe just got better made in a muffin pan! 😛 Want an even more delicious banana bread? Add chocolate chips or chunks! Yum!

And, this is it! My favorites WFPB Toodler Friendly Snacks for air travel. Share your all time favorite WFPB snack with us, in the comment section below. We are always looking forward to your ideas!

Don’t forget to follow on instagram & pinterest! If you love this post, don’t be shy and share it with your friends and family this way we can continue make more posts like this! Tried one of these snacks? or have a wonderful idea? tag us with #kasheribbean so we can see what you came up with!!

Until next time!

WFPB Toddler Friendly Snacks Read More »

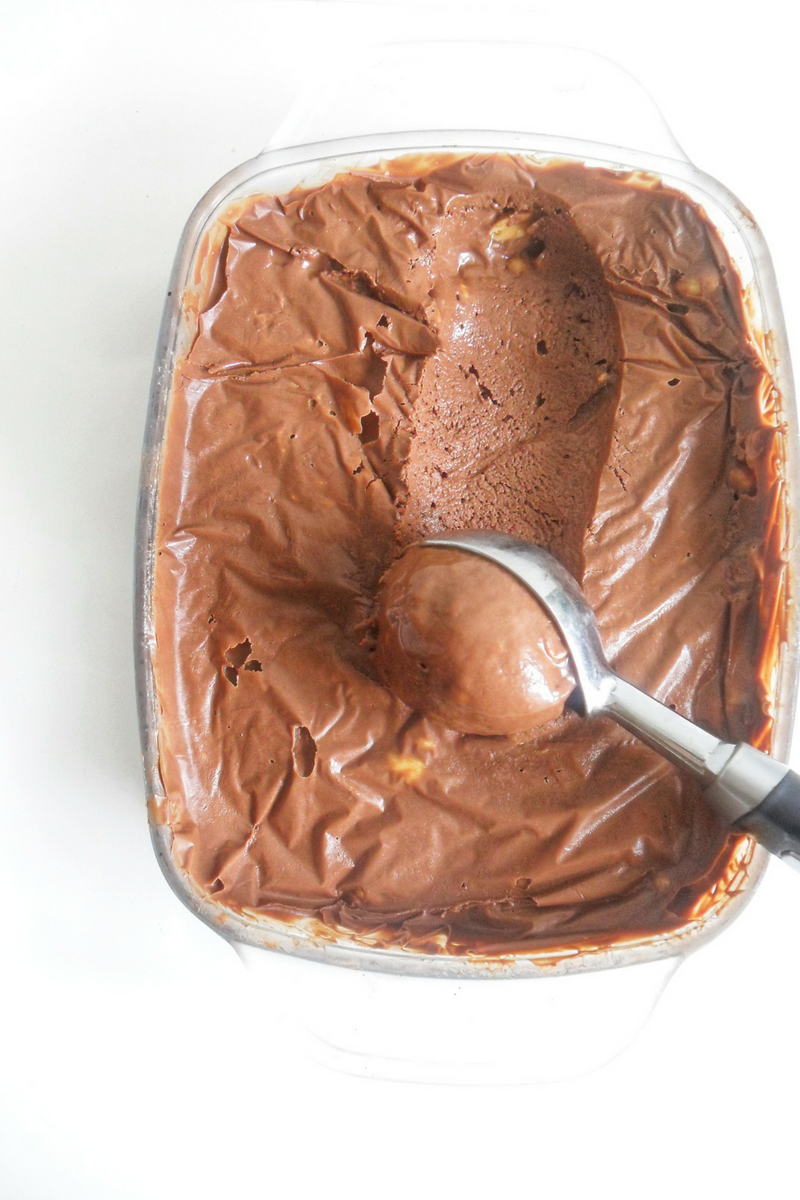
Luscious Chocolate Ganache Ice Cream {No Added Sugar, Vegan, GF}

Shabuoth is coming soon and also Mother’s day in Dominican Republic and I will celebrate with this Luscious Chocolate Ganache Ice Cream. Yay!

Looking for more Shabuoth ideas? Check out 3 Full Menu Ideas for your Shabuoth Table & 20 Side Dishes to Bring more deliciousness to your Shabuoth Dinner

Chocolate Ganache Ice Cream?

Chocolate Ganache? Is that right?… Yes! In my quest to make a vegan, creamy, chocolaty ice cream, made without an ice cream maker and with minimum ingredients, this is the best version I could think of. (You tell me in the comments if there is any other that doesn’t involve frozen bananas!)

I have read about all of those methods for making ice cream without and ice cream machine, but I didn’t have the time or energy to make ice cream with such a hassle. If it wasn’t easy peasy I rather peel a banana and eat it, or would eat some grapes! (Now you see my level of laziness was really high!)

I was having a sweet tooth and also my 4yo so I needed this to be quick! And because ganache is one of the most (if not the most!) easy dessert on earth and it also has that thick, pudding like texture, I thought maybe, just maybe, it would turn into ice cream (or close enough).

The coolest thing about this recipe is that, it doesn’t require any special equipment, it is no custard based (so, no grains or eggs), doesn’t require extra bags or lots of ice cubes, or rock salt, or hours going back and forth to the fridge (unless you are actually eating it)…

I wanted to keep things very simple so I used the 2 ingredients, the basics of (vegan) ganache: Chocolate (I used 74% Cacao) and Coconut milk. That’s right! This Luscious Chocolate Ganache Ice Cream (which essentially is frozen ganache! Let’s say it! ) can be made with just 2 Ingredients. Talk about convenience!

A few notes on the ingredients

Go Full fat with the coconut milk and make sure it doesn’t have any weird ingredient, sugar, additives or gums for best results.

I used 74% chocolate so, this is a bittersweet ice cream, but you can use sweetener if you prefer. If you use granulated sugar, mix with the coconut milk and simmer until all the sugar is dissolve. Then, continue as normal.

I haven’t tested this with liquid sweeteners but I think it would work in the same way as a simple syrup added to the ice cream base. This also prevents ice crystals from forming.

If you are making for adults, feel free to add alcohol based vanilla, vodka or rum to prevent ice crystals.

How to make Chocolate Ganache Ice Cream

2 ingredients with a ratio of 1:2, Chocolate to Coconut milk. That’s it!


Mix the ingredients and let it rest until the ganache is shiny, thick and pudding-like.

Transfer to a deep container, cover with plastic wrap (making contact with the ganache) and let the freezer make some magic. Depending on your freezer this can take from 30 to 60 minutes.

Scoop the Chocolate Ganache Ice Cream with the help of a warm ice cream scoop, add your toppings and enjoy!

The Downside

This baby is made with ganache which means it melts in your mouth and everywhere fairly quick, so this is not the type of treat you will eat while chatting with that friend who you haven’t talked with for ages. Serve and you enjoy! 🙂

Tell me, what are your preferred base flavors and toppings? Let us know in the comment section and don’t forget to follow on instagram & pinterest!

If you love this recipe share it with your friends and family and if you ever make this Chocolate Ganache Ice Cream, tag us with #kasheribbean! We love to see your amazing creations!

Until next time!


Luscious Chocolate Ganache Ice Cream {No Added Sugar, Vegan, GF} Read More »

Bulgur Pilaf

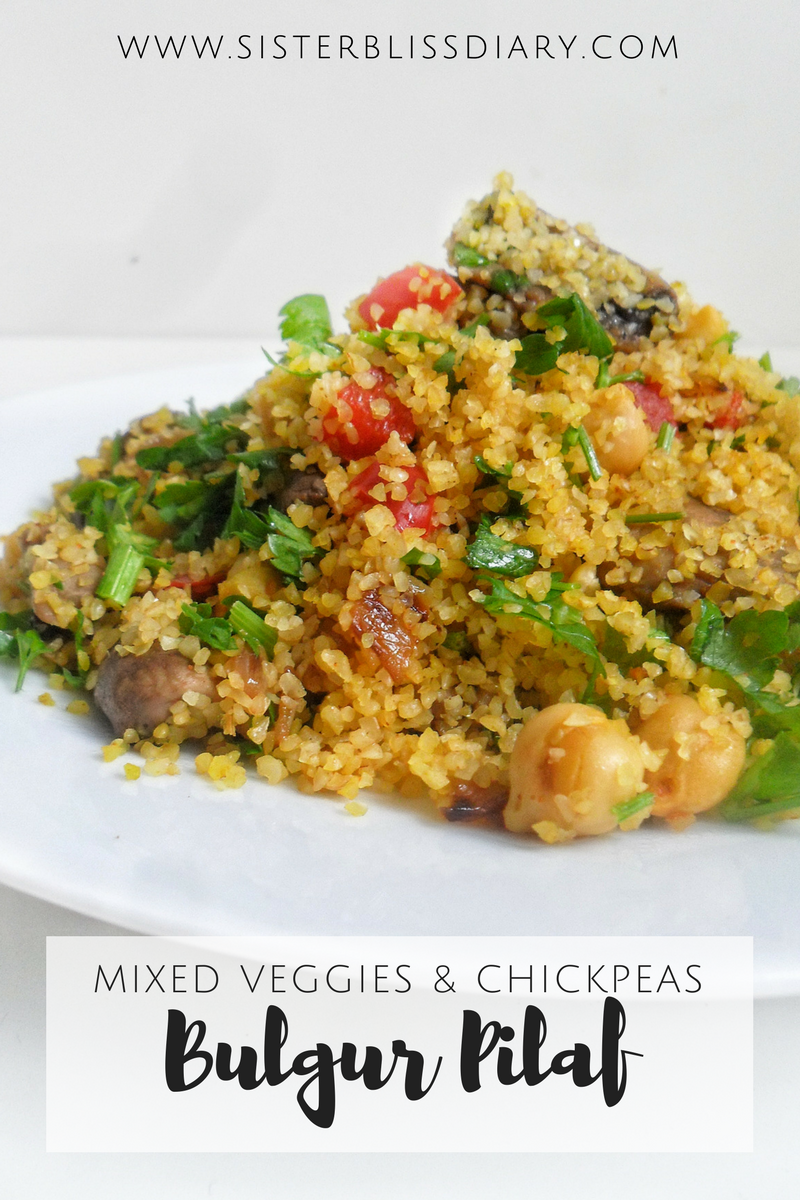
Today we are sharing with you another exciting, colorful, super easy and yummy side: Bulgur Pilaf. Full of veggies and colors, with a combo of spices that is “oh-so-yum!”. Let me show you how it is made…

Despite the simple ingredients this Bulgur Pilaf is very flavorful and colorful dish. Caramelized onions, chickpeas, mushrooms and other veggies play together to give you the perfect balance between color and flavor. Click here to grab the recipe!

The basics

Despite the simple ingredients this Bulgur Pilaf is very flavorful and colorful dish.

The parsley gives it a lemony and sharp tone, while the sweet paprika provides deep flavor.

The almost caramelized onions bring some sweetness to this dish while the chickpeas and mushrooms add texture, some creaminess and the bite. I am salivating!

Despite the simple ingredients this Bulgur Pilaf is very flavorful and colorful dish. Caramelized onions, chickpeas, mushrooms and other veggies play together to give you the perfect balance between color and flavor. Click here to grab the recipe!

How to make bulgur pilaf

To make this Bulgur Pilaf start by sauteing the mushrooms on medium-high with a bit of neutral oil (you can skip the oil entirely if you prefer oil-free, just cook with a tiny bit of water), some salt and pepper until they were completely cooked and brown in color.

Remove mushrooms from the pan and saute onions until golden brown, add bell peppers and continue to cook until onions are darker in color and the bell peppers get some charred spots.

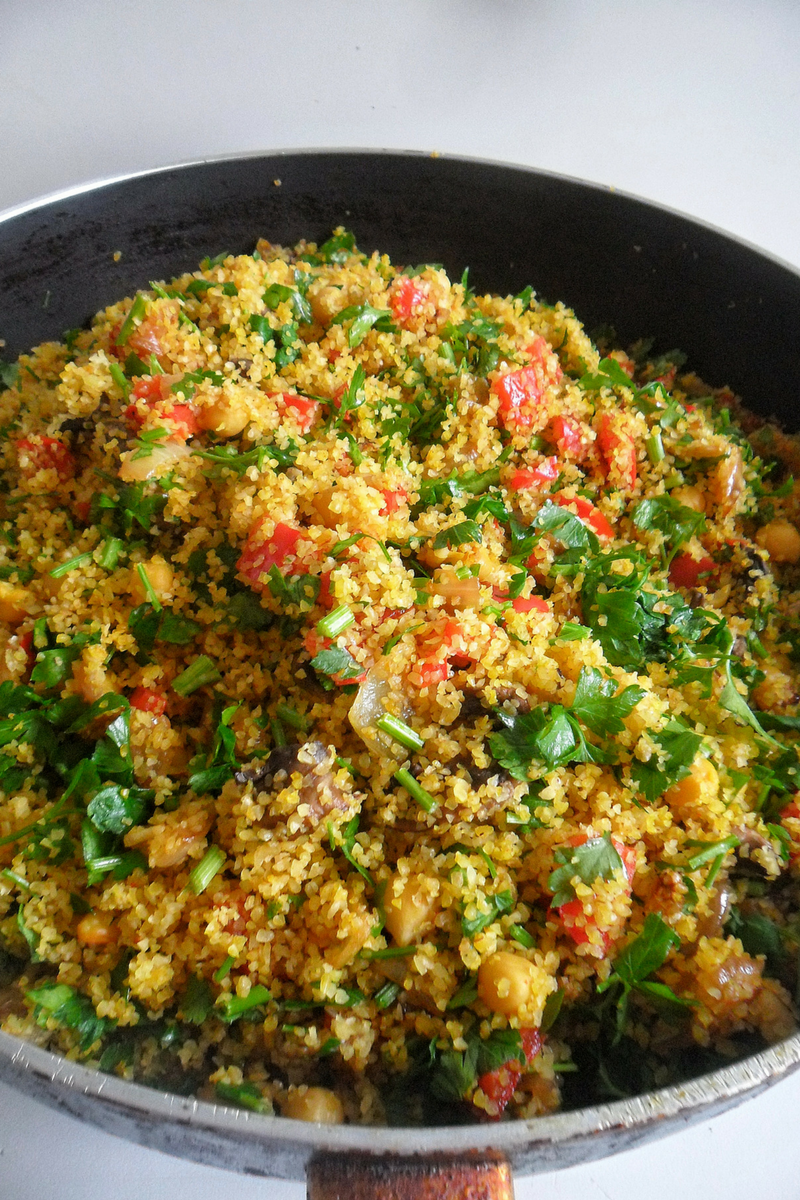
Take veggies out, add the spices to the pan, chickpeas, raw bulgur and boiling water (1:1 ratio bulgur to water or follow the directions on the packaging). Cover with a lid and cook on the lower heat until all the water is absorbed, then go ahead and fluff with a fork.

Despite the simple ingredients this Bulgur Pilaf is very flavorful and colorful dish. Caramelized onions, chickpeas, mushrooms and other veggies play together to give you the perfect balance between color and flavor. Click here to grab the recipe!

Developing flavors

In case you are wondering, there is a reason why I cook some ingredients in the pan and then remove: I want to create layers of flavor without overcooking my veggies. When you finish cooking the bulgur you want the veggies to still hold some texture and bite (Nobody likes mushy veggies!)

When the bulgur is nice and fluffy add in the cooked veggies (peppers, onions, mushrooms) and chopped parsley.

Because I made this Bulgur Pilaf with very fine bulgur, it really cooks in a blink! Literally 3 minutes and you have a beautiful pilaf! So, if it happens that you have some veggies leftovers and some uncooked bulgur you can throw this yummy dish in a matter of a few minutes.

Looking for other sides recipes? Check out Dominican Style Spicy Rice with Sardines & the Barley, Chickpeas and Roasted Beets Salad

Despite the simple ingredients this Bulgur Pilaf is very flavorful and colorful dish. Caramelized onions, chickpeas, mushrooms and other veggies play together to give you the perfect balance between color and flavor. Click here to grab the recipe!

Despite the simple ingredients this Bulgur Pilaf is very flavorful and colorful dish. Caramelized onions, chickpeas, mushrooms and other veggies play together to give you the perfect balance between color and flavor. Click here to grab the recipe!

Despite the simple ingredients this Bulgur Pilaf is very flavorful and colorful dish. Caramelized onions, chickpeas, mushrooms and other veggies play together to give you the perfect balance between color and flavor. Click here to grab the recipe!

What other ingredients would you add to your bulgur pilaf? Let us know in the comments section below! And don’t forget to follow on  instagram and pinterest and show off your pilaf version with the hashtag #kasheribbean.

If you love this recipe we appreciate you share with your friends and family! It really means a lot to us!

Happy cooking! ?


Bulgur Pilaf Read More »