April 2018

Babaganoush: Roasted Eggplants Dip {Vegan, Gluten Free}

Easy Roasted Eggplant Dip {Vegan, Gluten-Free}

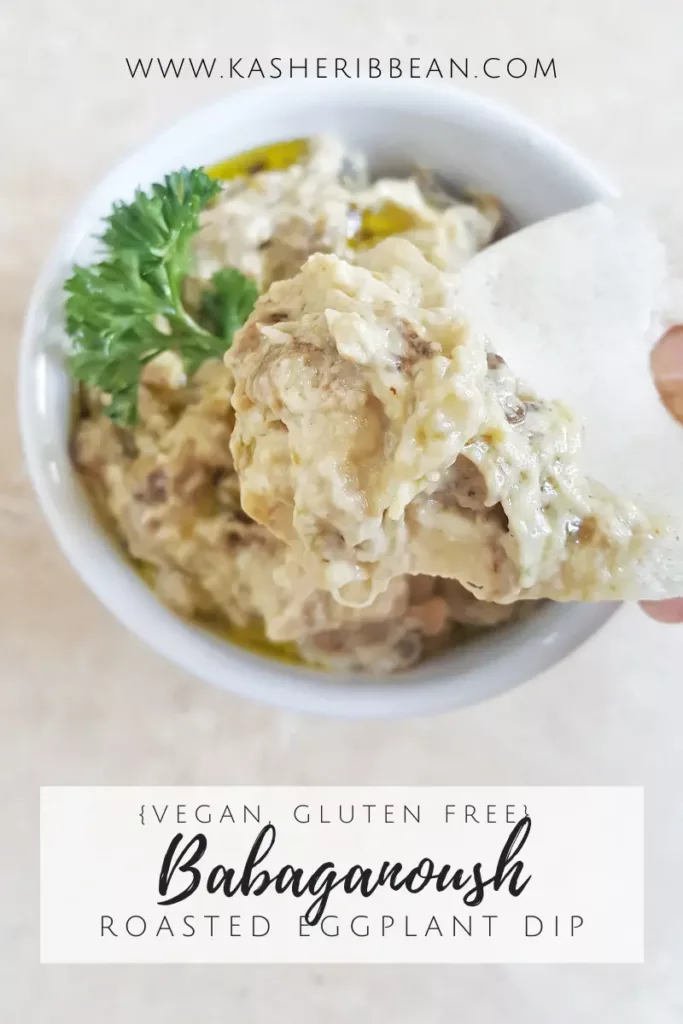
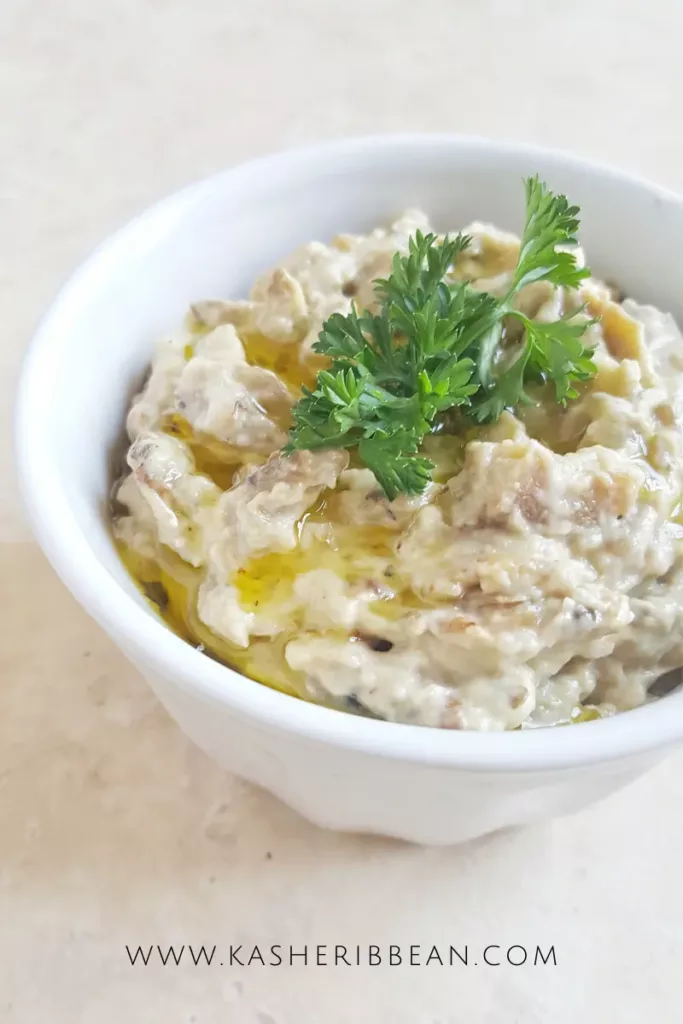
Babaganoush, also known as baba ghanouj or mutabal, is a popular Middle Eastern dip made from roasted eggplants. It’s often eaten alongside with hummus, salads, like tabouleh or roasted beets salad and pita bread; but with a distinct smoky flavor is also a perfect accompaniment to raw vegetables grilled meats or fish.

Babaganoush is traditionally make with greek yogurt. To keep it
setamí (parve) mayo is added instead. In this case I used vegan mayo, but you can go with regular mayo or greek yogurt if not vegan. Babaganoush is also often garnished with herbs, like parsley, pomegranate seeds, nuts and a drizzle of olive oil for extra flavor and visual appeal.

How to choose eggplants

Choosing an eggplant with fewer seeds results in a better texture and flavor for your eggplant dishes, and specially Babaganoush, so here are some tips for selecting the best eggplants:

  1. Look for younger eggplants: a younger eggplant has fewer seeds. You can spot them easily because they tend to be smaller, with smoother, shinier skin and have a green stem. Eggplants should have a uniform color and have no blemishes or wrinkles; if it has it’s probably overripe and have more seeds.

  2. Check the weight: Choose an eggplant that feels heavy for its size. An eggplant that feels light for its size may have more seeds and less flesh.

  3. Look for a rounded bottom: Choose an eggplant that has a rounded bottom, rather than a pointed one, which tend to have more seeds.

  4. Squeeze gently: When you gently squeeze the eggplant it must be firm to the touch, but not too hard. If it feels soft or spongy, it may be overripe.

By following these tips, you can choose an eggplant with fewer seeds, which can result in a better texture and flavor.

How to Roast Eggplants

To make babaganoush, you’ll need to start by roasting three or four medium-sized eggplants, until they are tender and all charred on the outside. It’s important that they are charred all the way through since this is what imparts the characteristic flavor of the babaganoush. 

If what you have is an electric stove, you can roast the eggplants on a grill at the highest temperature possible, or in the oven using the broiler option. 

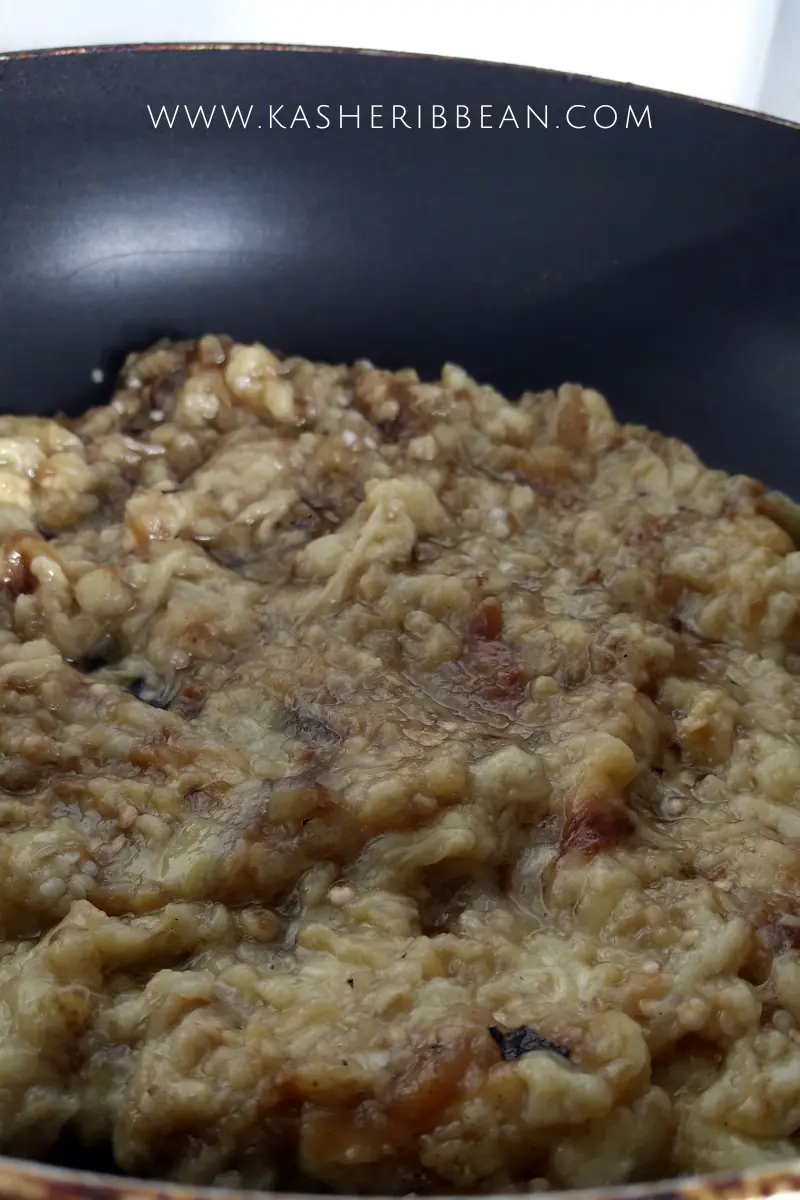
Once the eggplants are roasted, let them cool for a few minutes, then peel off and discard the skin. Then, remove the seeds, chop the eggplant flesh and transfer it to a hot skillet to remove excess moisture. 

How to make my Babaganoush less watery

Eggplants have a high water content, which makes them a great addition to dishes where you need to add moisture and a creamy texture, like pastas and even stews. However, it can water-down the flavor of our babaganoush and give it a soupy consistency after a while. To avoid this, it’s important to dry out as much liquid as possible from the roasted  eggplants before making our dip, so the end result is thick and creamy instead of watery.  

Another way you can remove excess moisture is by draining the roasted eggplants in a colander, and press a couple of times with a spoon for the liquid to drain. 

Babaganoush: Roasted Eggplant Dip {Vegan, Gluten-Free}

Course Appetizer, Salad

Ingredients
  

  • 500 gr Eggplants (about 3-4 medium, roasted)
  • 3 Garlic cloves roasted
  • 2 Tbsp Tahini
  • 2 Tbsp Extra Virgin Olive Oil
  • 2 Tbsp Vegan mayo (can use regular or greek yogurt if not vegan)
  • 1/4 tsp Cumin
  • Juice of half a lemon or lime
  • Salt and Pepper to taste

To Serve:

  • Fresh parsley, finely chopped
  • Pomegranate seeds
  • Pine nuts toasted

Instructions
 

  • Roast the eggplants over the flame top, turning regularly until is completely charred and cooked through. Transfer to a plate to cool down.
  • Peel the skin off, remove the seeds and chop the eggplants
  • Add the eggplants to a skillet and cook on medium high to remove excess moisture.
  • Add roasted eggplants to a bowl and mix in the remaining ingredients. You can always adjust to your taste.
  • Serve with a drizzle of extra virgin olive oil and some fresh parsley. Enjoy!
Keyword dip, eggplant, Gluten-free, salad, vegan

Have you made Babaganoush already? Use the tag #kasheribbean to share your photos on social media and, don’t forget to follow on instagram and pinterest for more easy recipes and and inspiration!

Vegan Challah

Have you ever wanted to make Challah and then realized you are out of eggs? No need to go last minute shopping anymore thanks to this easy Vegan Challah.

Making bread at home

Bread is made with 4 basic ingredients: Flour, water, yeast and salt; so essentially “bread” has been made vegan for generations, but today a lot of recipes have tons of eggs.

If you are allergic to eggs or, you just ran out of eggs at 10 pm, right before starting baking; don’t worry, you have come to the right place.

The recipe I use was originally created by Rachel Orenstein Packer. In her recipe she uses a combination of oil, water and baking powder which she mixes separately to create an egg replacement (so the original recipe calls for 2 amounts of water and 2 amounts of oil).

I wanted to make this easier for me so I mixed together my dry ingredients (flour, yeast, sugar and salt) and, in another container, all the liquids plus baking powder, and after making it both ways, I honestly don’t see a difference.

Kneading by hand or not?

I like to knead my dough by hand because this is how I learned and it is so therapeutic!! so this is how I made this Vegan Challah initially, but you can use an stand mixer if you prefer.

When using a stand mixer, adjust the kneading time and speed as it is easier to overheat or overwork the dough using one. To avoid any issues with the quality of your bread, and to avoid burning your stand mixer, knead at low speed.

What you are looking for when kneading, either by hand or stand mixer is to have a stretchy and smooth dough.

Note on the ingredients

I converted the original recipe in grams in order to achieve consistent results, so for this recipe you obviously will need a digital scale. I know it can sound a little tedious at the beginning, but honestly is the best you can do, specially when baking. (For the recipe in cups, visit here)


Make sure you buy bread flour when making a bread recipe, It has a higher protein content (gluten) and will result on a more elastic dough and better final product.

Also make sure the yeast you are using is fresh. For this recipe I use instant yeast for convenience, but if you are using fresh baker’s yeast (the one that comes in blocks), you’ll need to double or triple the amount. (to be safe I will double the yeast and increase the time for fermentation).

When adding the yeast to the dry ingredients make sure you add the salt far away from the yeast so that it doesn’t make direct contact because the salt kill the yeast.

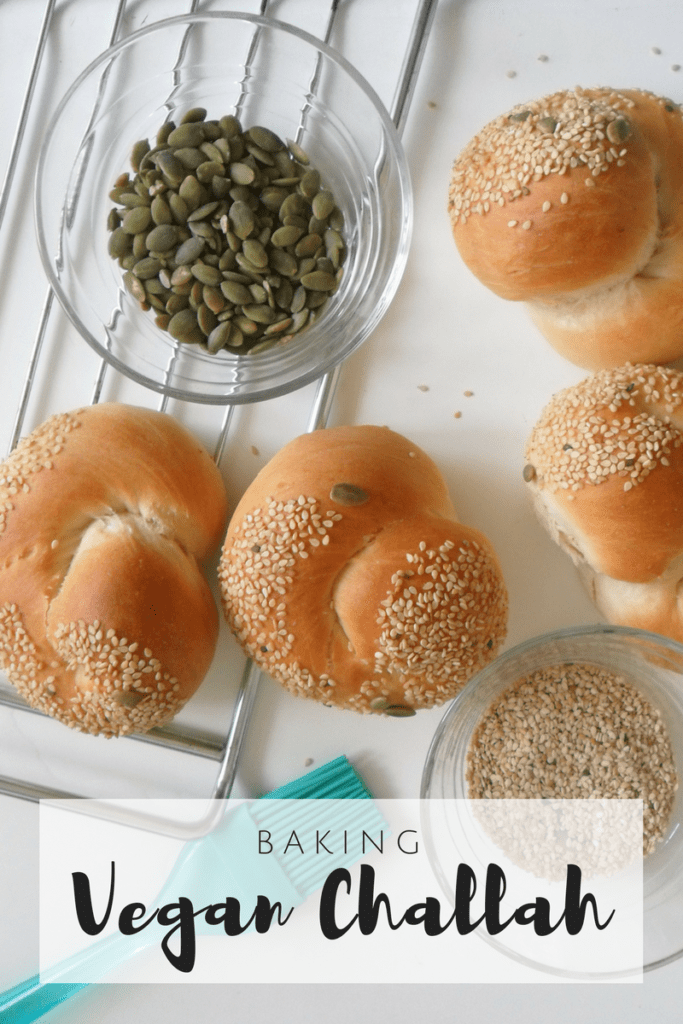
To add the seeds to the top, I just dip the top in a little bit of water and then dip in a bowl with seeds/seed mixture. You can also just brush the top with maple syrup if you like the flavor and want the shine, but this is not necessary.

A dough in the making

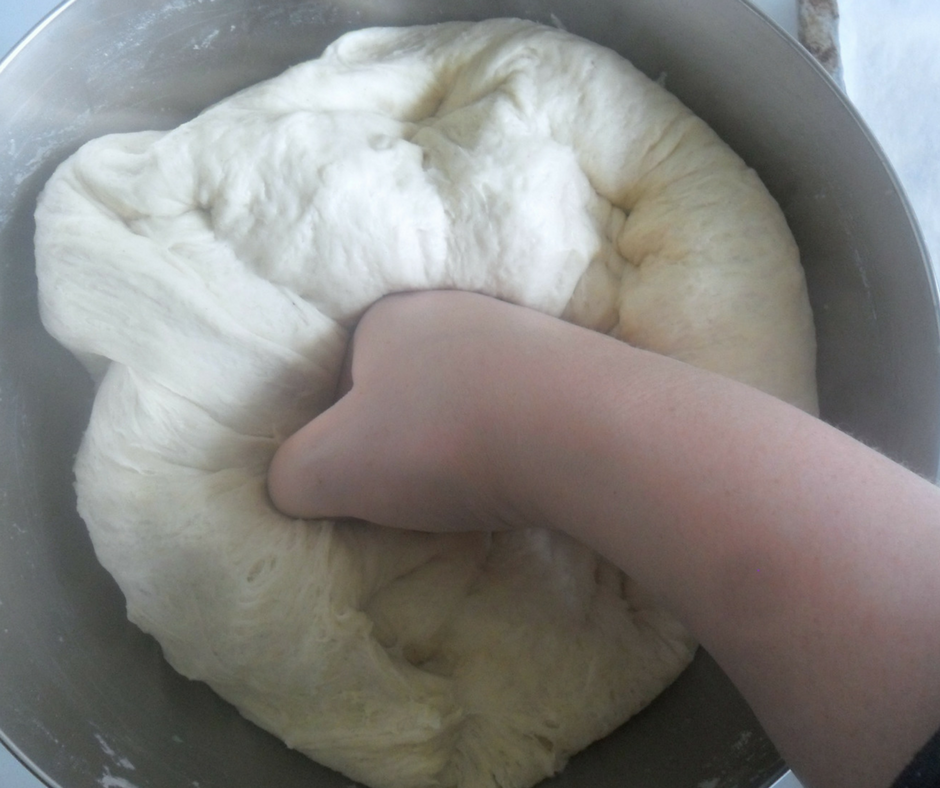
Once you poured wet ingredients into the dry, start mixing with a fork and then, continue to mix with your hands, still in the bowl, until the dough comes together (See picture below)

Once this point have being achieved, transfer the dough to a lightly floured surface. As you can see in the picture below, the dough looks messy and a bit crumbly, so you will knead unto the point where you see the dough is smooth and elastic. This will take about 10 minutes.

When transferring to your work surface, don’t go crazy about the flour or you will dry out the dough. I find 2 Tbsp is enough. Knead the dough for 10 minutes straight and when time is over, place it on a bowl lightly coated with oil and let the dough rest for and hour or until is doubled in size. Time here will depend on the temperature and humidity of your kitchen. If in one hour or so, the dough hasn’t rise enough, the place might be too cold or the yeast might be old.

If the place is too cold, alternatively you can place your dough in a warm oven with warm water inside (just turn on your oven to warm it up a little bit). Turn off the oven before placing your dough inside and let your dough rest until doubled in size.

Once the dough has finished its first rise (also called “bulk fermentation”), punch it down and start portioning and shaping the dough.

Portioning & Shaping

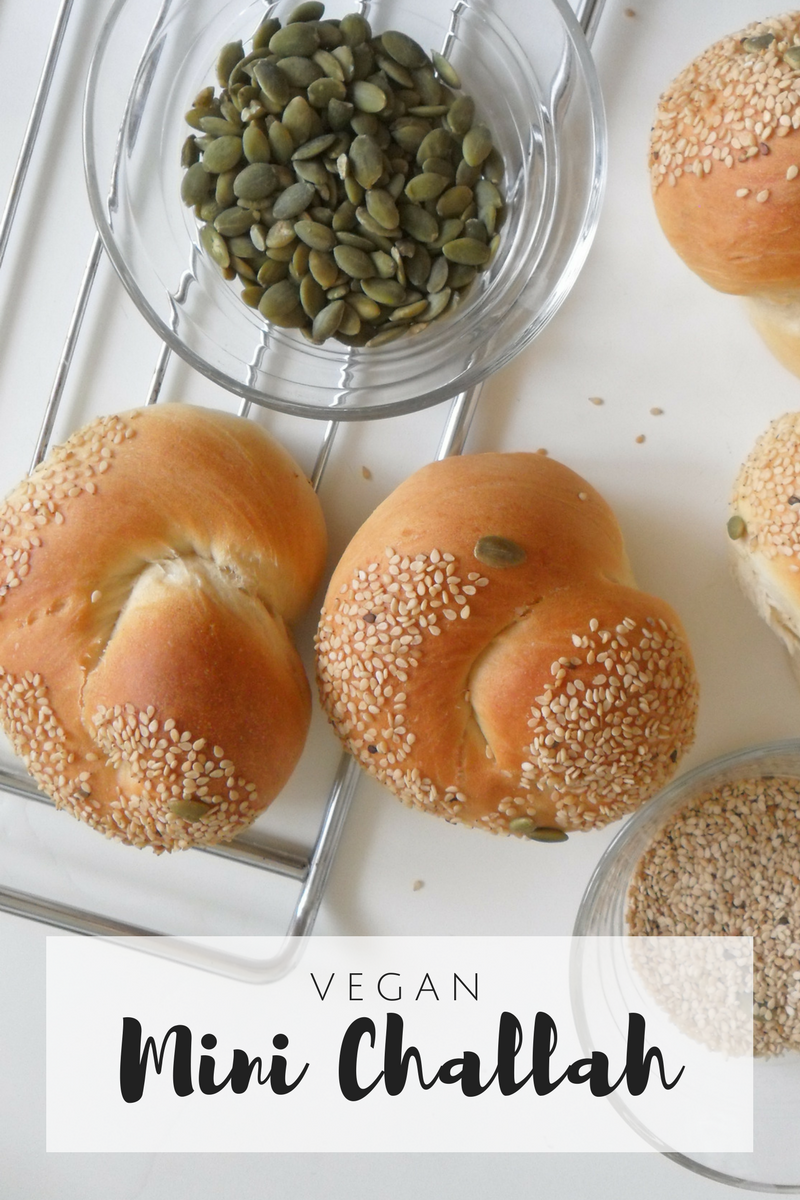
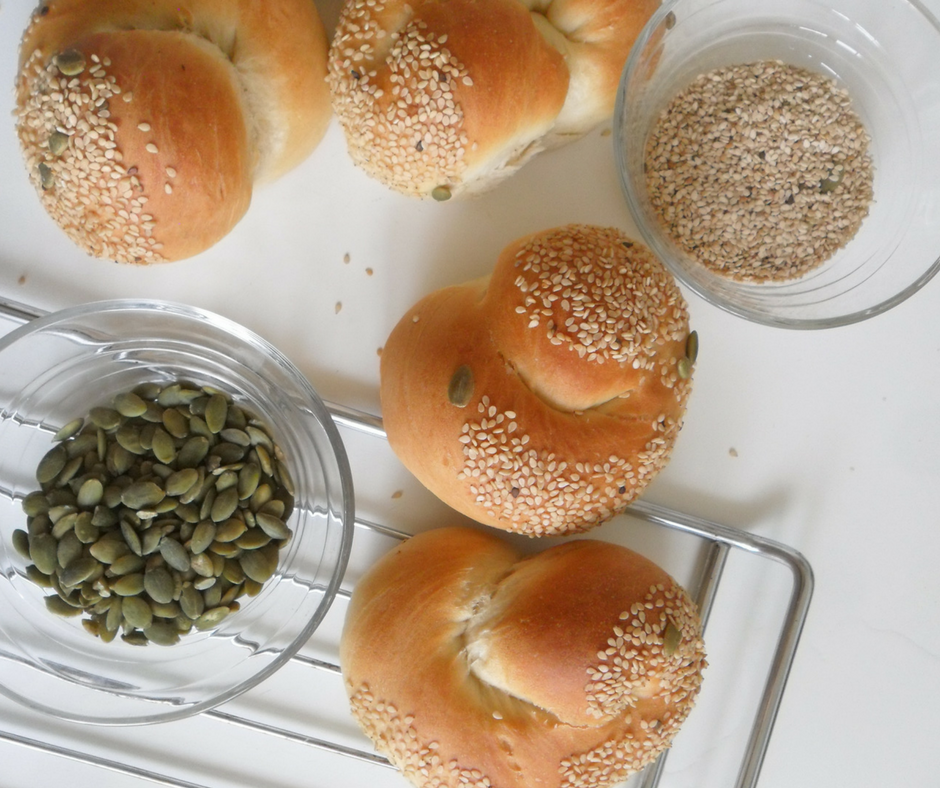
The final dough should be 1900 grams or so. I made 6 spiral round challahs, each weighing 110grs. With the remaining dough I made buns/rolls (usually these weigh between 20-30 grams and you’ll get 18 to 20).

Dip the top of your challah in a bowl of water and inmediately dip in your favorite seed or seeds mixture (for these ones I used pumpkin and sesame seeds). Place your shaped challah or buns in a baking sheet lined with baking paper and let rest for a second time, to achieve the second rise (another hour or so, or until doubled in sized).

15 or 20 minutes before the second fermentation is over, start preheating your oven to 180ºC (350ºF).


Baking

Once your Vegan Challah is ready to be baked, place it in your preheated oven and bake for 30-35 minutes for the spiral round mini challoth or 20-25 the smaller buns. Baking time will vary if your oven lies to you.

Get the bread out of the oven, and transfer immediately to a cooling rack (if you can actually wait for them to cool down, lol, because they are so good straight out of the oven!!)

Ta-Da! You officially made handmade Vegan Challah! 😀 😀 Good job! Tap yourself on the back and enjoy yourself (and your homemade Vegan Challah!) for this accomplishment 🙂

If you have any question regarding this recipe let us know in the comments section below. Also, if you make changes, we want to hear from you! We love experiments!

Also, don’t be shy and show us your challoth and buns on instagram with the hashtag #kasheribbean. If you love this recipe don’t forget to follow on instagram and pinterest and share with your friends and family! It really means a lot to us!

Happy Baking! 😉

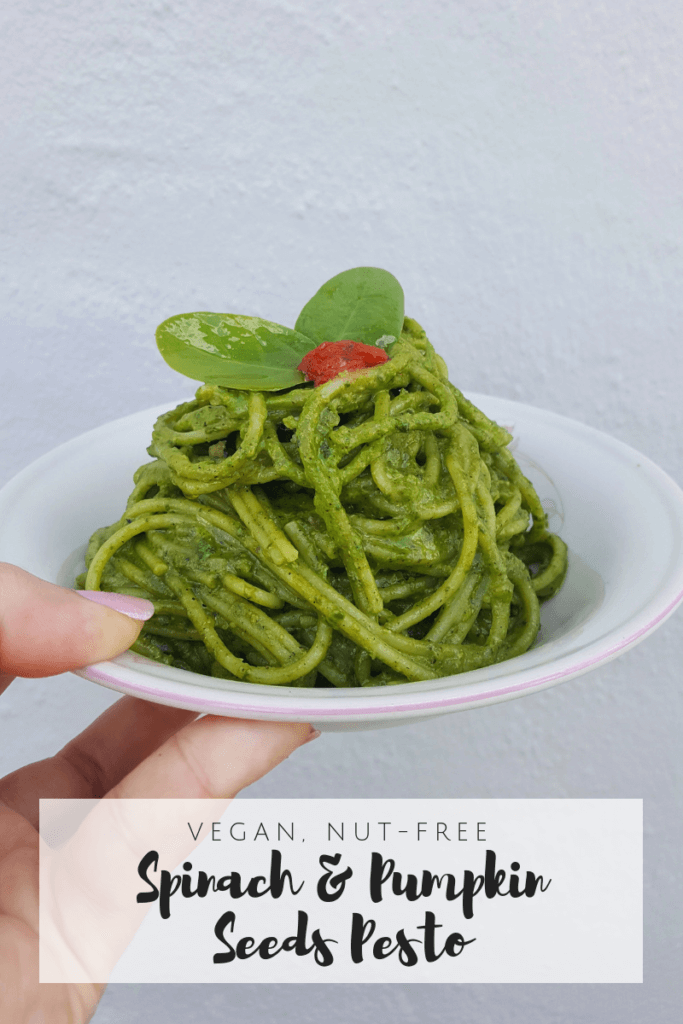
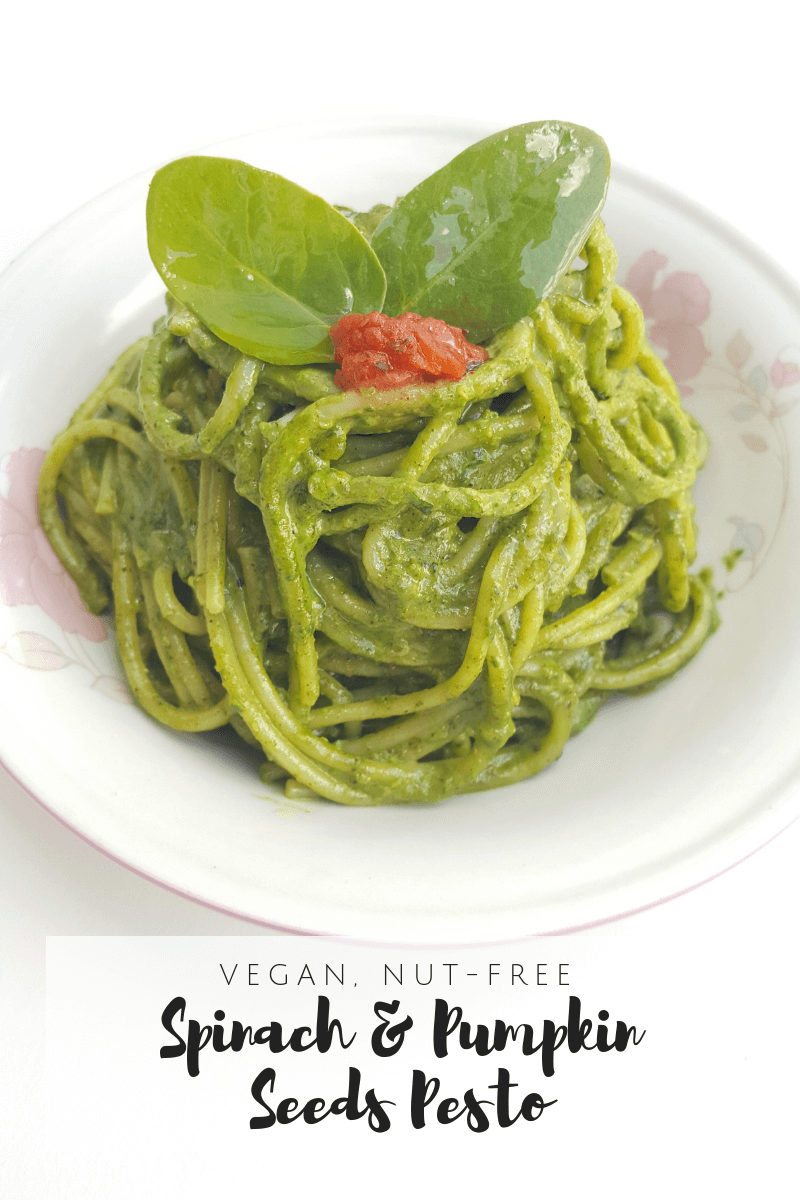
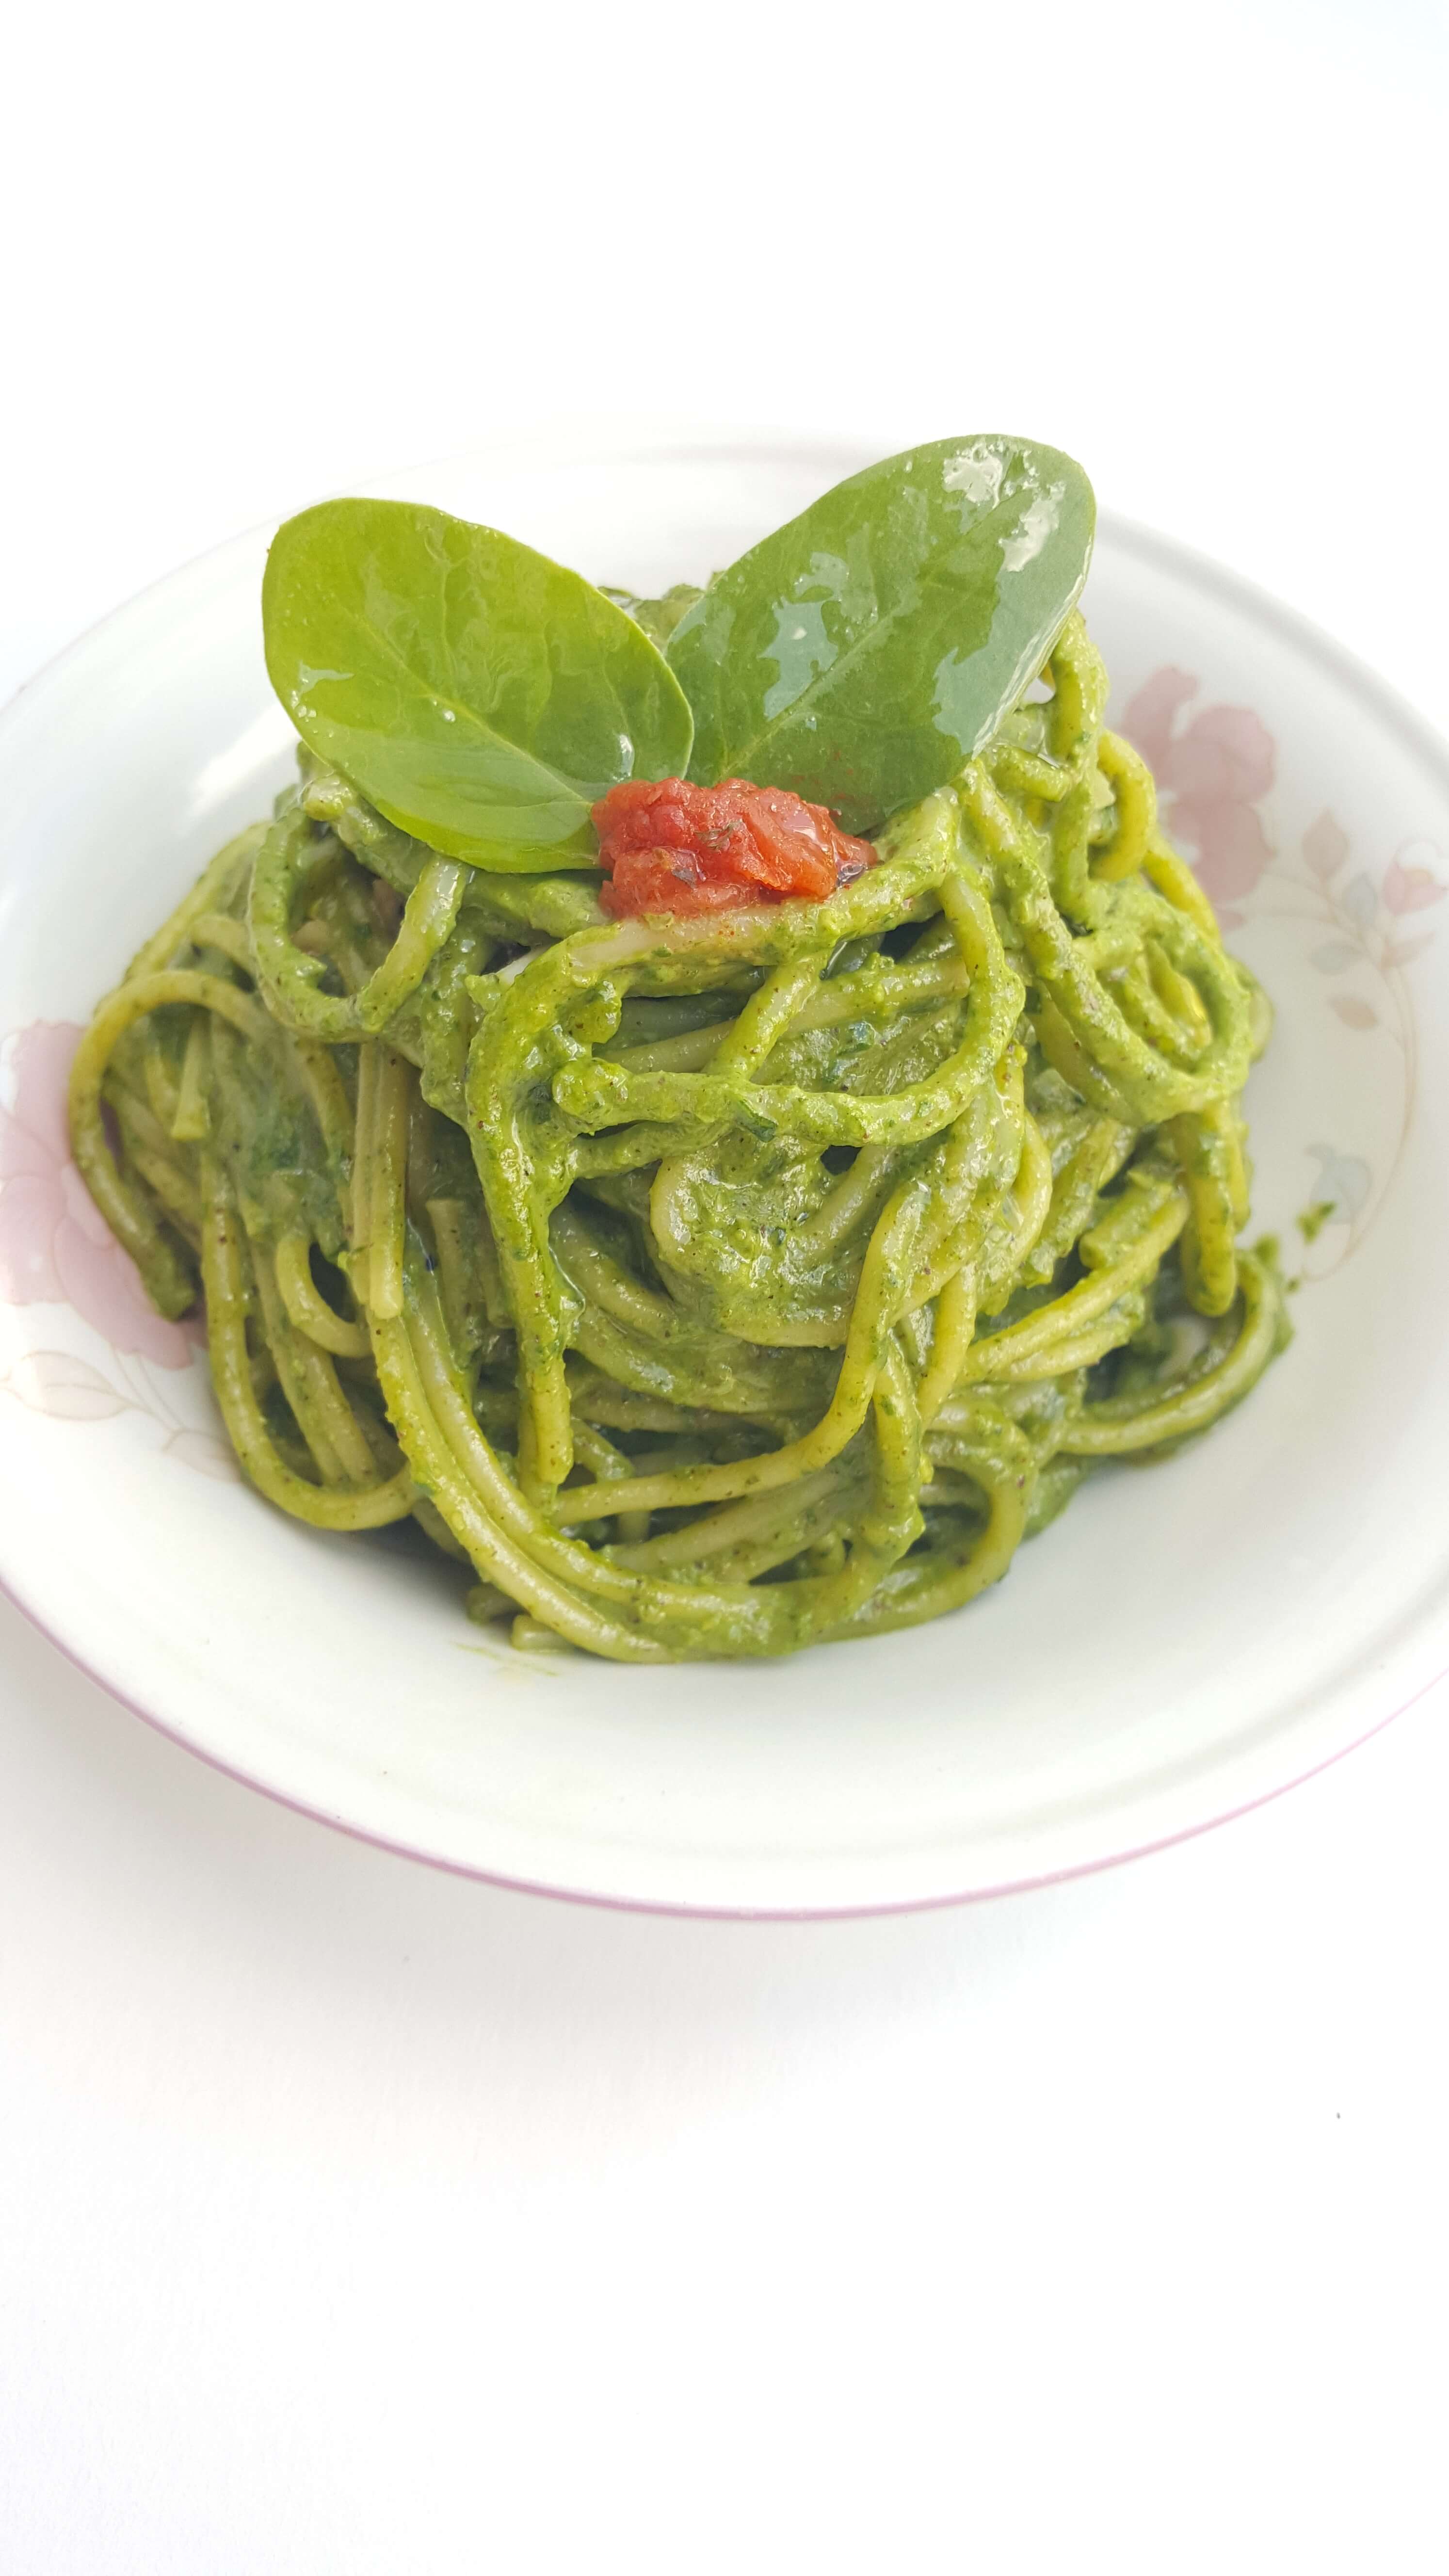
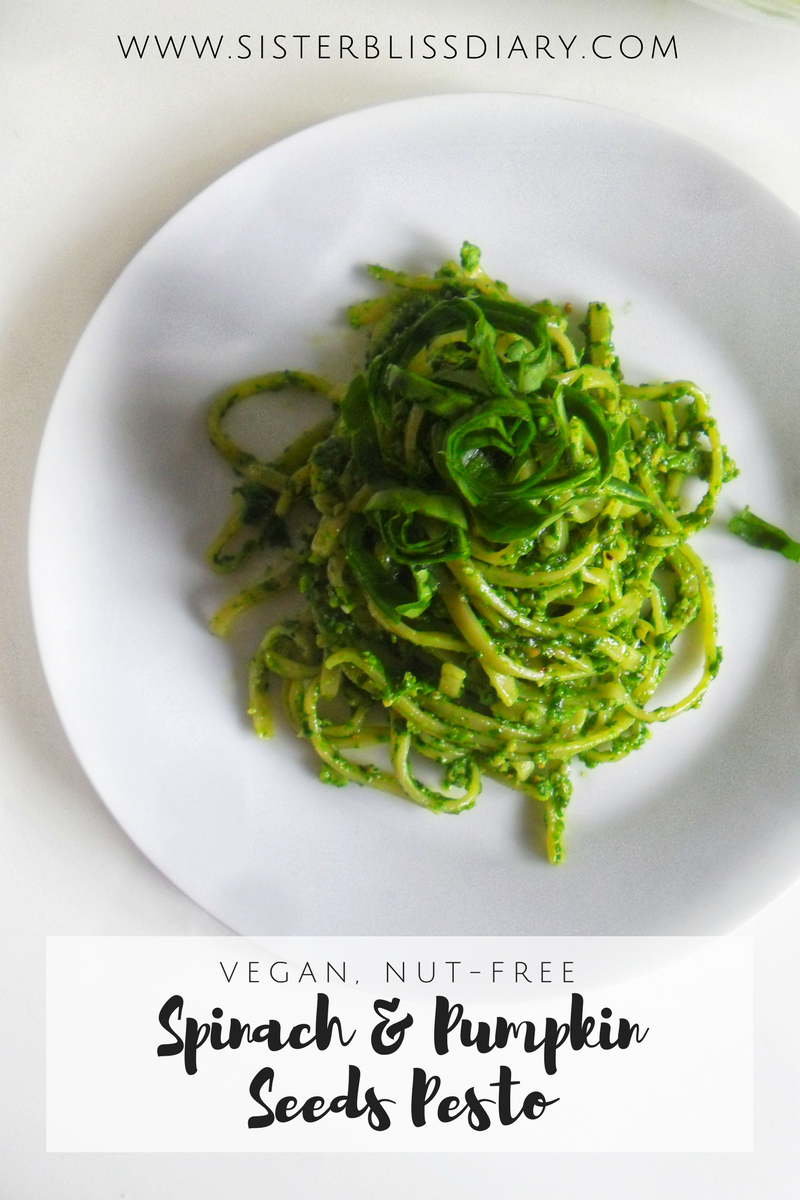
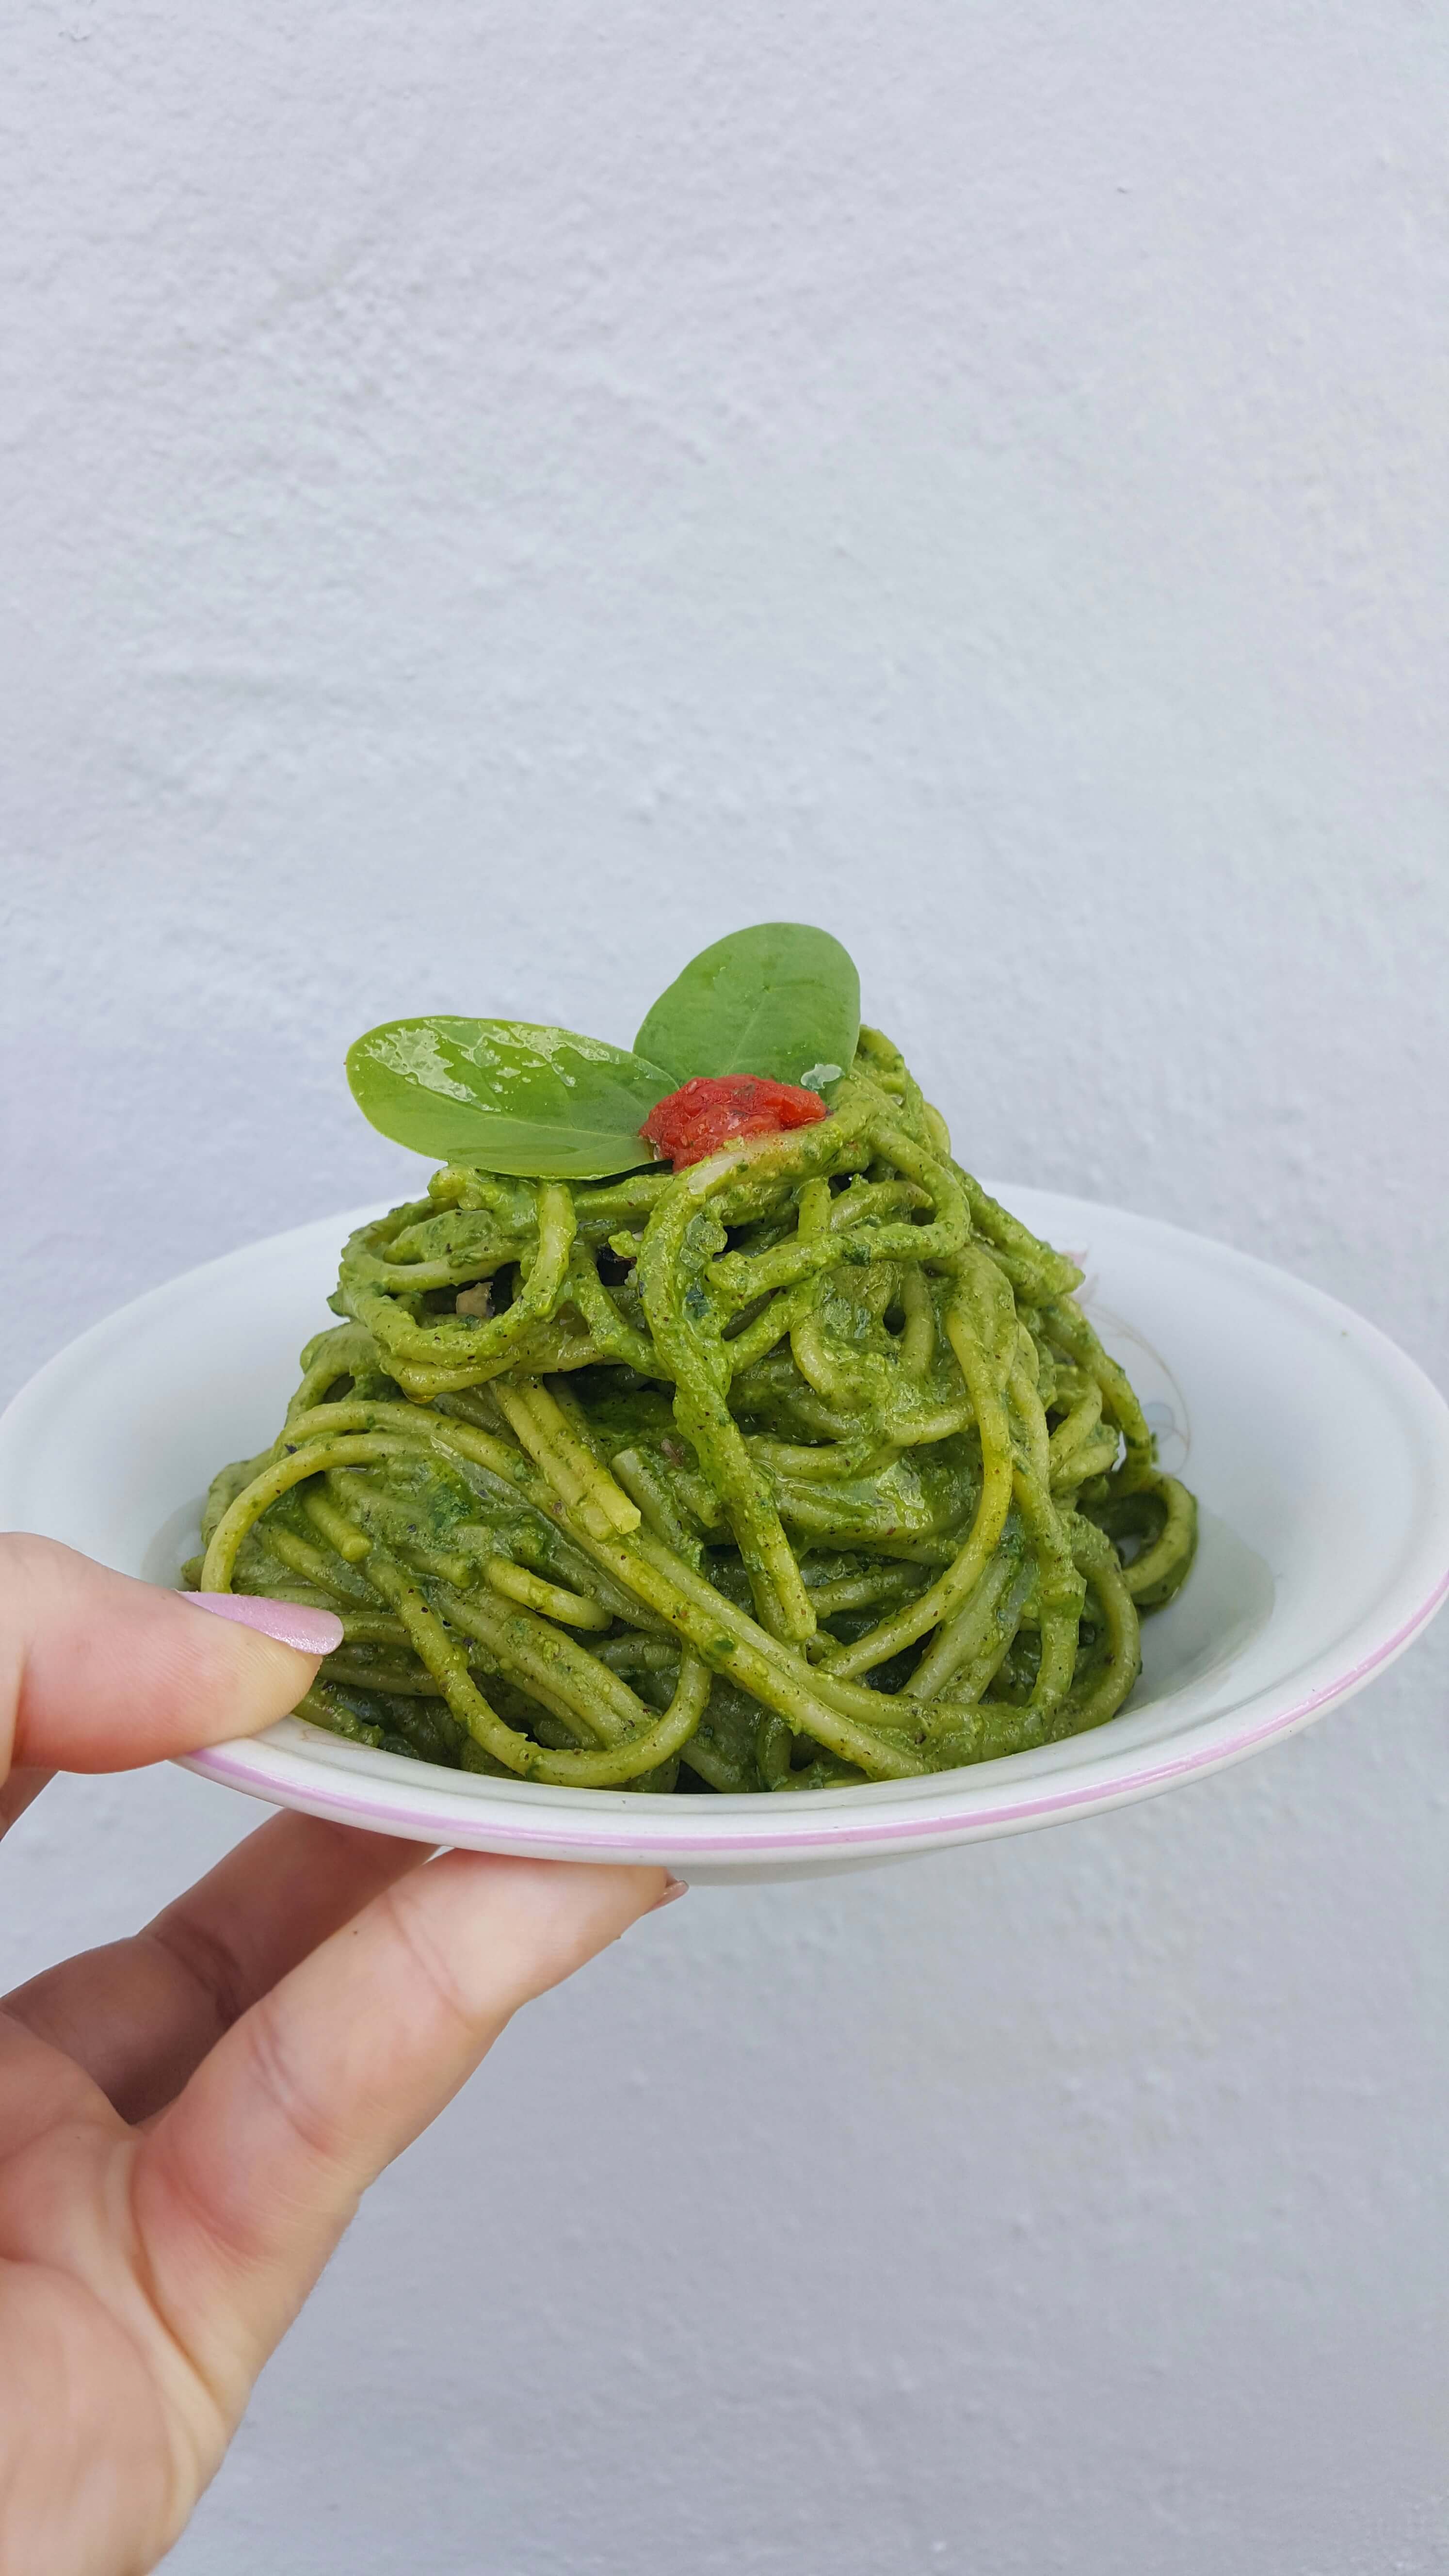
Spinach & Pumpkin Seeds Pesto {Vegan, Nut-Free}

Now that Pesach is over, we can indulge with this super green, easy and flavorful Spinach & Pumpkin Seeds Pesto. #Happyhametzweek 🙂

Looking for more pasta posts? Head over our Vegan Mushrooms Spinach Pasta, Avocado Pesto or the mega yummy Sweet Potato and Tomato Pasta Sauce!

I love pesto so much! Made with fresh basil and roasted pine nuts, pesto must be one of the easiest and yummiest sauces of the whole pasta world.

But, what happen if you run out of basil or you just don’t want to break the bank buying pine nuts?

Here it comes: Spinach & Pumpkin seeds Pesto

This is where Spinach and Pumpkin seeds come to play. This duo is awesome because with it you can make salads, rice, soups, sauces, snacks and, of course, pesto 🙂

It is also a great solution when you are traveling and need some greens boost in the form of lunch or dinner before heading to the airport 😀 Plus, it is satisfying, vegan and nut-free for those who have nut allergies.

Ready in no time

This Spinach & Pumpkin Seeds Pesto (or any pesto really) needs literally no work and is ready in no time. You just need to dumb a handful of ingredients in a food processor and pulse until the desired consistency.

Because all I have is a mini food processor I did this in 2 batches which was actually a good thing because I processed my roasted seeds separately and get some lovely texture at the end from the bits of roasted seeds. You can also do this with a traditional blender or immersion blender. Use what you have.

If for any reason you don’t like the flavor of pumpkin seeds, you can substitute with more or less roasted sunflower seeds (I find they have a more subtle flavor)

With this pasta we bring to a full circle another year of Pesach memories and say adeus to a wonderful Pesach in Portugal.


If you love this recipe don’t forget to share with your friends and family and tag us #kasheribbean on social media when you make it.

We love to see your creations. Don’t forget to follow on Instagram and Pinterest to keep up with other easy recipes we share just there. Have a wonderful week ahead.

Until next time! 🙂