Shabuoth

Rum & Vanilla Cream Cheese Creme Caramel {Gluten Free}

Rum & Vanilla Cream Cheese Creme Caramel {Gluten Free}

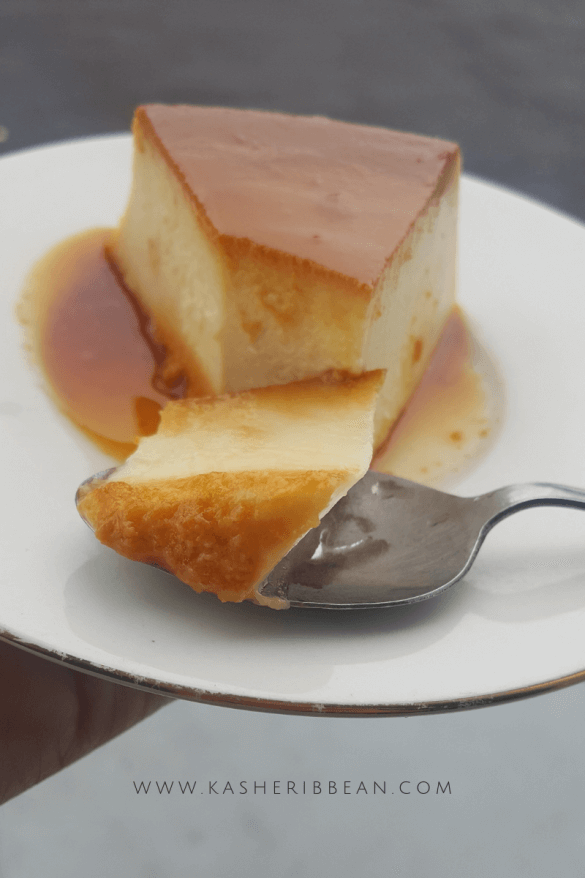
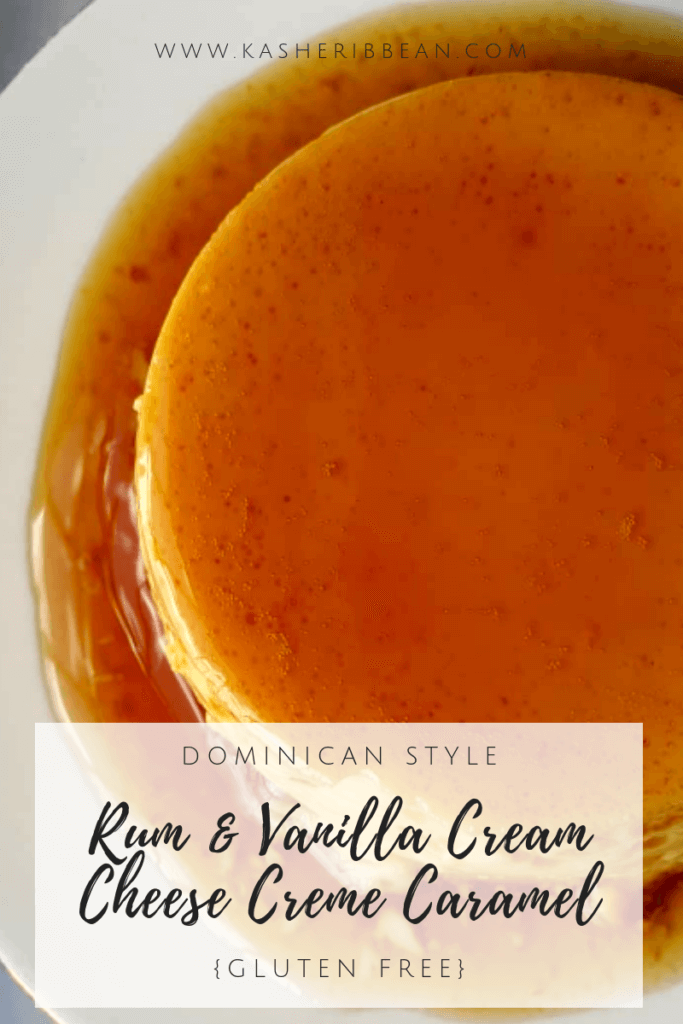
Shabuoth is coming and with it, all the cheesy and creamy recipes afloat including this sexy Rum & Vanilla Cream Cheese Creme Caramel, perfect for the occasion!

It feels almost surreal that is almost Shabuoth again!! My God! Am I the only one who feels the years is just flying?! Nobody got time to waste, so I want to keep it simple and precise with a classic recipe like the popular Rum & Vanilla Cream Cheese Creme Caramel.


As you may know, Flan or Creme Caramel is a custard-based dessert, easy to make and if done right, brilliantly decadent to say the least. And, because this one has a cream cheese base, you could potentially skip the caramel, make a cookie base for the bottom, bake and you’ll have Cheesecake! (Consider that a bonus recipe 😛 ) If you are looking for a non-dairy version, check out our Coconut Creme Caramel.

 

A super easy and delicious dessert for Shabuoth

Rum; Vanilla Cream Cheese Flan {Gluten Free}

Course Dessert
Cuisine Dominican Republic
Servings 8

Ingredients
  

  • 100 gr Granulated Sugar
  • 30 ml Water
  • 400 ml Full Fat Evaporated Milk
  • 400 ml Condensed Milk
  • 400 ml Eggs
  • 200 gr Cream Cheese
  • 40 ml Rum (Optional but recommended)*
  • 1/2 Tbsp Vanilla Extract
  • Pinch of salt

Instructions
 

  • Preheat oven to 180°C (350°F).
  • In a small pot, place the sugar and water and stir to dissolve. Cover with a lid and cook over medium high heat, swirling occasionally until the caramel starts to form and you see an light amber color. Continue to cook to achieve a caramel color. Quickly pour the caramel in the pan and swirl to coat the bottom.
  • In a blender, add the ingredients for the custard and pulse for a few seconds. Strain the custard mixture through a fine sieve and into the prepared pan.
  • Transfer a bigger pan to the oven, place the prepared pan with the custard inside and add enough water to come halfway up the sides of the pan.
  • Cover the pan loosely with a silicone baking mat or aluminum foil and bake for 35-40 minutes or until the custard is set on the edges and a little jiggly on the center.
  • Remove the pan from the hot water, and remove the baking mat from the top and let it reach room temperature before refrigerating until cold, preferably overnight.
  • To release from the pan, first run a sharp knife on the edge of the pan and invert carefully onto a serving plate.
  • Serve cold.

Notes

  • If adding rum extract, 1/2 tbsp is enough.
Keyword cream cheese, creme caramel, flan, quesillo

Have you made this recipe yet?  We want to see your pictures! Use the tag #kasheribbean to share with us and, don’t forget to follow on instagram and pinterest to keep up with our easy recipes from us and the blogosphere!


Rum & Vanilla Cream Cheese Creme Caramel {Gluten Free} Read More »

Caramelized Onions & Arugula Rolls

Recipes happen as any other event in life, some are even the result of unexpected situations, like these Caramelized Onion Paste & Arugula Rolls, that have quickly become a favorite. Bare with me as we explore this incredibly delicious combo in form of dinner rolls.

For weeks I have been thinking about making cinnamon rolls as a gift for a lovely couple. I bought all of my ingredients and when I was ready to make them, I just changed my mind. Why make it sweet when savory rolls can be as delicious? As usual, I opened the fridge and quickly scanned what I had. Onion and arugula seemed like the perfect savory combo at the time, even when I haven’t tried it before, but I went with it and I’ll show you the results!

Making the Dough for the Onion & Arugula Rolls

To make these delicious Onions & Arugula Rolls you’ll start by making the dough. Very simple. Mix dry ingredients. Add wet ingredients. Add half of the fat (for this recipe you’ll need vegetable shortening, but you can also use butter), mix well and then, knead in a lightly floured surface for about 10 minutes, until you get a smooth and homogeneous dough that doesn’t stick to your hands.

Once you get to this point, place the dough in a lightly oiled bowl, cover with plastic wrap or a wet towel and let it rest for about an hour at room , or until double in size.

If you love this recipe, you may be interested in Coconut Milk Brioche with Chocolate Chunks & Vegan Challah

Make the Caramelized Onions Paste

While the yeast is working its magic on the dough, go ahead and prepare the caramelized onions.

Traditionally, caramelized onions require a lot of time to cook, plus fat and sugar, but for this recipe I followed Cook’s Illustrated method. That recipe calls for 5 ingredients and no sugar at all. I used half of the (see below the original recipe amounts) and I got 225 gr onion paste:

{THIS IS THE ORIGINAL RECIPE}

3 pounds yellow onions, in juliennes
3/4 cups water
2 Tbsps Oil 
3/4 tsp salt 
1 Tbsp water + 1/8 tsp baking soda. 

And, consists of 3 steps:

1) Cook the onions with water, oil and salt over high heat until the water is evaporated and onions sizzle.

2) Cook on medium-high while pressing & stirring the onions consistently for about 15-20 minutes or until the onions are well browned and sticky.

3) Combine a tablespoon of water with baking soda, add the solution to the onions and cook for another minute until the solution has completely evaporated.

When the caramelized onions are ready, simply pulse in a food processor for a few seconds to make a paste and reserve.

Proofing… a Second time.

By the time you finish the caramelized onion paste, the dough should be almost in doubled in size. When it is, take it out of the bowl, flatten it out a bit and knead the remaining shortening in.

It will get a bit sticky at first, but don’t panic. Knead for 3-5 minutes and it will get back to normal. The dough should be a little tacky but not too sticky.

Once again, place your dough into a lightly oiled bowl and let it double in size again.

By the time the dough is double in size you would notice a rich aroma. That’s what you are looking for when you proof your dough for longer than usual! it is heavenly!

Punch the dough down again, and let rest for 10 minutes on the counter for the gluten to relax (this way is easier to roll out into a rectangular shape)

Shaping &… yeah, you guess it! Proofing one last time for a few minutes!

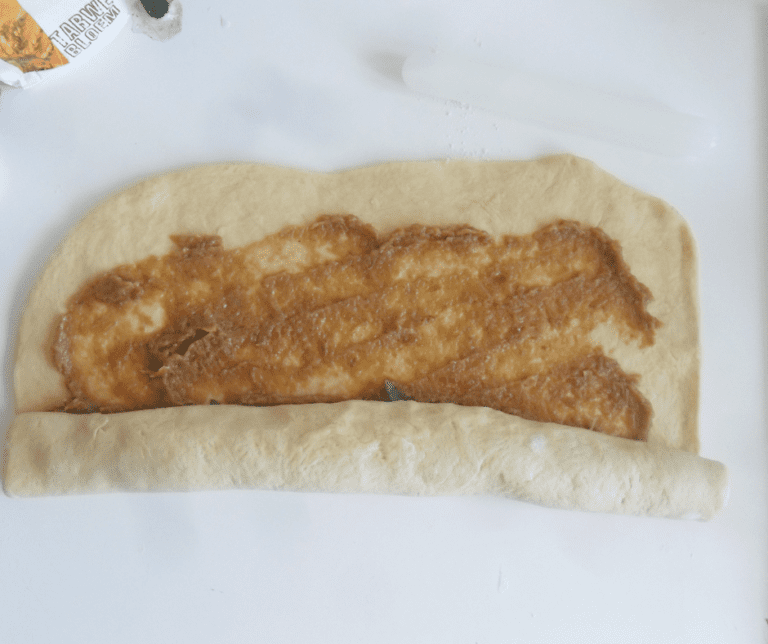
Roll it out into a rectangular shape, about 17 by 15 inches and evenly spread the onion paste.

I was a little timid with the arugula, because I was making the rolls as a present and didn’t know if our friends will like arugula, but if you are making for someone that loves arugula, don’t sweat it and add more!

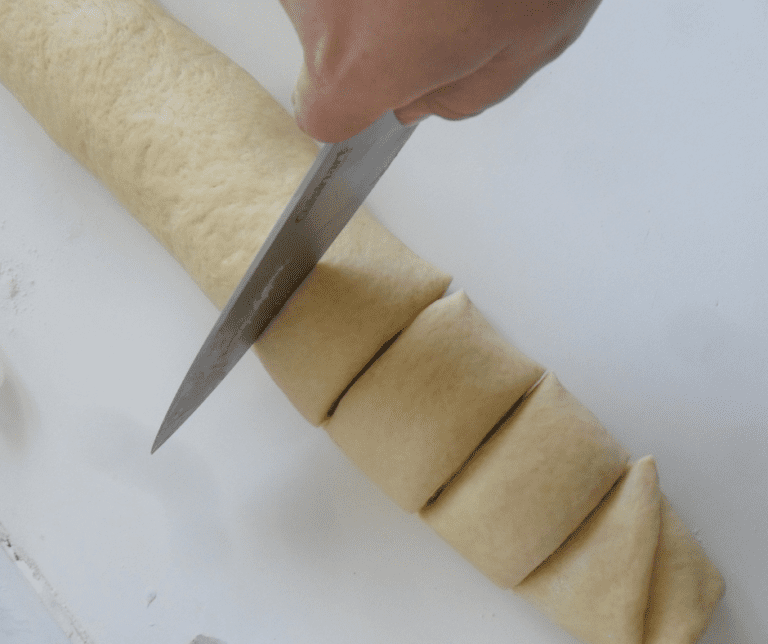
Roll out tightly and cut into 10 rolls. Place into a baking tray, baking dish or pyrex covered with baking paper and let rest for 20-30 minutes.

The only step left is to bake in a preheated oven at 350°F for 20 -25 minutes, or until the rolls are lightly golden on the top edges and the bottom.

When you make this recipe or any other from the blog, use the tag #kasheribbean to share on social media and, don’t forget to follow on instagram and pinterest to keep up with our easy recipes from us and the blogosphere!

So, now there is a gazillion possibilities on how you can take these rolls and make a million more combinations. Which one would you make next?

Until next time! ?

Caramelized Onions & Arugula Rolls Read More »

Rice Pudding: 3 Ways {Traditional, Coconut & Coffee}

Rice Pudding is one of those simple dishes you could eat over and over again. For breakfast, for dinner or for dessert, hot or cold, plain or dressed up, is one of a kind recipe. Easy to make and so versatile. Get ready to learn how you can make delicious Rice Pudding 3 ways: the traditional dairy version, the vegan coconut version and the coffee version {can be made dairy or vegan and is delicious!}

The Basics of Rice Pudding

Rice Pudding is one of the most basics and popular breakfasts, dinner and/or dessert served in Dominican Republic.

Is incredibly easy to make, and as you can see, super versatile. The most basic version need 5 ingredients: rice, milk, sugar, salt and lemon peel. For extra flavor some people also add cinnamon stick and sweet cloves, but let’s keep it simple this time. You can later experiment adding more flavor.

When making Rice Pudding I personally prefer to start with my rice uncooked, but you can certainly use leftover white rice, that is not too salty or greasy, and still have a delicious rice pudding.

Are you looking for more recipes with rice? Check out our Dominican Style Spicy Sardines Rice & Beer and Almonds Risotto

The Traditional Version

In general terms, the traditional version of Rice Pudding is made with Milk. Whole milk is just fine for the recipe, but if you are looking for the best of the best, thick and super creamy Rice pudding, always use evaporated milk.

Nowadays you can easily find evaporated plant based milks; you can certainly use that if you avoid dairy products.

The Coconut Version

To make the coconut version you just need to use full fat coconut milk instead of whole or plant-based milk of choice.

What I like about the coconut version is that it has such a silky texture and is very light compared with the dairy version. It also has a very delicate aroma, and a pure white color at the end, which I love. It just looks heavenly.

Keep in mind that in all recipes on the blog that call for Coconut milk we use FULL FAT, simply because we want all that coconut milk goodness in our final product. Fat free or low fat coconut milk are usually full of flavorings, including sugar, and use gums to give a thick texture, but the flavor in general is always off. Avoid yourself the headache of ruining a delicious silky smooth rice pudding by buying the best full fat coconut milk you can find on the market, with not extras or nasty ingredients.

The Coffee Version

Almost a month ago I published a photo on instagram of my breakfast that day: a small glass container full of Coffee Rice Pudding.

The idea just came to me when I couldn’t decide if I wanted a full delicious cup of coffee, or a bowl with freshly made thick and totally delicious rice pudding. Both fill up my stomach easily on their own, and because I couldn’t have both (obvious reason: I am trying to lose my next 25 pounds) I ended up adding a bit of instant coffee to the rice pudding while it was still hot.

Taste wise, the result was a-ma-zing! and to my surprise, that “out-of-the-blue-picture” quickly had over a hundred likes, so is a fact; instagram is full of #coffeelovers.  😛

How to Make Rice Pudding

Have you make this recipe or any other from the blog? Use the tag #kasheribbean to share on social media and, don’t forget to follow on instagram and pinterest to keep up with our easy recipes from us and the blogosphere!

So, now there is a gazillion possibilities on how you can take your traditional rice pudding to the next level. What special ingredient will you add to your very own version?
Until next time! ?

Rice Pudding: 3 Ways {Traditional, Coconut & Coffee} Read More »

Vegan Beer & Almonds Risotto


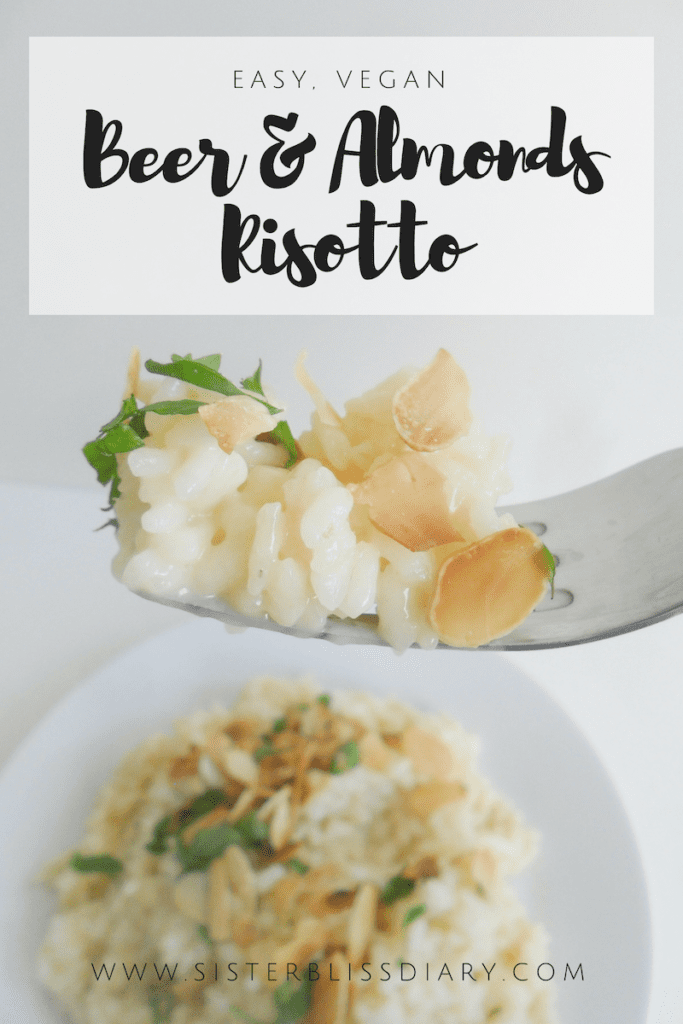
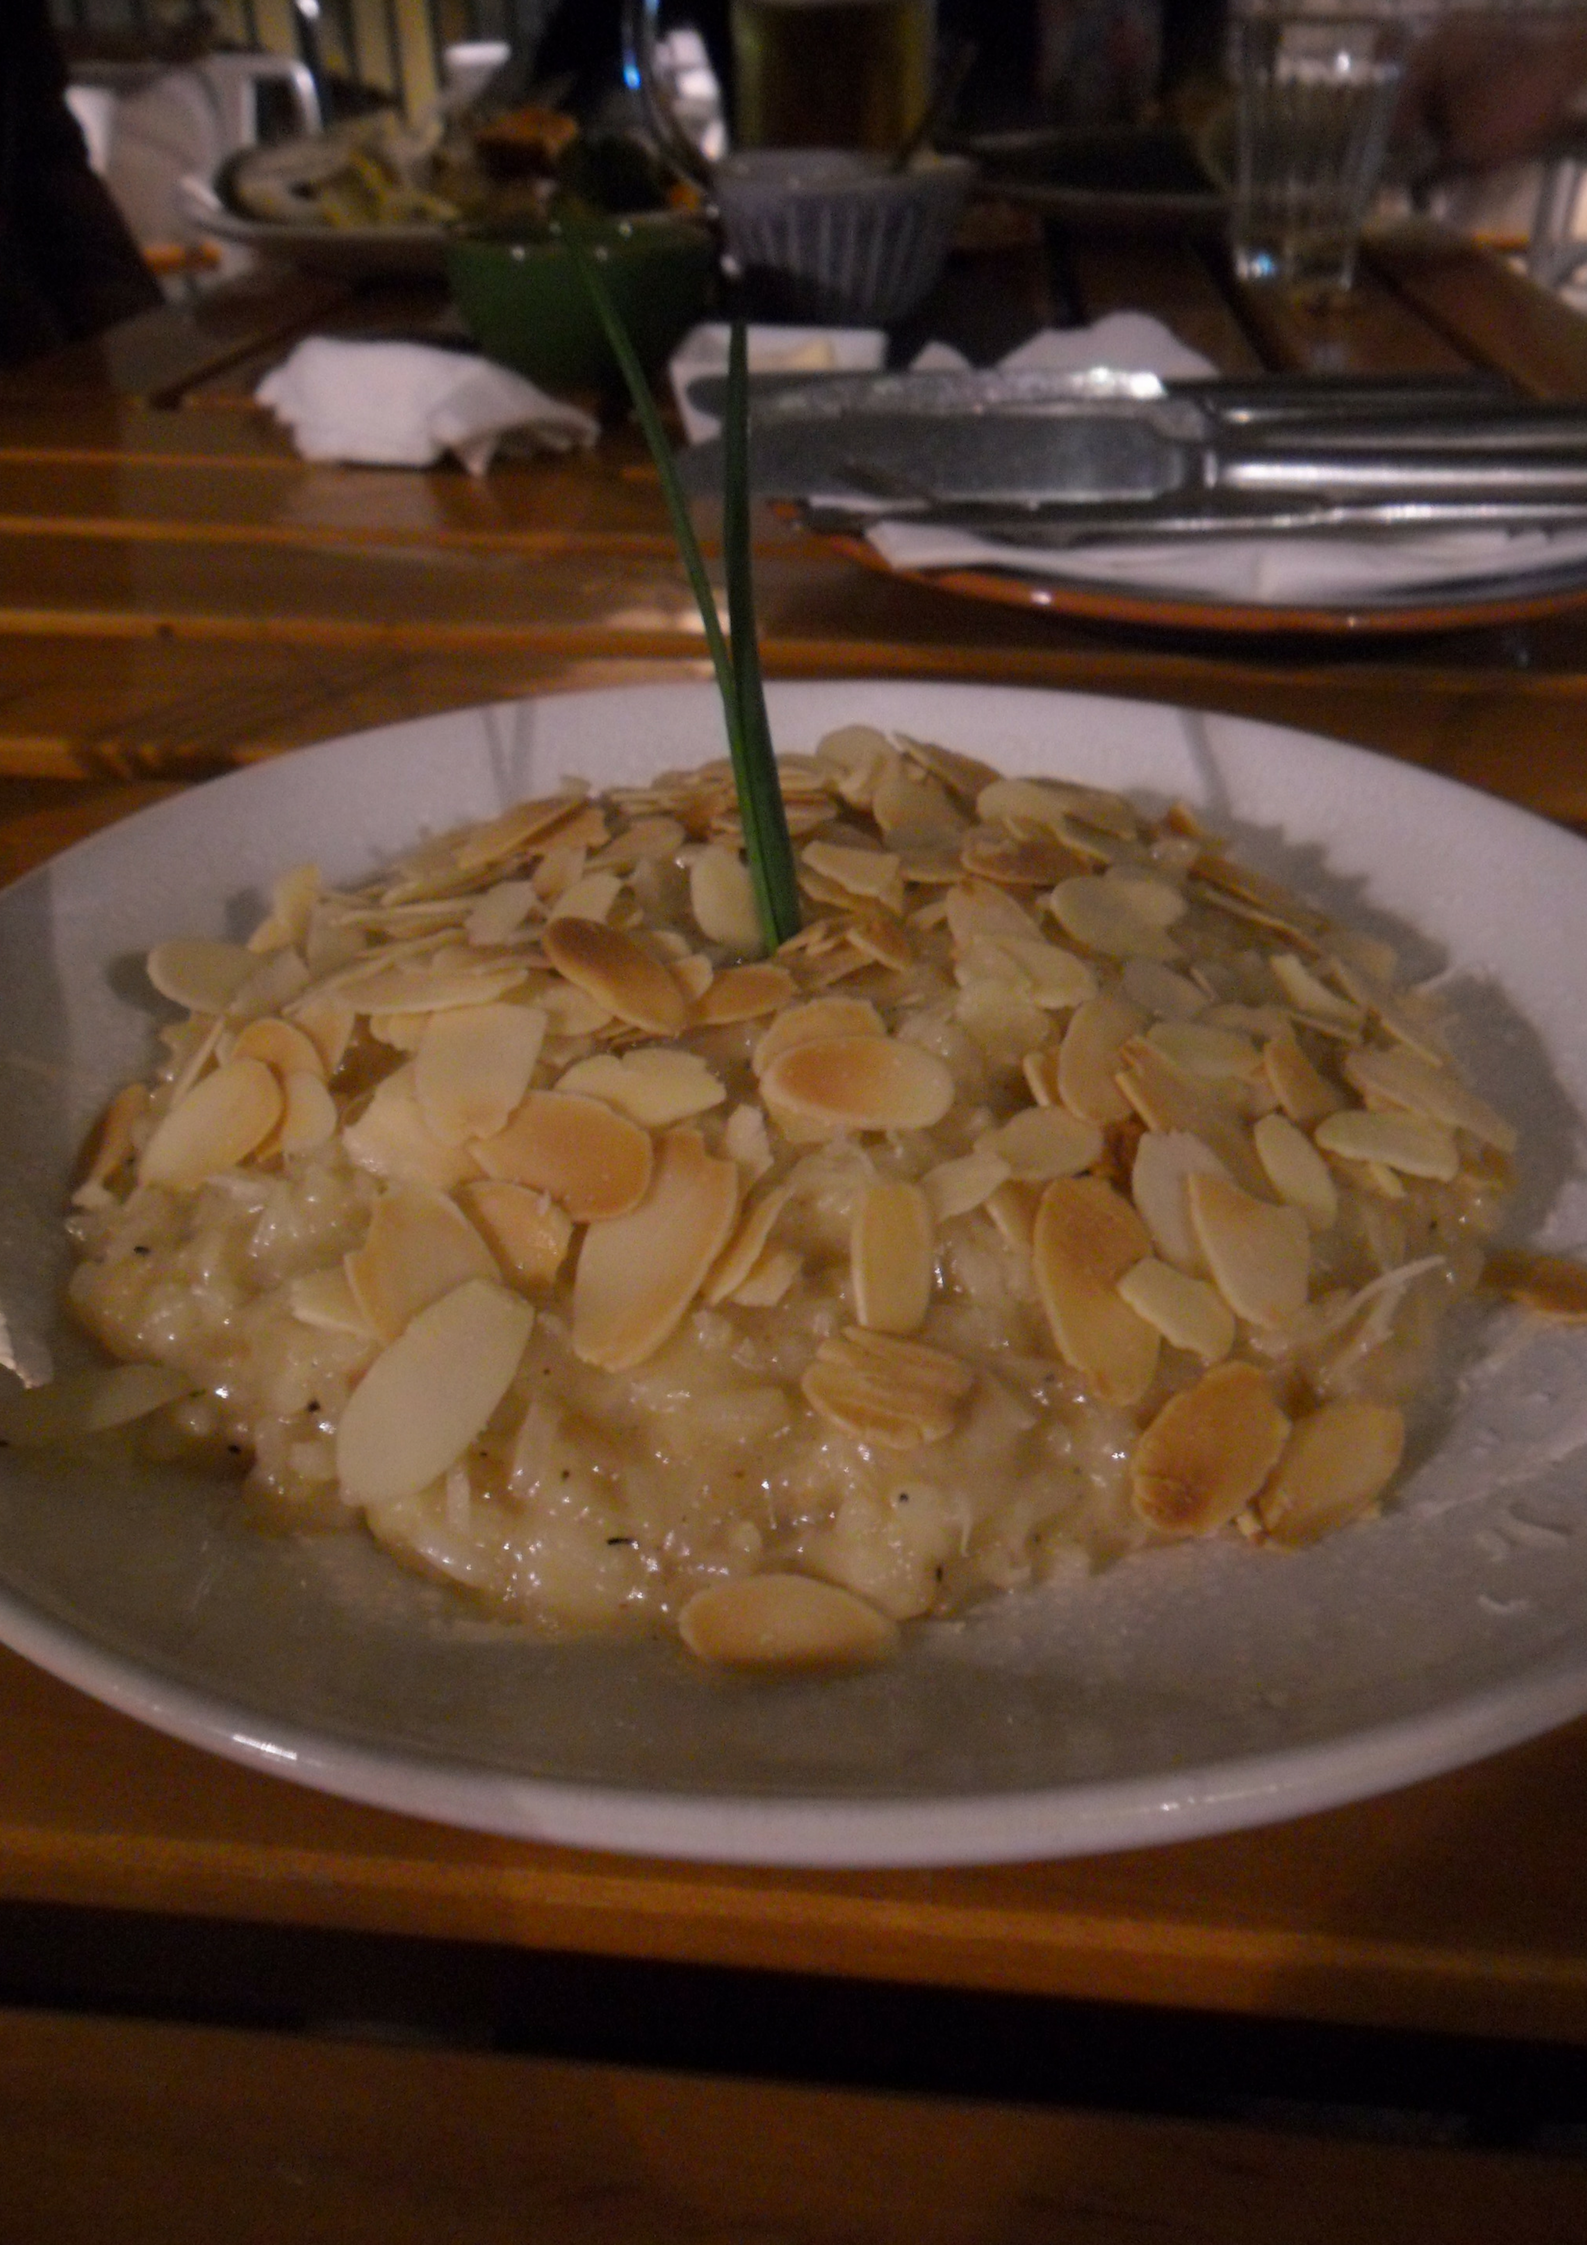
A few weeks ago I made proper risotto for the first time, and today I bring you the results: A delicious, easy, vegan with Gluten Free option Beer & Almonds Risotto!

The inspiration behind this Beer & Almonds Risotto 

Back in march this year, we went to Portugal, and after spending the whole day walking and exploring the city of Lisbon, we had a lovely dinner under the stars. On the menu, one dish catches my attention: Almond Risotto.

When I saw that perfectly cooked, creamy and absolutely delicious risotto, my mind immediately took me back in time to when I was twelve. The time when we met Tio Mario (uncle Mario, whose real name was Mario Autore).

Tio Mario was an old man that lived in our building, originally from Napoli, Italy. Everyone’s perception was that Tio Mario was just a difficult man. He barely talked to anyone, and he didn’t have family and friends in the country.

After a few weeks, my mom realized they had met before, back when my mother was studying at university. He was a restaurant owner, his restaurant was near the university and my mom went there often. That realization evolved into instant connection. That old, lonely man started cooking for us every week, we started visiting often, to the point that if we were not at home, we were with Tio Mario. We soon became family. 

Endless pastas… and, risottos

The first thing we tried from Tio Mario, was pasta! Now you know my little secret: my appreciation for pasta recipes comes from those memories. My LOVE for culinary arts was also born and grown since the day I met Tio Mario, because he not just started cooking for us, but when I told him I wanted to be a chef, he soon welcomed me into his kitchen, and became my mentor.  

Endless kind of pastas, risottos, pasta, sauces, snacks and desserts, became part of our lives and memories, alongside our newly added family member! 🙂 He was 84 by the way!! 

Check out the perfect companion of pasta with tomato sauce! The Ultimate Vegan Meatballs 

The inspiring picture 

Few weeks ago, on a random day, I was thinking of Tio Mario and I thought of the risotto we had back in Lisbon. When I saw the picture I captured after the one of the risotto, the idea hit me. I didn’t have white wine so I would make BEER & Almonds risotto 😛

The inspiring glass of beer

I don’t know why I was so intimidated by the idea, because it ended up being so easy to make! You just need to start with the right rice, risotto rice , and you have won half the battle. 

How to Make Beer & Almonds Risotto


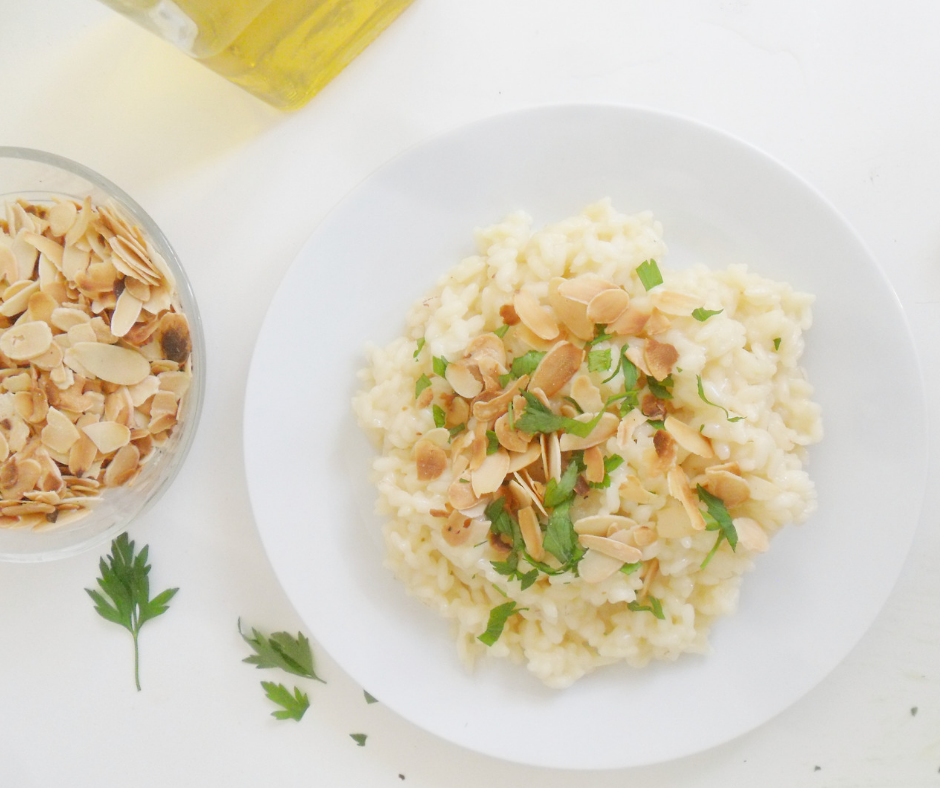
To make this Beer & Almonds Risotto, I started by dry-roasting some silvered almonds on the pan, until they were light golden brown and fragrant. Once they were done, I set aside, added some olive oil to the pan and sauteed some shallots. 

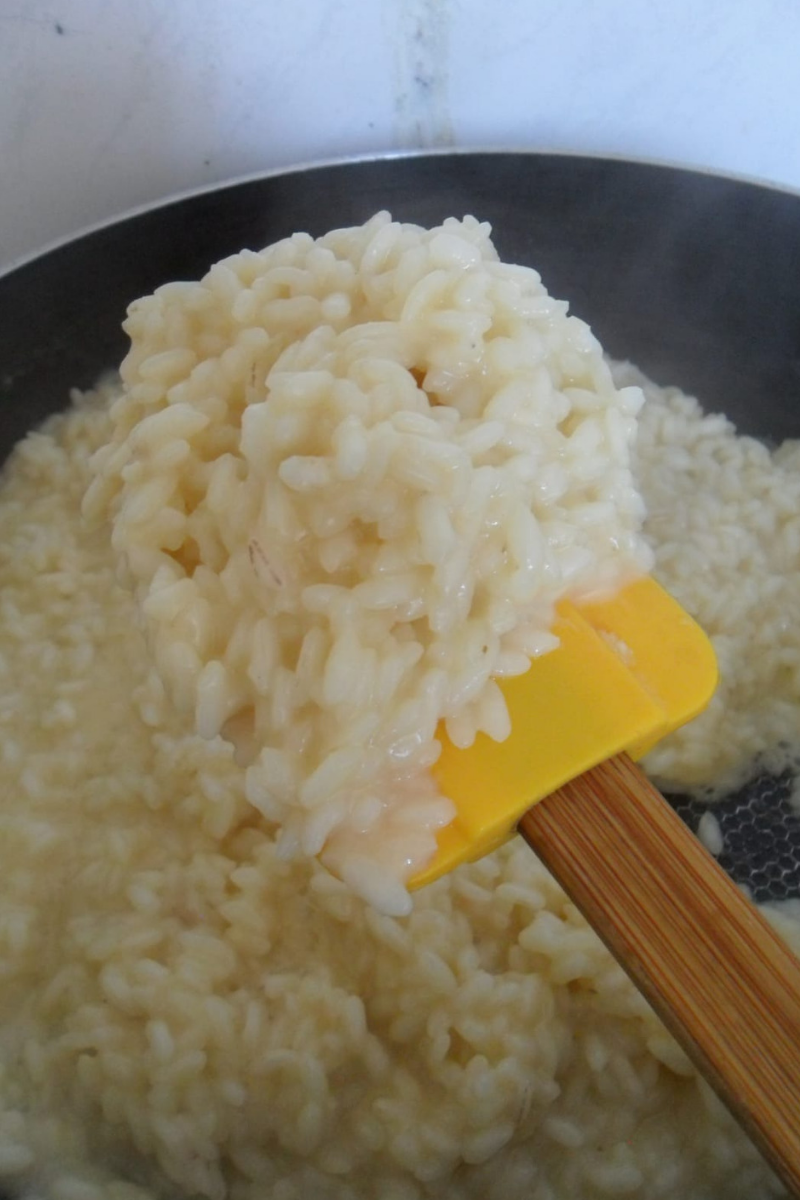
Once the shallots were fragrant and translucent, I added the risotto rice and this is when the fun starts. You start by adding the alcohol, seasonings and the stock, stir and stir, until the ingredients transform into a yummy, creamy al-dente risotto. 

It would have not been possible for me to have a great Beer & Almonds Risotto without Gennaro Contaldo’s fantastic tutorial on how to make Risotto Bianco

Sometimes it saddens me that Tio Mario passed away four years after we met him. It also saddens me that I don’t remember all the names of the dishes, or the flavors of many. Despite that, I keep his memory alive, and every time I cook or see any resemblance of Italian gastronomy, I think of my beloved Tio Mario. 

When you make this recipe or any other from the blog, use the tag #kasheribbean. And, don’t forget to follow on instagram and pinterest to keep up with our easy recipes from us and the blogosphere! 

Do you have food memories that you cherish? I bet you do!! Never take them for granted and express your  gratitude and love for them on every possible opportunity! Until next time! 😉  


Vegan Beer & Almonds Risotto Read More »

Overnight Sweet Crescent Rolls {No-Knead, Dairy Free}

Today we are making fantastic, delicious and super easy Sweet Crescent Rolls.

While I was cleaning the house the other day, I found one of my old recipes notebooks and noticed I’ve tried to make crescent rolls at least 6 times, but the annotations were unfinished. Apparently, they didn’t have the ideal fluffy texture and the distinctive aroma (I honestly don’t know exactly how to describe) so, I guess after a while I forgot about it. 

So, I feel very happy to share these this Sweet Crescent Rolls in today’s post, because even though it may sound intimidating, they ended up being so easy to make, and I will tell you all about this foolproof recipe.

Are you looking for more Shabbath-worthy recipes? Click here

Flour, sugar…

These Sweet Crescent Rolls are made with flour, yeast, brown sugar, vegetable shortening, eggs, water and salt. I am still working on a vegan version, that hopefully I can share soon, but still, it is clear that these Sweet Crescent Rolls are not healthy food.

For this recipe I use vegetable shortening because I wanted to have a setamí (parve) product, but you can substitute butter if you prefer. I haven’t use coconut oil for this recipe.

I used bread flour because it is a yeasted product and have quite a lot amount of fat and sugar. If you use AP (all purpose flour) for this, it will be too soft to handle. Of course, all AP flour differ in terms of the protein content, so, some brands of AP flour may work, while others won’t work so well. If you ever try with AP, please let us know the details of your adjustments, and the brand of flour you used in the comments section below 😉 

For the yeast, I used instant yeast, so if you just have on hand baker’s yeast (which is the same as fresh yeast) keep in mind that you need to triple the amounts. 

How to make Sweet Crescent Rolls

As the title says, these are overnight sweet crescent rolls, so, this recipe take time to develop in texture and flavor. It has also the plus factor that you don’t have to knead anything.

What you really need for this recipe, is a plan and schedule, so that you prepare the dough with plenty of time (26-28 hours before the time you plan to bake) and have fresh, out of the oven crescent rolls for breakfast. Nom nom! 

After the dough has rest for 24hrs, the final dough should be 1000gr or very close. Divide the dough in half, lightly flour the surface, roll, cut into triangles and shape into crescents. 

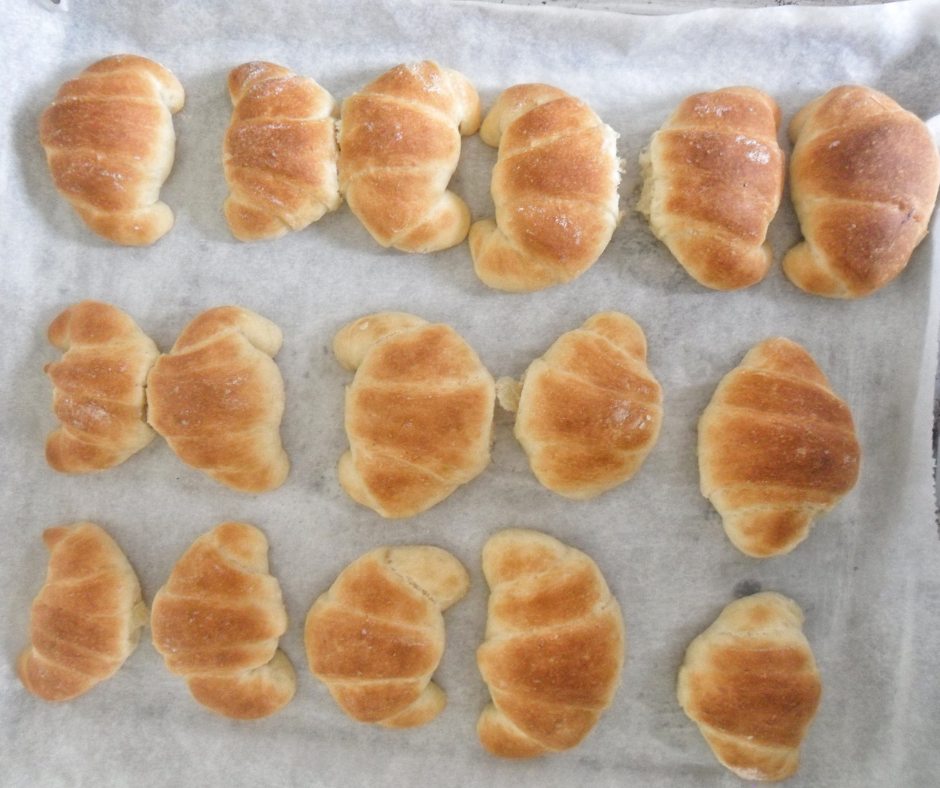
To shape the sweet crescents rolls, take one triangle and stretch the wider side. Then, roll towards you, making sure the end tip is tucked underneath. Place on a baking sheet, at let rest for 3-4 hours, or until double in size. Then, bake in a preheated oven for 10-12 minutes, or until is light golden brown on top.

What would you serve these Sweet Crescent Rolls with? I will definitely pair with classic hummus or babaganoush.  If you think of another dip to pair these babies with, let us know in the comment section below. And, of course, don’t forget to share pictures with the hashtag #kasheribbean, when you make this recipe. Follow up on instagram and pinterest to keep up with other quick and easy recipes, meals ideas and travel posts!! Until next time! 😉

Overnight Sweet Crescent Rolls {No-Knead, Dairy Free} Read More »