The day before my last trip, I wanted to make some brioche to take to the airport (When traveling with kids you just have to be creative) but I realized I didn’t have butter or milk as the original recipe call. I thought, why not to substitute those ingredients with coconut milk and coconut oil and make a brioche with coconut flavor? I love coconut so the answer was “Let’s do it!”. Let me show you how how to make Coconut Brioche with Chocolate Chunks.

Want more coconut + chocolate flavor in your life? Check out Vegan Chocolate Ganache Ice Cream & Vegan Chocolate Chunks Cookies
Ingredients & Tools
For this recipe you will need: bread flour, yeast, sugar, salt, coconut milk, coconut oil and some chocolate.
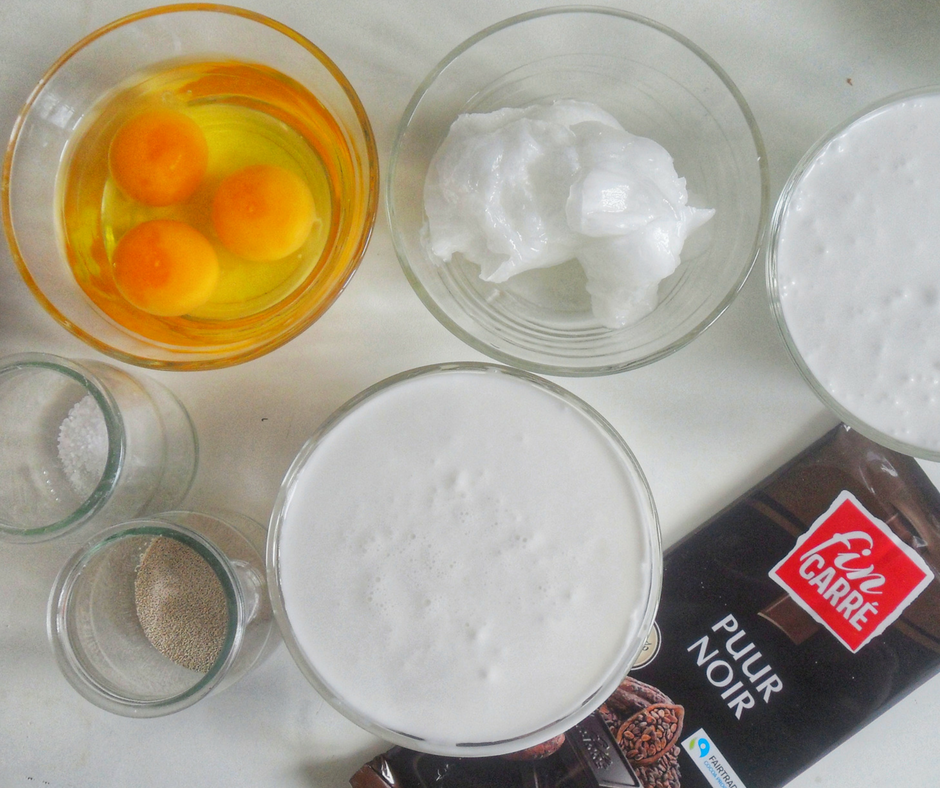
Bread baking is a therapy for me; specially when I knead the dough by hand. But because we are talking about coconut brioche and this dough can be super sticky, you’ll need a stand mixer.
I haven’t made this specific recipe by hand, but as soon as I do I will post an update. Let me know if you do it first!
Bread flour, Yeast & Chocolate
The most important ingredient here is the bread flour. Bread flour is very different from other flours (aka. all purpose, cake flour, etc) because it has a higher protein contain (gluten) which means that once you have mixed the dough, and the fermentation process begins, your dough will be more stable and trap more air, resulting in a better crumb and fluffy bread.
You’ll also need yeast. For this recipe I used instant yeast that is widely available in the supermarket. The difference between “instant” and “dry yeast” is simple: you don’t need to proof instant yeast in warm liquid, you can add it directly to your flour. On the other hand, dry yeast (aka: granulated dry yeast) needs proofing in warm water that helps to activate and dissolve the bigger granules. Instant yeast is usually also marketed as rapid rise yeast.
Keep in mind that there is another type of yeast, most commonly used by professional bakers which is called baker’s yeast and this is usually sold in blocks. If by any chance you have baker’s yeast at hand, you can use that, just triple the amount of yeast called in the recipe and, dissolve it in a tiny bit of warm coconut milk, before adding to the dry ingredients.
I personally love dark chocolate (74%) and is what I used for this recipe to balance the little sweetness of the bread, but feel free to use whatever chocolate you like (semi sweet, milk chocolate or even white)

Liquids: Coconut milk, Eggs & Coconut Oil
For this Coconut Brioche I substitute the milk in the original recipe with coconut milk. Because I wanted a more strong coconut flavor, I also added Unrefined (Extra Virgin) Coconut Oil. I guess you can use the refined version of coconut oil, but in that case I will add some coconut flavoring.
Because fats in the coconut milk tend to solidify when cooled, warm the milk a little in the microwave or stovetop and then cool to room temperature, before adding to your dry ingredients. The same applies to the coconut oil. Weight it and leave at room temperature until has a spreadable consistency. You don’t want the coconut oil to be hard or melted.
Eggs should also be a room temperature.

Mixing & Kneading
Once you start mixing the ingredients you will see the dough foming into a hot mess. Don’t worry. At this point the main goal is to incorporate dry and wet ingredients the best that you can. Make sure to use an spatula to mix in any dry flour that may be at the bottom of the bowl and continue to mix on low speed until there is no big lumps of dry flour.
Add the coconut oil, and knead for 5 to 7 minutes, until you have a silky smooth beautiful dough.


Once the coconut oil is mixed in and the dough is kneaded, I added some chocolate chunks but forgot to take the pic. Arrg! Add the chunks and pulse for a few times until the chocolate is incorporated.
Bulk fermentation & Shaping
Transfer this baby dough to a lightly oil bowl, cover in plastic wrap and let it rest for at least one hour, or until is double in size.

The bulk fermentation can also be achieved in the fridge, it will just take a little longer for the dough to double in size; but this comes in handy if you need to go out for an hour or two. I don’t recommend more than that because the dough can suffer and deflate.
Once the bulk fermentation is done, punch the dough and start dividing the dough into your different baking pans.
From this dough I’ve got 1 medium loaf (500 gr) and 22 buns (30 gr)

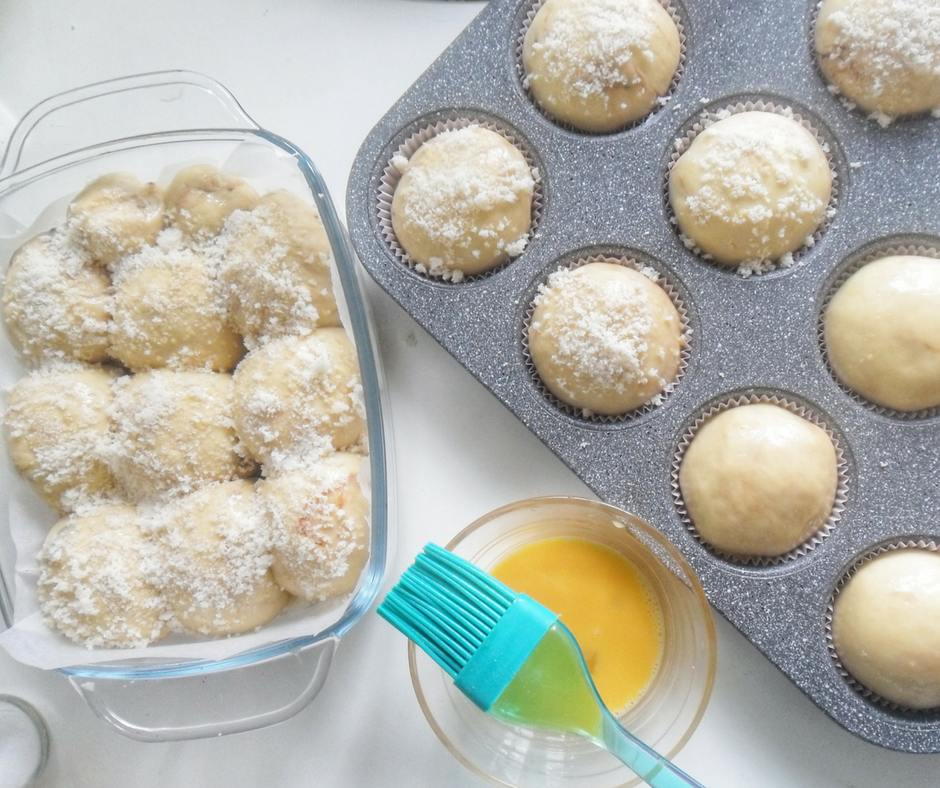
Once you divide the dough, brush some egg wash and, you can also sprinkle the top with some fine shredded coconut (optional).
Don’t make the same mistake I did of preparing my muffin tin with paper cups because I was out of baking paper. That went so horribly wrong! They stuck to the bottom of the buns and were a complete pain to peel off. Avoid the pain by greasing your pan generously.
Second fermentation & Baking
Your loaf and buns are ready for the final fermentation and then baking.
Cover the pans with a light wet towel and let rest until double in size. As in bulk fermentation, this can vary depending on the weather and your kitchen temperature, but it should be around 1 hour. If so, Once the dough has rested for 40 minutes, turn on the oven to 180°C (350°F) so that it can reach the correct temperature by the time the dough is ready to bake.
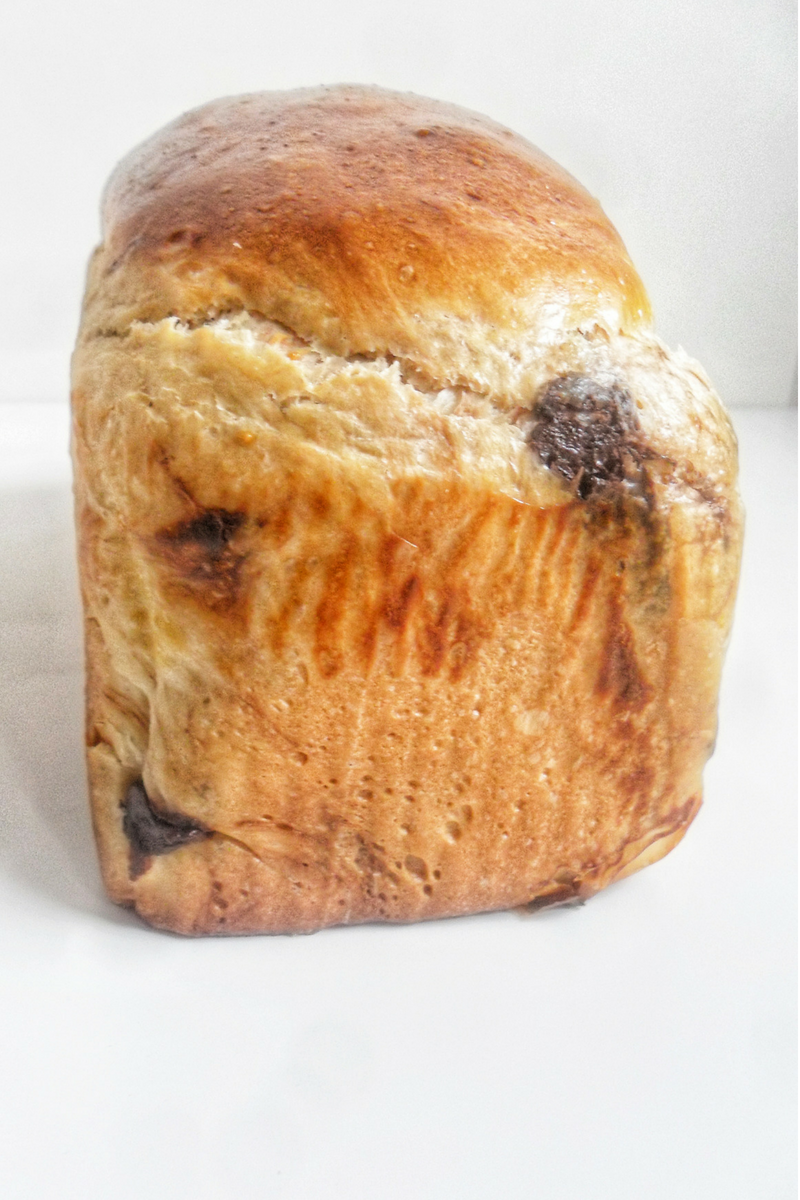
The loaf is ready after 30-35 minutes and the buns in 20-25 minutes, or when the top is golden brown and the bread has registered an internal temperature of 85°C-88°C (185°F-190°F).
Ingredients
- 1 kg Bread flour
- 14 gr (2 envelopes) Instant Yeast
- 75 gr sugar
- 10 gr salt
- 500 gr lukewarm coconut milk
- 150 gr Eggs (3 large)
- 150 gr Coconut oil
- 200 gr chocolate, in chunks
Instructions
- Start by mixing all your dry ingredients. Make sure you add the salt in the opposite direction of the yeast so you don't kill the yeast.
- Add coconut milk and eggs and start mixing on low, until all the ingredients are starting to get incorporated
- Add the soft coconut oil and knead the dough on the stand mixer for 5-7 minutes or until you have a silky and very smooth dough. Mix in the chocolate chunks.
- With the help of a plastic scraper, transfer the dough to a lightly oiled bowl, cover with plastic wrap and let it rest for about an hour at room temperature, or until is doubled in size (Alternatively, you can achieve the bulk fermentation in the fridge in a few hours)
- Punch the dough and divide as you prefer and transfer to loaf pans or baking sheets covered with baking paper.
- Let the dough rest for another hour or so, until is double in size.
- Brush with egg wash and sprinkle the top with finely shredded coconut
- Bake in a preheated oven at 180°C (350°F) for approximately 30 minutes or until is golden on top and has registered an internal temperature of 85°C-88°C (185°F-190°F)
- Take out of the pan and cool completely on a wire rack (if you can wait! lol)

You did it! You are now ready to devour your homemade Coconut Brioche with Chocolate Chunks!
If you have any question regarding this recipe let us know in the comments section below. We love to hear from you!
Finally, don’t be shy and show your Coconut Brioche with Chocolate Chunks on instagram with the hashtag #sisterblissdiary. If you love this recipe don’t forget to follow on instagram and pinterest to keep up with our lastest recipes, and of course, share with your friends and family! It really means a lot to us!
Happy Baking! ?


