One of the easiest side dishes on the planet: Yummy Vegan Creamed Potatoes. Versatile, kid-friendly, delicious and also budget-friendly. There’s nothing that can go wrong with this dish.
This is another one of those recipes that has been waiting to be published for months. I first came out with these Vegan Creamed Potatoes one ereb shabbath, when I needed that “little extra” because I felt something was missing for the Shabbat dinner. I quickly thought about what can be done with what I had on hand, and that was it.
My husband says it is obvious I have ancestry from eastern and central Europe, because I love my potatoes, lol. I mean, they are just so versatile. Am I right? 😛 If you love potatoes as much as I do, also check out our super easy Lemony Potato Salad. I will eat those two dishes every other day if I could!
As I told you already, this Vegan Creamed Potatoes are extremely easy to make. Just gather your ingredients, boil the potatoes for a few minutes (This is what I like to do so I don’t end up with raw potatoes and dried sauce, but I guess you can do this if you have a mandoline), mix the ingredients for the sauce, cook a bit on the oven, and voila! Creamed Potatoes ready to enjoy! 🙂
Let’s talk about the ingredients…
Simple ingredients. Great results
For the Vegan Creamed Potatoes you’ll need just a handful of ingredients: coconut milk (Do you realize already I love coconut?), nutritional yeast, mustard, nutmeg, some flour and a touch of salt and pepper.
Those few ingredients will give you a delicious white sauce that you will use to dress up the humble potatoes.
This particular time I used mini potatoes, that I cleaned well before boiling for about 10 minutes. I left them whole and with the skin on for this occasion because I was out of time, and also because I wanted to give another look to these Vegan Creamed Potatoes, but you can also peel the skin off and slice to make like a more traditional scalloped potatoes dish.
Nutritional yeast + mustard + nutmeg, is a key combo for this recipe. I find that these 3 ingredients combined add a subtle but fantastic flavor to this dish. I hope you like it as much as I do.
If for any reason you want to make this paleo-friendly, use tapioca starch instead of cornstarch, and you are good to go.
What would you pair these Vegan Creamed Potatoes with?? Let us know in the comment section below and don’t forget to share pictures with the hashtag #kasheribbean, when you make this recipe. Follow up on instagram and pinterest to keep up with other quick and easy recipes from us and the blogosphere!
The day before my last trip, I wanted to make some brioche to take to the airport (When traveling with kids you just have to be creative) but I realized I didn’t have butter or milk as the original recipe call. I thought, why not to substitute those ingredients with coconut milk and coconut oil and make a brioche with coconut flavor? I love coconut so the answer was “Let’s do it!”. Let me show you how how to make Coconut Brioche with Chocolate Chunks.
For this recipe you will need: bread flour, yeast, sugar, salt, coconut milk, coconut oil and some chocolate.
Bread baking is a therapy for me; specially when I knead the dough by hand. But because we are talking about coconut brioche and this dough can be super sticky, you’ll need a stand mixer.
I haven’t made this specific recipe by hand, but as soon as I do I will post an update. Let me know if you do it first!
Bread flour, Yeast & Chocolate
The most important ingredient here is the bread flour. Bread flour is very different from other flours (aka. all purpose, cake flour, etc) because it has a higher protein contain (gluten) which means that once you have mixed the dough, and the fermentation process begins, your dough will be more stable and trap more air, resulting in a better crumb and fluffy bread.
You’ll also need yeast. For this recipe I used instant yeast that is widely available in the supermarket. The difference between “instant” and “dry yeast” is simple: you don’t need to proof instant yeast in warm liquid, you can add it directly to your flour. On the other hand, dry yeast (aka: granulated dry yeast) needs proofing in warm water that helps to activate and dissolve the bigger granules. Instant yeast is usually also marketed as rapid rise yeast.
Keep in mind that there is another type of yeast, most commonly used by professional bakers which is called baker’s yeast and this is usually sold in blocks. If by any chance you have baker’s yeast at hand, you can use that, just triple the amount of yeast called in the recipe and, dissolve it in a tiny bit of warm coconut milk, before adding to the dry ingredients.
I personally love dark chocolate (74%) and is what I used for this recipe to balance the little sweetness of the bread, but feel free to use whatever chocolate you like (semi sweet, milk chocolate or even white)
Liquids: Coconut milk, Eggs & Coconut Oil
For this Coconut Brioche I substitute the milk in the original recipe with coconut milk. Because I wanted a more strong coconut flavor, I also added Unrefined (Extra Virgin) Coconut Oil. I guess you can use the refined version of coconut oil, but in that case I will add some coconut flavoring.
Because fats in the coconut milk tend to solidify when cooled, warm the milk a little in the microwave or stovetop and then cool to room temperature, before adding to your dry ingredients. The same applies to the coconut oil. Weight it and leave at room temperature until has a spreadable consistency. You don’t want the coconut oil to be hard or melted.
Eggs should also be a room temperature.
Mixing & Kneading
Once you start mixing the ingredients you will see the dough foming into a hot mess. Don’t worry. At this point the main goal is to incorporate dry and wet ingredients the best that you can. Make sure to use an spatula to mix in any dry flour that may be at the bottom of the bowl and continue to mix on low speed until there is no big lumps of dry flour.
Add the coconut oil, and knead for 5 to 7 minutes, until you have a silky smooth beautiful dough.
Once the coconut oil is mixed in and the dough is kneaded, I added some chocolate chunks but forgot to take the pic. Arrg! Add the chunks and pulse for a few times until the chocolate is incorporated.
Bulk fermentation & Shaping
Transfer this baby dough to a lightly oil bowl, cover in plastic wrap and let it rest for at least one hour, or until is double in size.
The bulk fermentation can also be achieved in the fridge, it will just take a little longer for the dough to double in size; but this comes in handy if you need to go out for an hour or two. I don’t recommend more than that because the dough can suffer and deflate.
Once the bulk fermentation is done, punch the dough and start dividing the dough into your different baking pans.
From this dough I’ve got 1 medium loaf (500 gr) and 22 buns (30 gr)
Once you divide the dough, brush some egg wash and, you can also sprinkle the top with some fine shredded coconut (optional).
Don’t make the same mistake I did of preparing my muffin tin with paper cups because I was out of baking paper. That went so horribly wrong! They stuck to the bottom of the buns and were a complete pain to peel off. Avoid the pain by greasing your pan generously.
Second fermentation & Baking
Your loaf and buns are ready for the final fermentation and then baking.
Cover the pans with a light wet towel and let rest until double in size. As in bulk fermentation, this can vary depending on the weather and your kitchen temperature, but it should be around 1 hour. If so, Once the dough has rested for 40 minutes, turn on the oven to 180°C (350°F) so that it can reach the correct temperature by the time the dough is ready to bake.
The loaf is ready after 30-35 minutes and the buns in 20-25 minutes, or when the top is golden brown and the bread has registered an internal temperature of 85°C-88°C (185°F-190°F).
You did it! You are now ready to devour your homemade Coconut Brioche with Chocolate Chunks!
If you have any question regarding this recipe let us know in the comments section below. We love to hear from you!
Finally, don’t be shy and show your Coconut Brioche with Chocolate Chunks on instagram with the hashtag #sisterblissdiary. If you love this recipe don’t forget to follow on instagram and pinterest to keep up with our lastest recipes, and of course, share with your friends and family! It really means a lot to us!
Chocolate Ganache? Is that right?… Yes! In my quest to make a vegan, creamy, chocolaty ice cream, made without an ice cream maker and with minimum ingredients, this is the best version I could think of. (You tell me in the comments if there is any other that doesn’t involve frozen bananas!)
I have read about all of those methods for making ice cream without and ice cream machine, but I didn’t have the time or energy to make ice cream with such a hassle. If it wasn’t easy peasy I rather peel a banana and eat it, or would eat some grapes! (Now you see my level of laziness was really high!)
I was having a sweet tooth and also my 4yo so I needed this to be quick! And because ganache is one of the most (if not the most!) easy dessert on earth and it also has that thick, pudding like texture, I thought maybe, just maybe, it would turn into ice cream (or close enough).
The coolest thing about this recipe is that, it doesn’t require any special equipment, it is no custard based (so, no grains or eggs), doesn’t require extra bags or lots of ice cubes, or rock salt, or hours going back and forth to the fridge (unless you are actually eating it)…
I wanted to keep things very simple so I used the 2 ingredients, the basics of (vegan) ganache: Chocolate (I used 74% Cacao) and Coconut milk. That’s right! This Luscious Chocolate Ganache Ice Cream (which essentially is frozen ganache! Let’s say it! ) can be made with just 2 Ingredients. Talk about convenience!
A few notes on the ingredients
Go Full fat with the coconut milk and make sure it doesn’t have any weird ingredient, sugar, additives or gums for best results.
I used 74% chocolate so, this is a bittersweet ice cream, but you can use sweetener if you prefer. If you use granulated sugar, mix with the coconut milk and simmer until all the sugar is dissolve. Then, continue as normal.
I haven’t tested this with liquid sweeteners but I think it would work in the same way as a simple syrup added to the ice cream base. This also prevents ice crystals from forming.
If you are making for adults, feel free to add alcohol based vanilla, vodka or rum to prevent ice crystals.
How to make Chocolate Ganache Ice Cream
2 ingredients with a ratio of 1:2, Chocolate to Coconut milk. That’s it!
Mix the ingredients and let it rest until the ganache is shiny, thick and pudding-like.
Transfer to a deep container, cover with plastic wrap (making contact with the ganache) and let the freezer make some magic. Depending on your freezer this can take from 30 to 60 minutes.
Scoop the Chocolate Ganache Ice Cream with the help of a warm ice cream scoop, add your toppings and enjoy!
The Downside
This baby is made with ganache which means it melts in your mouth and everywhere fairly quick, so this is not the type of treat you will eat while chatting with that friend who you haven’t talked with for ages. Serve and you enjoy! 🙂
Tell me, what are your preferred base flavors and toppings? Let us know in the comment section and don’t forget to follow on instagram & pinterest!
If you love this recipe share it with your friends and family and if you ever make this Chocolate Ganache Ice Cream, tag us with #kasheribbean! We love to see your amazing creations!
Extra Creamy Dairy-Free Creme Caramel
{Kosher for Passover}
If you dream of making a super creamy dessert for your next gathering or holiday, today is your lucky day because I am sharing with you my recipe for an Extra Creamy Dairy-Free Creme Caramel (also known as “Flan”). Creme Caramel is naturally Gluten Free so, it is also perfect dessert for Pesach too.
Another bonus of making flan is that is literally one of the easiest desserts on the planet, and it is made with very simple ingredients you probably have at home right now: coconut milk, eggs, milk, sugar and some flavoring. Vanilla is traditionally used, but rum extract or emulsion also adds a nice touch.
Another thing that I love about Creme Caramel is that it is a very forgiving dessert. If you are looking to reduce the sugar, you can cut in half the amouts for the caramel and the custard. At this time I haven’t yet tried with sugar substitutes, but the ones that are a cup-for-cup replacement for sugar should work with no problem.
Thanks to the viscosity of the evaporated and condensed milk used in traditional Creme Caramel, the end result tends to be very silky and creamy. To make up for this, I added 10 grams of cornstarch. Cornstarch is a thickening agent that can set about 4 times its weight. With this little addition of cornstarch we balance the creaminess of the custard, making it less “eggy” (which can be an issue when working with plant based milks).
If you don’t eat kitniot during Pesach, you are welcome to leave the cornstarch out. You will still end up with flan, but since the cornstarch helps the custard set firmly and faster, I’d recommend you add and extra egg, and bake for a little longer, let’s say an extra 10-15 minutes if doing so.
A very important step when making creme caramel, is to bake it on a bain marie, which helps with even distribution of heat, and with the slow cooking of the egg, which in return gives you a more silky creamy custard.
A common mistake when making flan, is to overcook the custard. Don’t do it! But how do you know the custard is ready?? Wiggle the pan or ramekins. When the edges are set and the center jiggles a little, then is ready. The heat from the pan is hot enough to continue cooking the center of the flan, even when taken out of the oven. Once done, remove the creme caramel from the oven, and cool to room temperature completely before storing in the fridge overnight.
If you are impatient, you can refrigerate for 4 hours before serving, but beware, chilling these babies overnight does make a difference in the texture of the final product (more creaminess, anyone?!) and also intensifies flavor. My recommendation for you is to plan ahead, and make this the day before serving.
1/2TbspVanilla Extract You can also use Rum Extract. If using emulsion of any kind, add 1/2 teaspoon.
1/4tspSalt
Instructions
Preheat your oven to 180°C (350°F)
For the caramel:
Combine water and sugar and melt over medium heat until it gets a deep amber color.
Take the caramel off the heat and coat with it 6 ramekins or 1 - 9" (inches) round cake pan.
Set aside to cool down and harden, before adding the custard.
For the Creme Caramel:
In a bowl, mix corn starch and 2-3 Tablespoons of coconut milk and mix well.
In bowl, mix all of the ingredients for the custard, including the previous mix of corn starch+coconut milk.
Pass the custard mixture through a fine sieve to discard any egg residue.
Equally divide the mixture into the ramekins or the 9 inches baking pan.
Fit the custard ramekins or cake pan into a bigger ovenproof dish (like Pyrex, a roasting pan, etc).
Place the ramekins or baking pan in the oven, and then carefully pour water into the bigger baking dish. The water should be 1½ to 2 inches deep.
When using ramekins, bake for 30-35 minutes. If using a 9 inches baking pan, bake for 60 minutes or until edges are firm but the center still jiggles a little.
Once ready, take out of the oven, and let it cool down completely before placing in the refrigerator for at least 4 hours; but preferably (and recommended) overnight.
When is time to serve, run a knife around the edge of the creme caramel and invert it into a bigger dish, preferably with slightly tall sides. The creme caramel will drop and you can see some caramel sauce flowing. Cut into slices and serve.
Notes
You can easily increase or decrease this recipe to fit your needs.
If you ever find yourself with leftover raw custard mixture, store it in an air-tight container and freeze. When ready to use, thaw completely, whisk really well or mix with a blender, just to make sure everything is well combined, pass through a sieve and then pour into the prepared ramekins or baking pan and bake.
Have you made this Dairy-Free Creme Caramel already? Use the hashtag #kasheribbean to share with us on social media and, don’t forget to follow on instagram and pinterest for more easy recipes.
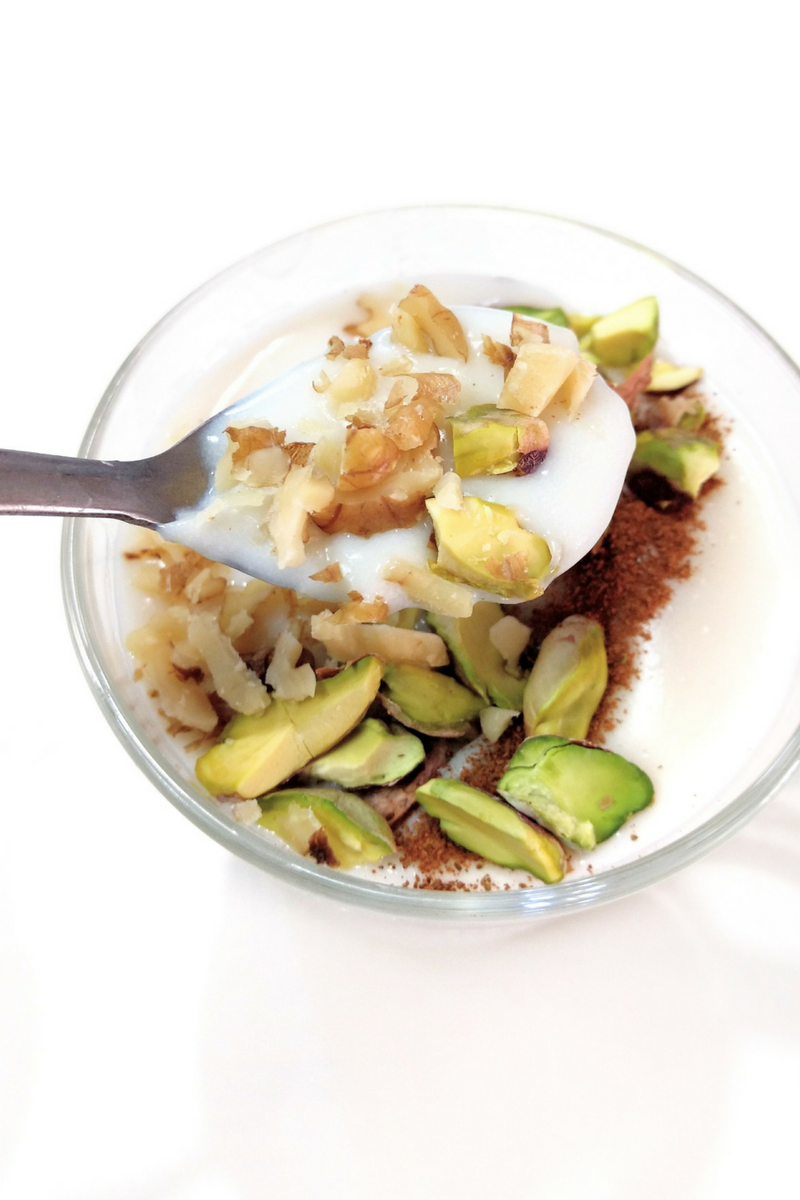
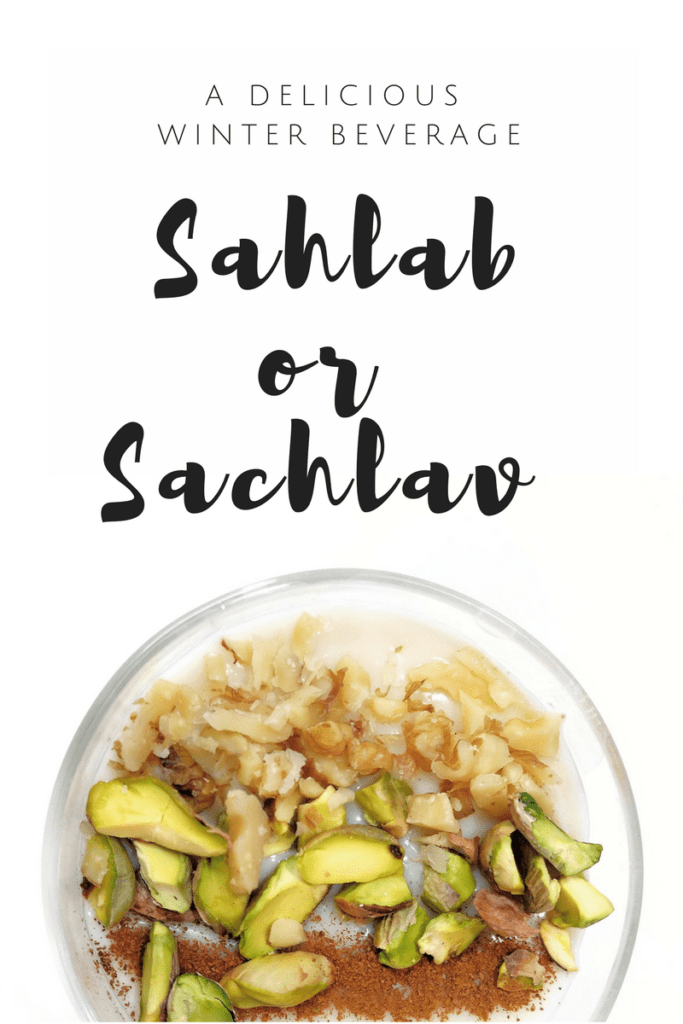
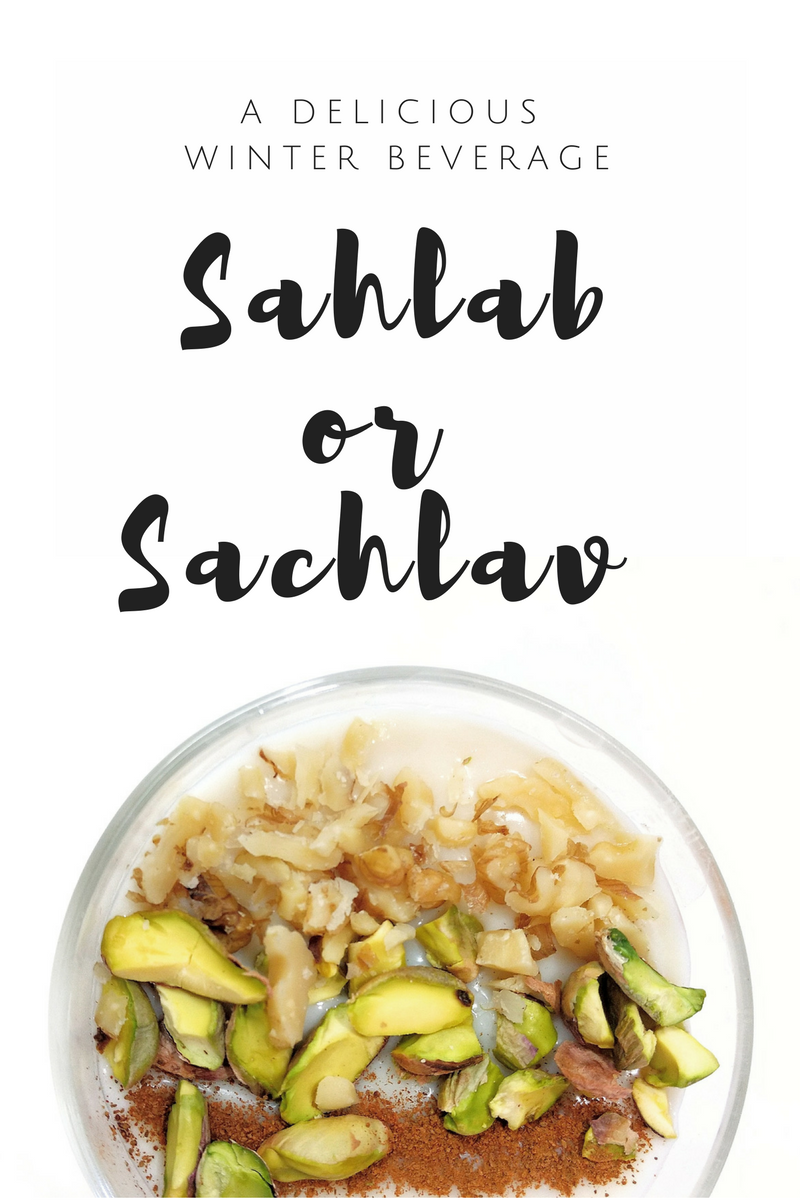
Learn how to make Sahlab, Sachlav or Salep, This interesting hybrid between a beverage and soft pudding/custard, is a middle eastern treat typically prepared in Israel as a winter favorite (I tried this on April this year so you may also find it in certain cafes all year round). This cold weather calls for a hot beverage and this one couldn’t be easier.
Disclosure: Please note this post contains affiliate links, which means at no additional cost to you, we earn a few bucks if you decide to make a purchase through any of those links. We only recommend products that we personally use, support and/or would recommend without an affiliate link. Do not spend any money on these products unless you totally feel you need them for more that one-time use. Thank you so much for your support. For more information visit our Affiliate Disclosures Page.
The concussion of coconut and rosewater flavors present in this beverage makes it so comforting. I have made this recipe before (did I tell you I am a fan of coconut in every form?) with just vanilla extract because i didn’t have the rosewater and it was good, but the rosewater gives it a much better kick and deeper aroma. Talking about aroma, the aroma is so heavenly, so do your best to find the rosewater is not like anything you have tasted before. You won’t be disappointed. Still, if you can’t, don’t worry and use vanilla extract this time. It will be good anyways (this with vanilla flavor reminds me of the coquito without the rum, a puertorican hot beverage typically served for winter)
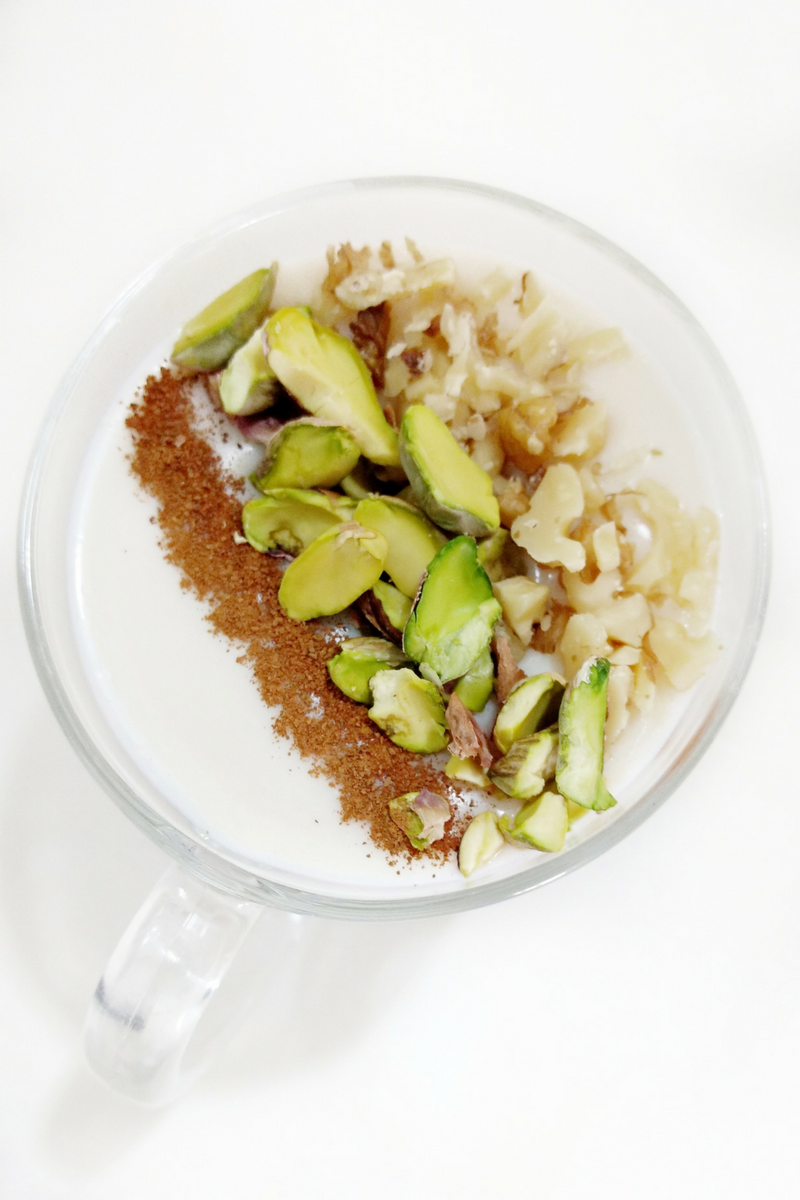
To make Sahlab you just need a handful of ingredients and you will be enjoying this yummy beverage for your breakfast or dinner in no time.
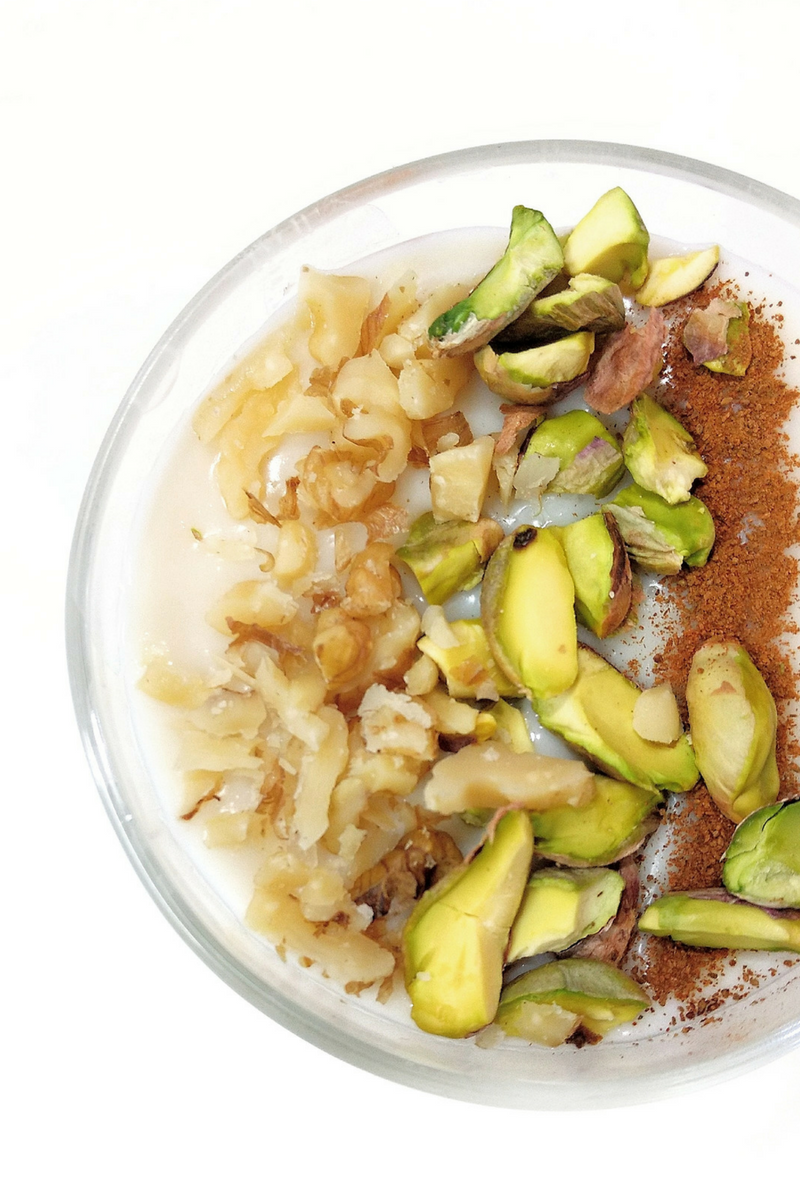
As you can see Sahlab is so easy to do. Have you tried yet? In case you haven’t, we hope you give it a try soon! When you make Sahlab don’t forget to share your pics and tag us as #sisterblissdiary on instagram! Also, you can show us some Pinterestlove…
Until next time!