Sweet Treats

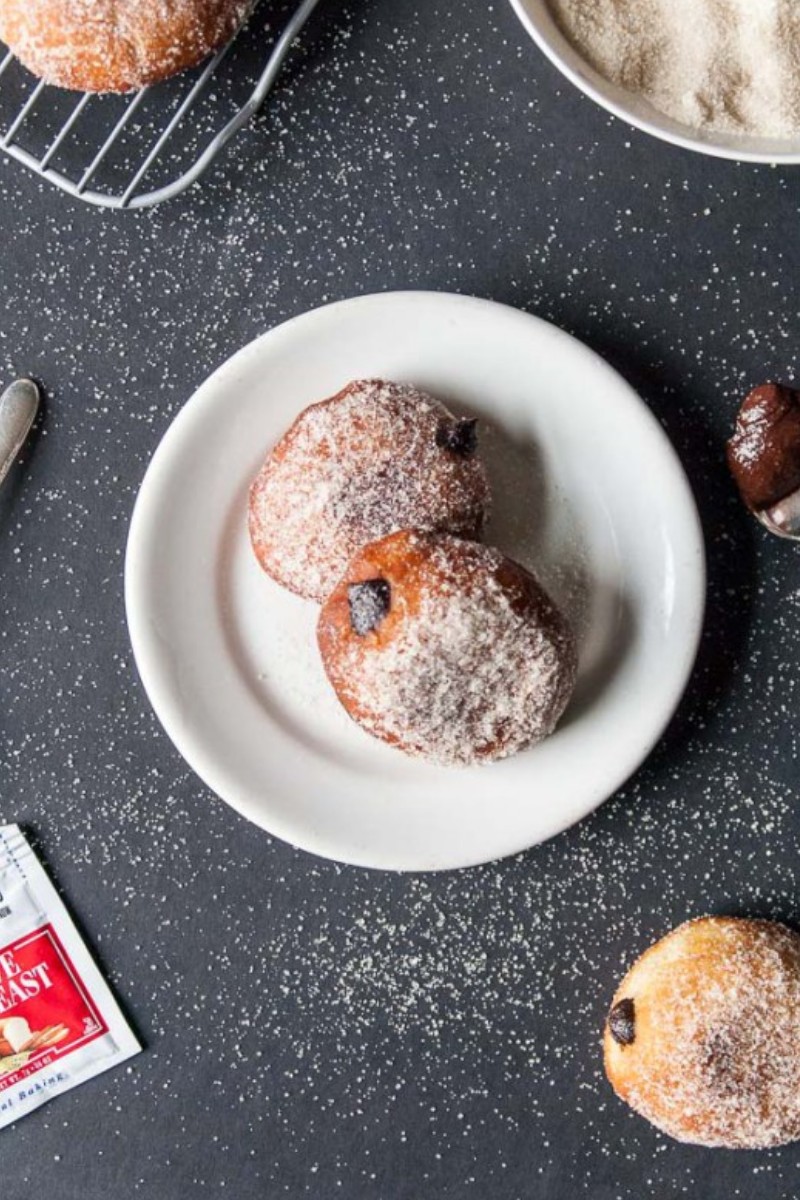
Sufganyoth Feast: Sweet & Savory Doughnuts Recipes to Light Up your Hanukkah Celebration

Hanukkah is around the corner and one of the signature preparations for Hanukkah is sufganyah, or filled donut. The popular version of sufganyoth are filled with jelly but, of course, you can light up your Hanukkah celebration with these bold and super yummy sweet & savory doughnuts recipes from the blogosphere! (Who says you cannot eat savory donuts for Hanukkah, btw?!)

Yummy sweet & savory doughnuts

1. Lamb Mushrooms Suganyoth with Pistachio Tahini

2. Chopped Liver Mousse and Manischewitz Glaze

3. Swiss Chard and Raisins (Dairy)

4. Goat Cheese, Honey and Thyme (Recipe in hebrew) (Dairy)

5. Herbs & Cheese (Dairy)

6. Biscoff (Cookie Buter) (Dairy)

Disclosure: Please note this post contains affiliate links, which means at no additional cost to you, we earn a few bucks if you decide to make a purchase through any of those links. We only recommend products that we personally use, support and/or would recommend without an affiliate link. Do not spend any money on these products unless you totally feel you need them for more that one-time use. Thank you so much for your support. For more information visit our Affiliate Disclosures Page.

7. Peanut Butter and Jelly (Dairy)

8. Pistachio Pesto (Vegan)

9. Peanut Butter & Jelly (Vegan)

10. Nutella (Vegan)

11. Boston Cream (Vegan)

12. Stout-Chocolate (Vegan)

Aren’t these sweet & savory doughnuts delicious? We are babbling over here and we are sure you are too ? Tell us, which one is your favorite? Do you have a bold sufganyoth flavor? Let us know in the comment section below and don’t forget to follow on instagram & pinterest for more easy recipes and inspiration!

Until next time!

Sufganyoth Feast: Sweet & Savory Doughnuts Recipes to Light Up your Hanukkah Celebration Read More »

Easy Banana Bread {Vegan, Low-sugar with Fat-free option}

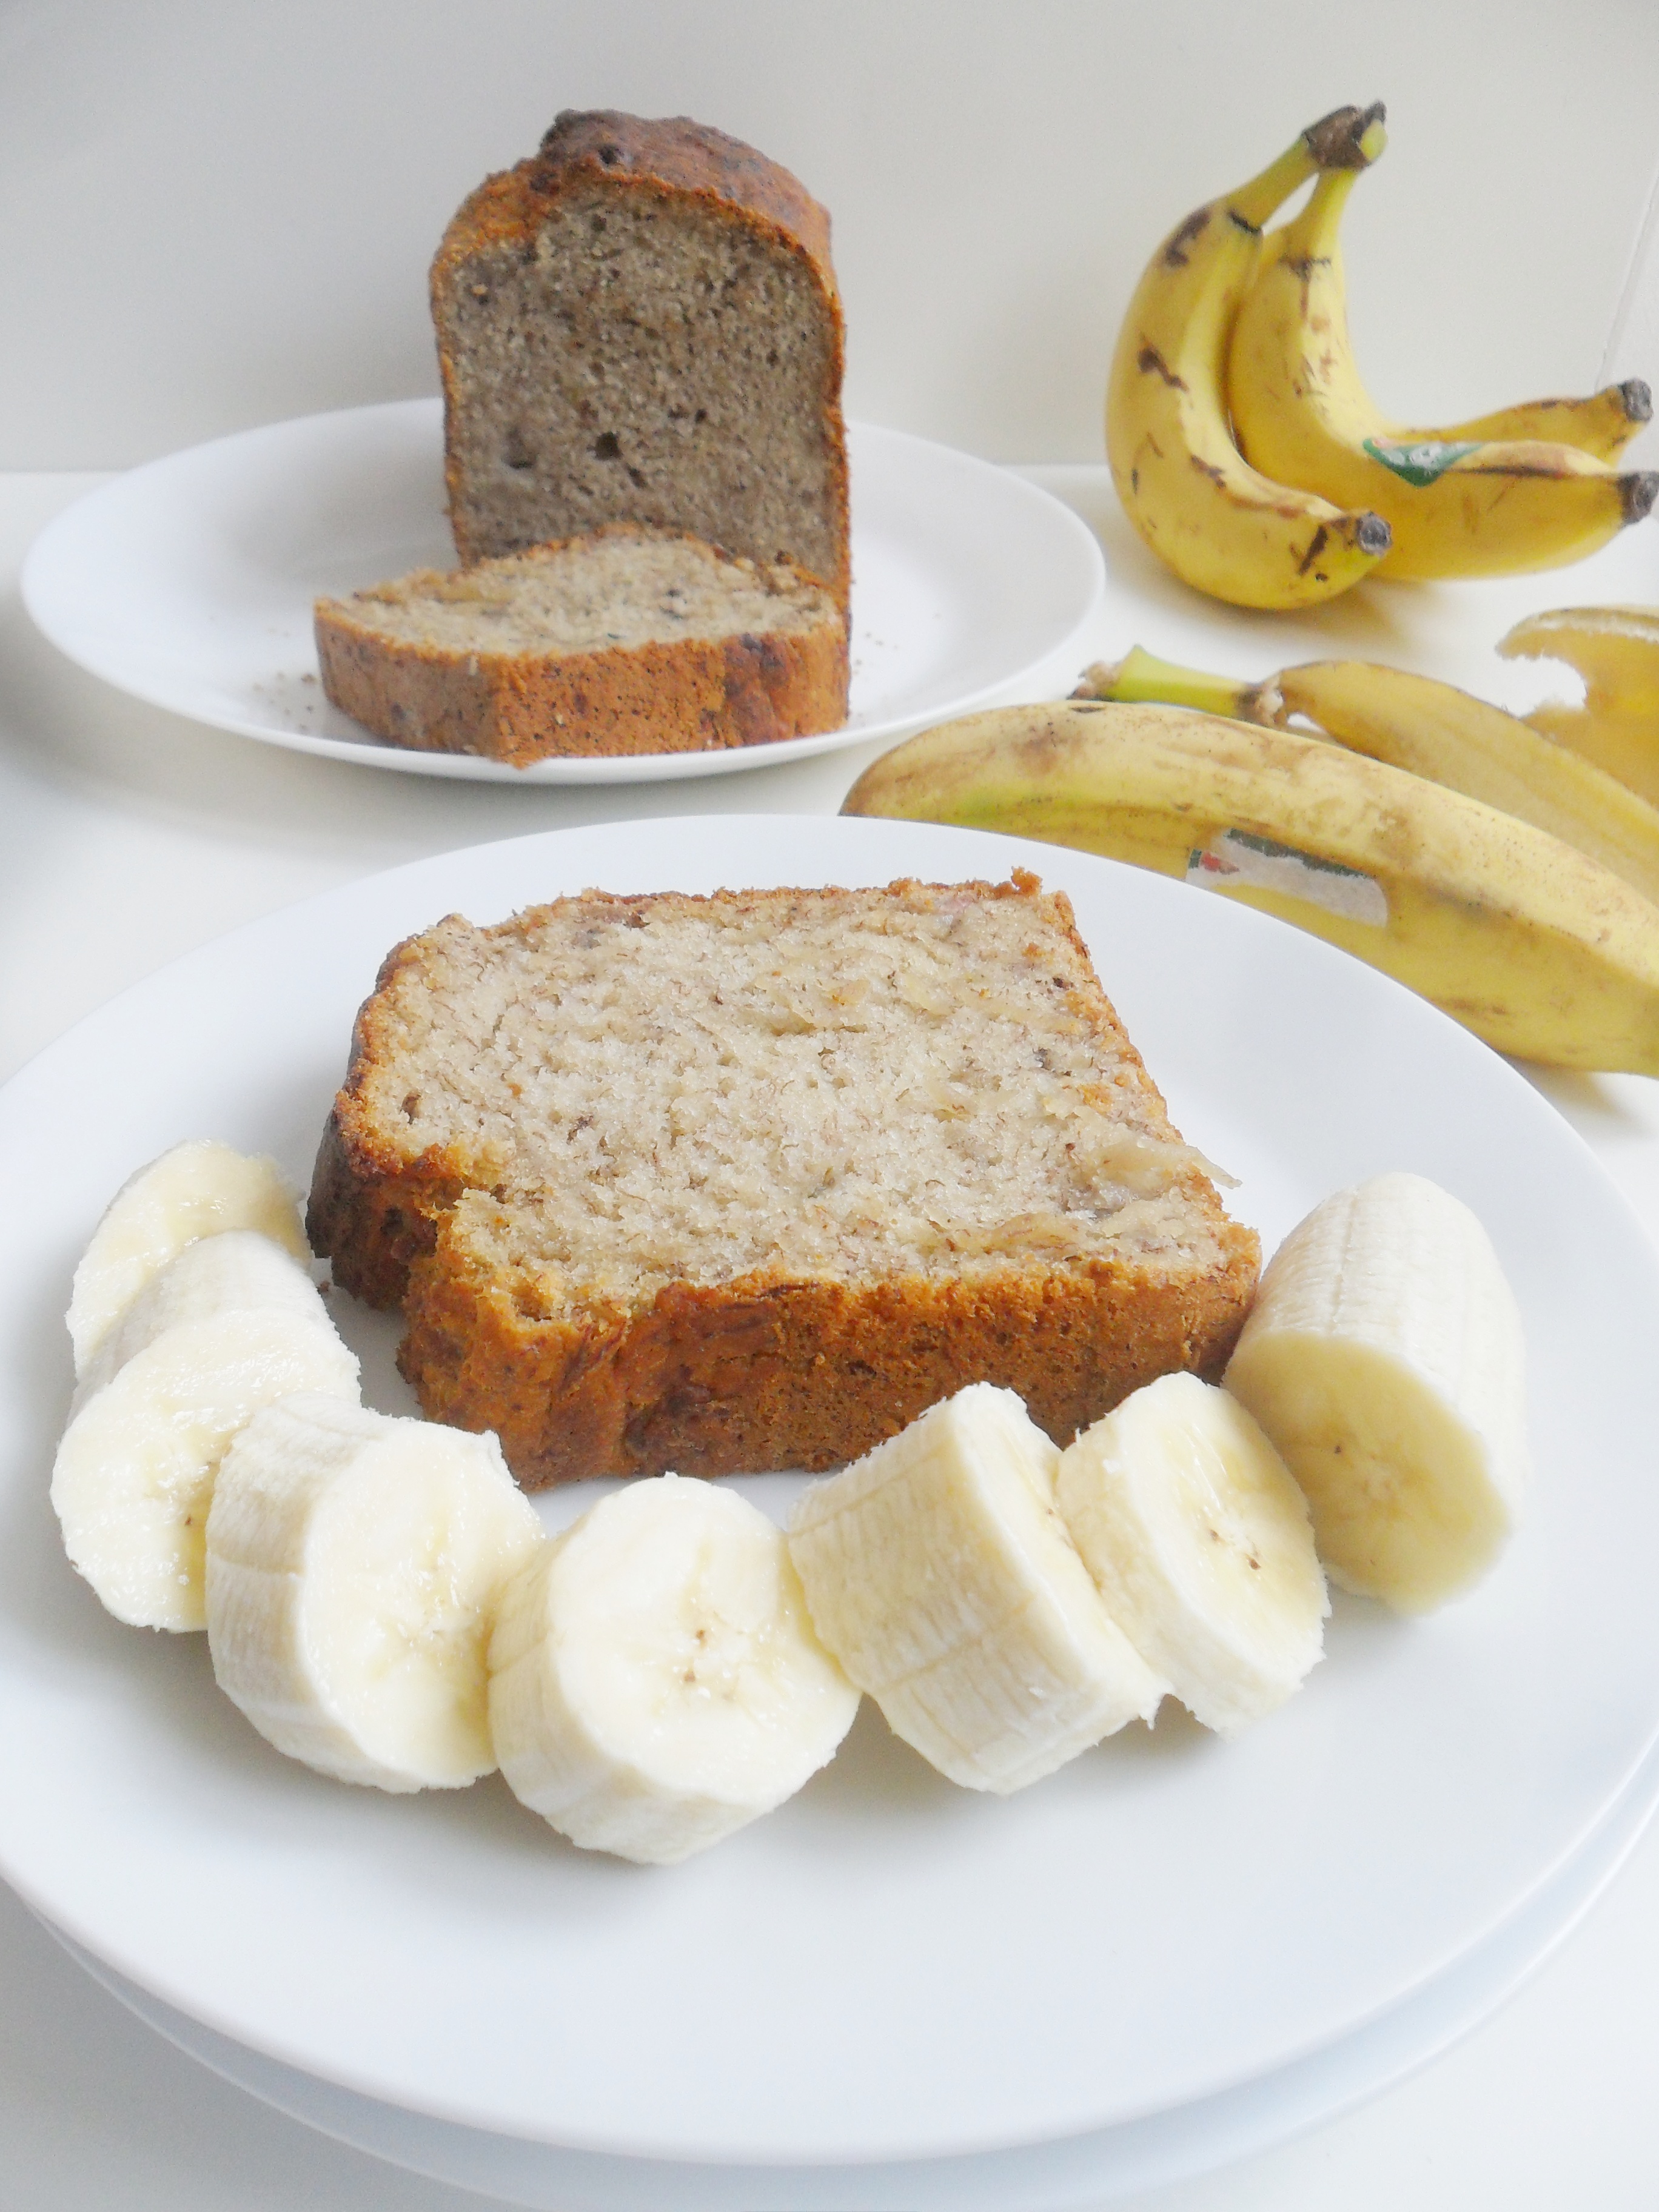
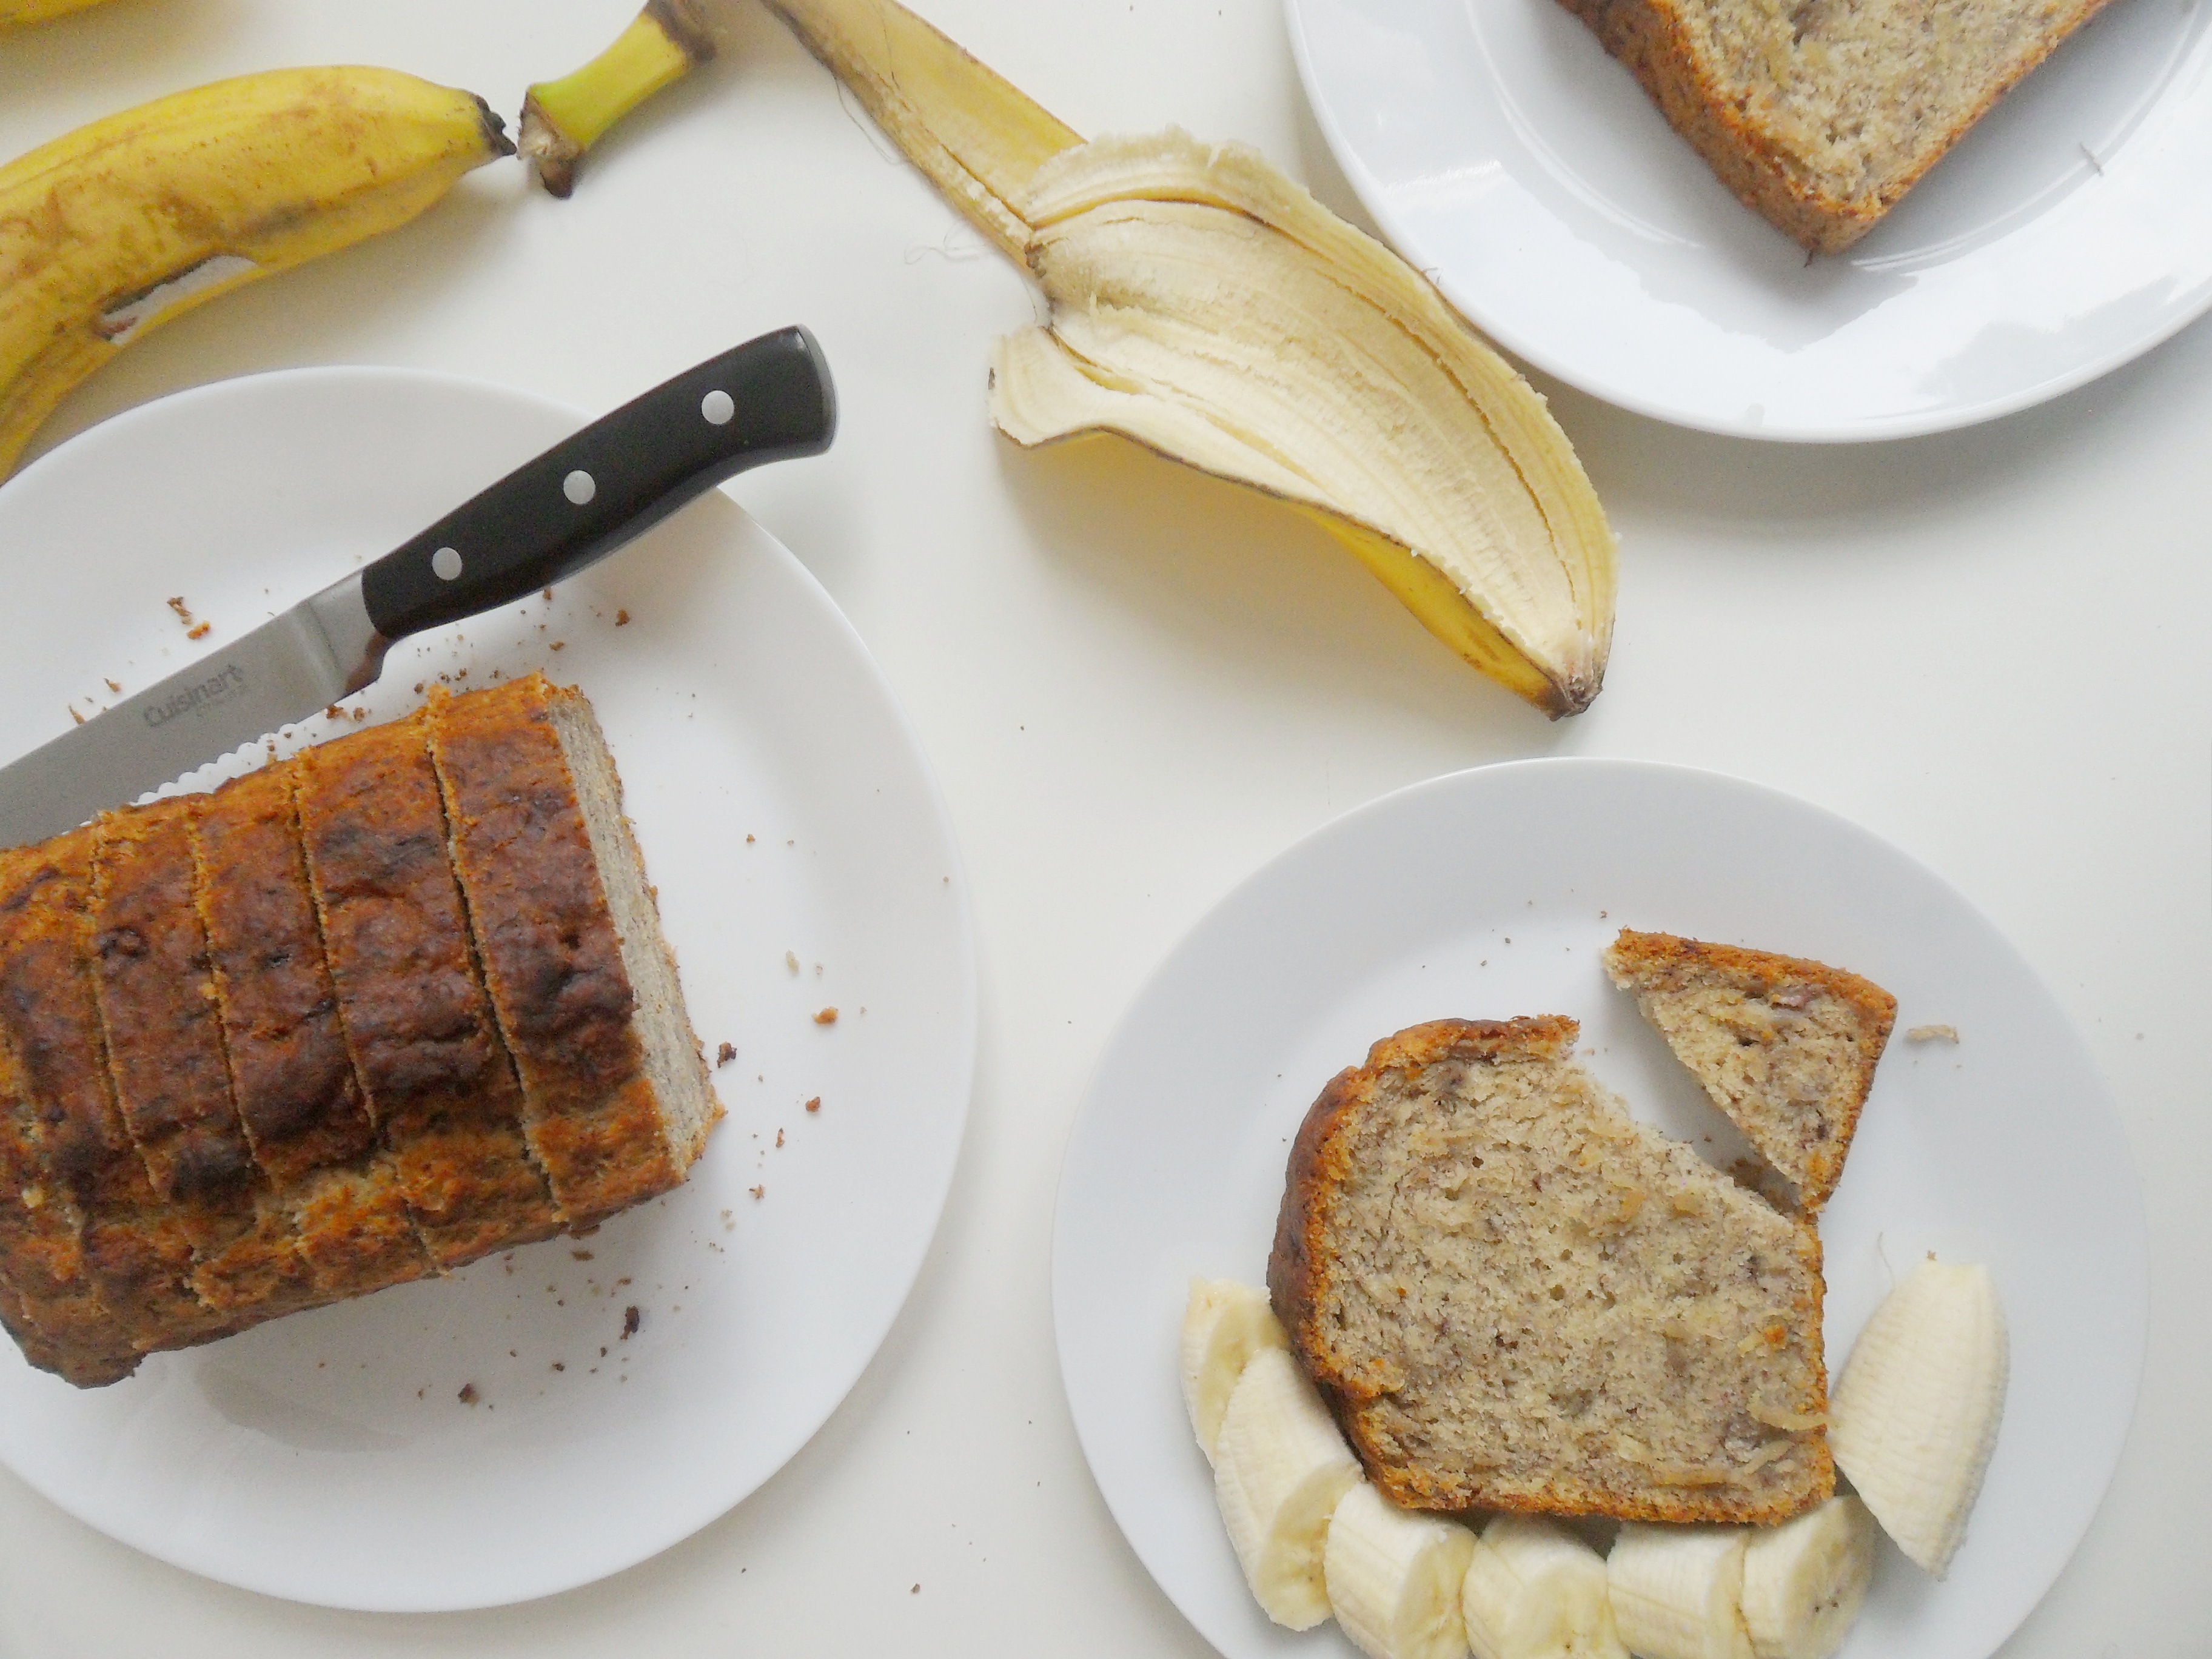
Hello, everyone! It was about time to write another post! My absence has been due to a malfunctioning laptop. It won’t turn on, no matter what I do. Apparently, it needed a vacation, so I had to figure out a way to make blog images with my phone. Not that I am very good at that, but at least we can continue posting regardless of my “smartphone-photo-editing-abilities” ? I guess we just cannot have it all. Can we? Anyways! To sweet up the day I made this incredibly easy Vegan Banana Bread.

Disclosure: Please note this post contains affiliate links, which means at no additional cost to you, we earn a few bucks if you decide to make a purchase through any of those links. We only recommend products that we personally use, support and/or would recommend without an affiliate link. Do not spend any money on these products unless you totally feel you need them for more that one-time use. Thank you so much for your support. For more information visit our Affiliate Disclosures Page.

You’re going to love it because:

It is extremely easy. You just need a bowl, a fork and rubber spatula (and, well, your scale too! ?)

It is vegan and budget-friendly. Just a few ingredients you probably have at home.

It is barely sweet. After making this recipe 3 times in a row, I decided to cut down the sugar even more and it was still delicious

You can make it fat-free. For the original recipe I used melted margarine, then I used coconut oil and for my final try I skipped the added fat entirely (I substituted the fat with unsweetened apple sauce) so you can do it either way.

First of all I have to say…This is not your typical overly sweet banana bread. The sweetness of this banana bread come almost in its entirely from the very ripe bananas , so if you are looking for that, super sweet and so called “indulgent” recipe, this is not the one.

This recipe is great to use those bananas that are too ripe to eat by themselves. I have read some people suggesting that if you don’t have ripe bananas you can “ripen” them by baking them until the peel is black, BUT this doesn’t really work well with this (or any banana bread, for that matter) because even though you will soften the bananas is the oven, the sweetness and characteristic flavor of ripe bananas won’t be there. So, forget about the shortcut and just use very ripe bananas (if yours are still too green, this will be a great opportunity to also exercise your patience)

Vegan Banana Bread

Let’s talk about results

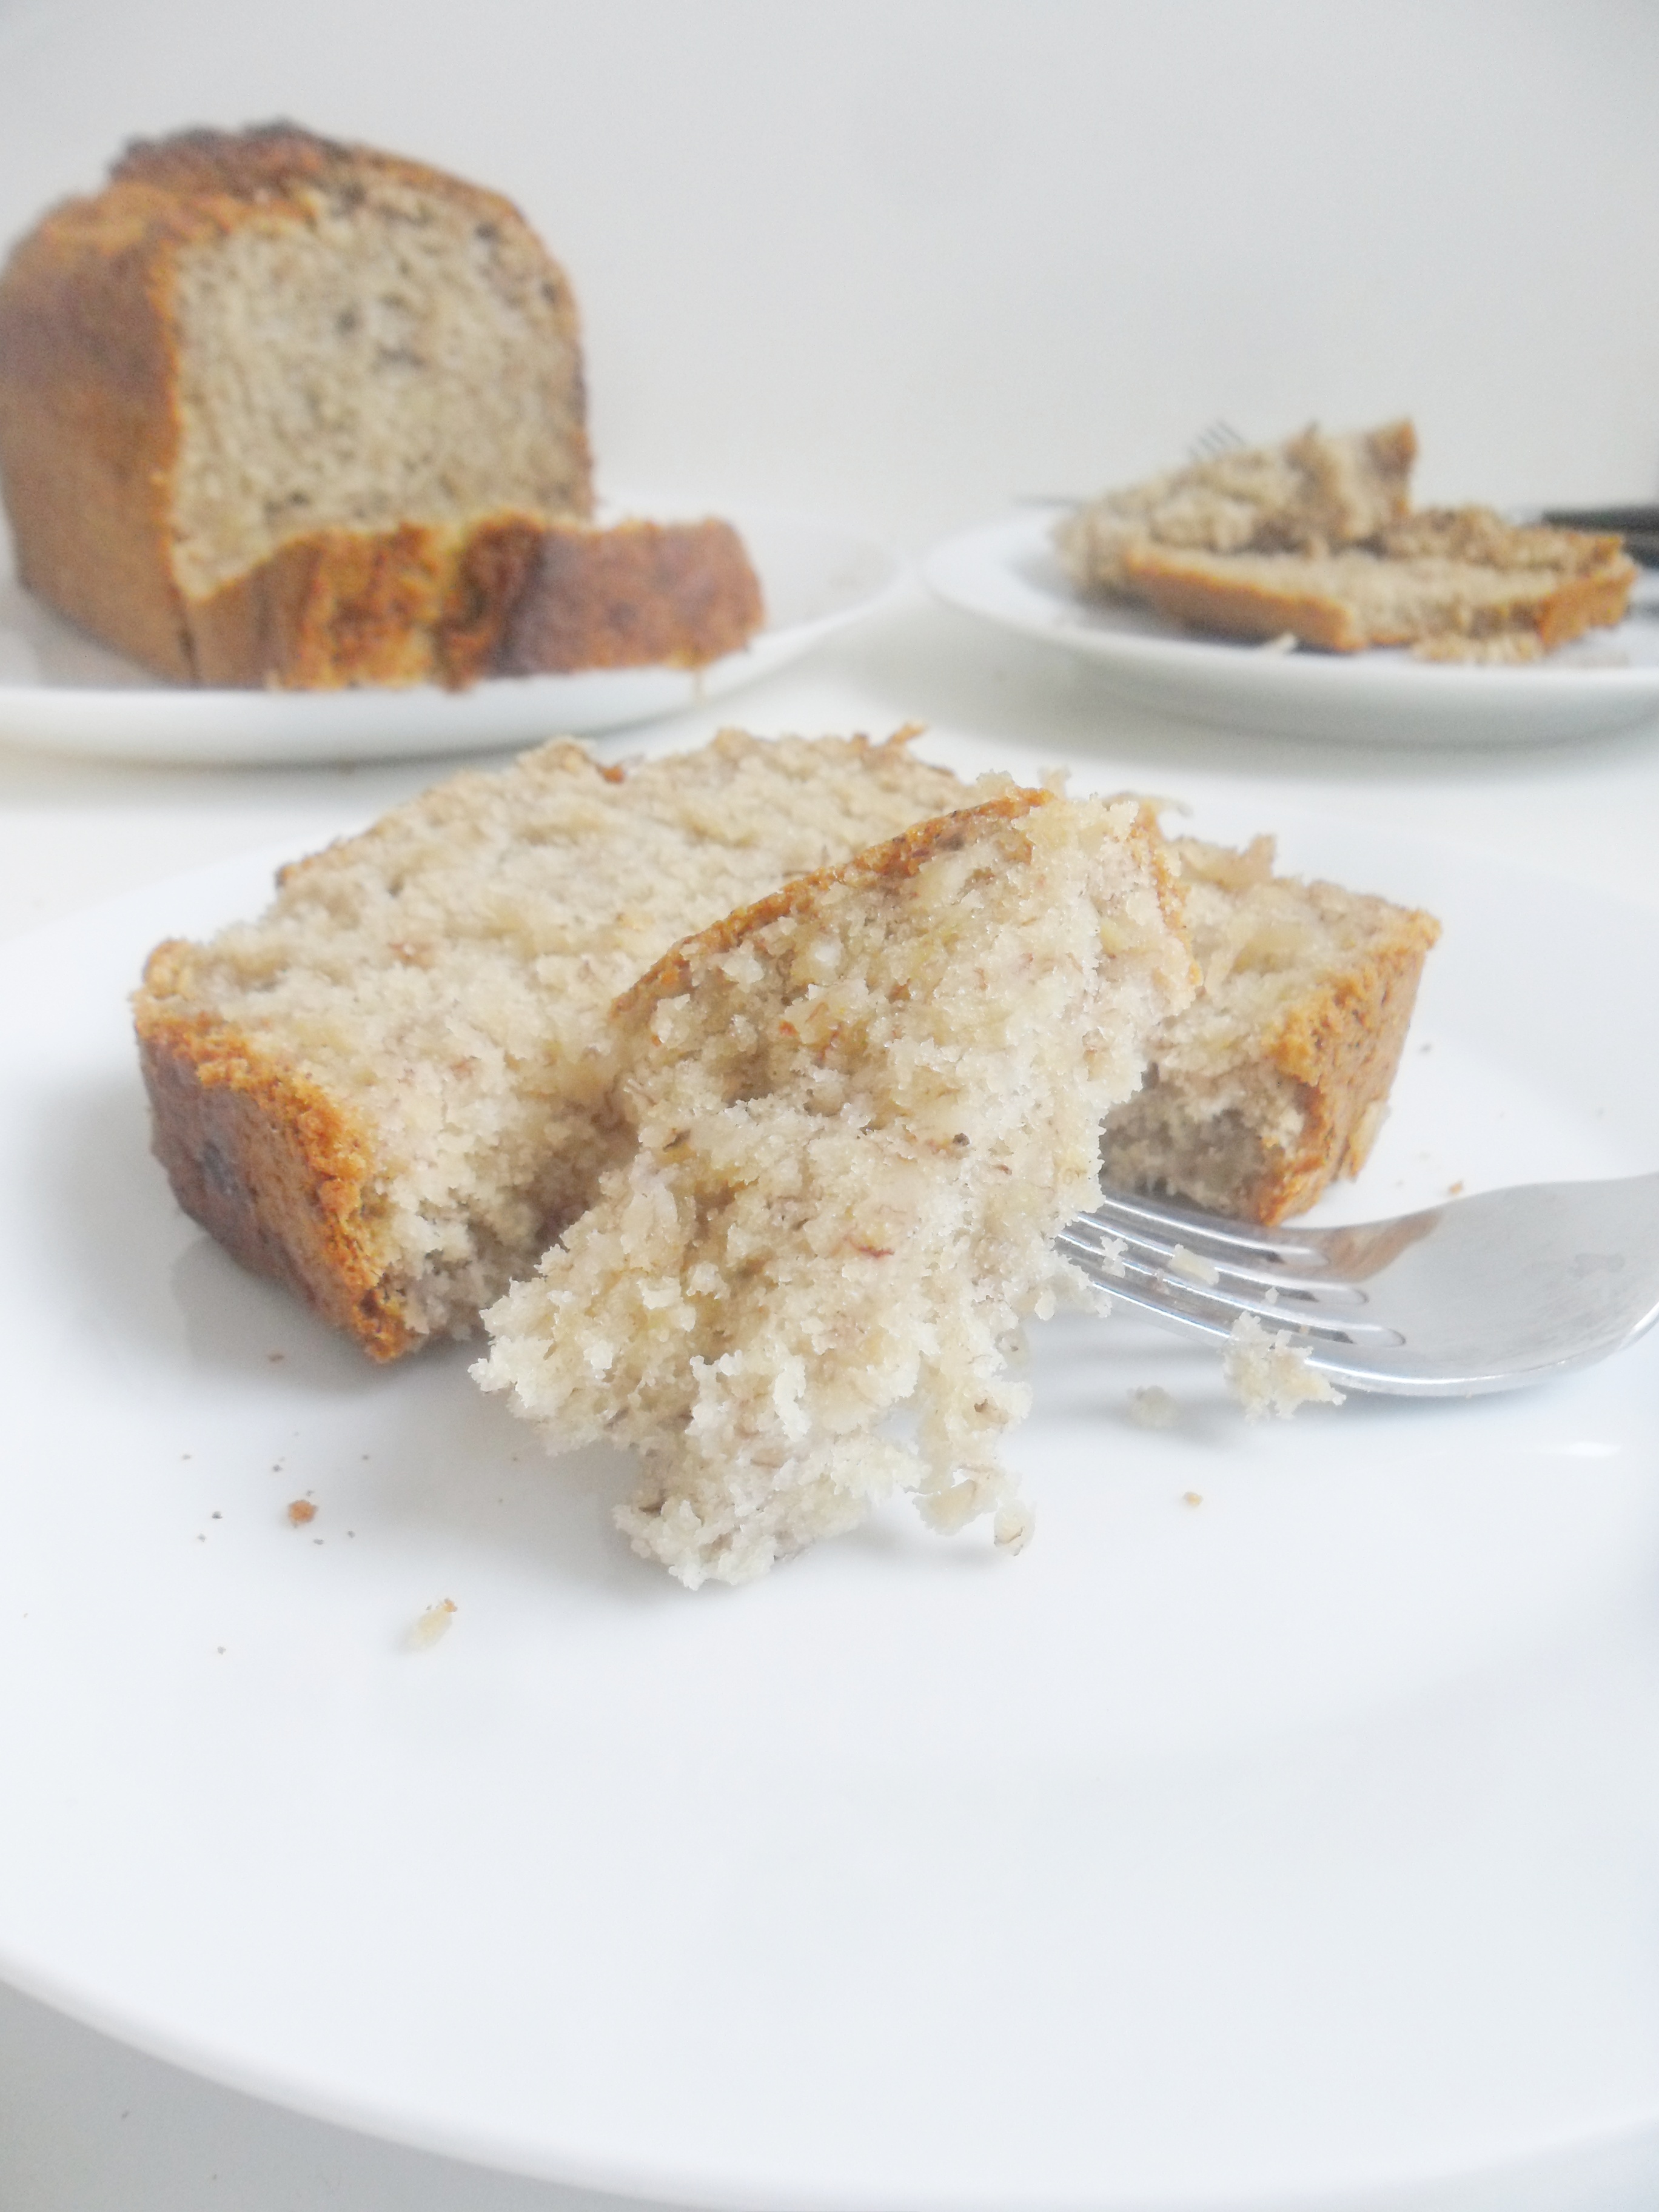
All banana bread versions came out spongy and barely sweet to my taste. The one made with margarine had a little crunchiness on the edges and it was slightly taller than the one with apple sauce. Also, the banana bread with margarine had a more tender and more fine crumb.

The last batch (made with less sugar and applesauce) came out a bit smaller than the first two but it wasn’t dense, and for me wasn’t really a big deal, but, if you feel your batter is too dense for your liking you always can add a bit of liquid (like soy or coconut milk). The crumb wasn’t as tender as the batch with margarine but for me still an excellent choice for breakfast or as a snack, specially for kids. And if you are watching your caloric intake, you don’t really need the extra fat and sugar ?

Vegan Banana Bread

– For the fat-free and (and less sweet) version I reduced the amount of sugar to 60grs and used 100 grs of unsweetened applesauce instead of the melted coconut oil (or margarine)

– To make this banana bread I used this 9×4 loaf pan. If you are making half batch, use smaller pan.

– The best way to test for doneness is with a thermometer. It needs to register 200ºF. If you are baking half batch and using a smaller pan, adjust baking time.

– For a half batch recipe see below


VEGAN BANANA BREAD (HALF BATCH)

330gr ripe bananas, mashed
5 grs baking soda (1 tsp)
55 grs sugar (1/4 cup)*
215 grs self rising flour
1 tsp ground cinnamon
50 grs coconut oil or margarine, melted* (see notes for fat-free option)
A pinch of ground nutmeg
A pinch of salt
100 gr roasted almonds (optional)
5 ml vanilla extract (optional)

Which version are you trying first? Let us know in the comments section below, or on social media: Instagram & Pinterest. When you make this recipe, don’t forget to post your photos on Instagram with the hashtag #sisterblissdiary.

Until next time!


Easy Banana Bread {Vegan, Low-sugar with Fat-free option} Read More »

Apple Peel Chutney & Apple Crisp Cake {Stop Food Waste!}


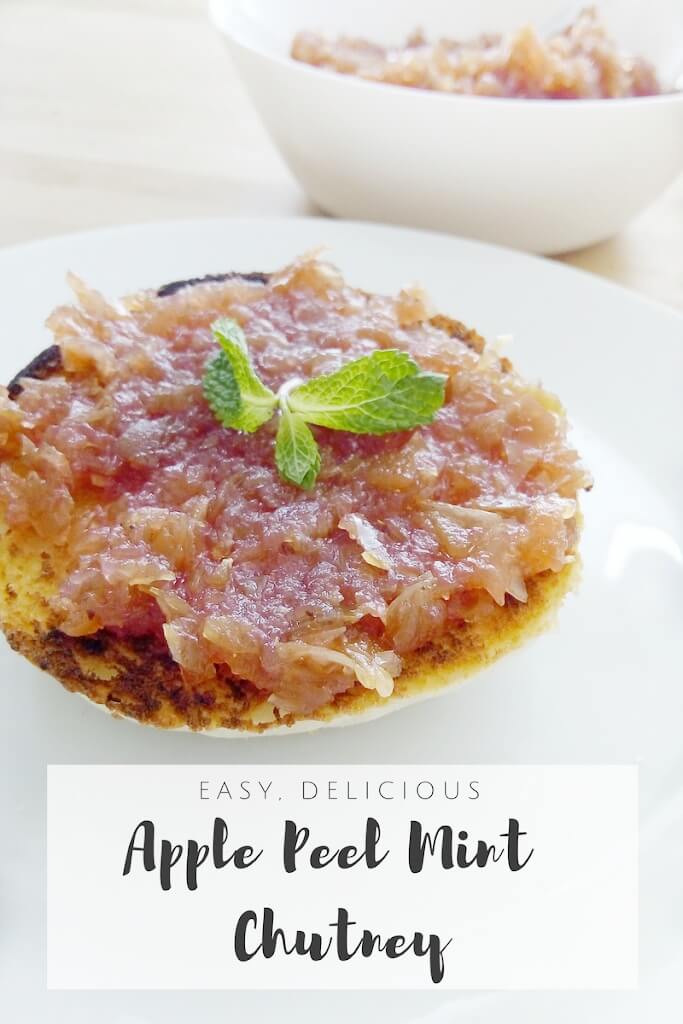
A few days ago, I had the pleasure to cook a wonderful Rosh haShanah Dinner alongside my beautiful friend Shifrah. Together we prepared a simple yet delicious Vegan Dinner (well, almost vegan because we used honey!) and as I was prepping the ingredients for an apple crisp. I was left with a ton of apple peels so I said to myself: “how can I use this?” I figured I’d make and Apple Peel and Mint Chutney.


The food waste issue…


Maybe you are wondering ”why?”. Why to save trims or peels from fruits and veggies? Why even bother about making a cake with a fraction of apple crumble?

Well, 30% to 40% of all the food is wasted in the United States only! (that was 133 Billions Pounds equivalent to $161 Billion dollars worth of food in 2010 and 100 Billions in Europe in 2014). Last time I checked 1/3 of the world food production goes to waste and, on average, families in the USA throw away 25% of the foods they buy. That is simply insane!


Precious food that:
– Could have helped feed families in need.
– Could have being used to give you more for the money you already spent by, for example, using peels and veggies scraps, or repurposing leftovers.
– The resources used to put all that food to waste globally, could be use to end, or at least alleviate, world’s hunger problems.
– Resources used to waste that insane amount of food could be used to help the planet not endanger it.


When all the cooking madness finished in my kitchen, I process the apple peel into tiny pieces, added sugar, spices, mint and voilá! This “chutney” made a nice addition to our breakfast oatmeal, toasts, and crackers, for a couple of weeks. If you are left with more that you can eat, store in a glass jar and give away to your family and friends. It would certainly make a nice holiday gift. Win win!
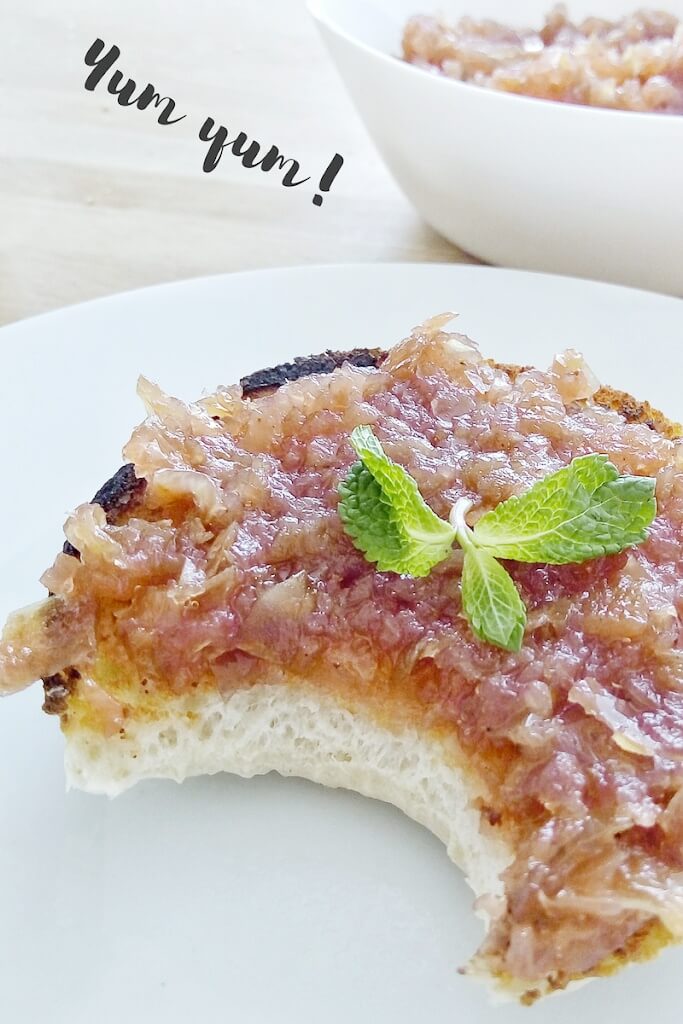


Super simple, right?

Let’s look at some other ways you can reduce food waste?

1. Don’t buy so much food in the first place

Certainly, many people buy too much; more than they can eat in a reasonable amount of time, sometimes as a result of  the “it-was-on-special-offer” syndrome. Buying less means you will take advantage of everything you buy before it goes to waste, and before you go and buy the same foods. You also will be showing some love to your pockets because wasting about 25% of your grocery budget is not funny.

2. Find ways to reuse the leftovers in your fridge

Instead of eating based on the “mood of the day”, check what you have in your fridge at least once a week, and build your meals of that day based on that (in my house that day is sunday, when we repurpose shabbath leftovers). After checking your fridge and realizing how much food you waste you will definitely be more mindful about the quantities you’ll buy next time, and you’ll learn more about it in the way.  After a while, you might start having fun with the process and discover new ways of eating your leftovers.

After Rosh haShanah dinner, we had leftover apple crumble and the “crumble” was not crunchy anymore, so I was going to repurpose it, no question about it! I mixed the apple crumble with a few ingredients and I got a nice, perfectly sweet cake, which I served as snack and nobody noticed it was made from leftover apple crumble!


To make this LEFTOVER APPLE CRISP CAKE you’ll need:


The leftover: 350grs of apple crisp (including homemade apple filling and the crumble (made with oats, sunflower and pumpkin seeds, and almond flour)
50 gr sugar (the apple crisp is already sweet)
3 Eggs, separated
125 gr self rising flour
Splash of vanilla extract (optional)
A pinch of salt.

For this recipe I used a 6″ round cake pan, with detachable bottom, covered with baking paper.

To make the cake, I started by whipping up my egg whites, adding your sugar little by little as I whip, until I got soft peaks.
Then, to this I added the egg yolks, and keep beating for a couple more minutes until the ribbon stage (this is where the mixture is a pale yellow color and thick).

At this point, I added the flour, a third at a time, sifting it over the egg mixture, and mixing it with a folding motion with a rubber spatula. Finally, mixed in the leftover Apple Crisp, poured the batter into the prepared pan and baked at 350ºF (180ºC) for 25-30 minutes.

If you are using this recipe as a reference for other fruits leftovers, keep in mind that it may take more or less time in the oven.  A good rule of thumb is check your cake with a toothpick inserted in the center after 25 minutes. If it is done, your toothpick will come out clean, and your cake should at least have some color on top and spring back when touched.

Take the cake out of the pan immediately and let cool completely in a wire rack before serving.
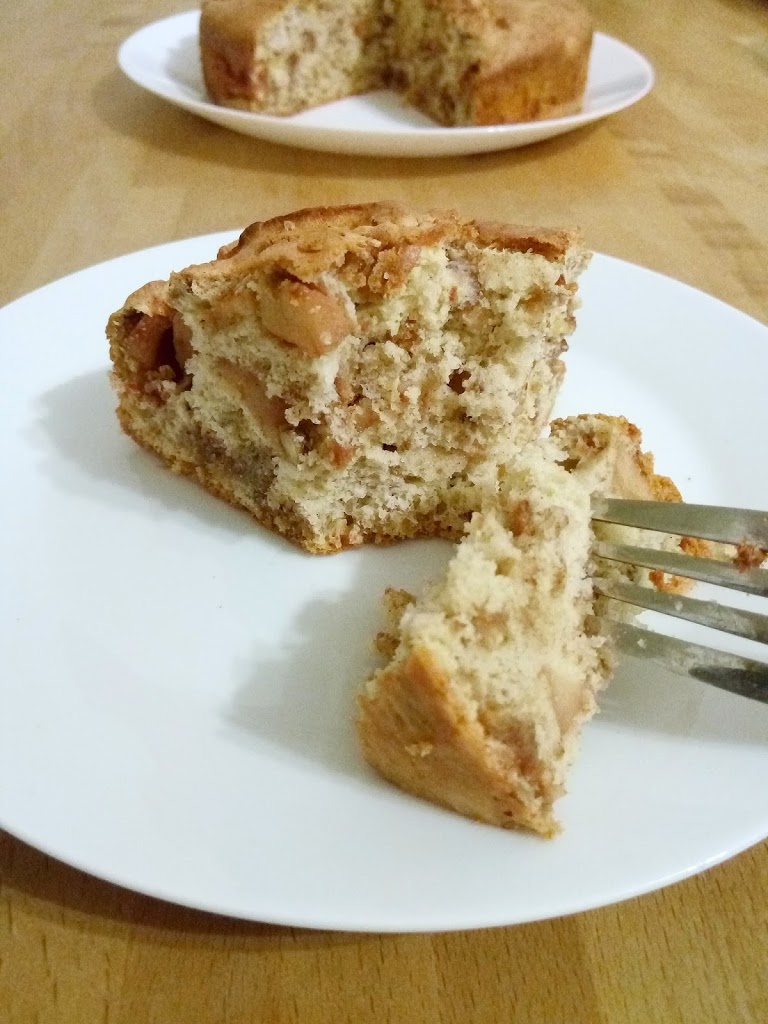


This simple cake was delicious and spongy, and not too sweet, so perfect for breakfast. The oatmeal, seeds and ground almonds of the crumble also gave a nice texture to this humble cake. I certainly loved the result and I hope you try it too!

3. Give away

If you have some foods you know you won’t eat (it happens!!) just give it away to your friends and family, or even random people. There are so many people in need, no matter the country where you live in.

One way you can do this is by cooking a meal with those ingredients and give it to the homeless. You can also, look for food sharing websites or Stop Food Waste initiatives on Facebook groups. They are plenty.

Hopefully now you see some ways for you to save money, take advantage of what you buy, waste less, help people in need and take care of the planet. It is important that we open our eyes about how much we waste in order to stop this madness, and our kitchens is a good place to start.

As we still have other big holidays coming; we can be more mindful this time and practice all we’ve learned. No excuse!


We have a dedicated Pinterest Board to collect all the excellent ideas and resources out there about food waste. If you want to be over there pining, just let us know by sending us an email to kasheribbean@gmail.com and we will add you as soon as possible.

Do you have other ideas about how to stop food waste? Let us know in the comment section below, pinterest or instagram!

Tizkú leshanim rabboth!

Apple Peel Chutney & Apple Crisp Cake {Stop Food Waste!} Read More »

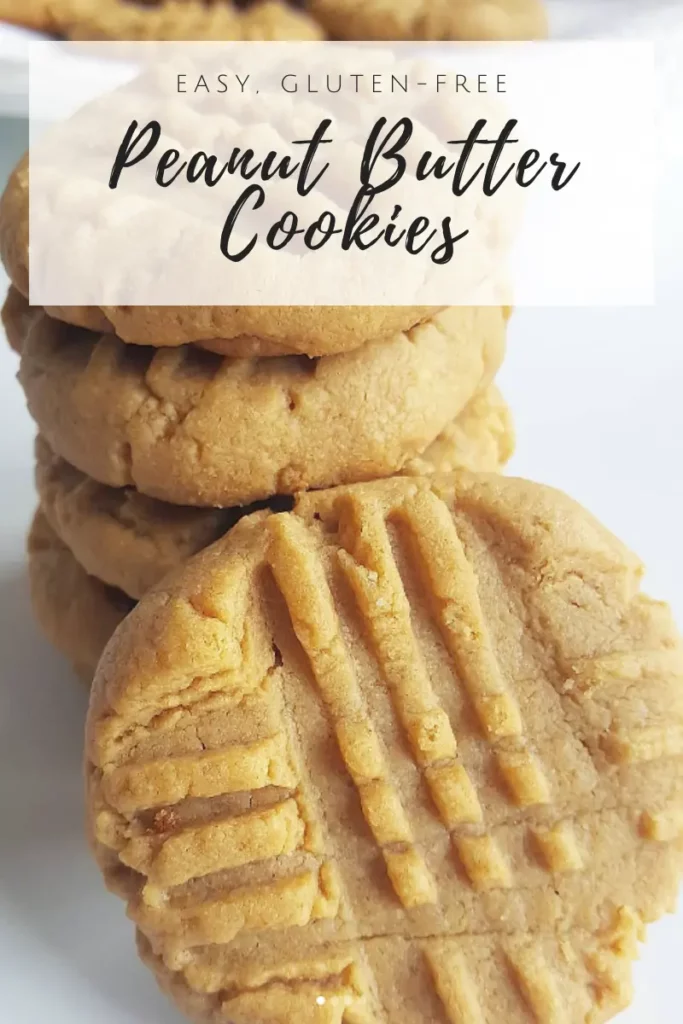
3 Ingredients Peanut Butter Cookies {Gluten-Free, Passover-Friendly}​

3 Ingredients Peanut Butter Cookies {Gluten-Free, Passover-Friendly}

I have been experimenting for a few years now with gluten-free and grain-free baking, and since Pesach is around the corner, I wanted to share with you, two cookies I really love. Of course I hope you come to love these cookies as well because they are the easiest cookies ever.  

Are you allergic to peanuts? You might want to try these Coconut Macaroons instead. 

These cookies are perfect because: 

 – They are passover-friendly 

– They only use a handful of ingredients you probably have at home

– You don’t need any fancy tool or equipment, just a bowl, a fork and a baking sheet.


Easy, right?

3 ingredients Peanut Butter Cookie {Gluten-Free, Passover-Friendly}

Servings 15 Cookies (20 gr each)

Ingredients
  

  • 205 gr Creamy Peanut Butter
  • 50 ml Eggs
  • 50 gr Granulated Sugar
  • Pinch of salt

Instructions
 

  • Preheat your oven to 350ºF (180ºC) and line your baking sheet with a silicon mat or parchment paper.
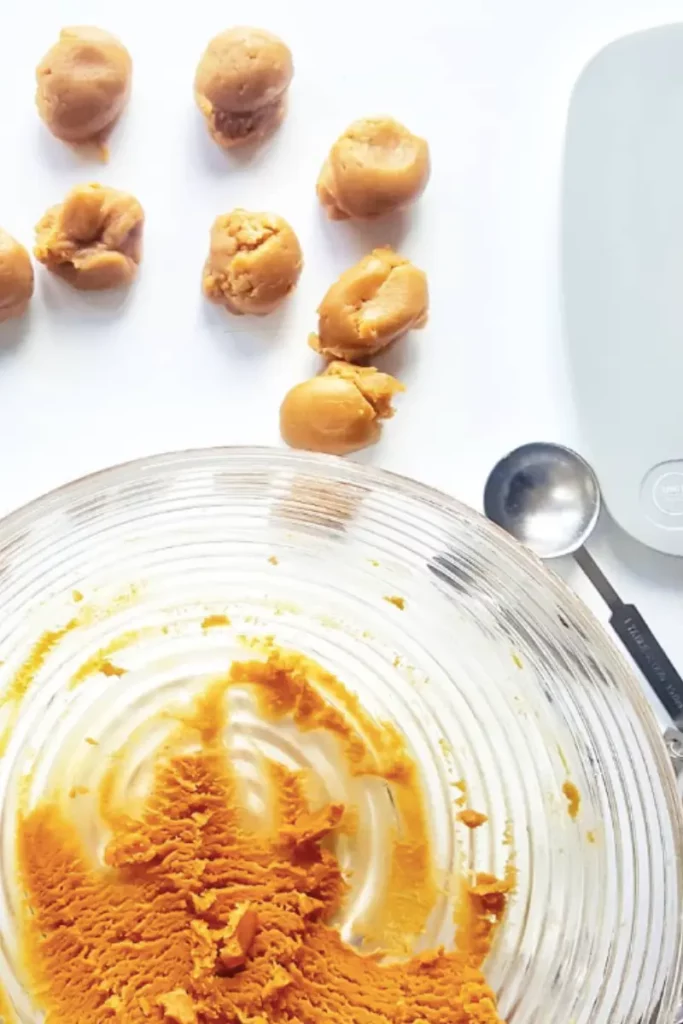
  • In a bowl, combine peanut butter, sugar and eggs and mix very well with a fork or spatula, until everything is combined and you get a dough with a thick consistency. If you are adding mix-ins, add them now.
  • Portion little balls of 20 grams (triple the recipe to make them bigger)and place over your prepared baking sheet.
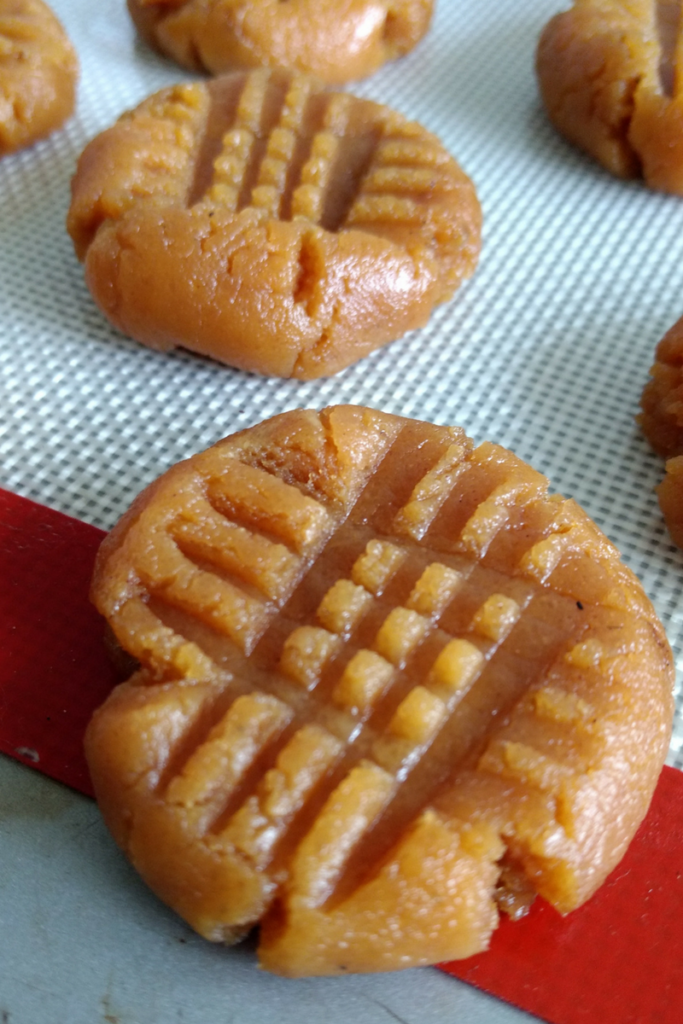
  • Flatten each ball lightly by pressing with a fork.
  • Bake in a preheated oven for 8 minutes (if you are making bigger cookies you might need to adjust your baking time)
  • The cookies are done when they are firm to the touch and, lightly brown at the bottom and have a matte finish. 

Notes

Optional add-ins:
Cinnamon 
Nutmeg
Chocolate Chips 
Roasted Peanuts 
Keyword baking, cookies, Gluten-free, passover, sweet treats

Have you make these Peanut Butter Cookies? Use the tag #kasheribbean to share on social media and, don’t forget to follow on instagram and pinterest to keep up with our easy recipes from us and the blogosphere!


3 Ingredients Peanut Butter Cookies {Gluten-Free, Passover-Friendly}​ Read More »

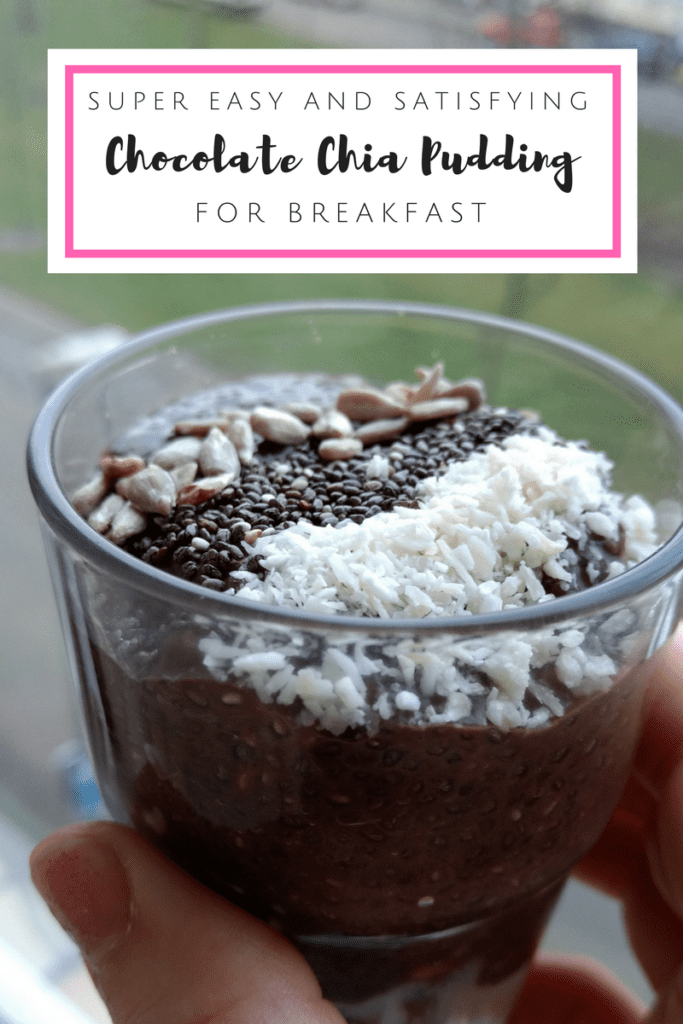
Super Easy {& Satisfying} Chocolate Chia Pudding for Breakfast

Easy & Satisfying Chia Pudding {Vegan, Gluten-Free}

The ONE thing I have struggled the most since my “trying-very-hard-to-eat-healthier” journey started is breakfast. Growing up we had a lot of what you consider common: “breads, milk, cheese, chocolate, eggs”, that let me feeling bloated and with stomach pain, and dominican favorites like mangú, or other roots with eggs, that although I loved, made me feel too heavy in the morning. The healthiest breakfast we came across at the time was oatmeal porridge, but it was too slimy for my taste. Saying I hated it is probably an understatement… 

I have actually come across chia seeds years ago. Someone told me that it help you lose weight. Just mix it with water, let it rest for a few minutes, and drink it all day long for I don’t remember what long. It seemed easy enough, so I went ahead and bought a huge bag of chia seeds. To make the story short, I hated it and regretted so much to spend my money on that. my first big bag of chia seeds I hated those tiny seeds in my water. 

Thanks God Pinterest exists now to help me feed my inspiration hunger. There I came across this Chocolate Chia Pudding and many other ways to use chia in the kitchen.  Adding chocolate was such a revelation! In case you don’t know chia seeds have the super power of transforming any liquid into a gel-like consistency, so in a few minutes you can make this pudding for breakfast, snack or even dessert. If you want a smooth consistency, you can use a high-speed blender, like Ninja, Vitamix and the like. 

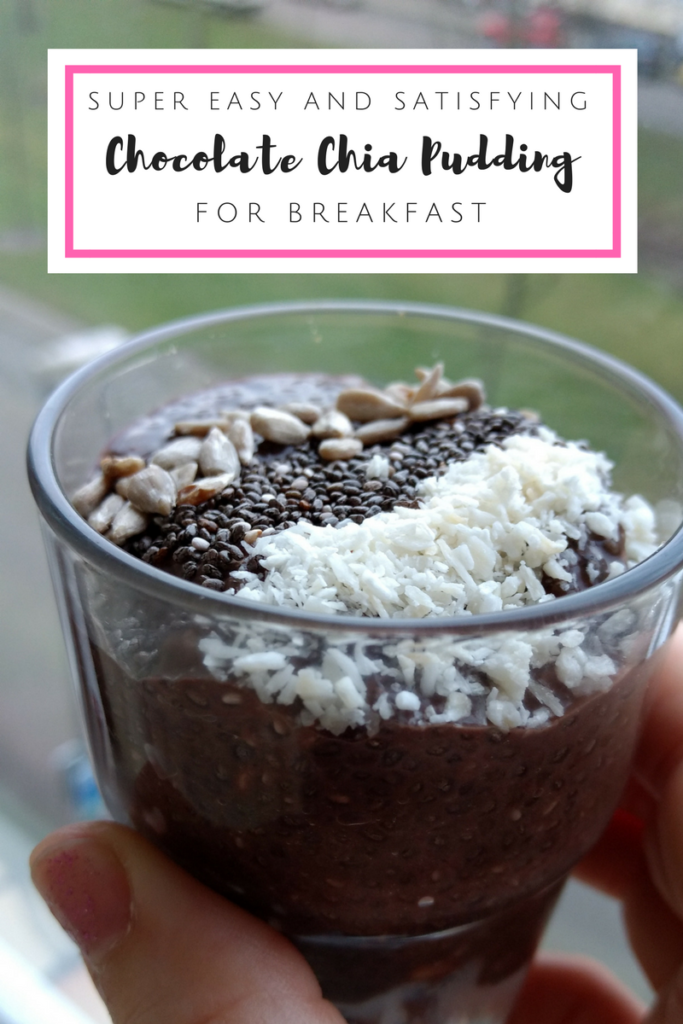
Chocolate Chia Pudding

Chocolate Chia Pudding {Vegan, Gluten Free}

Servings 4

Ingredients
  

  • 50 gr Semi-Sweet chocolate (chopped, or morsels)
  • 350 ml Coconut milk (use full fat for more creaminess)
  • 100 gr Chia seeds
  • Pinch of salt

Instructions
 

  • In a saucepan, heat the coconut milk until is warm.
  • Add the warm milk over the chocolate, and mix well until everything is incorporated
  • Add the chia seeds and mix well
  • Portion the mixture into ramekins, cups or small glass jars and rest in the fridge until ready to use.

Notes

  • You can make the chia pudding the night before and rest in the fridge overnight for even better consistency. 
Keyword breakfast, Gluten-free, vegan

What are your favorite toppings for Chia pudding? Let us know in the comment section below. Have you made this recipe of any other from the blog? We love to see your pics! Use the hashtag #kasheribbean to share on social media and, don’t forget to follow on instagram and pinterest for more recipes and inspiration.

Super Easy {& Satisfying} Chocolate Chia Pudding for Breakfast Read More »