Holidays

5 Full Menu Ideas for Passover {Classic, Modern, Dairy, Vegan & Superfood}

5 Full Menus to Cover your Passover needs {Classic, Modern, Dairy, Vegan & Superfood}

If at any point you have felt overwhelmed and with no idea what to cook for Passover, you are in the right place my friend, because here we have put together for you 5 Full Menu Ideas to cover all your Passover needs, whether you love the classics, you want a more modern approach, you love dairy, you are vegan or are into superfoods, we got you covered.  Each menu has 1 haroset recipe, 5 entrees, 3 main dishes, 5 sides dishes and 5 sweet treats. 
 
Since we are Sepharadim, we included some recipes with kitniot but, don’t panic; almost all recipes are grain free anyways. Let’s go! 

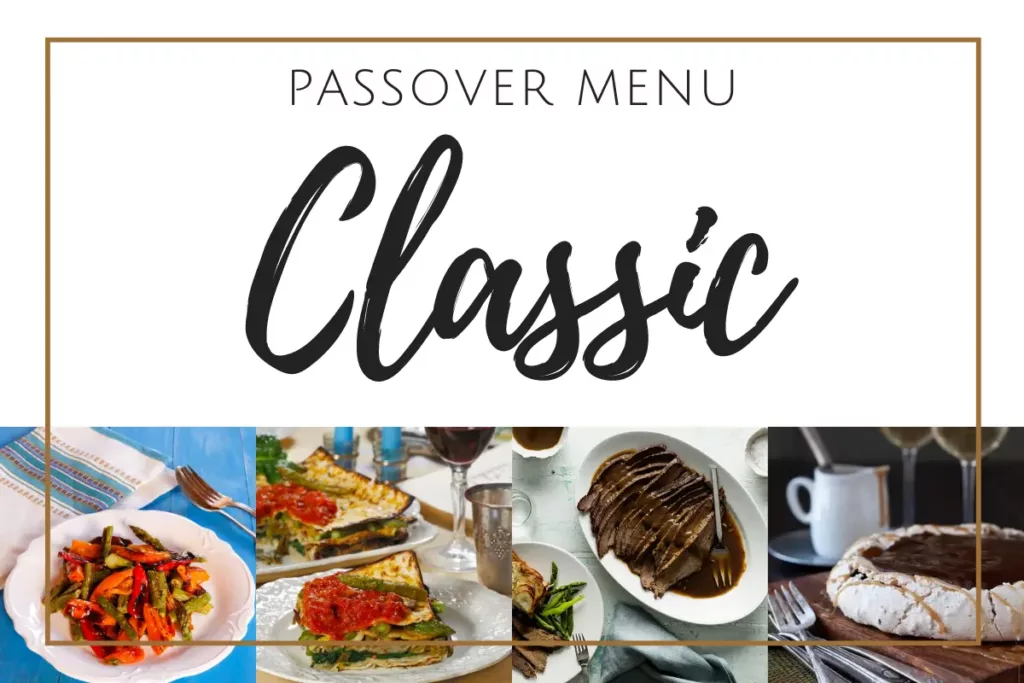
Passover Menu #1: The Classic

Passover Menu #2: The Modern

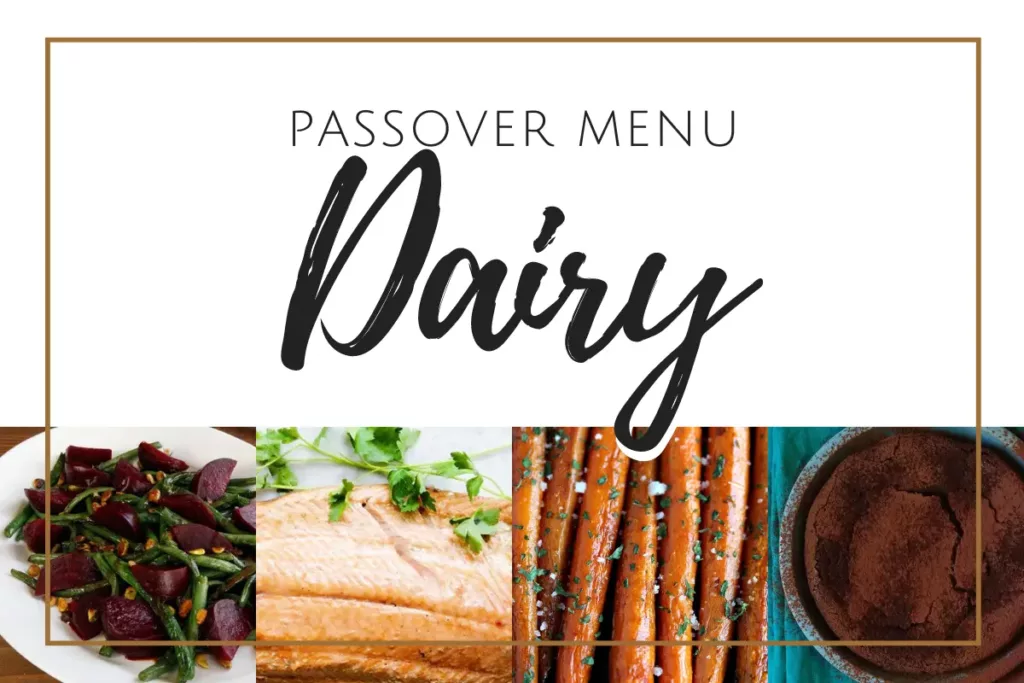
Passover Menu #3: The Dairy

Veggie lover Menu for Shavuot

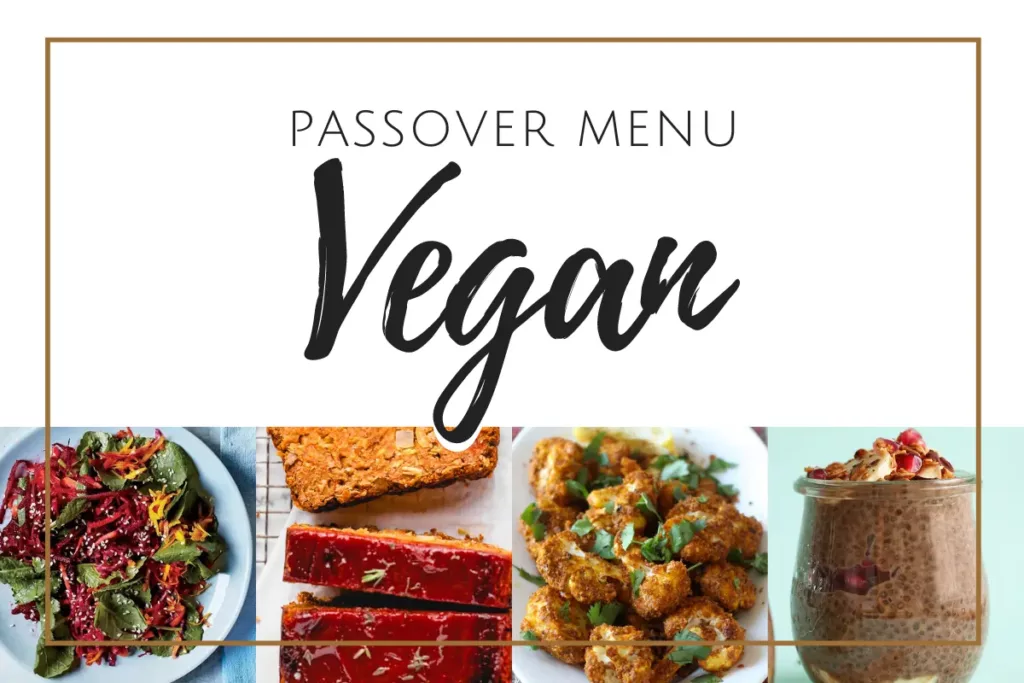
Passover Menu #4: The Vegan

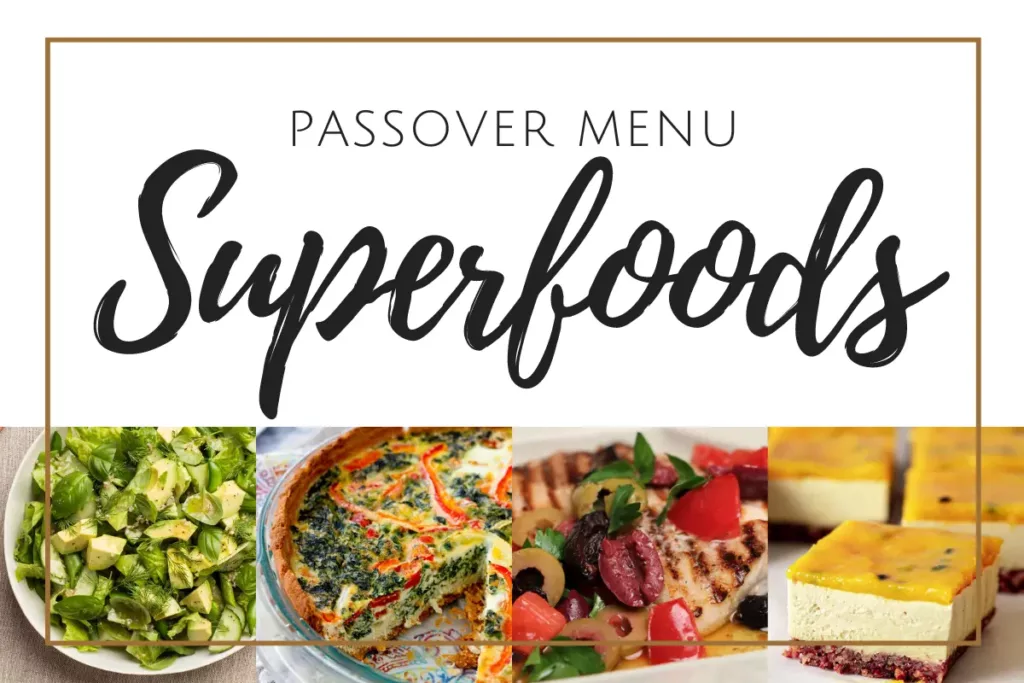
Passover Menu #5: The Superfoods

We hope you found some inspiration or maybe even a full menu for your very own Passover dinner.

What menu you liked the most? Let us know in the comment section, and don’t forget to follow on instagram and pinterest for more! We always love to hear from you.  

5 Full Menu Ideas for Passover {Classic, Modern, Dairy, Vegan & Superfood} Read More »

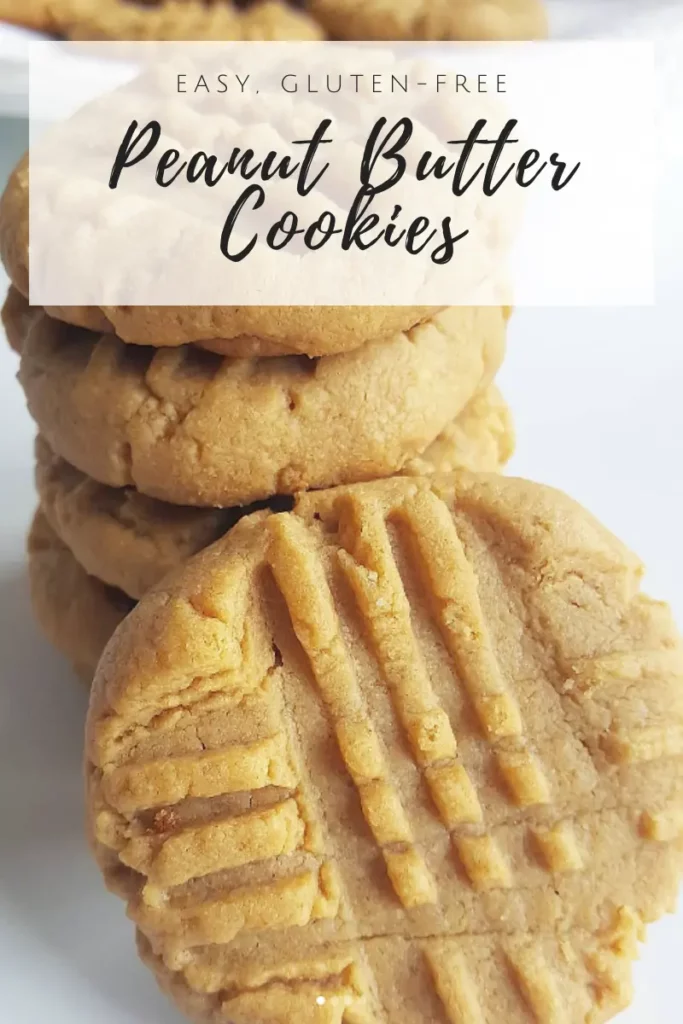
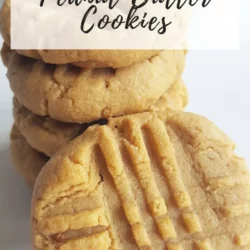
3 Ingredients Peanut Butter Cookies {Gluten-Free, Passover-Friendly}​

3 Ingredients Peanut Butter Cookies {Gluten-Free, Passover-Friendly}

I have been experimenting for a few years now with gluten-free and grain-free baking, and since Pesach is around the corner, I wanted to share with you, two cookies I really love. Of course I hope you come to love these cookies as well because they are the easiest cookies ever.  

Are you allergic to peanuts? You might want to try these Coconut Macaroons instead. 

These cookies are perfect because: 

 – They are passover-friendly 

– They only use a handful of ingredients you probably have at home

– You don’t need any fancy tool or equipment, just a bowl, a fork and a baking sheet.


Easy, right?

3 ingredients Peanut Butter Cookie {Gluten-Free, Passover-Friendly}

Servings 15 Cookies (20 gr each)

Ingredients
  

  • 205 gr Creamy Peanut Butter
  • 50 ml Eggs
  • 50 gr Granulated Sugar
  • Pinch of salt

Instructions
 

  • Preheat your oven to 350ºF (180ºC) and line your baking sheet with a silicon mat or parchment paper.
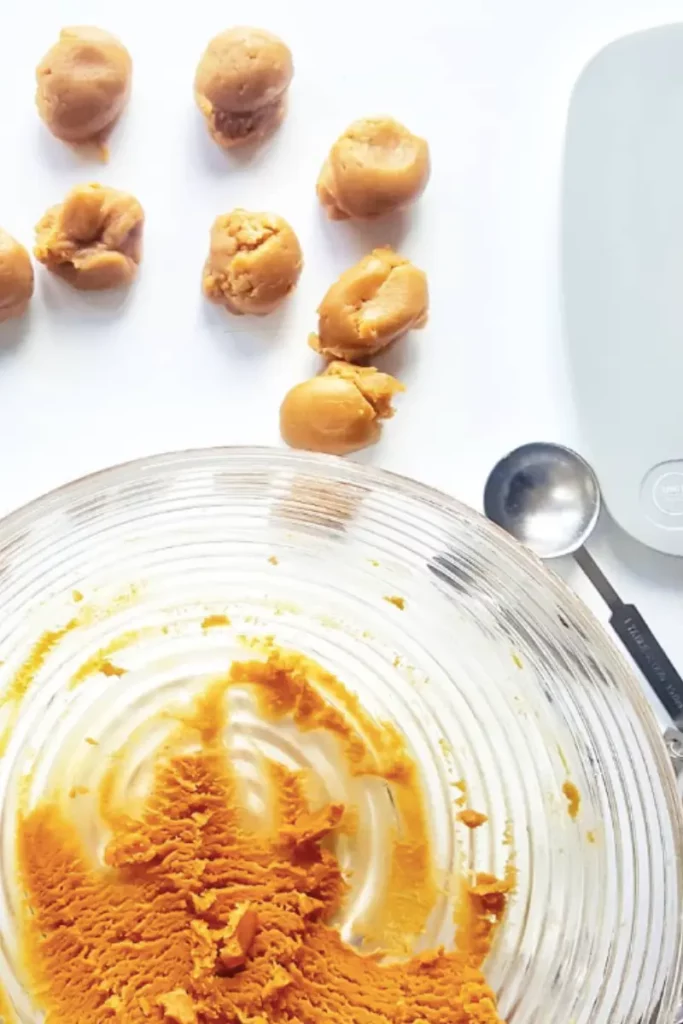
  • In a bowl, combine peanut butter, sugar and eggs and mix very well with a fork or spatula, until everything is combined and you get a dough with a thick consistency. If you are adding mix-ins, add them now.
  • Portion little balls of 20 grams (triple the recipe to make them bigger)and place over your prepared baking sheet.
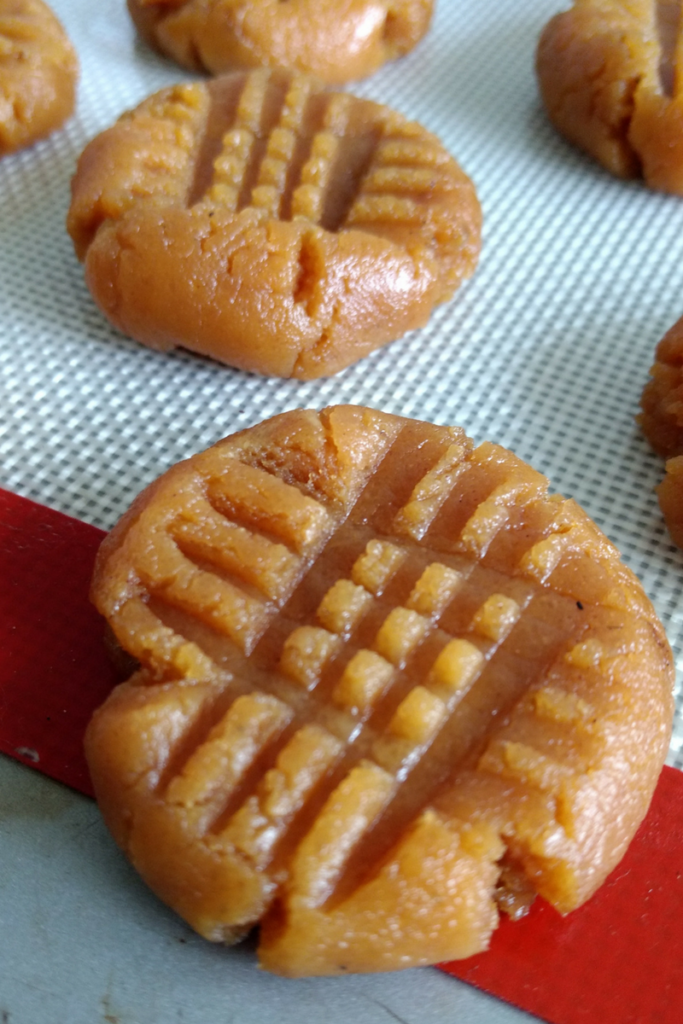
  • Flatten each ball lightly by pressing with a fork.
  • Bake in a preheated oven for 8 minutes (if you are making bigger cookies you might need to adjust your baking time)
  • The cookies are done when they are firm to the touch and, lightly brown at the bottom and have a matte finish. 

Notes

Optional add-ins:
Cinnamon 
Nutmeg
Chocolate Chips 
Roasted Peanuts 
Keyword baking, cookies, Gluten-free, passover, sweet treats

Have you make these Peanut Butter Cookies? Use the tag #kasheribbean to share on social media and, don’t forget to follow on instagram and pinterest to keep up with our easy recipes from us and the blogosphere!


3 Ingredients Peanut Butter Cookies {Gluten-Free, Passover-Friendly}​ Read More »

Passover Ingredients Swaps List

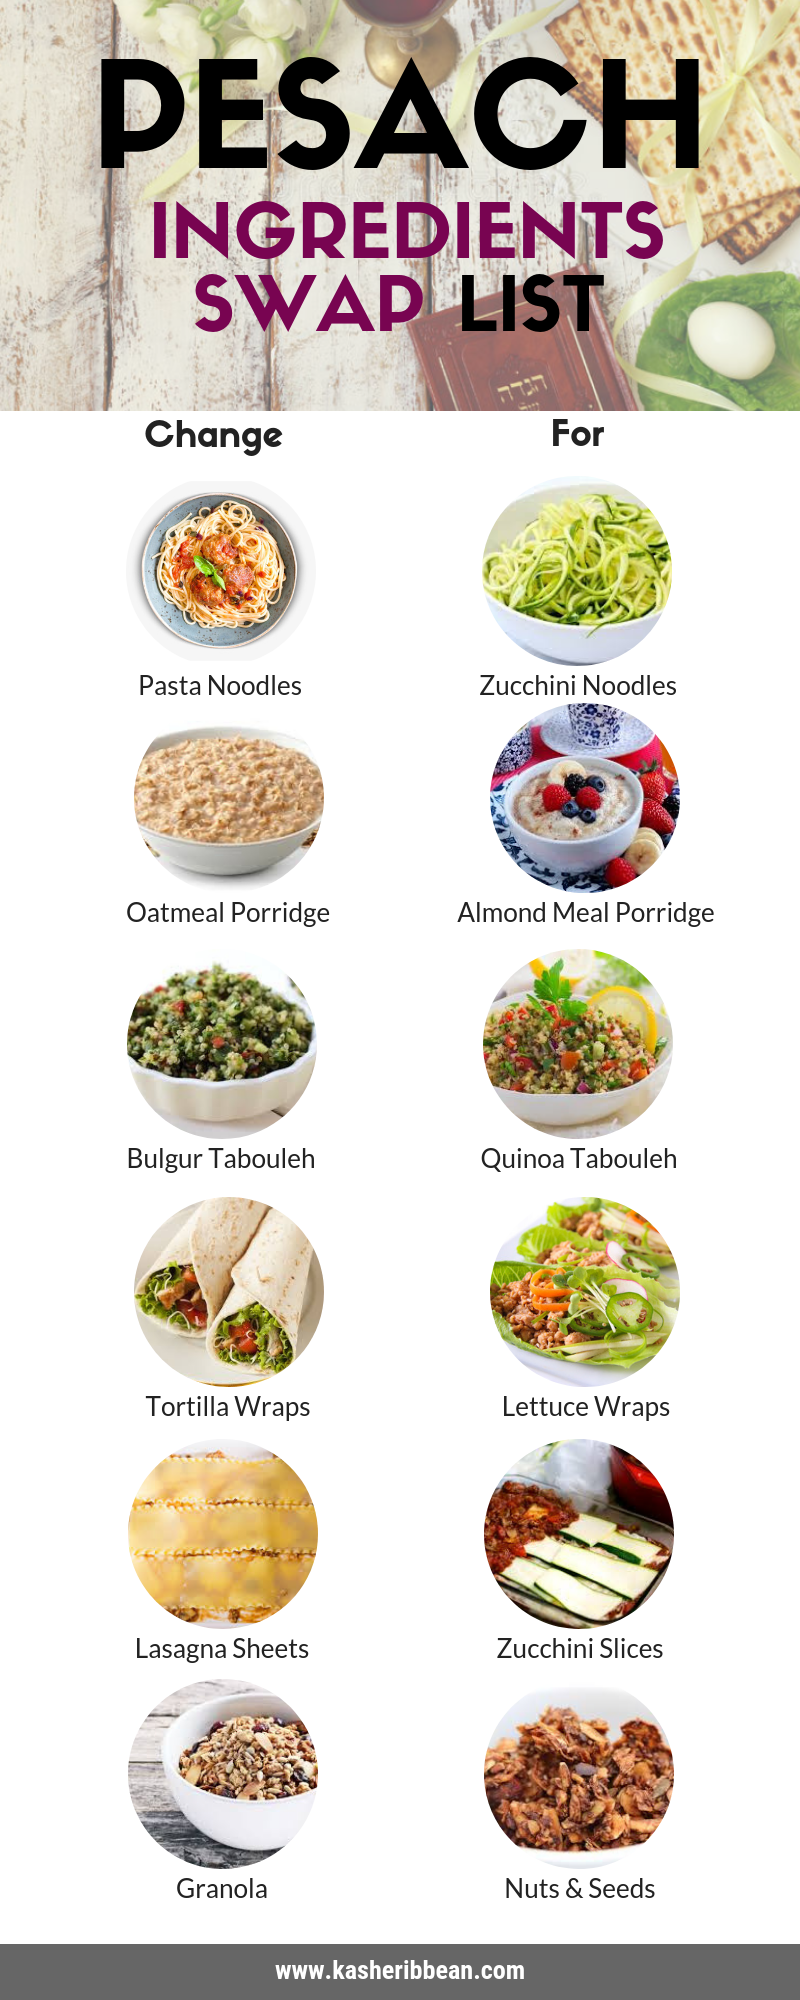
Handy Passover Ingredients Swap List

We all know those common Passover swaps, like substituting all purpose flour with matzah meal (even though, I haven’t been very successful with that myself) but, what if you want to substitute other common ingredients? This Passover Ingredients Swap List will show you some of the most common substitutions that we have available nowadays.  

I hope that with this Passover Ingredient Swap list, I can take off of you some of the overwhelm, and remind you how easy it is to cook (and enjoy!) not just eating during Pesach, but the planning that comes with it. 

If you are looking for more recipes and inspiration for Passover, you can check our curated Pinterest Board. 

Make sure to follow us on Instagram & Pinterest for more! 

Until next time,

Hannah

Passover Ingredients Swaps List Read More »

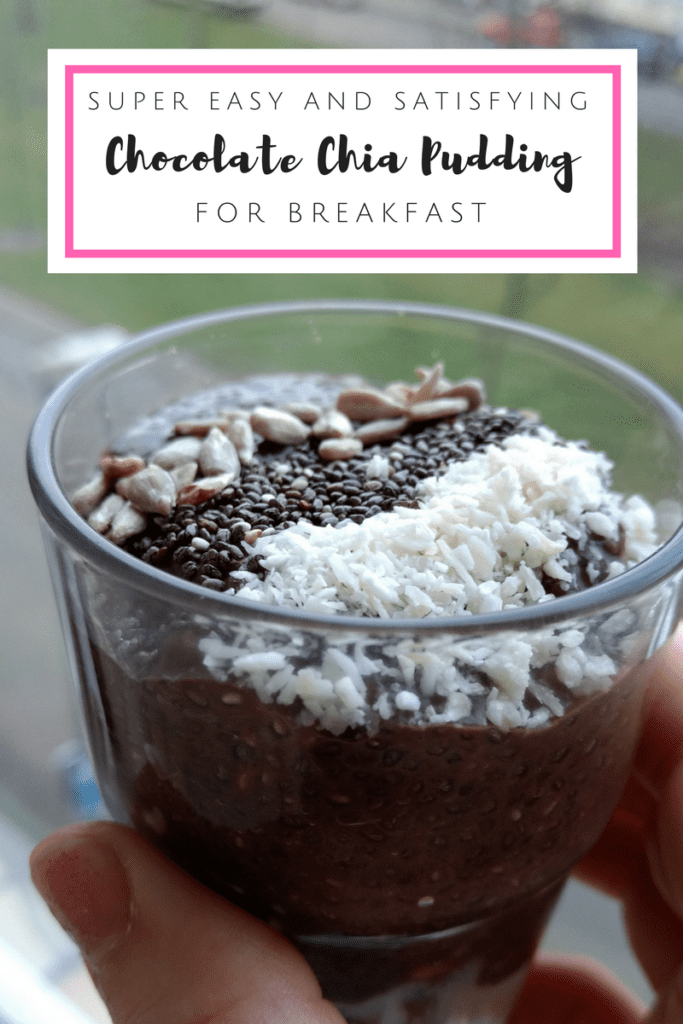
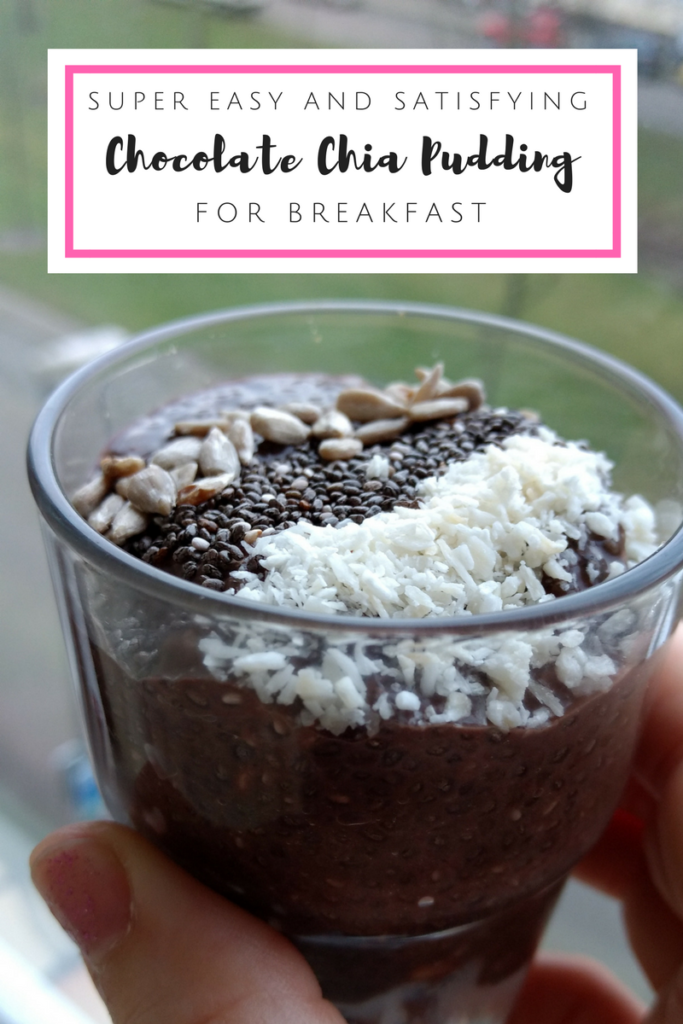
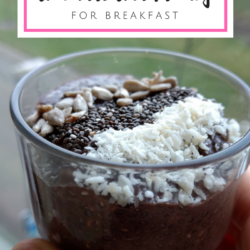
Super Easy {& Satisfying} Chocolate Chia Pudding for Breakfast

Easy & Satisfying Chia Pudding {Vegan, Gluten-Free}

The ONE thing I have struggled the most since my “trying-very-hard-to-eat-healthier” journey started is breakfast. Growing up we had a lot of what you consider common: “breads, milk, cheese, chocolate, eggs”, that let me feeling bloated and with stomach pain, and dominican favorites like mangú, or other roots with eggs, that although I loved, made me feel too heavy in the morning. The healthiest breakfast we came across at the time was oatmeal porridge, but it was too slimy for my taste. Saying I hated it is probably an understatement… 

I have actually come across chia seeds years ago. Someone told me that it help you lose weight. Just mix it with water, let it rest for a few minutes, and drink it all day long for I don’t remember what long. It seemed easy enough, so I went ahead and bought a huge bag of chia seeds. To make the story short, I hated it and regretted so much to spend my money on that. my first big bag of chia seeds I hated those tiny seeds in my water. 

Thanks God Pinterest exists now to help me feed my inspiration hunger. There I came across this Chocolate Chia Pudding and many other ways to use chia in the kitchen.  Adding chocolate was such a revelation! In case you don’t know chia seeds have the super power of transforming any liquid into a gel-like consistency, so in a few minutes you can make this pudding for breakfast, snack or even dessert. If you want a smooth consistency, you can use a high-speed blender, like Ninja, Vitamix and the like. 

Chocolate Chia Pudding

Chocolate Chia Pudding {Vegan, Gluten Free}

Servings 4

Ingredients
  

  • 50 gr Semi-Sweet chocolate (chopped, or morsels)
  • 350 ml Coconut milk (use full fat for more creaminess)
  • 100 gr Chia seeds
  • Pinch of salt

Instructions
 

  • In a saucepan, heat the coconut milk until is warm.
  • Add the warm milk over the chocolate, and mix well until everything is incorporated
  • Add the chia seeds and mix well
  • Portion the mixture into ramekins, cups or small glass jars and rest in the fridge until ready to use.

Notes

  • You can make the chia pudding the night before and rest in the fridge overnight for even better consistency. 
Keyword breakfast, Gluten-free, vegan

What are your favorite toppings for Chia pudding? Let us know in the comment section below. Have you made this recipe of any other from the blog? We love to see your pics! Use the hashtag #kasheribbean to share on social media and, don’t forget to follow on instagram and pinterest for more recipes and inspiration.

Super Easy {& Satisfying} Chocolate Chia Pudding for Breakfast Read More »

High Holidays Serie – Part 1: Planificación del Menú y Elaboración de los platos {con Timeline descargable}

El mes más ocupado de todo el año ha llegado y tenemos que estar preparados fisicamente y mentalmente para la tarea. Es por eso que hoy voy te quiero compartir algunos consejos para que inicies a planificar tu menú para Rosh haShanah y, básicamente todas las fiestas.

Esta serie consistirá de 3 partes:

Sé que suena un poco pronto para hablar de planificación de menú para Rosh haShanah, pero, bueno, asi soy yo. Puesto que quiero cubrir algunos temas, de hacerlo un solo día esto se convertiría en un post demasiado largo. También, quiero asegurarme de tener suficiente tiempo para planificar mi menú, buscar ofertas especiales y hacer ajustes en el menú de ser necesario, todo esto sin tener una crisis nerviosa o sufrir de agotamiento, así que, si eres como de alguna forma, espero que encuentres este post útil. Ahora vamos a la carga:

Primero lo primero
Tienes que empezar por decidir qué tipo de comida o “tema” deseas para tu menú. Por supuesto, al final será todo “comida”, pero cuando decides un tema para el menú este lucirá más cohesivo. Por lo general mis temas son mediterráneo, comida caribeña o de medio oriente. Una vez has decidido sobre el tema, debes pensar en para quién estarás cocinando: ¿miembros de la familia? ¿desconocidos? ¿grupo de amigos?. Si estás cocinando para los miembros de la familia puedes incluir algunos platos que a tu familia le gusta, por el otro lado, si cocinas para un grupo más grande o de amigos quizás querrás preparaciones más aptas para saciar a una muchedumbre (a menos que estes cocinando para una gala, por supuesto :D) o que sean más fáciles de preparar. Estas decisiones definirán tu menú En mi caso, por ejemplo, si estoy cocinando apenas para mi familia tiendo a cocinar comidas más simples con un montón de verduras crudas. Por otra parte, si estoy cocinando para un grupo más grande, las ensaladas tienden a ser más complejas e incluyo más verduras cocidas.
Lluvia de ideas
Ahora que tienes una idea del tipo de comida que deseas servir y la gente para la que estarás cocinando, es momento de iniciar un proceso de lluvia de ideas. En este punto, me gusta apuntar mis ideas para los entrantes, platos principales, guarniciones, ensaladas y postres y los diversos componentes de cada uno. Escribo todas mis ideas y se me siento bloqueada puedo checar en pinterest, instagram o simplemente hacer una búsqueda de google para más inspiración. The Kitchn Blog, Tori Avey Blog y Joy of Kosher son algunos de los blogs en los que busco inspiración, especialmente en esta época del año (tienen una gran selección de platos de estilo sefardí con una presentación moderna)

Guarda tus recetas en Pinterest

Soy una persona muy ” visual ” y es por eso que en este punto hago una búsqueda crónica (si, asi mismo, haha) de imágenes que tengan similitud a lo que tengo en mente y las guardo en Pinterest (cruzando los dedos de que sean pinterest-friendly hehe) en un board especial, dedicado al menú que estoy planificando. Esto me funciona muy bien ya que me ayuda a visualizar el menú final en su conjunto y también me da una visión general de los ingredientes principales, y de cómo me gustaría que fuera el aspecto del plato final.

Pinterest es una herramienta tan impresionante porque con ella también puedo visualizar cuántas variaciones puedo tener en mi menú e incluso que tan colorido lucirá (¡no me gusta un menú monocromático! Me gusta muchos colores, ya que esto por si solo hace que el menú luzca apetecible). Por supuesto, si no usas pinterest puedes anotar tus ideas en una libreta y cerciorarte que tienes suficiente variedad, y si coleccionas revistas, puedes literalmente hacer * pin * de tus ideas en la pared de tu dormitorio 😀

Así es como mi actual Rosh Hashanah Pinterest Board luce. Si deseas seguirlo haz click aquí
¿Cuánto Cocinar y Para Cuántas personas? 
En este punto tendrás que usar un poco de matemáticas, pero nada extravagante. Antes de comenzar la construcción de tus recetas para la ocasión y calcular las porciones por plato deberás tomar en consideración cuántos invitados esperas y quiénes son estos. Esto es porque un niño de 5 años no comerá la misma cantidad de comida que un adulto y quizás no coma ciertas cosas como sopas o ciertos vegetales, entonces debes considerar si es necesario ajustar las porciones de estos platos en comparación con aquellos que pueden ser un “exitazo”.
Por lo general, yo escribo el nombre del plato en mi libreta y debajo incluyo una lista de los ingredientes, después utilizo mi tabla favorita de Porciones por Persona (Yo uso Cooking for a Crowd for Dummies Cheatsheet, pero también puedes utilizar las porciones de tus recetas favoritas como guía) para hacer cálculos aproximados sobre cuántos ingredientes necesito para cada plato y cuántas porcioned necesito en total. Recuerda ajustar las cantidades de las elaboraciones que puede no sean tan populares, como he mencionado antes. Esto asegurará que tengas suficiente comida por persona, pero también que no vas a desperdiciar.
Luego que este proceso ha terminado, tengo mis recetas construidas para cada plato, así que ya puedp hacer una lista de compras.
Lista de compras (preliminar)
Ahora es el momento de comenzar a hacer tu lista de compras preliminar. Digo “pre” porque no tiene que ser masiva en este punto, pero al menos debe incluir los ingredientes principales de sus platos (como granos, carne, pescado, ciertos tipos de verduras, pastas, productos para hornear, otros elemntos misceláneos como papel aluminio, papel de horno, bandejas descechables, etc). Después de todo, no puedo esperar comprar todo en un solo viaje :-/ Si estoy trabajando con un presupuesto específico, me gusta incluir los precios promedio de cada ingrediente y dónde puedo encontrarlos. (Yo suelo visitar 2 a 3 tiendas dependiendo de lo que necesito). De esa manera puedo planificar mis compras estratégicamente dentro de ciertos días y buscar ofertas especiales. Una vez que hayas hecho esta primera compra, puedes revisar tu lista de compras para ver si hay algo que falta; a continuación puedes hacer una lista final con esos elementos faltantes.
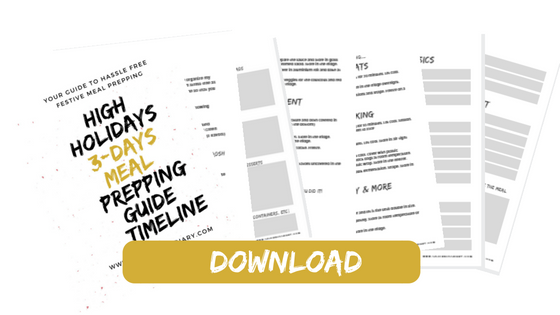
Tiempo para preparar la comida
Descarga la Guía (por el momento solo disponible en ingles)
Y pues, ¡con esto haz finalizado tu planificación!
Cuando se tiene un montón de cosas que hacer, la planificación es sin duda la clave del éxito.
¿Nos faltó algo? ¿Cómo planificas TU el menu para las fiestas? Déjanos saber en los comentarios abajo, y no olvides seguirnos en pinterest o en instagram.
¡Happy planning! 🙂

High Holidays Serie – Part 1: Planificación del Menú y Elaboración de los platos {con Timeline descargable} Read More »