Holidays

Dominican Style Spicy Rice with Sardines

Sometimes you just need that sort of “comfort food” at hand, and for me “un locrio de pica pica”, a spicy rice with sardines, with some beans do the trick. If you have avocado on the side is even better! 😀


Budget friendly with great flavor

This is one humble dish and for me has always been a favorite, maybe because I have always loved strong flavors (aka sardines, herring, cod fish and weird veggies like “molondrón” (okra) lol) but also because it is highly nutritious and cheap. Win-Win all the way.

In Dominican Republic some people argue if locrio (rice mixed with either meat, fish or veggies) should be eaten with beans on the side or not (Get the recipe for Stewed Kidney Beans). I like it with beans, but also an avocado, some fresh salad and fried ripe plantains are enough Ha! Yes! We dominicans love carbs 😛

Typically in DR this rice is prepared with sardines in spicy tomato sauce (which is an horrendous spicy tomato sauce by the way) but I am not a fan of that awful tomato sauce (yuck!) so I use sardines in oil, discard the oil and add paprika for color and taste.

For this recipe you’ll need

This is how we eat it at home…

If you enjoy these recipes we share and want to see more Kasher caribbean style recipes, let us know in the comment section below and don’t forget to say hi on instagram and pinterest. We always love to hear from you!

Until next time!


Dominican Style Spicy Rice with Sardines Read More »

These are the Best Yeast Doughnuts. Period! (Dairy-Free)

The Only Yeast Donuts Recipe You'll Ever Need {Dairy-free}

I have been testing yeast doughnuts recipes since 2010. During that time, I have wasted hundreds of pounds of flour (no kidding!) searching for the best, fluffy doughnuts ever eaten, without the load of dairy products. It can take time to find a doughnut you love, and when you do, they will most likely be amazing when fresh, but not so good the next morning… except for these ones!

These doughnuts are a must during Hanukkah, and although they are a labor of love, your family and guests won’t be disappointed, in fact, they might beg for more, because these doughnuts are airy and fluffy even when baked!, and they pass the “next morning” test – reheated in the oven at 300F for about 3-5 minutes, and they were as good as new (hey, you don’t even have to reheat if you leave them at room temperature! In short, these are a dream come true!

And, well, as much as I want to tell you that I did all the”figuring out” by myself, the truth is, a very talented baker that I’ve followed on instagram for some years now, kindly shared her recipe with me, and to that I made adjustments. If you love baking, and want to learn more recipes and tips, you should check her page on instagram.

All the nitty gritty of this doughnut is detailed in the recipe notes below. As I said, these are a labor of love, but so worthy. If after all the details you still have questions, please, don’t hesitate to ask; send me an email or DM on instagram or use the contact form here

These are the Best Yeast Doughnuts. Period! (Dairy-Free)

Course Dessert

Equipment

  • Hand Mixer with dough hook or Stand Mixer

Ingredients
  

  • 1 Kg All Purpose flou
  • 250 gr Bread flour
  • 100 gr White Sugar
  • 20 gr Rapid Rise Yeast* (also called "instant") see Notes below
  • 210 ml Eggs
  • 515 ml Lukewarm Water
  • 100 ml Vegetable Oil (or other neutral oil)
  • 30 ml 30 ml Vanilla extract, butter emulsion or other preferred flavoring
  • 3 gr 3 gr Vanilla Sugar* omit if using vanilla extract
  • 2 gr Salt

Speculoos Donuts

  • 720 gr Speculoos cookie spread
  • 200 gr Speculoos cookies

Chocolate Filling

  • 200 gr Semi-Sweet Chocolate chunks
  • 250 gr Plant-based milk
  • 50 ml Vegan Whipping cream

Glazed Chocolate Donuts

  • 150 gr Confectioner's sugar
  • 30 gr Cocoa Powder
  • 30 ml Prepared instant coffee (or you can use plant-based milk or water instead)
  • 1 tsp Vanilla extract

Instructions
 

  • Cut out squares of baking paper and set aside.
  • In the bowl of your stand mixer, mix the dry ingredients.
  • Add wet ingredients to the mixer and start mixing on low, then medium speed10-12 minutes. (If using hand mixer with hook attachment, make sure you stop the mixer for a minute after a few minutes, to avoid overheating).
  • Transfer the dough to a lightly floured surface. Weight portions of 60 gr for traditional size donuts or 30 gr for 2-bites size donuts.
  • Place the donut over a baking sheet, each donut over a piece of a square of baking paper. Cover the donuts with a towel and set aside.
  • Let the donuts rise at room temperature for about 1 hour, or until doubled in size.
  • About 20 minutes before frying, start preheating your vegetable oil.
  • Place the donuts with baking paper in the hot oil and fry for 2-3 minutes on each side. Once golden brown, remove from the oil and place over a wire rack to drain excess oil.

For the Sugar Donuts

  • Place the donuts in a bowl of sugar while they are still warm.
  • Carefully remove the excess sugar before serving.

For Cookie Butter / Speculoos Donuts

  • Place soften cookie butter in a piping bag with a round tip
  • Make a incision on one side of the donut with a pairing knife, then place the piping tip inside the incision and fill the donut
  • Spread or pipe some cookie butter on top of each donut, and top with pieces of Speculoos cookies.

Chocolate Filling

  • Simmer the milk of choice, and pour the hot milk over the chopped semi-sweet chocolate. Set aside for a few minutes, until the chocolate starts to melt.
  • Mix the milk and chocolate very well with a whisk, until everything is well incorporated, the ganache is glossy and no chocolate chunk remains.
  • Cover the ganache with plastic wrap on contact and set aside until the ganache is semi-firm and spoonable.
  • Mix the ganache with the whipping cream. Place the whipped ganache inside a piping bag with a round tip. Set aside.
  • Make a incision on one side of the donut with a pairing knife, then place the piping tip inside the incision and fill the donut with the whipped ganache.
  • Glaze (recipe follows) and set aside for a few minutes, for the glaze to set.

Chocolate Glaze

  • Mix together sugar and cocoa powder with a whisk to break any lumps.
  • Slowly pour in the coffee or milk of choice, to make a paste.
  • Continue mixing, adding coffee or milk, a little at a time if necessary, until you have a pourable consistency.

Notes

On the ingredients:
THE YEAST:
If you are using "dry yeast" instead of "rapid rise or instant yeast", use double the amount of yeast. 
Instant yeast can be added directly to the dry ingredients, but if you are using dry yeast, you need to bloom (activate) it first. Sprinkle the yeast over the lukewarm water listed on the recipe, mix well with a fork and set aside for a few minutes until foamy. Then, the yeast if ready to use. 
VANILLA SUGAR:
If you don’t have vanilla sugar you can make your own just scrape out the seeds of one vanilla pod and mix with 1 cup of sugar. Place this into a airtight container together with the vanilla pod until ready to use. If you can’t find vanilla sugar or make your own, use 1 tsp of vanilla extract in its place.

If you are making the dough by hand
In a big bowl, mix your dry ingredients, then make a well in the center and add your mixed wet ingredients. Start working with your hands, mixing the ingredients from the center outwards, until you form a dough. It will be sticky. DON'T be tempted to add more flour to the dough itself. Cover the bowl with plastic wrap and let it rest for about an hour at room temperature, until double in size.
** If you will be making the donuts later, you can place the bowl, covered in plastic wrap in the refrigerator, for a slow fermentation, until ready to use. When ready to use, take the bowl out of the refrigerator and let come to room temperature and double in size before proceeding with next steps. 
Once the dough has doubled in size, push down the dough and transfer to a lightly floured surface, and continue with the next steps. 

If you are baking the doughnuts

Preheat your oven to 180ºC (350ºF) .
Shape the doughnuts and place on a baking sheet with baking paper.
Set the donuts aside until double in size, and bake in a preheated oven for 25-30 minutes.
Storing for future use: 
Shape the doughnuts and place over a baking sheet covered with baking paper or a silicon mat.
Place the baking sheet in the freezer until the donuts are rock hard.
Remove the donuts from the baking sheet and store on in a ziplock bag.
When ready to use, place each donut over a square of baking paper and on a baking sheet to come to room temperature and double in size. Then, fry or bake as stated previously 
Keyword dairy-free, donuts, hanukkah

Have you make these Dairy-Free Yeast Doughnuts yet? Use the tag #kasheribbean to share your pictures on social media and, don’t forget to follow on instagram and pinterest for more recipes and inspiration! Until next time.

These are the Best Yeast Doughnuts. Period! (Dairy-Free) Read More »

roasted beets salad

Roasted Beets Salad

Easy Roasted Beets Salad {Vegan, Gluten-Free}

Beets are a root vegetable often overlooked in the produce aisle, but they are actually very nutritious and a versatile addition to any diet. They come in a variety of colors and can be cooked in a variety of ways. Roasting is a popular method of cooking beets, because it brings out their natural sweetness, makes them tender without losing texture and enhances their earthy flavor.

This Roasted Beets Salad combines the sweetness of roasted beets with the warm and earthy flavor of cumin, creating a tasty and nutritious dish that is sure to impress.

Cumin: the perfect complement to Roasted Beets Salad

We complement this Roasted Beets Salad with the addition of cumin, which is known for its distinctive aroma and warm, earthy flavor. 

In order to bring out the cumin flavor is important to lightly heat it up in your skillet for a few seconds and then continue with the recipe. 

How to roast beets

To roast beets, start by washing them really well with a brush. Then, if they are all similar size, you can go ahead and roast them whole, in which case peeling is not necessary. 

Alternatively, you can cut the beets into evenly sized pieces, about 1-inch cubes or wedges, toss in a bowl with a little bit of olive oil and salt, coat them evenly, and spread them out on a baking sheet.

Roast the beets in a preheated oven at 400°F for about 30-40 minutes, or until they are tender and caramelized. You can check for doneness by inserting a fork or knife into the thickest part of the beet – if it slides in easily, the beets are ready.

roasted beets salad

Roasted Beets Salad {Vegan, Gluten-Free}

Course Salad, Side Dish

Ingredients
  

  • 400 gr Beets (roasted, cut into cubes)
  • 100 gr White or yellow onions (cut in julienne)
  • 50 gr Fresh parsley chopped
  • 1 Tbsp Extra Virgin Olive Oil
  • 1.5 tsp Cumin powder
  • Salt & Pepper to taste
  • Fresh Parsley, chopped for garnish (optional)

Instructions
 

  • To roast your beets, wrap each one in aluminium foil (cut them in half if they are too big) and roast for about 40 minutes to 1 hour at 200°C (about 400°F) or until they are cooked through. Let cool to room temperature, peel and dice.
  • In a frying pan, add the cumin and heat it up on low for a few seconds to bring out the flavor.
  • To the frying pan, add the olive oil and the onions and cook until they are translucent.
  • Add the beets and the parsley and cook for about 3 minutes.
  • Season with salt and pepper to taste (just a pinch might be enough since the beets are already very flavorful). Mix everything thoroughly.
  • The beets are done. Turn off the heat and garnish with some more chopped fresh parsley.
  • You can serve this salad warm or cold. Enjoy!
Keyword beets, salad, vegan

Have you make this Roasted Beets Salad or any other from the blog? Use the tag #kasheribbean to share on social media and, don’t forget to follow on instagram and pinterest to keep up with our easy recipes from us and the blogosphere!


Roasted Beets Salad Read More »

Sahlab or Sachlav: A Yummy Winter Beverage

Learn how to make Sahlab, Sachlav or Salep,  This interesting hybrid between a beverage and soft pudding/custard, is a middle eastern treat typically prepared in Israel as a winter favorite (I tried this on April this year so you may also find it in certain cafes all year round). This cold weather calls for a hot beverage and this one couldn’t be easier.

Disclosure: Please note this post contains affiliate links, which means at no additional cost to you, we earn a few bucks if you decide to make a purchase through any of those links. We only recommend products that we personally use, support and/or would recommend without an affiliate link. Do not spend any money on these products unless you totally feel you need them for more that one-time use. Thank you so much for your support. For more information visit our Affiliate Disclosures Page.

The concussion of coconut and rosewater flavors present in this beverage makes it so comforting. I have made this recipe before (did I tell you I am a fan of coconut in every form?) with just vanilla extract because i didn’t have the rosewater and it was good, but the rosewater gives it a much better kick and deeper aroma. Talking about aroma, the aroma is so heavenly, so do your best to find the rosewater is not like anything you have tasted before. You won’t be disappointed. Still, if you can’t, don’t worry and use vanilla extract this time. It will be good anyways (this with vanilla flavor reminds me of the coquito without the rum, a puertorican hot beverage typically served for winter)


To make Sahlab you just need a handful of ingredients and you will be enjoying this yummy beverage for your breakfast or dinner in no time.


As you can see Sahlab is so easy to do. Have you tried yet? In case you haven’t, we hope you give it a try soon! When you make Sahlab don’t forget to share your pics and tag us as #sisterblissdiary on instagram! Also, you can show us some Pinterest love…
Until next time!

Sahlab or Sachlav: A Yummy Winter Beverage Read More »

5 Things Non-Jewish Parents Can Learn from Hanukkah

Recently, I stumbled upon the following article: 5 Things Jewish Parents can Learn From Christmas, and under normal circumstances I will just finish reading like nothing happened, but an article suggesting I can learn something from Christmas in the days of Hanukkah was huge (I mean, seriously?!). Please, don’t get me wrong, Christmas is OK for Christians, but in a time when there is a great deal of assimilation, when even Jews are forgetting the deep meaning of Hanukkah and most of non-Jews, specially in the USA, believe that Hanukkah is just the equivalent to a “Jewish Christmas”, I wanted to step in.

In its very core, Hanukkah is a fight for the traditions of the Jewish people and a fight against assimilation. This history happened when Jews refused to follow the orders of the King, Anthiocus Epiphanes, of following other customs and assimilate to the greek-syrian traditions. Anthiocus Epiphanes went too far by making an idol to stand in the Jewish Temple and prohibiting  to follow the Torah (Jewish Law) under death threat. It was a time of oppression; but when a man, Matityahu (Mattathias) Maccabee, was called to worship the idol and he refused, and then he killed an officer of the King, an organized rebellion started that eventually fought against King Anthiocus and won, after 4 long years of initial war. This led to the re-dedication of the temple and regaining of some sort of independence (plus, many years of confrontations afterwards).

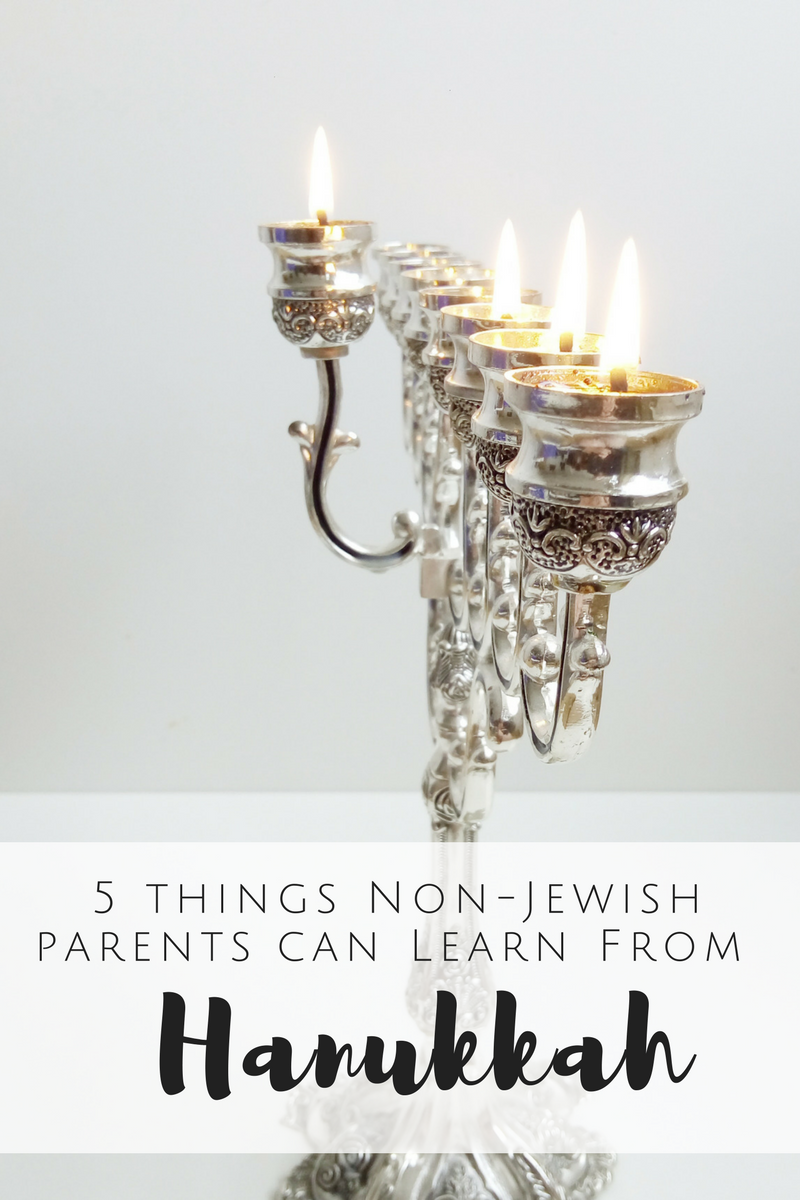
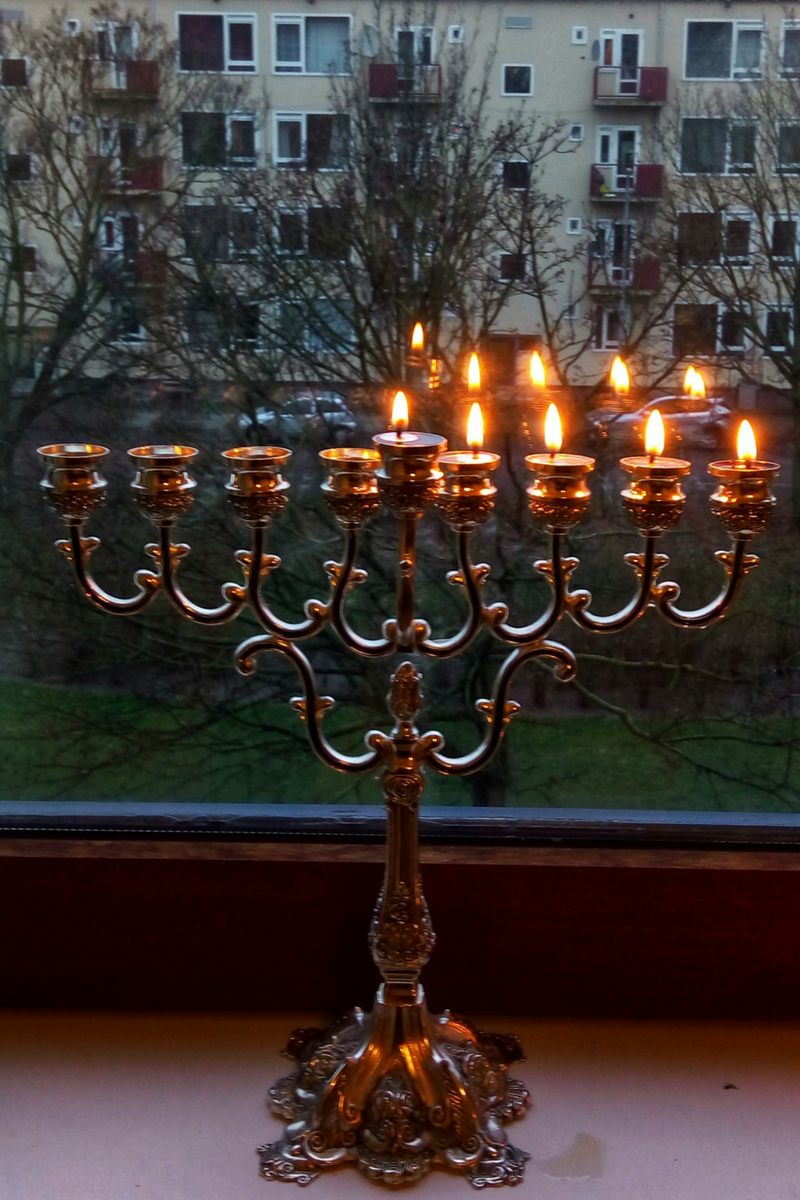
Apart from the historical details of Hanukkah (also known as “Festival of Lights”), these are 5 things Non-Jews Parents can Learn from it:

1. Integrity

At the time of Anthiocus Epiphanes a lot of people of different faiths and cultures abandoned their traditions in order to follow the King’s rules, even many Jews started to follow the hellenistic ways (yup, this is the ugly side of the Hanukkah history) but then, a man stood up, Mattathias Maccabee, with his family and many others, defenders of their traditions, fought the king, organized a rebellion, won the war and regained the Temple. Hanukkah is also about standing up and give the voice to the ones that don’t have one. It tells the story of those who defended their beliefs and guard their traditions in a time when for doing so, you were consider an enemy of the king. This is what it means to be a person of integrity and act accordingly you believe in.

2. Courage & Perseverance

Recruiting an army to fight the king, educating the people in the ancient traditions, be a motivator of the people and finally go out and face the oppressors didn’t happened overnight. Having a focus, courage and perseverance was key to success. Even after re-dedicating the Temple, the Jewish people had to continue their fight for a long period of time while they were subjected to tortures and mistreatment until they finally reclaimed their rights.

3. Team Work

Fighting for a cause and legacy is not possible alone, you need a team that not just “believe” in it, but that are also willing to put in some work. With a team comes responsibility. As a leader you also need to give some motivational speech. It is not about you anymore, but about what you accomplish along with your team.

4. Have your own identity

As we mentioned earlier, during Anthiocus Kingdom, many people, including many Jews, abandoned their traditions. By doing so they demonstrated how insignificant the meaning of the traditions were for them and soon they forgot who they were. They just wanted to be as everybody else to the point of changing their appearance to please others. Not all foreign traditions and customs threatens our own traditions, but it is important to recognize that traditions constitute an important part of us, as individuals, and is the base for our ethic, principles and role model examples. By minimizing their meaning or importance, eventually the own sense of being will suffer and you may end up to be just more of the same.

5. Give Thanks

Noup, not talking about the turkey dinner here, Hanukkah history also teach us to give thanks. Judah Maccabee had many victories and he could thought like: “you know what? I am the smarter and strongest guy in town”, but instead, he took the time to thanks God for his achievements, believing that is God who gave him the strength to accomplish his goals. Maybe today, because we don’t have to fight for your freedom, we often forget to give thanks. We are alive. We have a lot of things to be thankful for.

Hanukkah is a history of survival, a fight for freedom, a fight against oppression. Hanukkah is the meditation about your own traditions and defining yourself as an individual within a dominant culture that may not just differ from your own but that may even want to drown you. In such times, be a person of integrity, have perseverance, work as a team, have your own identity and when you have succeeded, don’t forget to give thanks.

Hanukkah lesimhá!,

Hannah

5 Things Non-Jewish Parents Can Learn from Hanukkah Read More »