Sukkoth

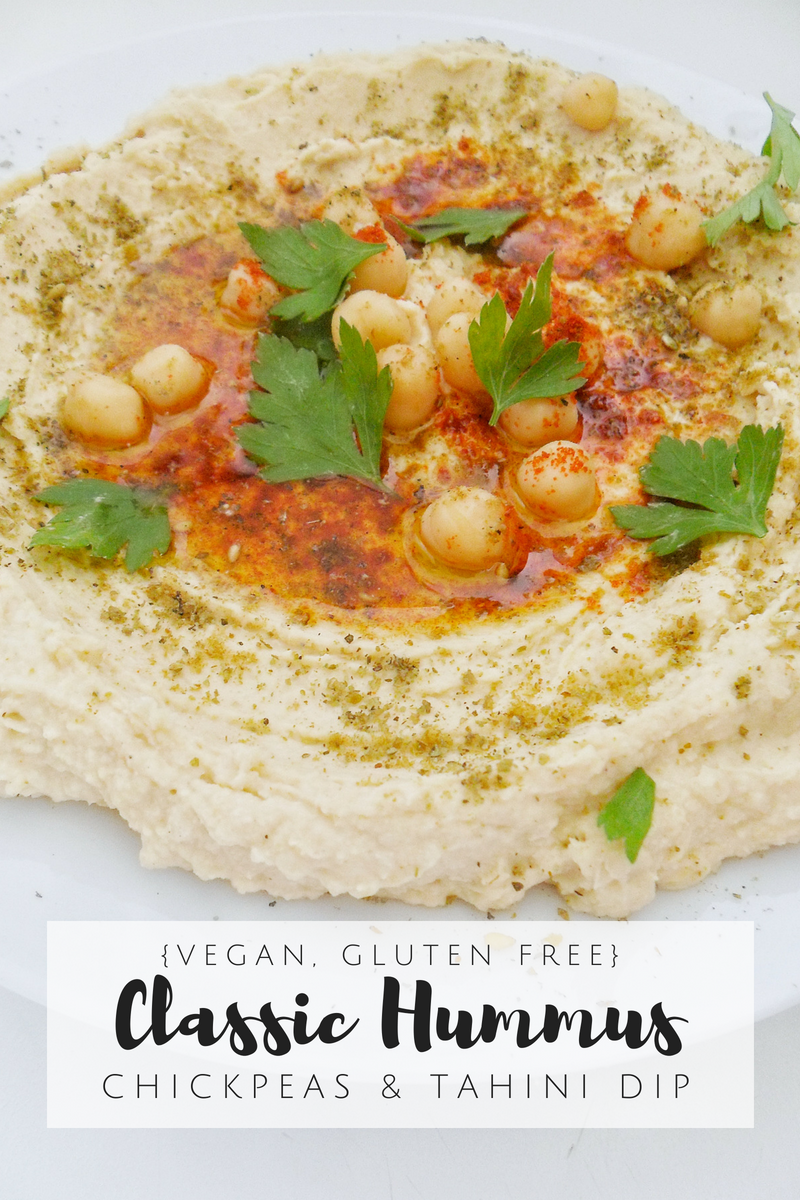
Classic Hummus with Homemade Tahini {Vegan, GF}

Hey, there lovelies! Today I want to share with you my recipe for classic hummus. Super easy to make, thick and creamy. Will be the perfect match for anything you eat with spread!

Hummus: Simple yet exquisite

Apparently hummus is “the spread” of the century because is everywhere, and of course, there are reasons for that: It is so easy to make, ingredients are easy to find no matter where you live, it is creamy, it is vegan, has no gluten, dairy or added sugars, I mean… if glory has flavor, it will probably be hummus.

When I tried hummus for the first time I was hooked. I loved the creamy, thick and with simple ingredients. I wanted to do it right away, but well, we didn’t have internet back then, and the recipe I found forgot to mention the tahini (sesame paste) so I ended up with chickpeas puree. Still a good, but not hummus.

At that time we didn’t have internet at our fingertips as we do now so I just kept changing my ratios of garlic, oil and lemon hoping that some hummus will came out, but obviously that didn’t work.

I was about to give up on hummus when I was in my college library one day during my free time, which I used to explored every cookbook and culinary art book I could find there, and I saw this eye-catching book with a title I don’t recall. I randomly chose a page and started reading. In a few minutes I read something like this: “Tahini or Tehina, a sesame paste used to make hummus and other middle eastern recipes“, and my eyes lit! I went excited to the supermarket to find this “weird” ingredient, and after a couple of visits I found it!… so crazy expensive for my broken college student pocket so I decided to make my own.

Ingredients & How-to

Tahini (Sesame paste)
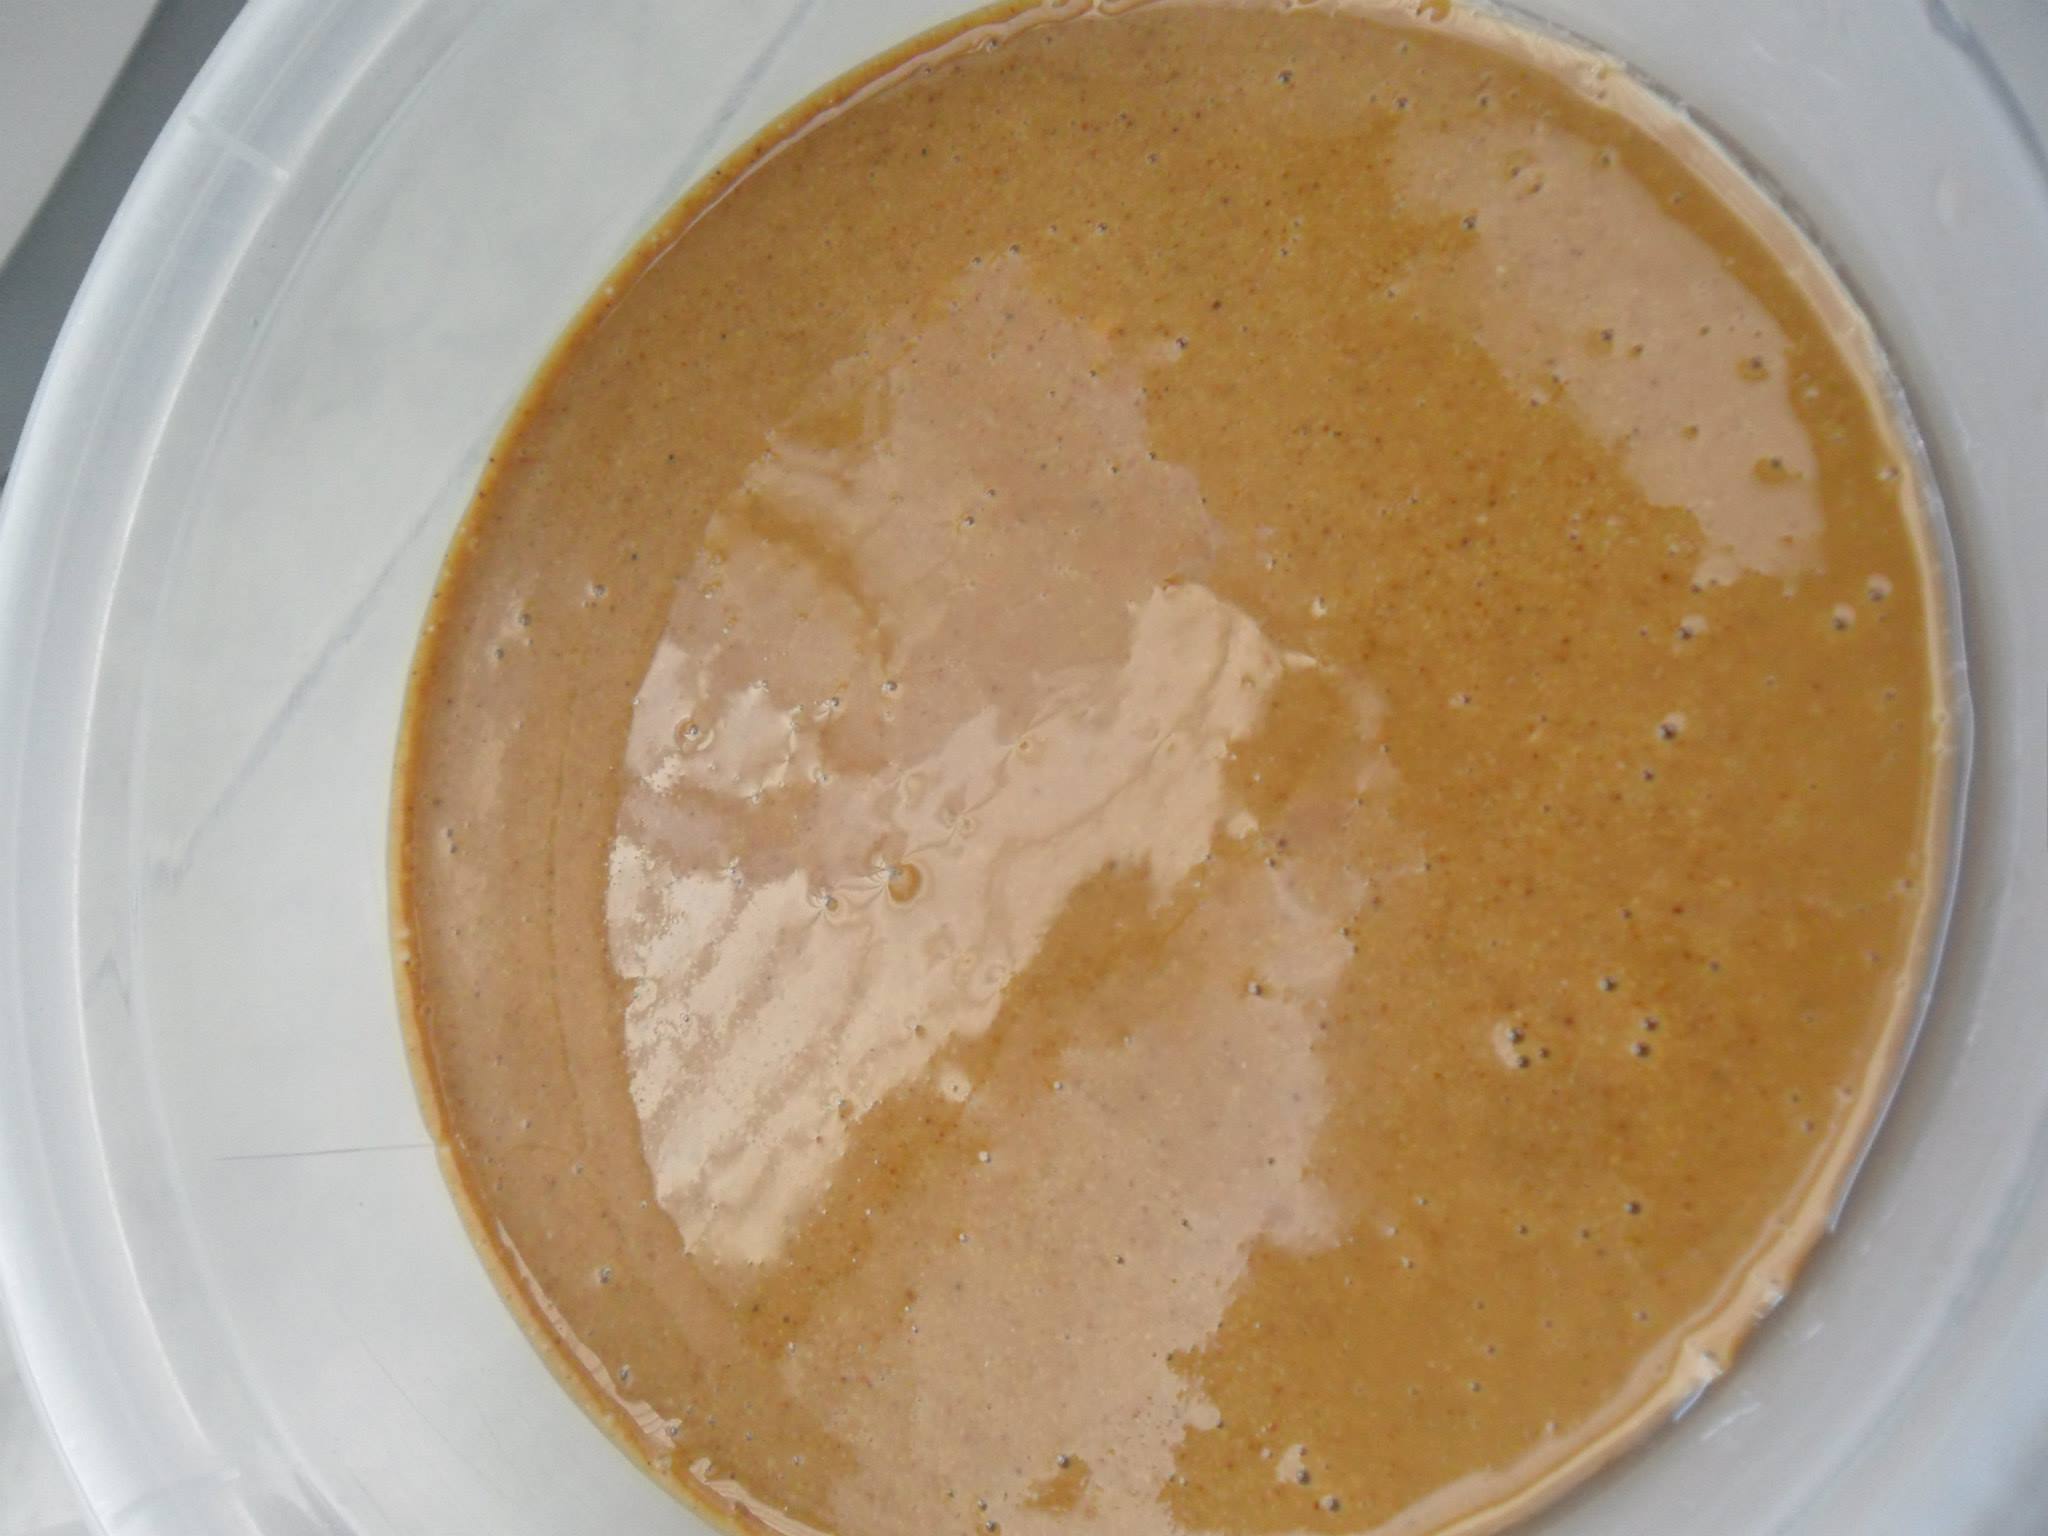
This was my first batch of homemade tahini. For this one I used unhulled (whole) sesame seeds which I toasted lightly and then, processed in a blender with some oil (Ratio: 1 cup seeds + 1/4 cup oil). I made hummus with this tahini and it was good. It was a total revelation that I could finally make my own hummus and tahini, but still, the flavor wasn’t right. It was too strong and kind of bitter at the end because of the sesame seeds I used.

After some trial and error I finally made the huge discovery that they are not just the unhulled (whole) sesame seeds, which are very common in DR, but also the hulled version of the sesame seeds that results in a tahini with a lighter flavor and color which is perfect for making classic hummus.

Also, I realized that you don’t really need the extra oil because toasting the seeds will bring out some of the natural oils in them and it will blend smooth with some patience and a good blender. In fact, once your homemade tahini has rested for a few hours, you’ll see the oil separated on top (and now I am thinking, Why I haven’t made sesame oil? Oh, well! lol). If this happens, just mix your tahini well before using.

In case you are freaking out thinking you can’t make your own tahini because you don’t have a Blendtec or Vitamix, freak no more because I made countless tahini batches in a $25 blender for years!, so it is totally possible as long as your blender can process seeds.

Garlic

When I first started making hummus, I used raw garlic, which is fine, but now I do prefer to use roasted garlic because it has a deeper flavor without the sharpness of the raw garlic, that will bring your classic hummus to a whole new level.

As I explained in the Cauliflower Mash post, making roasted garlic is as easy as charring, in an open low flame, a garlic head.

The Rest of the ingredients

For this recipe you will need some lemon juice to bring the flavors together and add some tanginess. And, you will also need chickpeas brine to process the chickpeas. You can use olive oil instead of the brine (aquafaba) but you can save some calories by adding a little bit of olive oil as garnish instead. Finally, you’ll need some spices and herbs to brighten up your plate when serving. My go-to spices for hummus are cumin and paprika plus parsley for garnish.

I think is worth mentioning that to make this delicious classic hummus you don’t really need to take the skin off the chickpeas. I mean, doing that will literally transform making hummus into a labor intensive task. Just be patient and process until you have achieved the desired consistency and the mixture is smooth.

Have homemade thick, creamy, flavorful and hundred times better than store-bought hummus when you want is priceless, and it couldn’t be more easy to do. I love to eat hummus with anything crunchy: toasts, chips and crackers, but also baked potatoes or sweet potatoes, cucumber slices, broccoli or peppers. The choice is yours!

Do you love hummus? What do you eat it with? Let us know in the comments section below! Also, don’t be shy and follow on  instagram and pinterest and tag us with the hashtag #kasheribbean so we can delight our eyes with your versions of this humble but exquisite middle eastern spread.

If you love this recipe and other recipes from the blog, spread the love by sharing with your friends and family! It really means a lot to us!

Happy cooking! ?

Classic Hummus with Homemade Tahini {Vegan, GF} Read More »

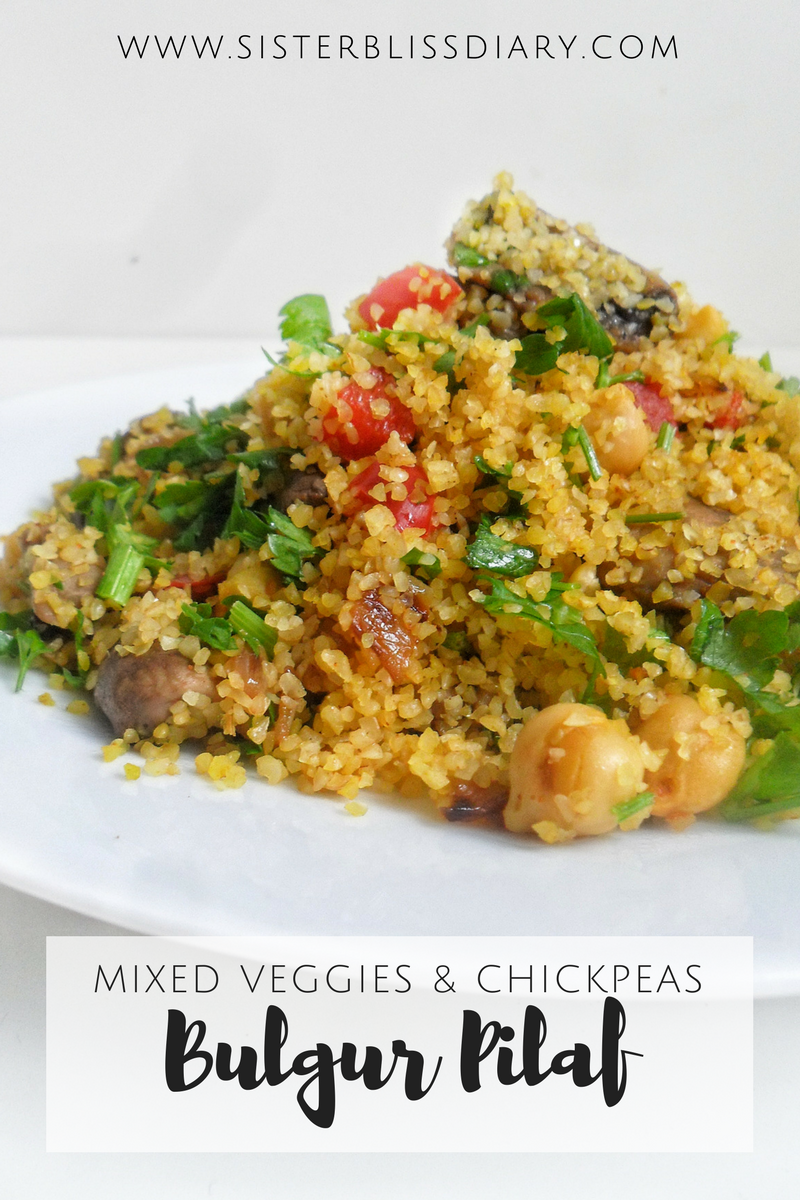
Bulgur Pilaf

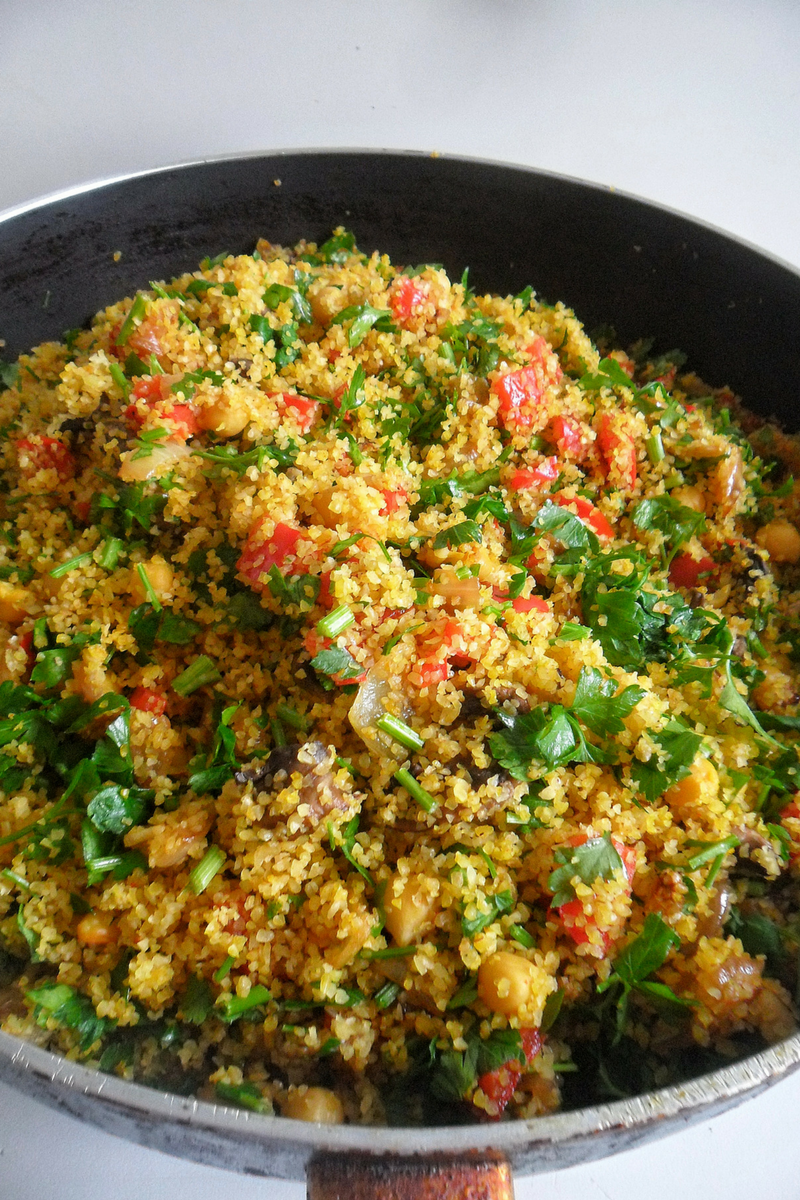
Today we are sharing with you another exciting, colorful, super easy and yummy side: Bulgur Pilaf. Full of veggies and colors, with a combo of spices that is “oh-so-yum!”. Let me show you how it is made…

Despite the simple ingredients this Bulgur Pilaf is very flavorful and colorful dish. Caramelized onions, chickpeas, mushrooms and other veggies play together to give you the perfect balance between color and flavor. Click here to grab the recipe!

The basics

Despite the simple ingredients this Bulgur Pilaf is very flavorful and colorful dish.

The parsley gives it a lemony and sharp tone, while the sweet paprika provides deep flavor.

The almost caramelized onions bring some sweetness to this dish while the chickpeas and mushrooms add texture, some creaminess and the bite. I am salivating!

Despite the simple ingredients this Bulgur Pilaf is very flavorful and colorful dish. Caramelized onions, chickpeas, mushrooms and other veggies play together to give you the perfect balance between color and flavor. Click here to grab the recipe!

How to make bulgur pilaf

To make this Bulgur Pilaf start by sauteing the mushrooms on medium-high with a bit of neutral oil (you can skip the oil entirely if you prefer oil-free, just cook with a tiny bit of water), some salt and pepper until they were completely cooked and brown in color.

Remove mushrooms from the pan and saute onions until golden brown, add bell peppers and continue to cook until onions are darker in color and the bell peppers get some charred spots.

Take veggies out, add the spices to the pan, chickpeas, raw bulgur and boiling water (1:1 ratio bulgur to water or follow the directions on the packaging). Cover with a lid and cook on the lower heat until all the water is absorbed, then go ahead and fluff with a fork.

Despite the simple ingredients this Bulgur Pilaf is very flavorful and colorful dish. Caramelized onions, chickpeas, mushrooms and other veggies play together to give you the perfect balance between color and flavor. Click here to grab the recipe!

Developing flavors

In case you are wondering, there is a reason why I cook some ingredients in the pan and then remove: I want to create layers of flavor without overcooking my veggies. When you finish cooking the bulgur you want the veggies to still hold some texture and bite (Nobody likes mushy veggies!)

When the bulgur is nice and fluffy add in the cooked veggies (peppers, onions, mushrooms) and chopped parsley.

Because I made this Bulgur Pilaf with very fine bulgur, it really cooks in a blink! Literally 3 minutes and you have a beautiful pilaf! So, if it happens that you have some veggies leftovers and some uncooked bulgur you can throw this yummy dish in a matter of a few minutes.

Looking for other sides recipes? Check out Dominican Style Spicy Rice with Sardines & the Barley, Chickpeas and Roasted Beets Salad

Despite the simple ingredients this Bulgur Pilaf is very flavorful and colorful dish. Caramelized onions, chickpeas, mushrooms and other veggies play together to give you the perfect balance between color and flavor. Click here to grab the recipe!

Despite the simple ingredients this Bulgur Pilaf is very flavorful and colorful dish. Caramelized onions, chickpeas, mushrooms and other veggies play together to give you the perfect balance between color and flavor. Click here to grab the recipe!

Despite the simple ingredients this Bulgur Pilaf is very flavorful and colorful dish. Caramelized onions, chickpeas, mushrooms and other veggies play together to give you the perfect balance between color and flavor. Click here to grab the recipe!

What other ingredients would you add to your bulgur pilaf? Let us know in the comments section below! And don’t forget to follow on  instagram and pinterest and show off your pilaf version with the hashtag #kasheribbean.

If you love this recipe we appreciate you share with your friends and family! It really means a lot to us!

Happy cooking! ?


Bulgur Pilaf Read More »

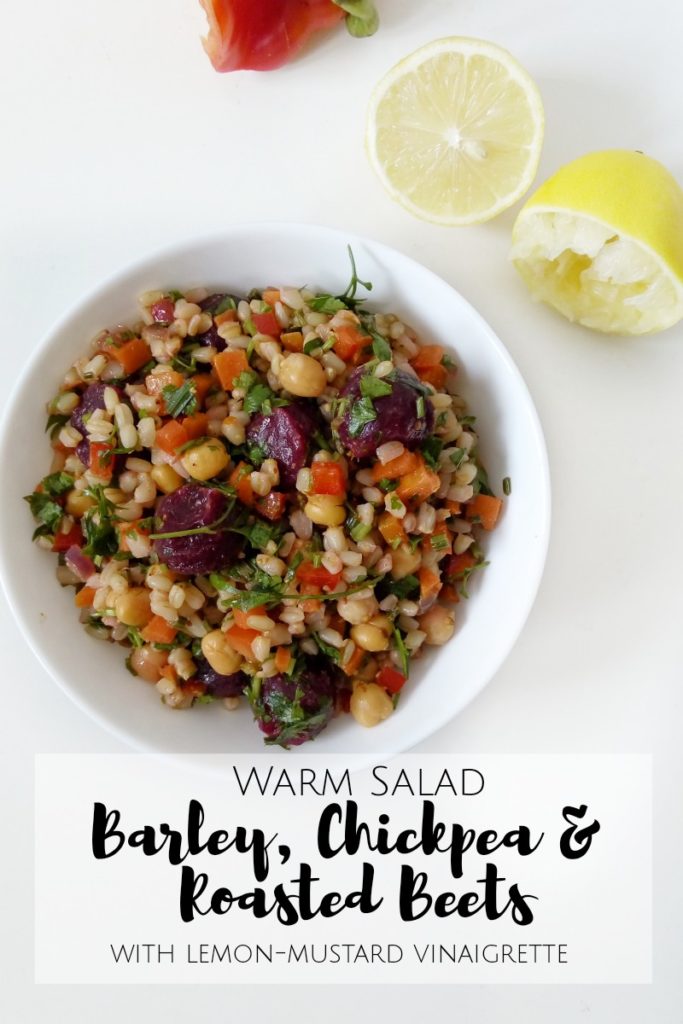
Warm Barley, Chickpeas & Roasted Beets Salad 

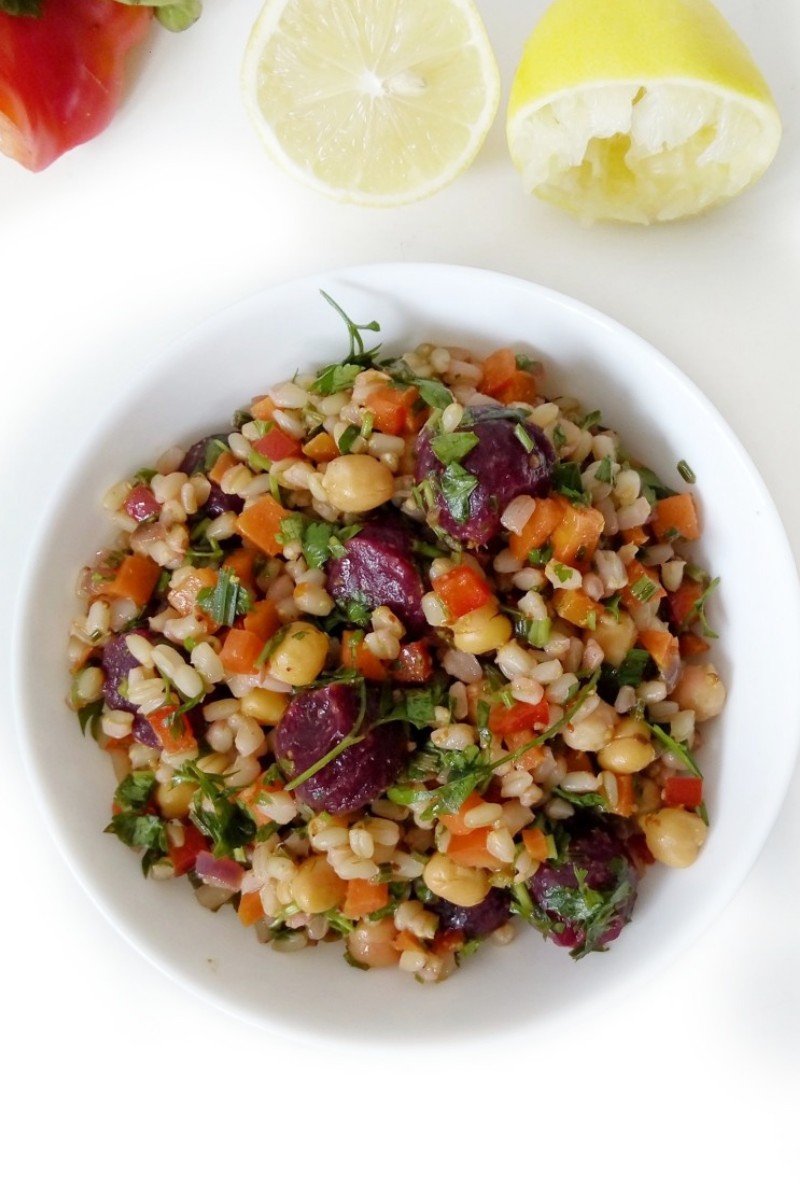
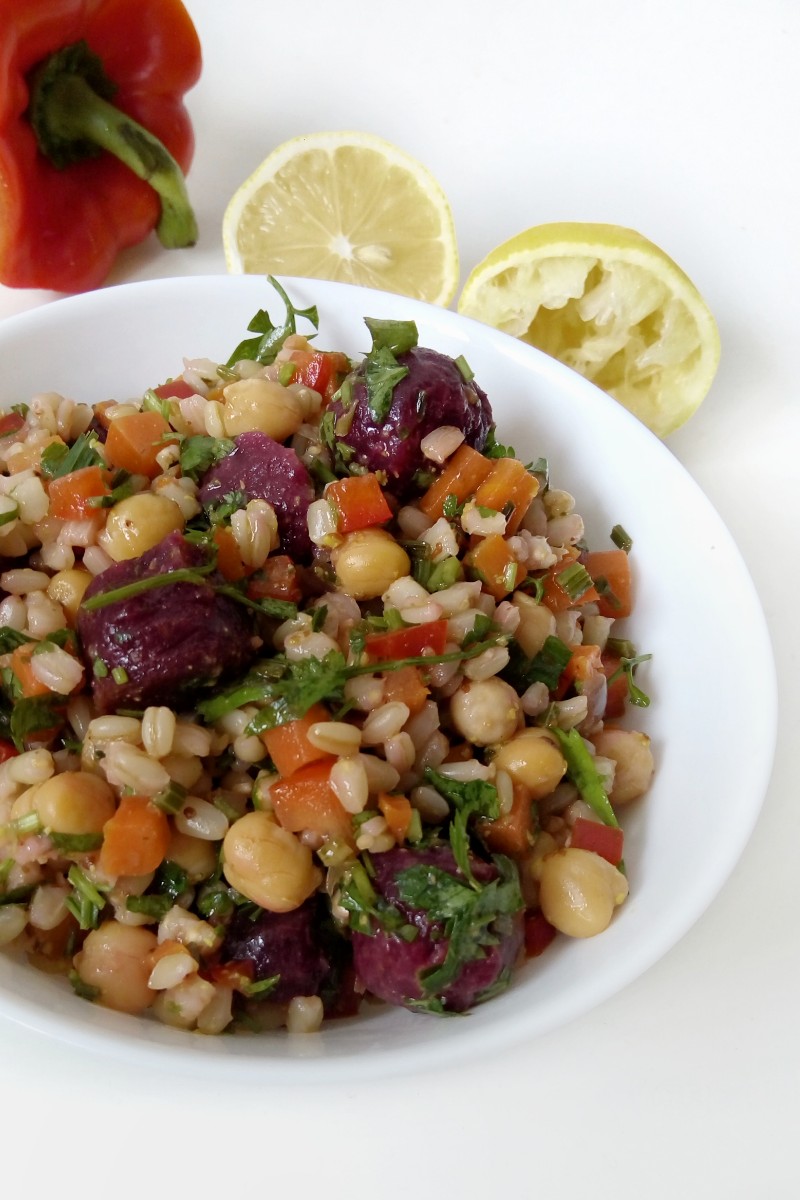
Last shabbath I was in a hurry and wanted to prepare a salad that would be satisfying, yummy and shabbath friendly (aka. holiday worth); plus, needed to be something different to the salads I make over and over again. I opened my fridge and grabbed what I felt would go well together and the result was this Barley, Chickpeas & Roasted Beets Salad. Perfect as a side dish, or by itself as lunch or dinner.

This Barley, Chickpeas & Roasted Beets Salad is perfect in every way: is hearty, full of flavor, satisfying, full of nutrients and so fresh.

In this salad I used roasted beets that I had ready on the fridge. This gave a hint of flavor quite unexpected. Honestly, this combo wasn’t like anything I’ve tasted before. So delicious.

For roasting the beets you just need to wrap them in aluminum foil (you can technically just put them without peeling in he hot oven) and roast in the preheated oven at 475°F for about 40 minutes (the time will depend on the size of the beets. You can cut them in half to reduce the time). They are ready when they are fork tender with a little bite in the center (don’t overcook. Remember they will continue to cook while they are cooling down). Get them out of the oven and let cool down until they are easy to handle. Peel the skin off and cut in the desired shape. I used a parisienne scoop of melon ball to cut mine.

On the other side, we have the barley, the humble ingredient that makes this salad so satisfying. I covered the barley with water and boiled for about 30 minutes on medium high (or until they are al dente). This would be a perfect occassion to use leftover barley if it happens that you have some in the fridge.

Let’s jump to the recipe:


I honestly didn’t expect this quick mix and match of veggies, chickpeas and barley taste so good but now that it showed how good it is I will probably be making this salad more frequently, not just on shabbath.

Do you also love salads in winter? What are your favorite ingredients to mix and match for  salad perfection? Lets us know in the comment section below, Instagram or Pinterest! and don’t forget to tag us #sisterblissdiary on Instagram when you make this delicious hearty salad.

Until next time!

Warm Barley, Chickpeas & Roasted Beets Salad  Read More »

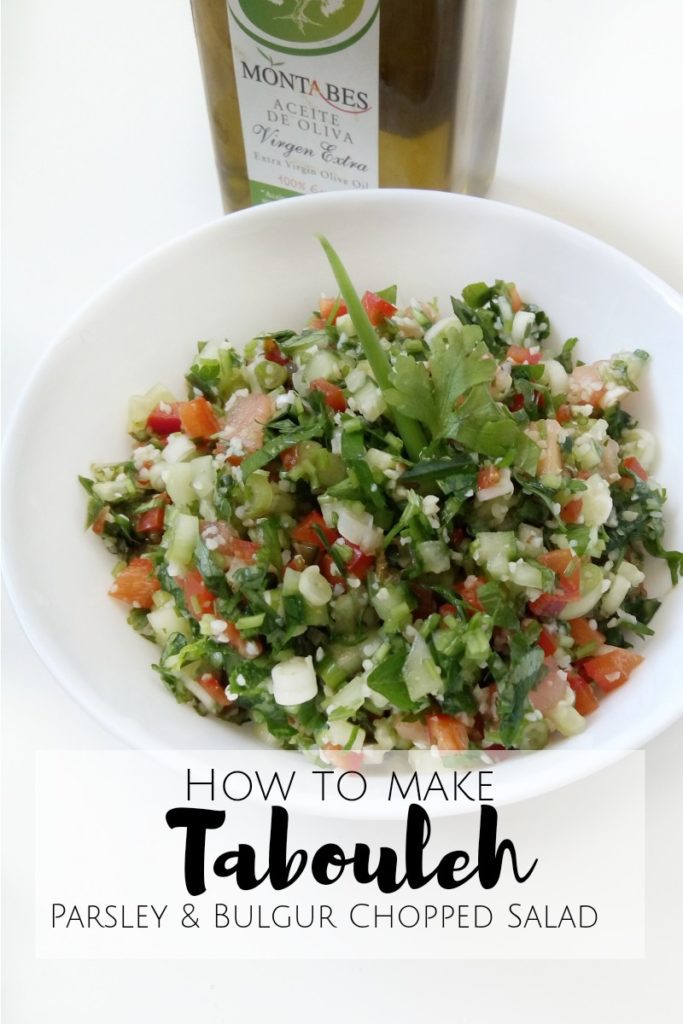
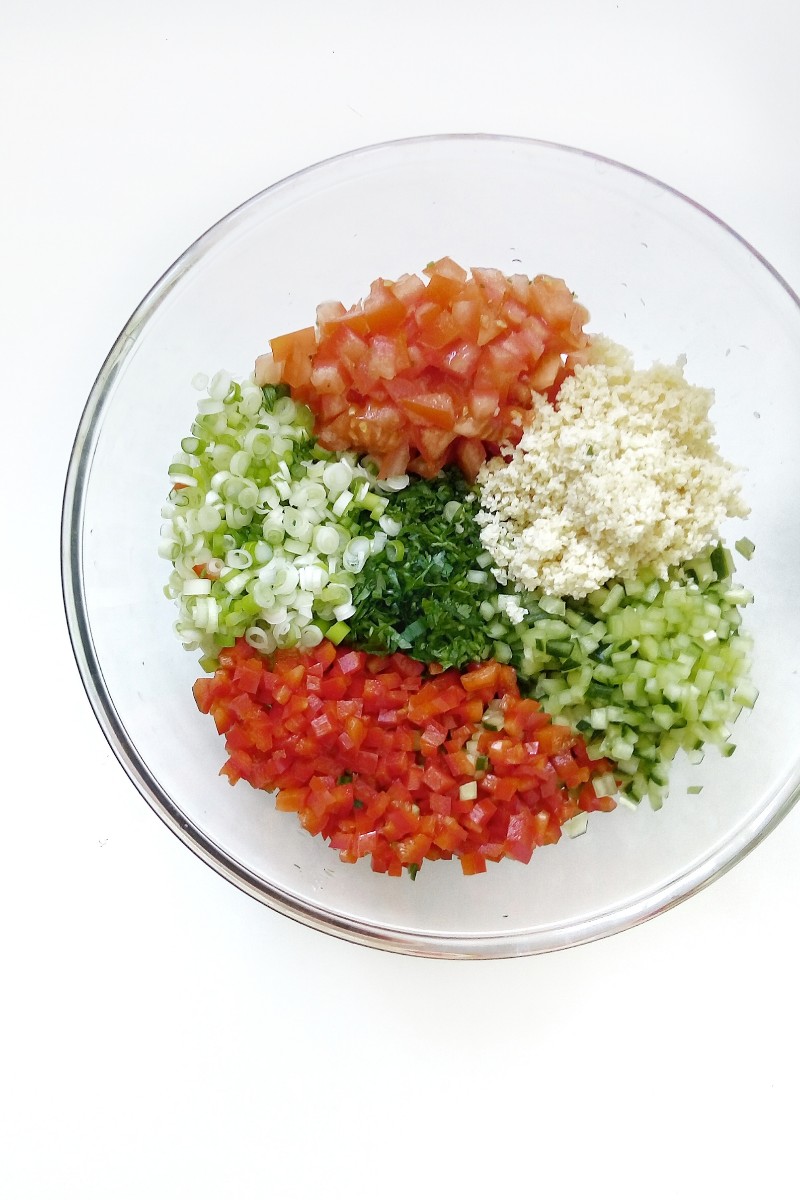
How to Make Tabouleh {Parsley & Bulgur Salad}

Despite the cold weather and my love for soup, on Wednesday I was craving something more vivid, crunchy and tangy so I decided to make Tabouleh or Tabuli for lunch instead.

This vegan salad is one of my favorites so far because:

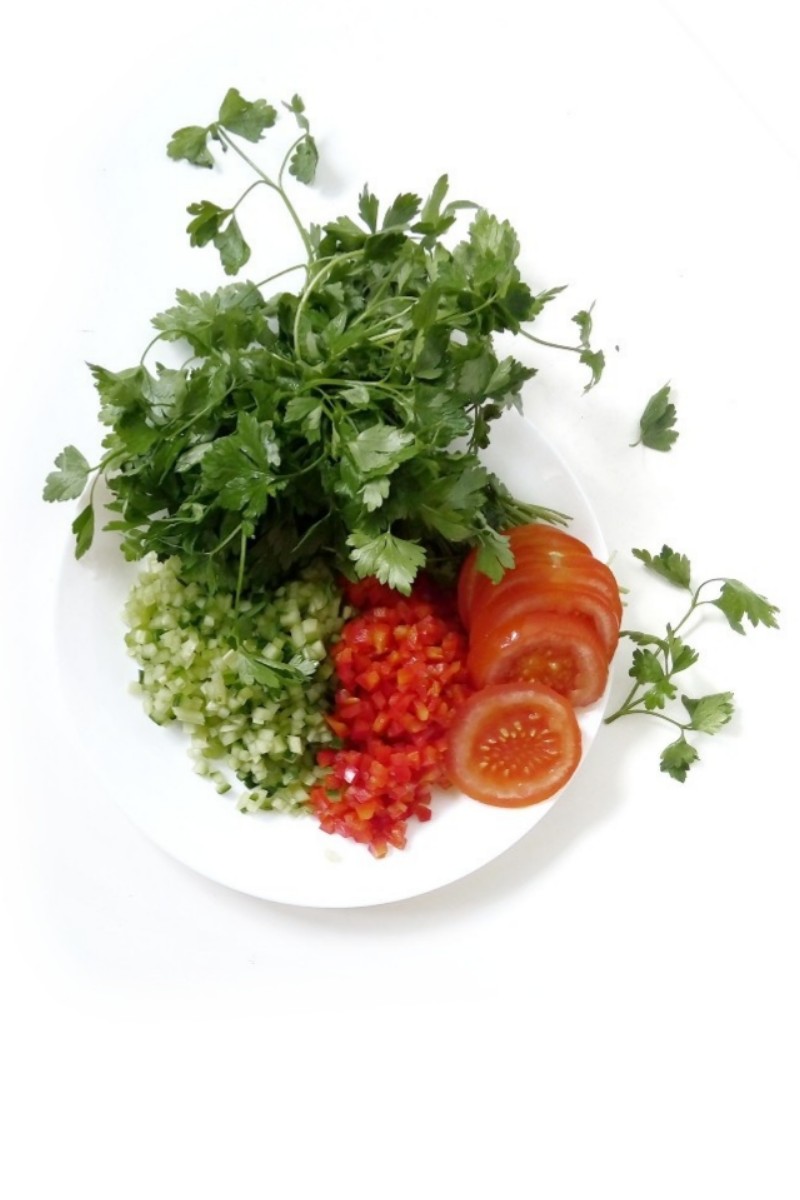
It has a lot of flavor. All that chopped parsley just take this salad to the next level.

Uses a few ingredients. I LOVE those recipes that take few ingredients I usually have around the house, and I am sure you are the same.

It is very satisfying. Some people may think a salad is just “water” (meaning like you will be hungry five minutes after eating) BUT this is a really satisfying lunch or dinner (or even breakfast! Why not?). So satisfying you won’t worry about food for a long time.

It is extremely easy to make. If you can move your arms and use a knife, you are all set.

Even if you don’t normally like salads, you are going to love this one. This easy and refreshing salad is perfect for those who are trying to incorporate more veggies in their diets. Believe me, you can eat the whole bowl and dont even notice ? plus, you won’t feel guilty at all!


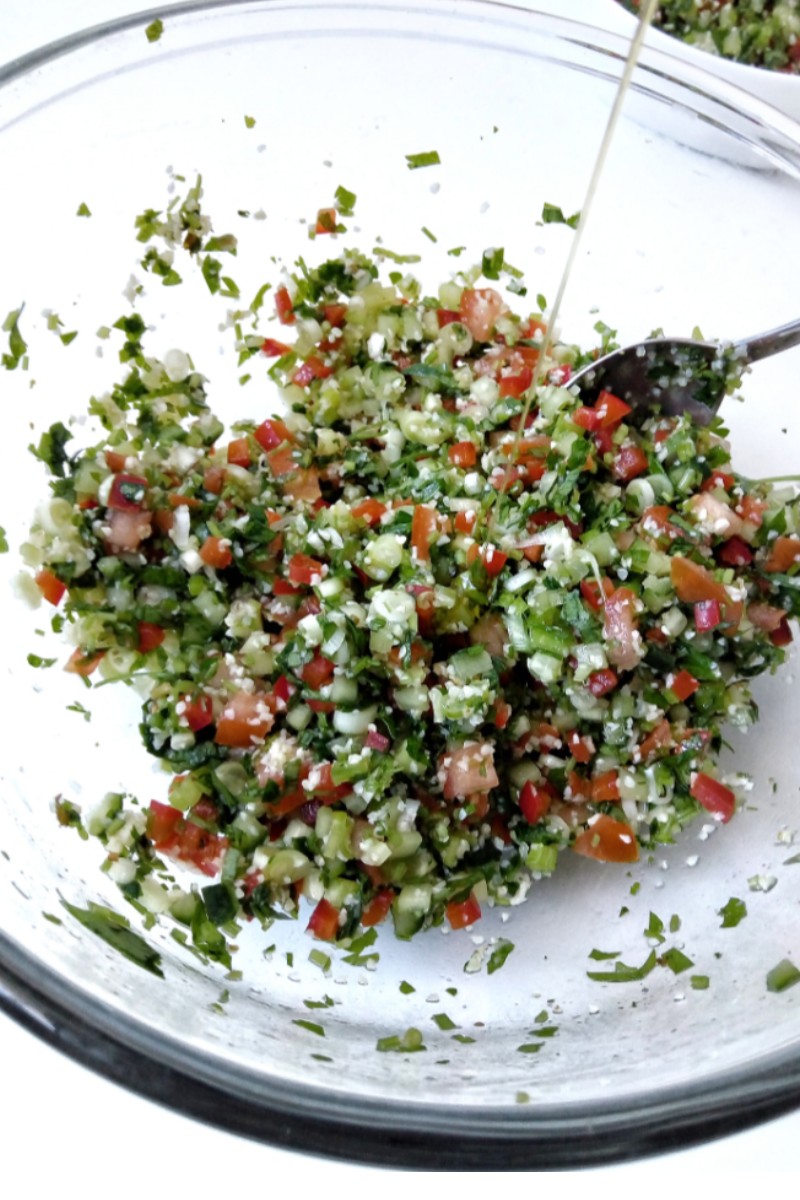
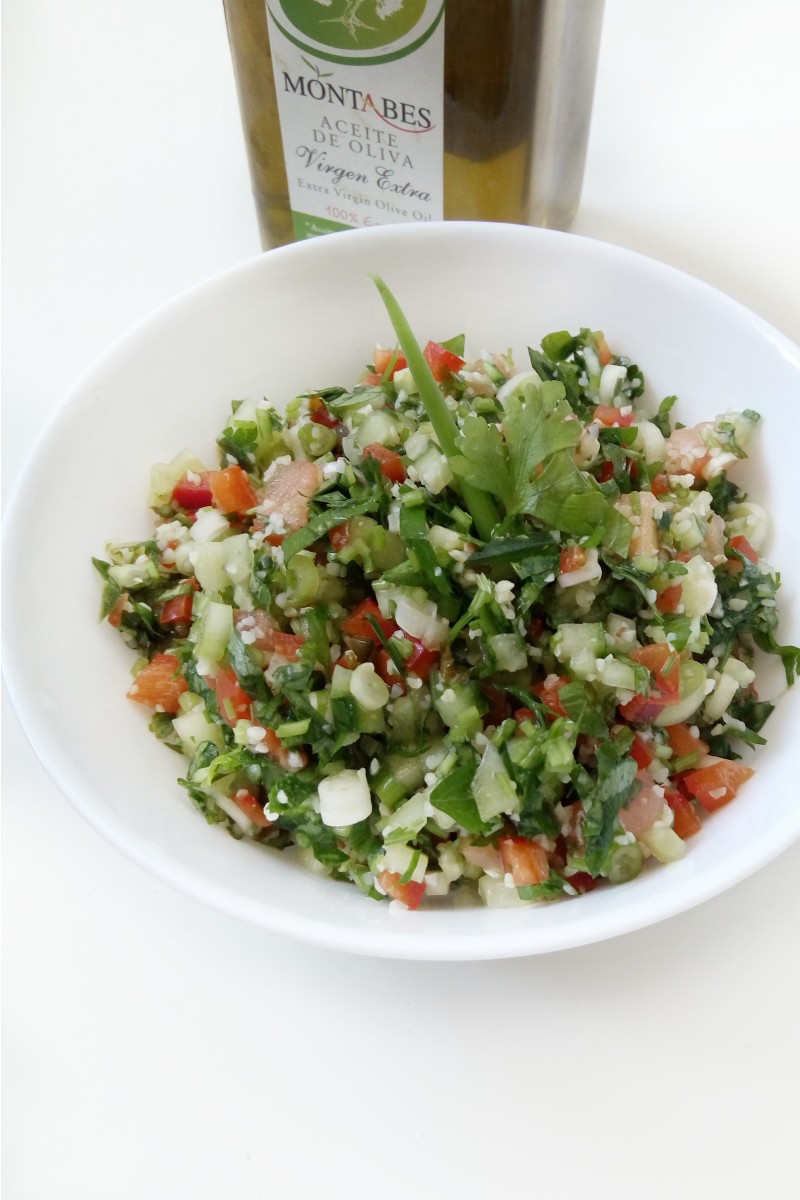
So easy and good looking, right? This should be enough reason to eat salad everyday.

Tell us, do you also crave salad in winter? Which one is your favorite? Let us know in the comment section below or head over instagram or Pinterest.

Until next time!

How to Make Tabouleh {Parsley & Bulgur Salad} Read More »

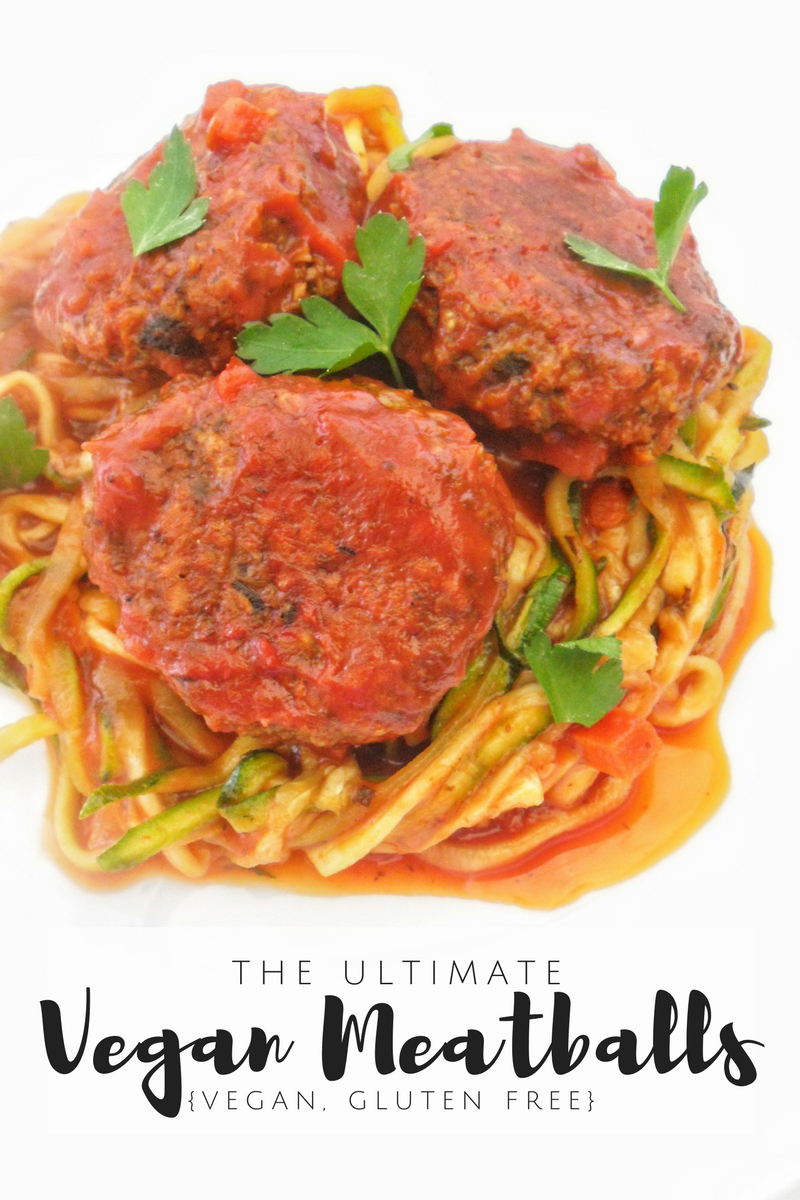
The Ultimate Vegan Meatballs {Vegan, Gluten Free}

Hi, everyone! I am very excited today to finally share with you this recipe, after spending some time perfecting these beauties. These are The Ultimate Vegan Meatballs on Planet Earth .

A little background

The Ultimate Vegan Meatballs were born a couple of weeks ago while I was cooking a whole bunch of mushrooms for lunch but once they were cooked they were so little! The disappointment was real! Those mushroom filled the pan and when cooked were just a few grams! I needed to act quickly and finish lunch so I thought: Why not make some meatballs? Yes! Of course!

I processed the mushrooms with some oats, more spices, a bit of water and so on until I had the consistency I wanted. Then I finished cooking in tomato sauce. They were good in terms of flavor, but way too dense, so I had to make them again correcting the amounts but I was out of mushrooms, so the recipe had to wait.

Next day was friday. I was cooking chicken for Shabbath but, who says you cannot make chicken and vegan meatballs? I made up my mind to take advantage of the momentum, so I weighed my ingredients, took some notes and pictures, cooked and reserved the meatballs, that were going to be served for dinner.

We had guests for shabbath and I was mortified. I just was praying the meatballs were at least edible. But, well, if they were not that good, at least I could have some feedback to perfect this recipe and write it on the blog.

The time to eat came and I remember when one of the kids wanted to try the meatballs. They honestly looked like their meaty cousins so much but to avoid any confusion, I told him straight away the meatballs were vegan. He tried it and immediately his eyes opened up!

When he asked for more I realized they were happy open eyes, those that happen when you try something delicious! At this point, everyone started eating the meatballs and I was receiving positive feedback. I was very happy when a vegan guest told me she wanted the recipe for making them like everyday 🙂 That moment I knew they were not only edible, but certainly good. Even my picky husband liked them!

In the week that followed I probably made this recipe every other day, just to make sure the recipe was on point, and now it is just turn to try them. I really really hope you like them.

How to make The Ultimate Vegan Meatballs

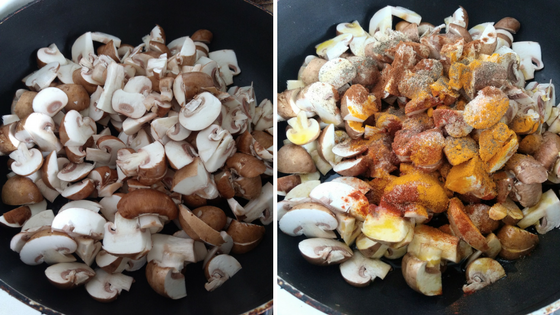
To make The Ultimate Vegan Meatballs you’ll start by cleaning your mushrooms. Soak mushrooms in cold water for a few minutes. Then, finish cleaning with a paper towel or a brush if you see any dirt and  Chop them.

When your mushrooms are clean and ready, heat your pan on medium-high heat. You want the pan hot but not smoking.

UPDATE: You can totally make this recipe OIL-FREE by skipping the oil entirely and baking instead of frying 

Add the oil, mushrooms and all the seasonings (paprika, garlic, salt, pepper, turmeric, oregano, cinnamon and nutmeg) and start cooking.

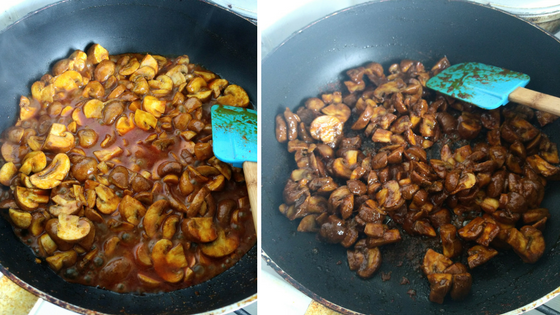
At some point, a ton of water will start to come out of the mushrooms, just continue cooking until all the water is evaporated.

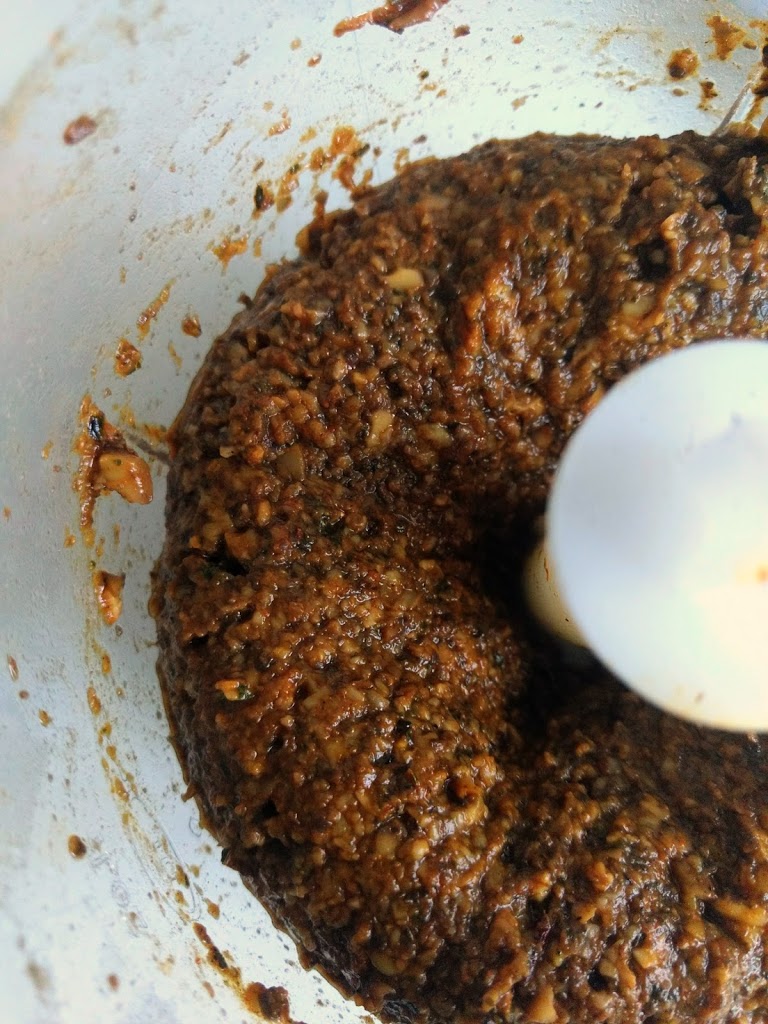
Put the mixture into the food processor*, add the dried oregano (you can also use fresh) and process until you have a rough paste (don’t process too much, you still want tiny pieces of mushrooms for texture)
Transfer the mixture into a bowl, add the rest of the ingredients (oats and water). Mix well and let the mixture rest in the fridge for 5-10 minutes (this allows the oats the absorb the liquid and bind everything together)

Shaping and cooking

To shape, wet your hands a bit before shaping each meatballs as the oats they contains get very sticky.
To cook I have used two methods so far: frying and baking.

IF FRYING: make sure the oil is well heated before you start, or the meatballs will disintegrate. Fry until hey are golden brown on both sides, and transfer to paper towel to drain the excess oil.

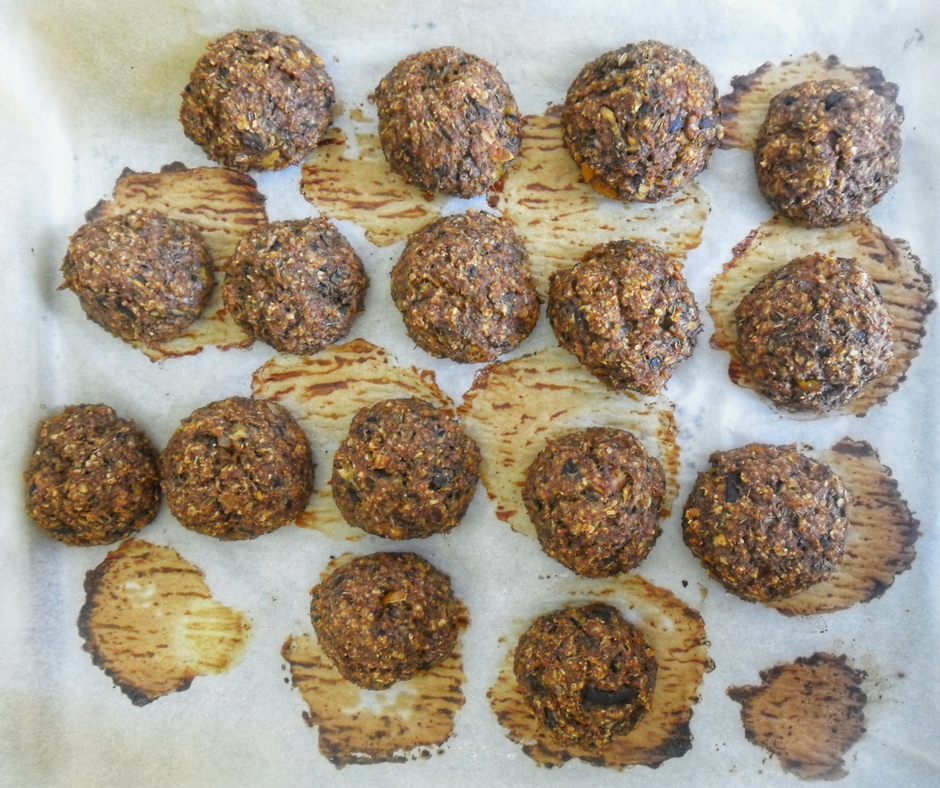
IF BAKING: If you prefer to bake just make sure you use a silicone mat or baking paper to line your baking tray. Using just oil or butter won’t work. Bake them for about 30 minutes or until you see they are firm to the touch, thoroughly cooked and with a nice brown color. Get them out of the oven and let them cool down a bit before you attempt to take them off the silicone mat or the parchment.

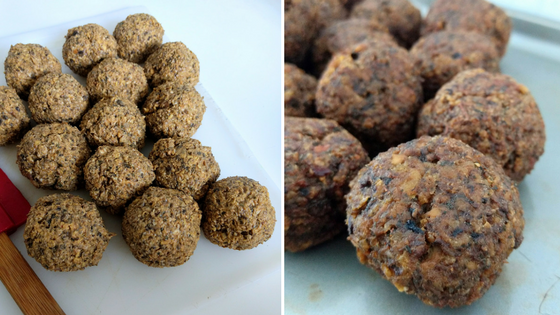
Fried Meatballs
Baked Meatballs

UPDATE: They should peel right off very easily of the baking mat or paper. If they are not peeling easily is because they are still a bit wet. Stick for a few more minutes in the oven and then, let cool down a bit before removing from the baking tray.

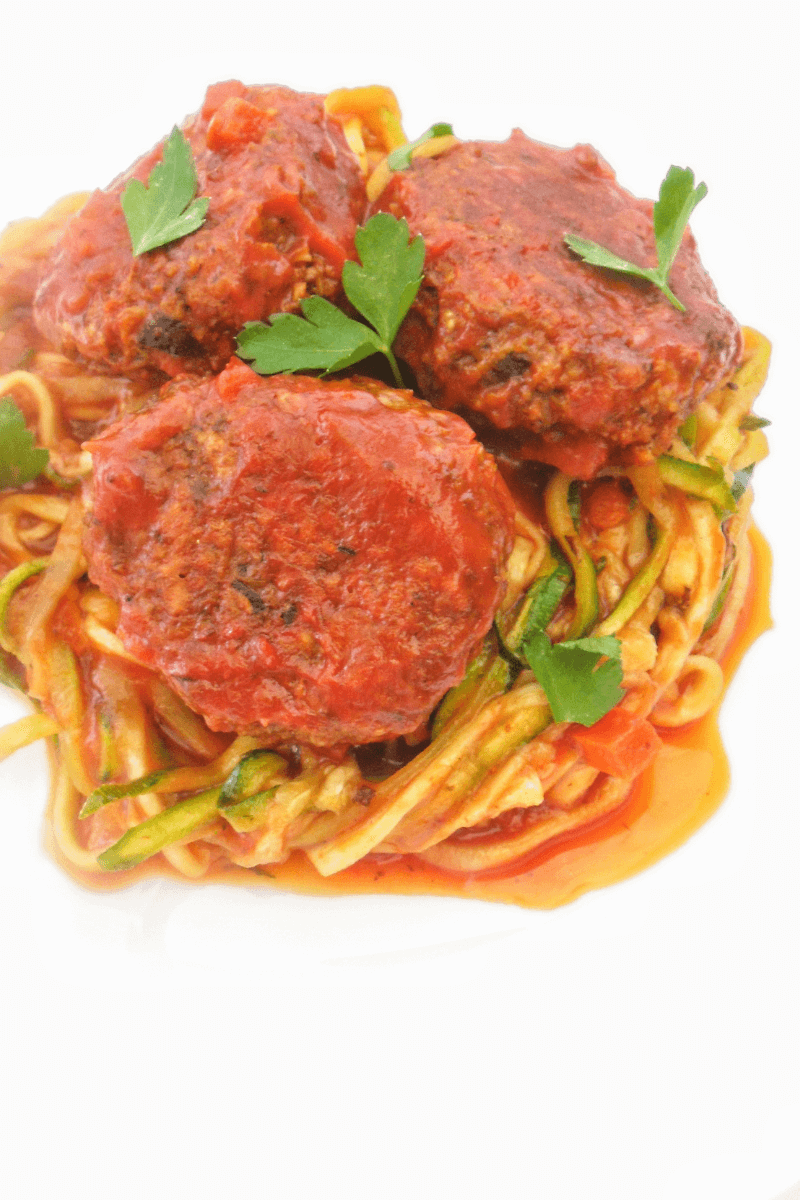
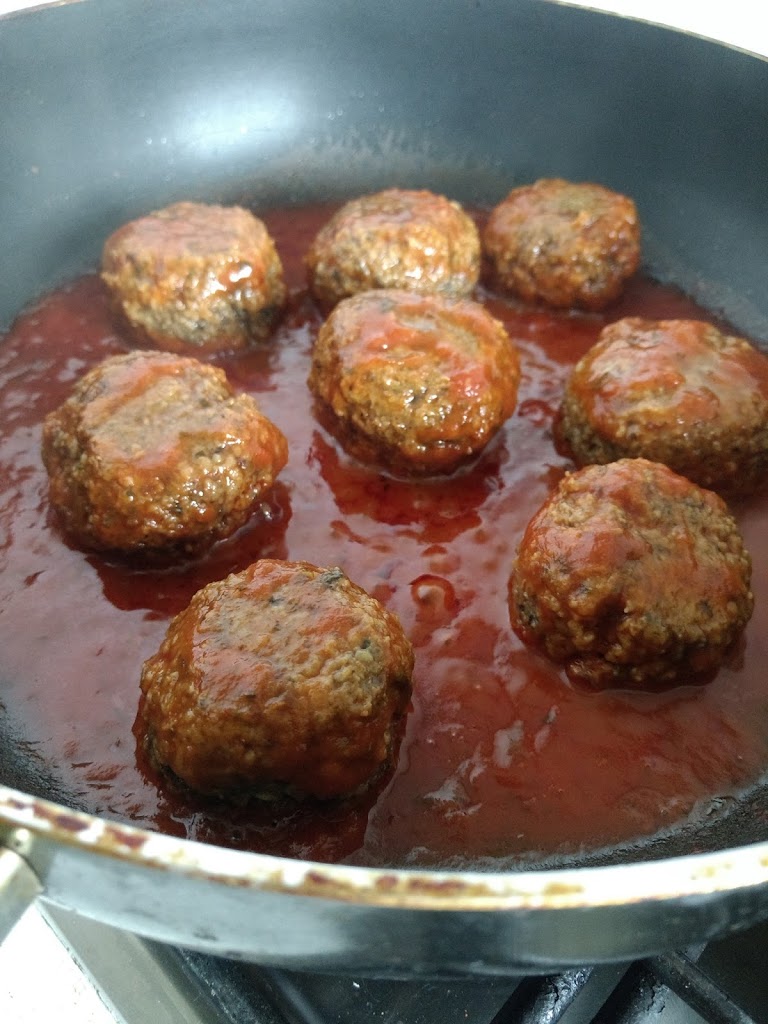
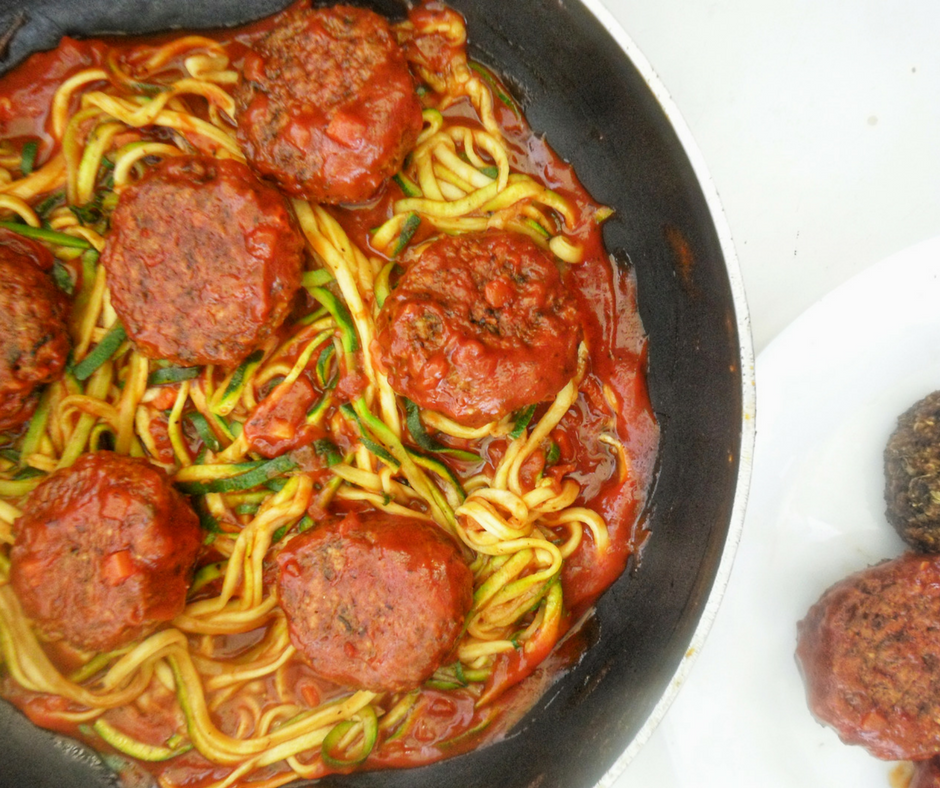
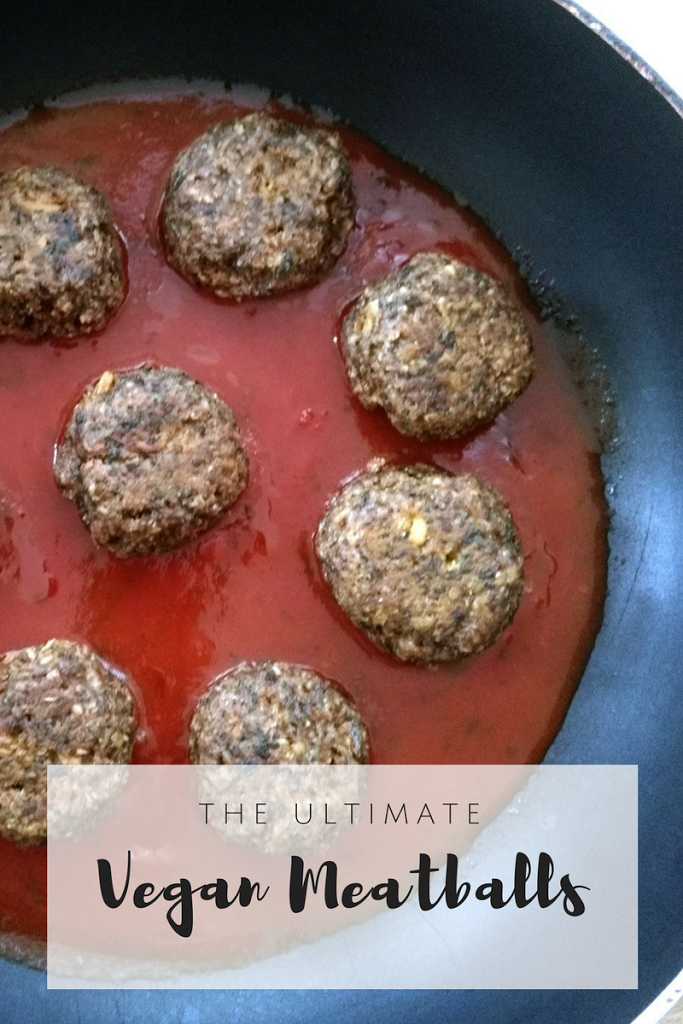
Finish The Ultimate Vegan Meatballs by cooking them in your preferred tomato sauce (Check out our Sweet Potato & Tomato Pasta Sauce) for 5 minutes or so, on low heat. This last process will give the meatballs a very nice melt-in-your-mouth texture. Delicious! 🙂

Have you tried The Ultimate Vegan Meatballs yet? Let us know in the comment section below! And, don’t forget to tag us #sisterblissdiary when you make your  Ultimate Vegan Meatballs. Don’t be shy and follow as well on instagram and pinterest. 🙂
Shabuah Tob!

The Ultimate Vegan Meatballs {Vegan, Gluten Free} Read More »