Shabbath

Super Crusty No Knead Bread {Vegan}

Super Crusty No-Knead Bread {Vegan}

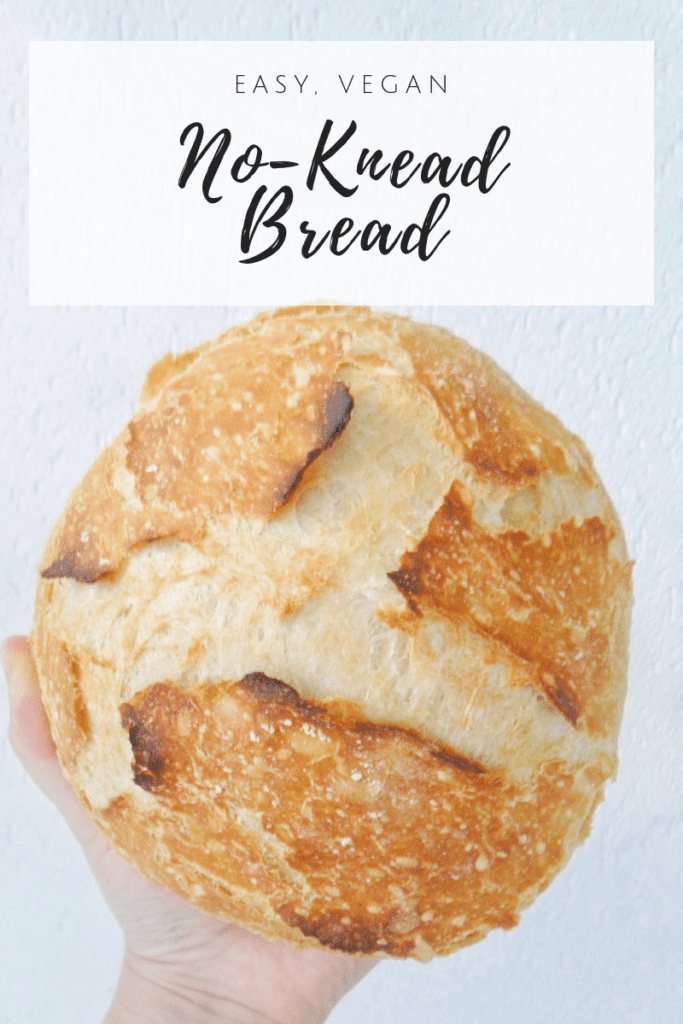
With this easy No-Knead bread we officially start our Pre-Pesach cleaning season. Ha! Better to start early with the cleaning of the infamous flour in the cabinets and this is an excellent recipe to get started, as it is effortless and you just need 4 basic ingredients, a bowl, a “caldero” ( or you can use a cast iron pot or dutch oven with a lid) and patience to wait until is done!  

You may also like Coconut Milk Brioche with Chocolate Chunks & Vegan Challah

Any person that bakes at home has to eventually make this super crusty No-Knead Bread. The most basic of all breads, continue to be the king, for its simplicity and perfect crusty exterior. It also requires minimum effort on our part, and it so versatile you can have it ready tomorrow for breakfast, brunch, lunch or dinner. Any time is the perfect time to have freshly baked bread at home so, let’s get to it! 

Once you have mixed the dough, the dough have to rest for a long time. This is the price we have to pay for “no knead bread”!! This process is call “fermentation”. It is when the yeast is activated and start eating the sugars and fermenting the dough. I am not going to get into the nitty gritty of bread baking here, but essentially this process will help our dough rise, among other things. 

I let my dough for 12-14 hours at room temperature, and it was good; but in reality the fermentation process can be a lot longer (up to 24 hours in this particular case) if you want. This will develop more complex aromas in the dough. It’s magic happening. Your dough will be ready when is full of tiny air bubbles, very elastic, and at least doubled in size (image #1). At this point you need to she a ball. Your dough will be sticky so don’t panic. Shape a ball and get ready to bake. 

IMPORTANT NOTE: keep in mind that, when shaping YOU DON’T WANT TO INCORPORATE MORE FLOUR INTO THE DOUGH , you just need enough flour to be able to shape the dough into a ball without it being a sticky mess.

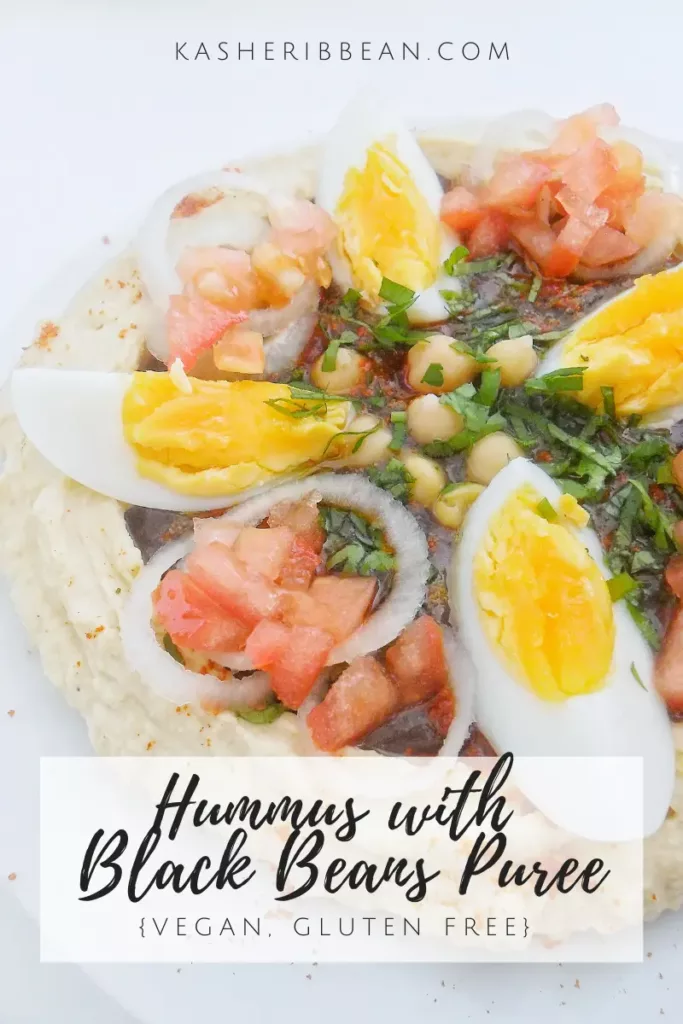
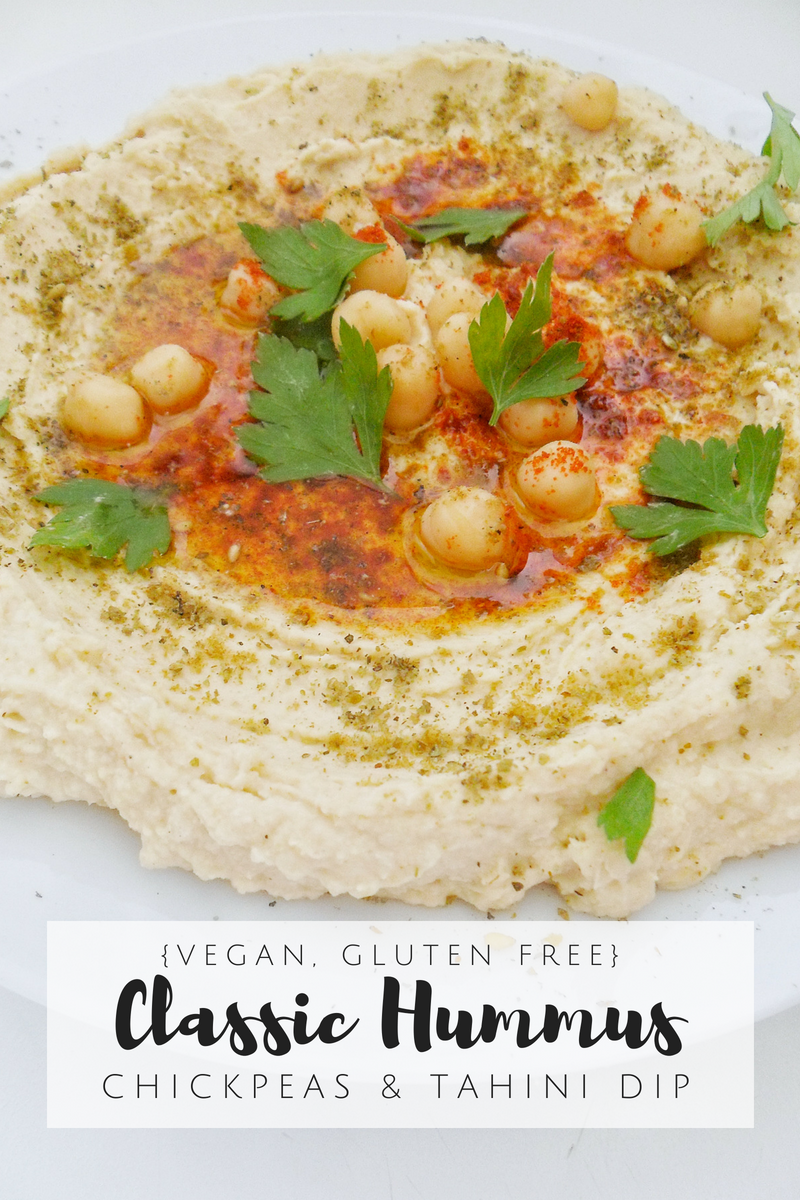
It is always a good idea to have some hummusbabaganoush and salads ready for when it’s munch time! 
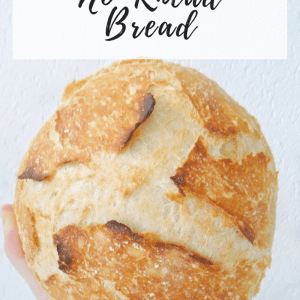
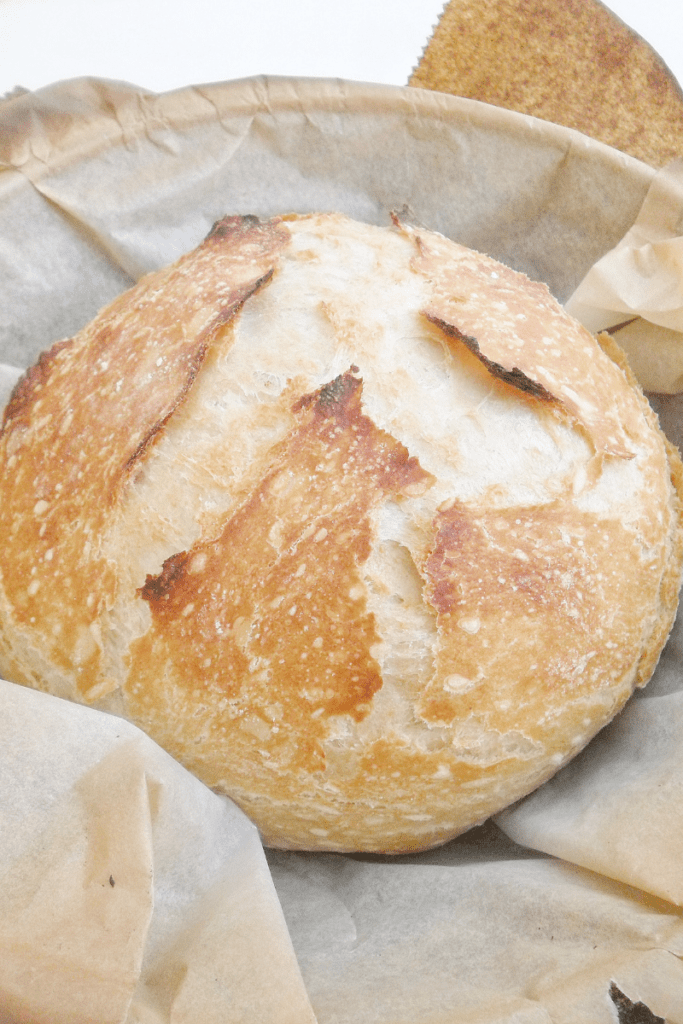
Easy, Vegan & Super Crusty No Knead Bread {Just 4-ingredients}

Course Breakfast, Dinner

Equipment

  • Dutch Oven or Cast Iron

Ingredients
  

  • 450 gr Bread flour
  • 300 gr Lukewarm water
  • 4 gr Instant yeast
  • 10 gr Salt

Instructions
 

  • In a bowl, combine flour, yeast and salt. Add the water and mix well with a fork or wooden spoon until a rough dough is formed.
  • Place the rough dough on a lightly oiled bowl, cover tightly with plastic wrap and let it rest at room temperature (see notes) for at least 12-14 hours.
  • Before you are ready to bake, preheat the oven to 232°C (450°F). Place the cast iron pot or dutch oven with its lid inside to preheat as well.
  • Place the fermented dough on a flat surface sprinkled with enough flour to avoid the dough from sticking. Gently shape a ball.
  • Carefully take the cast iron pot out of the oven, place a piece of baking paper on it and gently place the dough ball inside.
  • Put the lid on the dutch oven, take back to the oven and bake for 30 minutes
  • After 30 minutes, carefully remove the lid and bake for another 30 minutes or until the bread is golden brown and crusty.

Notes
The time of 12-14 hours is average for room temperature (around 20°C or 68°F).
If the average temperature in your kitchen is over room temperature, you can ferment your dough in the refrigerator covered with plastic wrap for up to 24 hrs. If that's the cake, before you are ready to bake, take the dough out of the refrigerator and let it come to room temperature before shaping and baking. 
If the average temperature in your kitchen is colder than room temperature, you can leave your dough to ferment in he counter. It might just take a bit longer to be ready for baking. 
Keyword baking, bread

When you make this easy Crusty No-Knead Bread use the hashtag #kasheribbean to share on social media and, don’t forget to follow on instagram and pinterest to keep up with our easy recipes from us and the blogosphere!


Super Crusty No Knead Bread {Vegan} Read More »

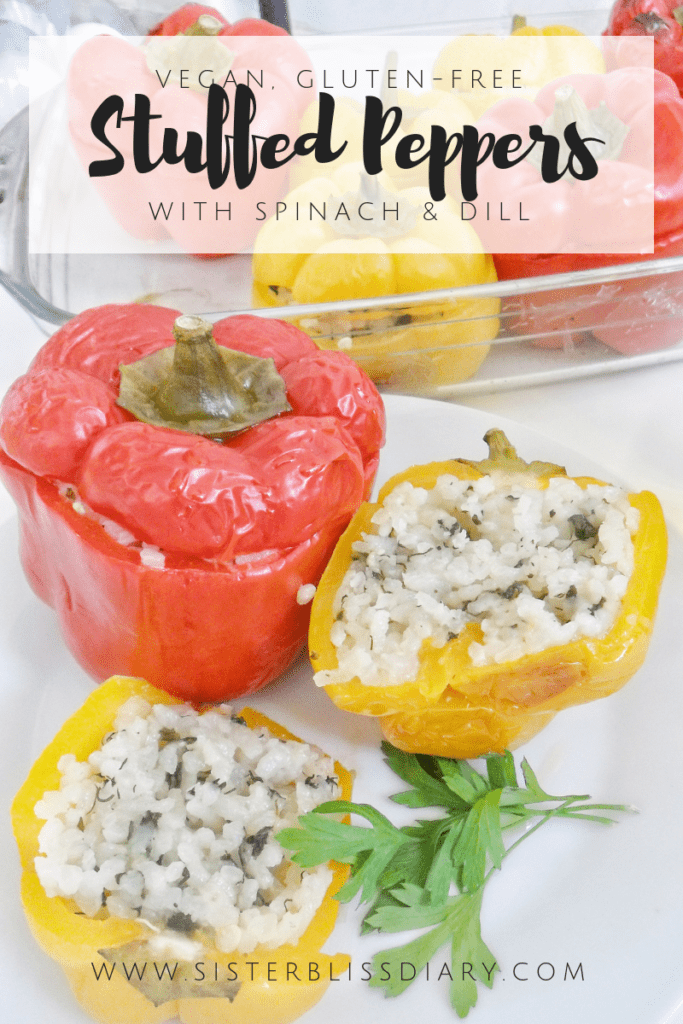
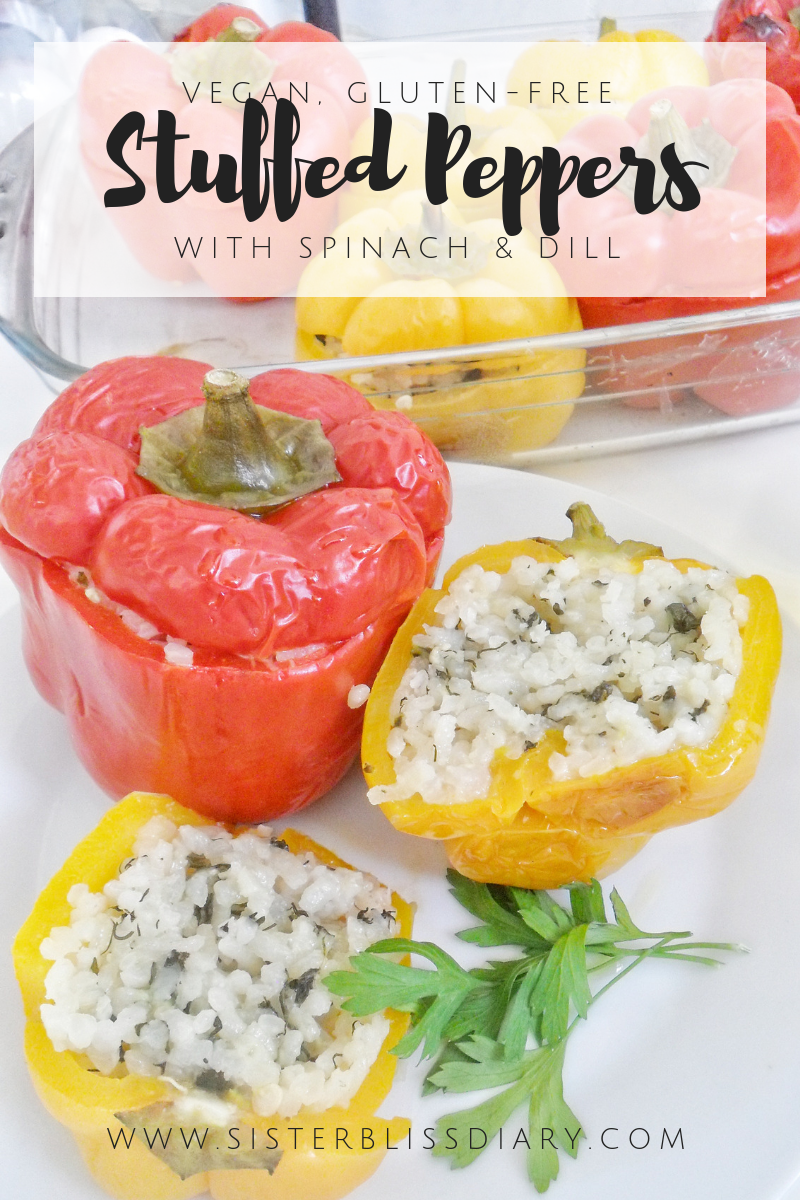
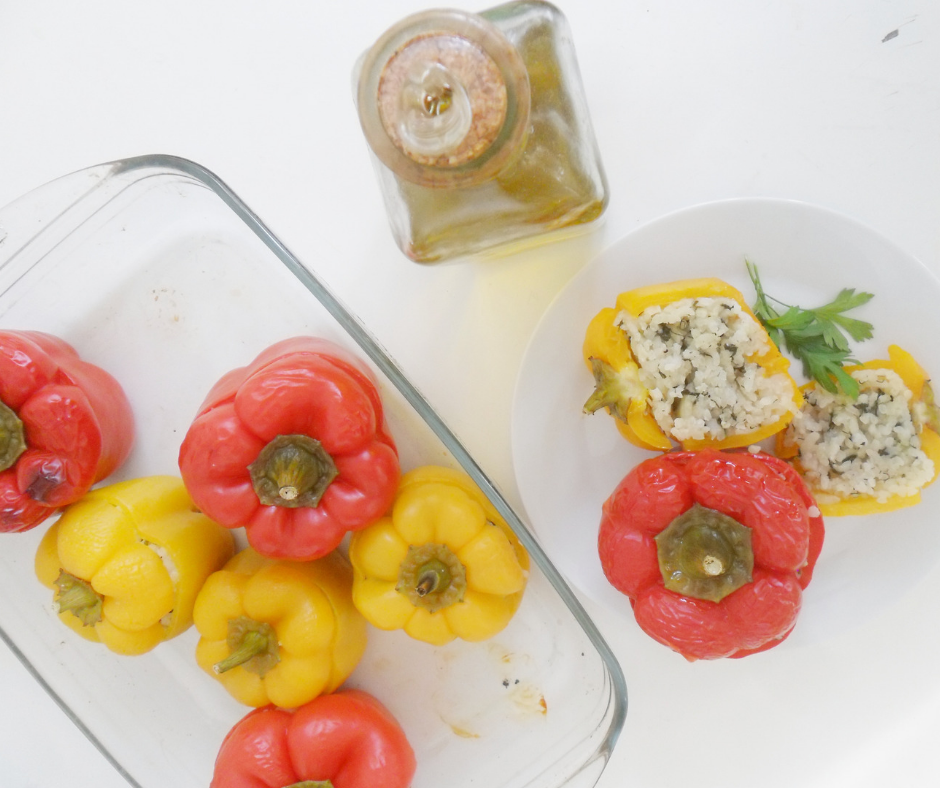
Classic Stuffed Peppers with Spinach & Dill {Vegan, GF}

Today we are making Stuffed Peppers!

I tried Stuffed Peppers and I failed miserably

Somewhere in May, one random ereb shabbath, my creative energy was not flowing AT ALL. After a while I decided I was going to make Vegan Stuffed Peppers for shabbath, since I had what I needed: Peppers and rice. Right? Wrong!! 

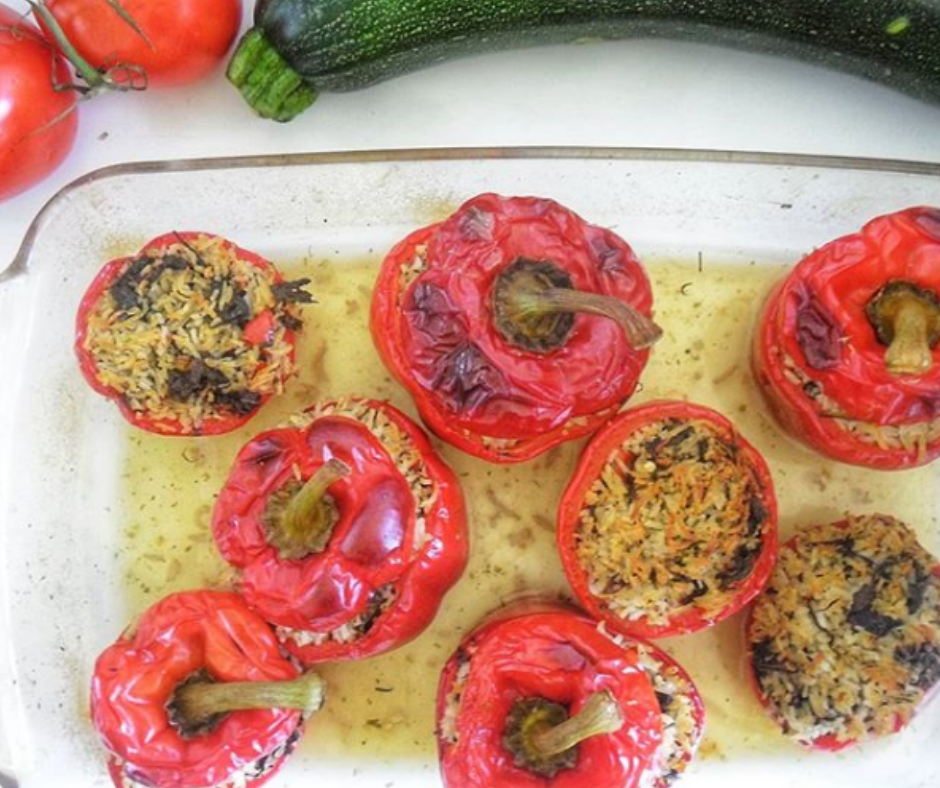
Usually, when people realize that I “can cook” they automatically assume all I do is good and perfect from the first time, but the truth is good food is a beautiful leaning process. Some get it easily the first time, and other after a few tries. You are now a witness; the first time I made stuffed peppers it was for sure a total disaster. For some reason (maybe all those 30 seconds insta videos are guilty lol) I believed stuffed peppers was about just peppers and any rice, so I tried with basmati and I failed miserably.  

I love Basmati rice. It has beautiful aroma, cooks easily, fluffy and separate which makes it perfect for salads and pilafs, but definitely not so good for stuffed peppers. As you can see in the picture above, the rice looks dry (it was actually crispy) and it was not holding together, as it should when making stuffed peppers, so the perfect rice to make stuffed peppers (and also dolmas, stuffed cabbage, and more) is risotto rice. 

Want more risotto rice recipes? Check out our Vegan Beer & Almonds Risotto 

The Basics of Stuffed Peppers

The good thing about Stuffed Peppers is that, apart from the rice, there is really not “basics”…. Well, maybe there are a few “must”, and they are: 

  1. Add salt and pepper to the interior of your Peppers: this can be easily forgotten but it is so important! Just sprinkle a little salt in the interior of each pepper and you are good to go. 
  2. Always keep your Pepper tops!: They would act like lids and will prevent a crust on the top of the rice . 
  3. Cut a little bit of the bottom, so the peppers stand on the baking dish.
  4. Pack the rice tightly in each cavity. If you don’t want to serve too much rice, use smaller peppers. 
  5. Place the stuffed peppers tightly in the baking dish. This will help the peppers hold their shape while baking. 


Bonus Tip!
Don’t throw away the peppers core! Remove the seeds and store in the freezer on resealable bags. They give amazing flavor and aroma to any stew, specially stewed kidney beans. Nom nom!  

How to Make Stuffed Peppers

Because this is a very basic Stuffed Peppers recipe, I used 3 simple ingredients for my rice: onions, spinach and fresh dill. 

Basically, I sauteed the onions until lightly golden. Added the risotto rice, spinach, dill and salt to taste. Cook until most of the water is absorbed. Then, cover with the lid and cook on low until the rice is al dente. 

What you need to do next is to stuff the peppers, place the pepper caps on top, and bake until the peppers are tender.  

When you make this recipe or any other from the blog, use the tag #kasheribbean. And, don’t forget to follow on instagram and pinterest to keep up with our easy recipes from us and the blogosphere!


As you can see, Stuffed Peppers are easy to make and you can play with the fillings as much as you want, so the combinations are endless. Play around with your favorite ingredients and let us know the most exciting combos you come up with! 

Until next time! 😉  

Classic Stuffed Peppers with Spinach & Dill {Vegan, GF} Read More »

Vegan Beer & Almonds Risotto


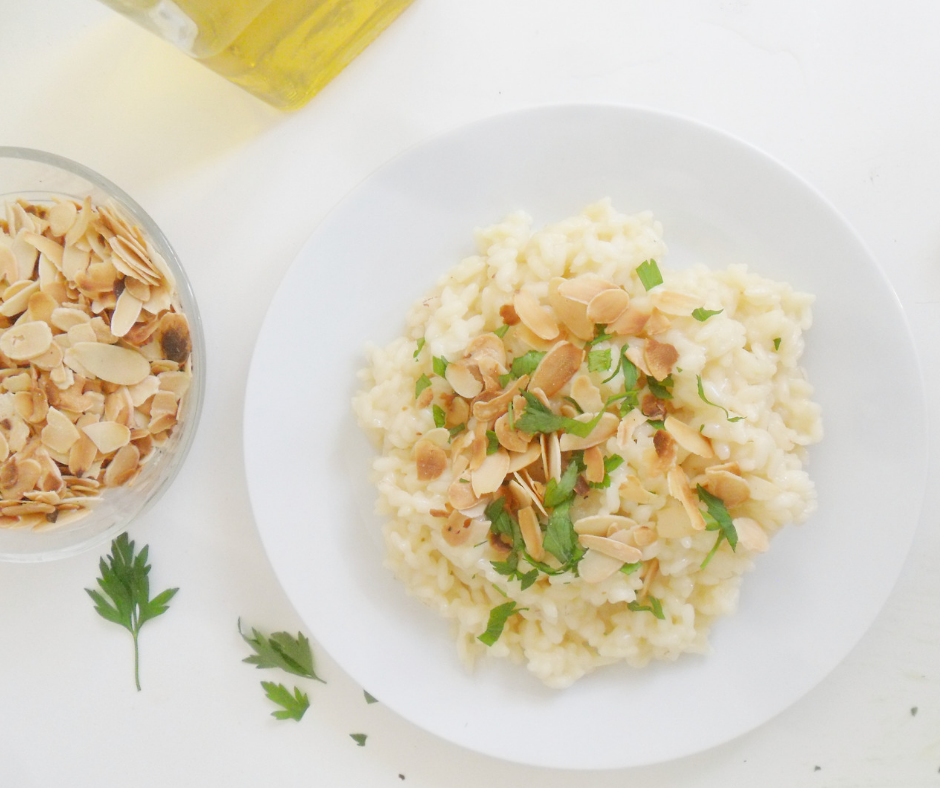
A few weeks ago I made proper risotto for the first time, and today I bring you the results: A delicious, easy, vegan with Gluten Free option Beer & Almonds Risotto!

The inspiration behind this Beer & Almonds Risotto 

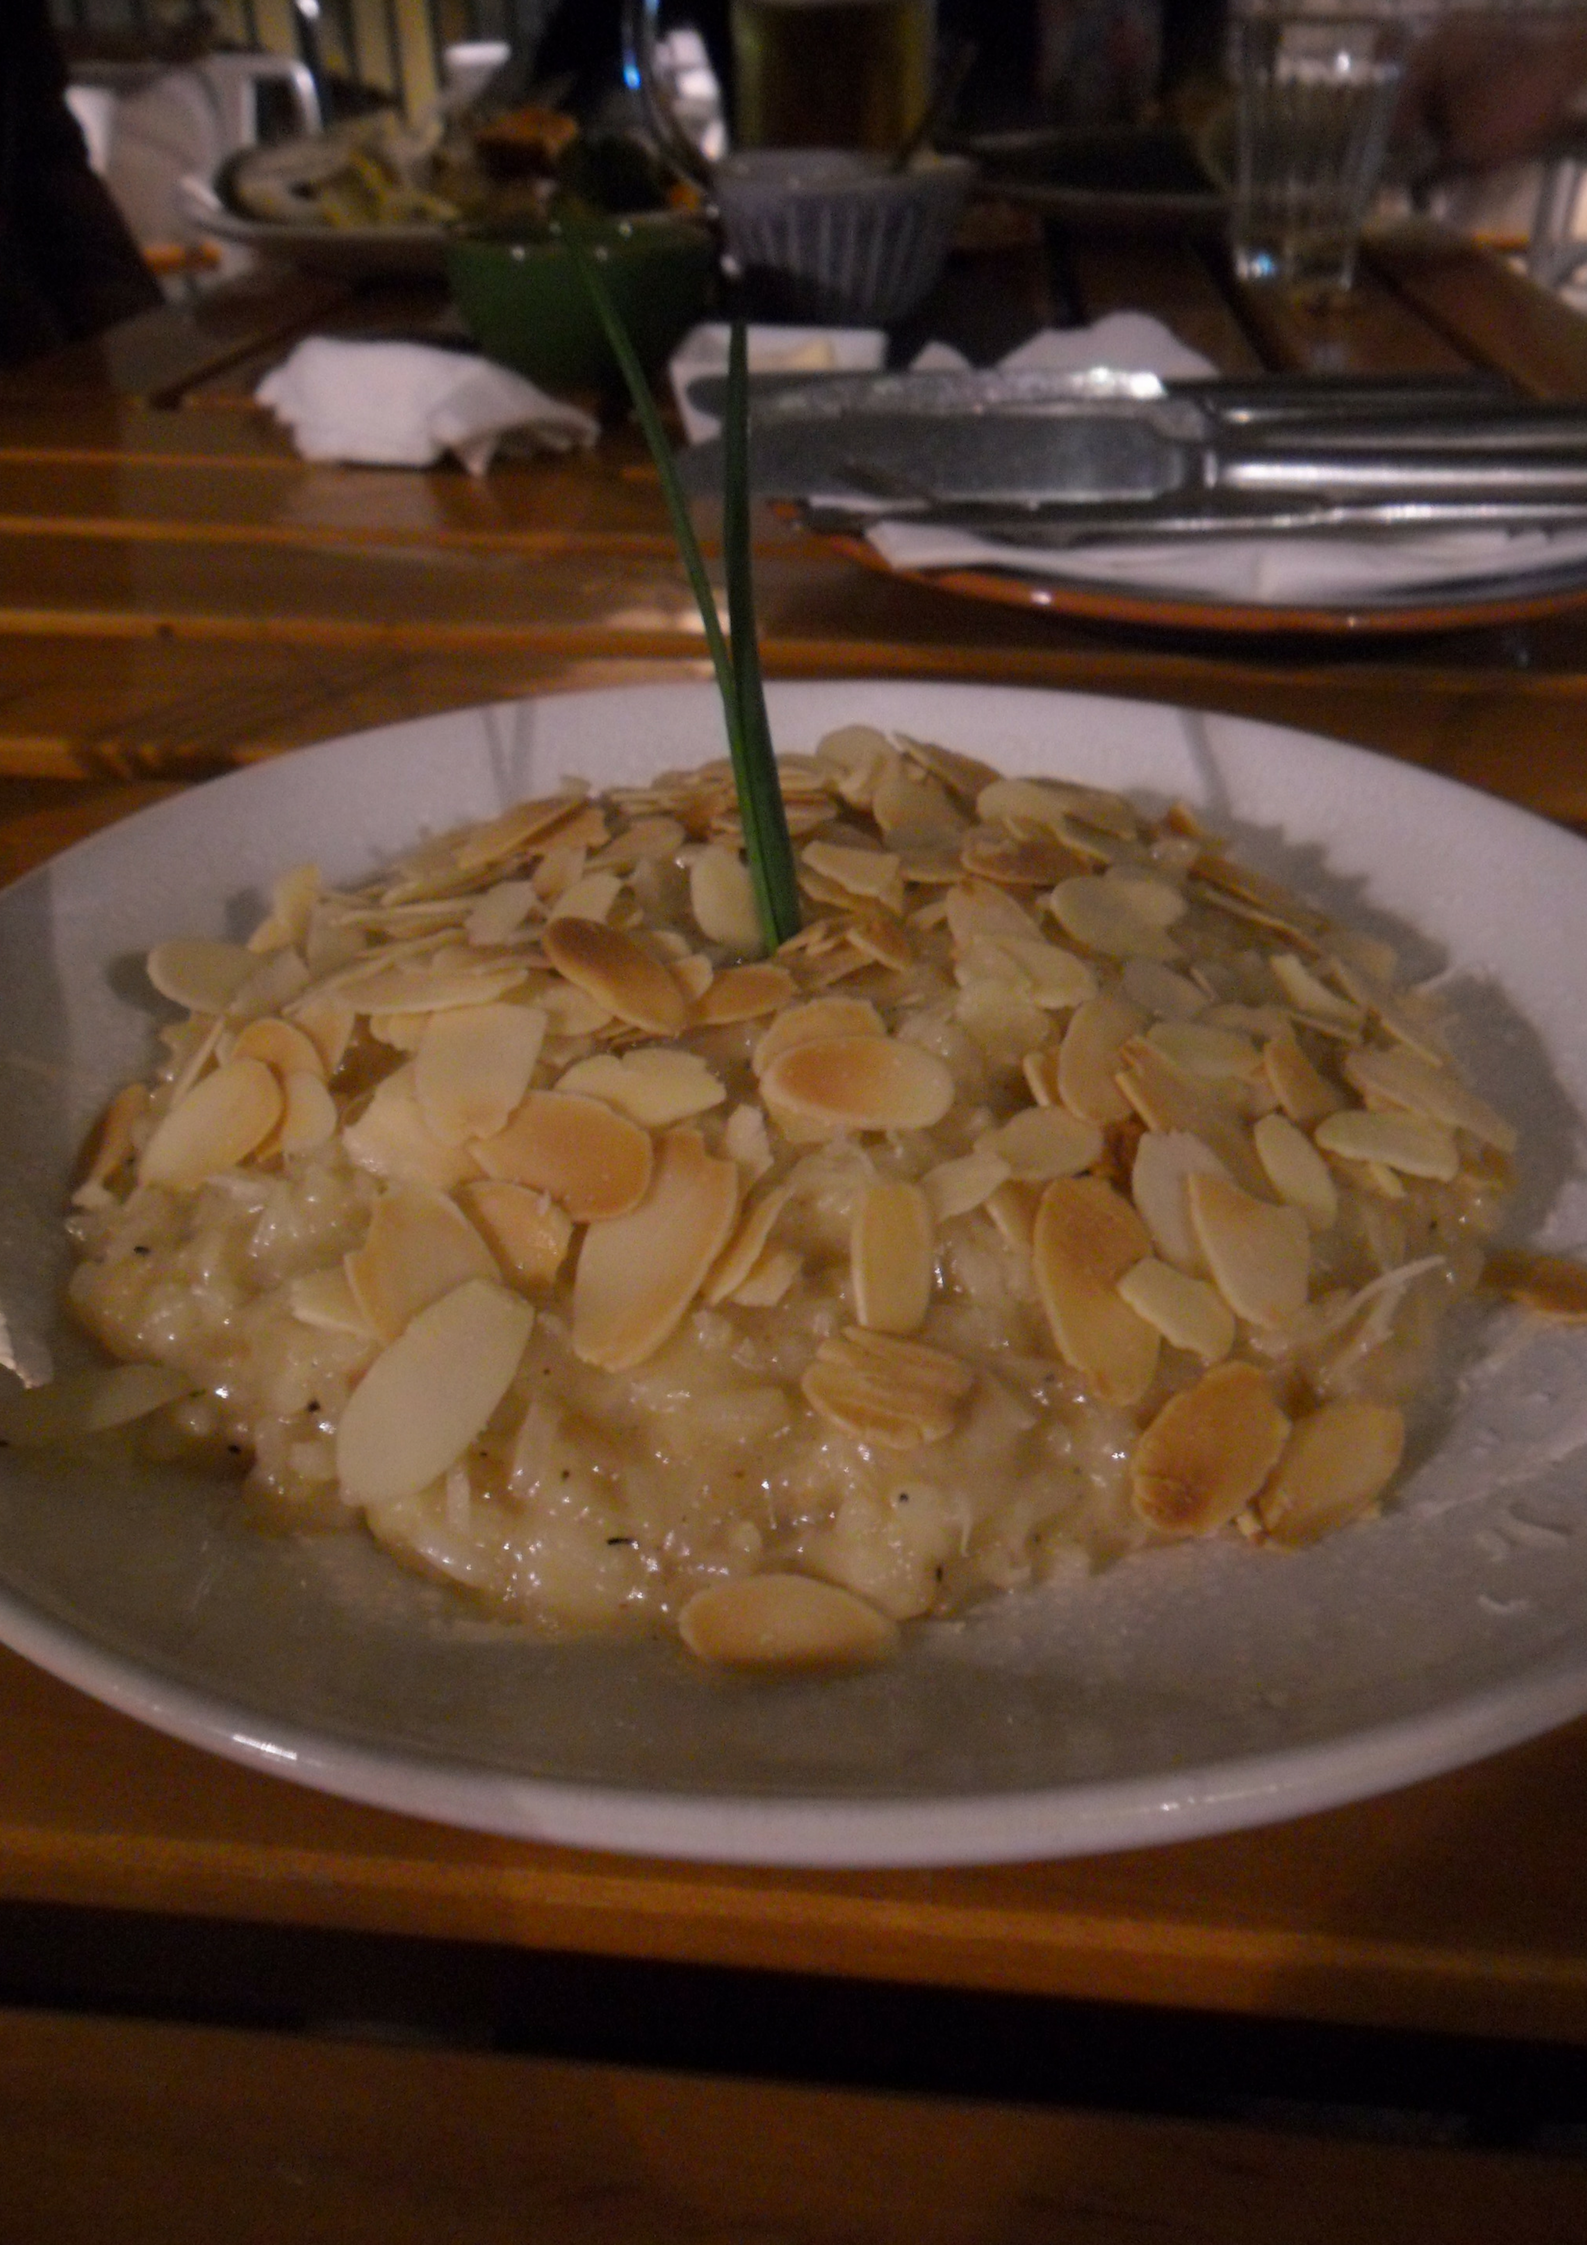
Back in march this year, we went to Portugal, and after spending the whole day walking and exploring the city of Lisbon, we had a lovely dinner under the stars. On the menu, one dish catches my attention: Almond Risotto.

When I saw that perfectly cooked, creamy and absolutely delicious risotto, my mind immediately took me back in time to when I was twelve. The time when we met Tio Mario (uncle Mario, whose real name was Mario Autore).

Tio Mario was an old man that lived in our building, originally from Napoli, Italy. Everyone’s perception was that Tio Mario was just a difficult man. He barely talked to anyone, and he didn’t have family and friends in the country.

After a few weeks, my mom realized they had met before, back when my mother was studying at university. He was a restaurant owner, his restaurant was near the university and my mom went there often. That realization evolved into instant connection. That old, lonely man started cooking for us every week, we started visiting often, to the point that if we were not at home, we were with Tio Mario. We soon became family. 

Endless pastas… and, risottos

The first thing we tried from Tio Mario, was pasta! Now you know my little secret: my appreciation for pasta recipes comes from those memories. My LOVE for culinary arts was also born and grown since the day I met Tio Mario, because he not just started cooking for us, but when I told him I wanted to be a chef, he soon welcomed me into his kitchen, and became my mentor.  

Endless kind of pastas, risottos, pasta, sauces, snacks and desserts, became part of our lives and memories, alongside our newly added family member! 🙂 He was 84 by the way!! 

Check out the perfect companion of pasta with tomato sauce! The Ultimate Vegan Meatballs 

The inspiring picture 

Few weeks ago, on a random day, I was thinking of Tio Mario and I thought of the risotto we had back in Lisbon. When I saw the picture I captured after the one of the risotto, the idea hit me. I didn’t have white wine so I would make BEER & Almonds risotto 😛

The inspiring glass of beer

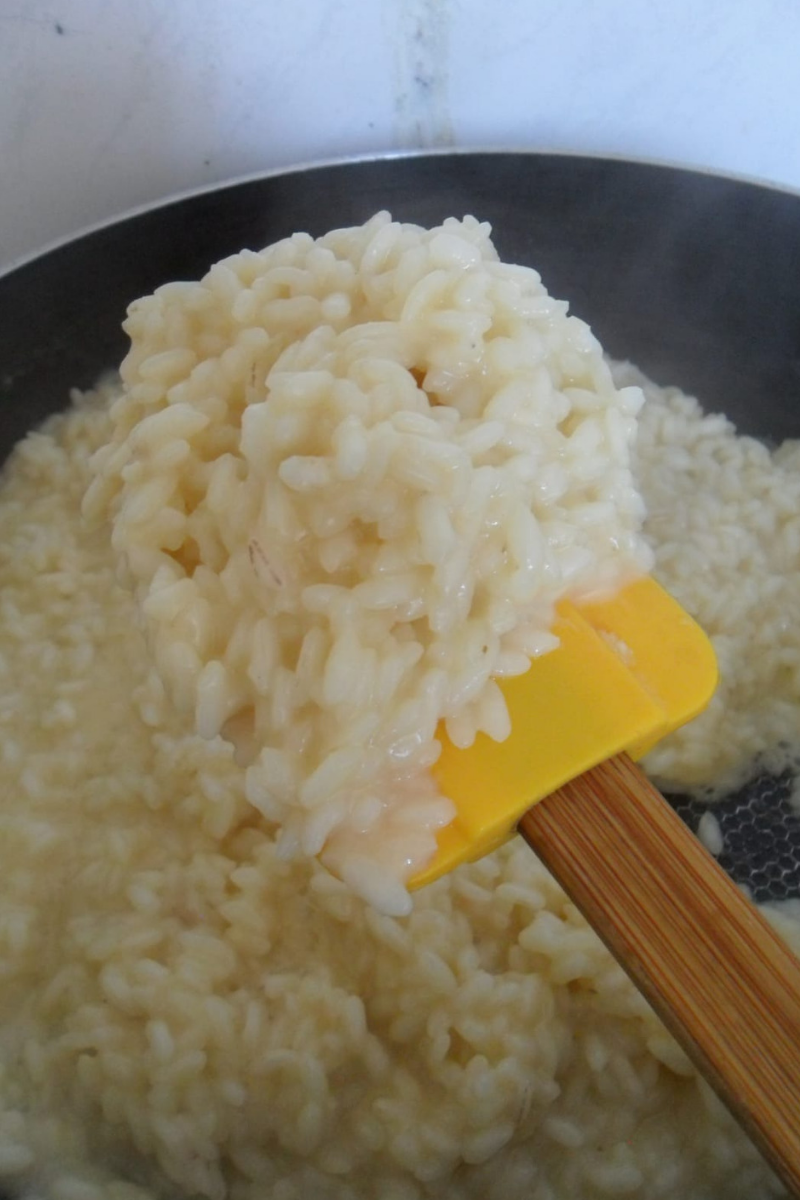
I don’t know why I was so intimidated by the idea, because it ended up being so easy to make! You just need to start with the right rice, risotto rice , and you have won half the battle. 

How to Make Beer & Almonds Risotto


To make this Beer & Almonds Risotto, I started by dry-roasting some silvered almonds on the pan, until they were light golden brown and fragrant. Once they were done, I set aside, added some olive oil to the pan and sauteed some shallots. 

Once the shallots were fragrant and translucent, I added the risotto rice and this is when the fun starts. You start by adding the alcohol, seasonings and the stock, stir and stir, until the ingredients transform into a yummy, creamy al-dente risotto. 

It would have not been possible for me to have a great Beer & Almonds Risotto without Gennaro Contaldo’s fantastic tutorial on how to make Risotto Bianco

Sometimes it saddens me that Tio Mario passed away four years after we met him. It also saddens me that I don’t remember all the names of the dishes, or the flavors of many. Despite that, I keep his memory alive, and every time I cook or see any resemblance of Italian gastronomy, I think of my beloved Tio Mario. 

When you make this recipe or any other from the blog, use the tag #kasheribbean. And, don’t forget to follow on instagram and pinterest to keep up with our easy recipes from us and the blogosphere! 

Do you have food memories that you cherish? I bet you do!! Never take them for granted and express your  gratitude and love for them on every possible opportunity! Until next time! 😉  


Vegan Beer & Almonds Risotto Read More »

Creamed Potatoes {Vegan, GF}

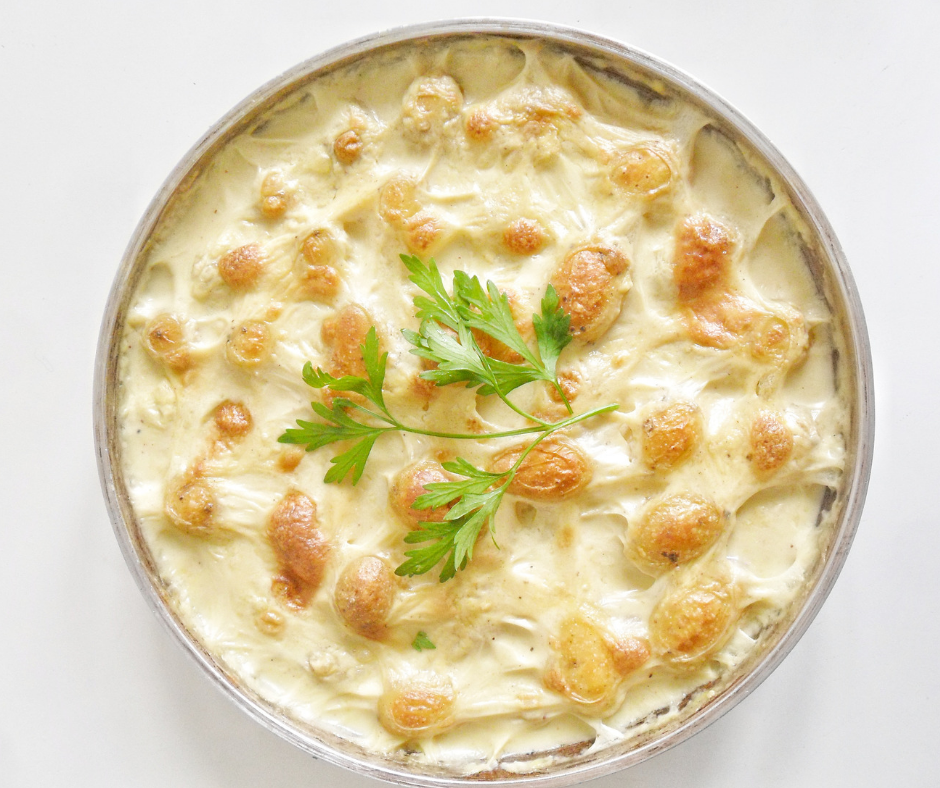
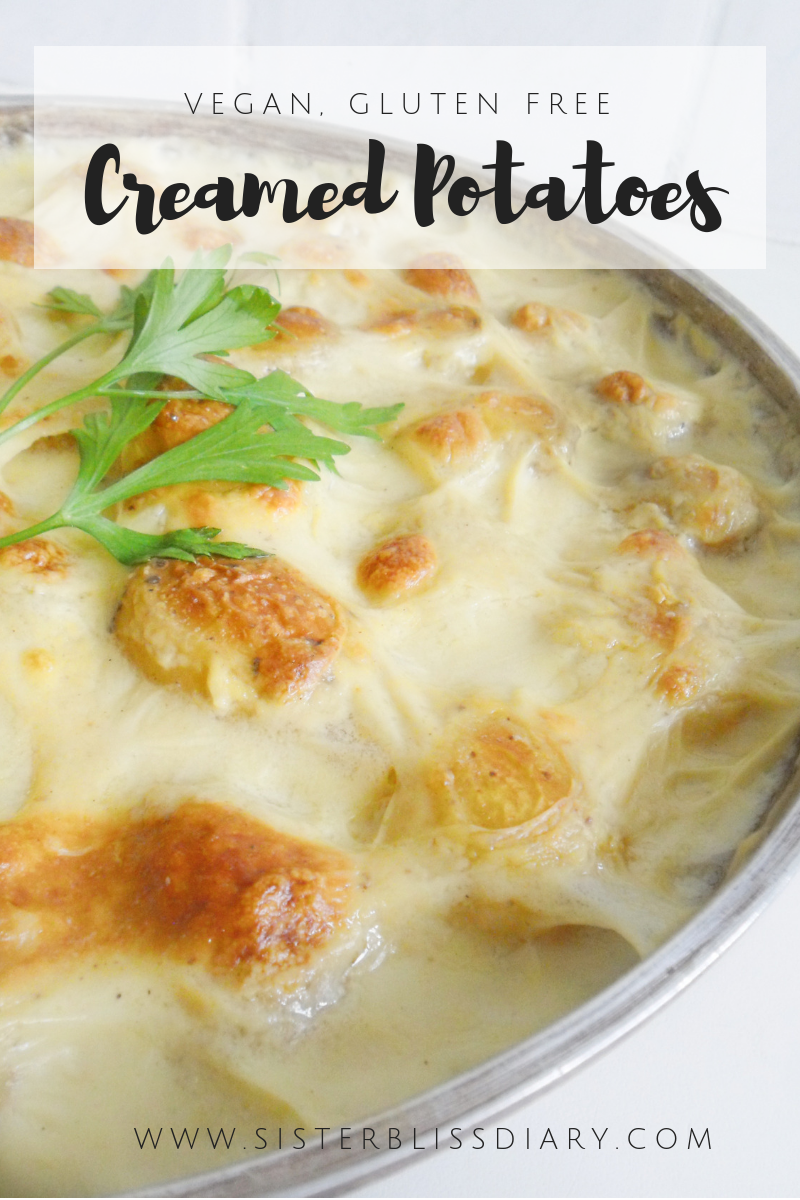
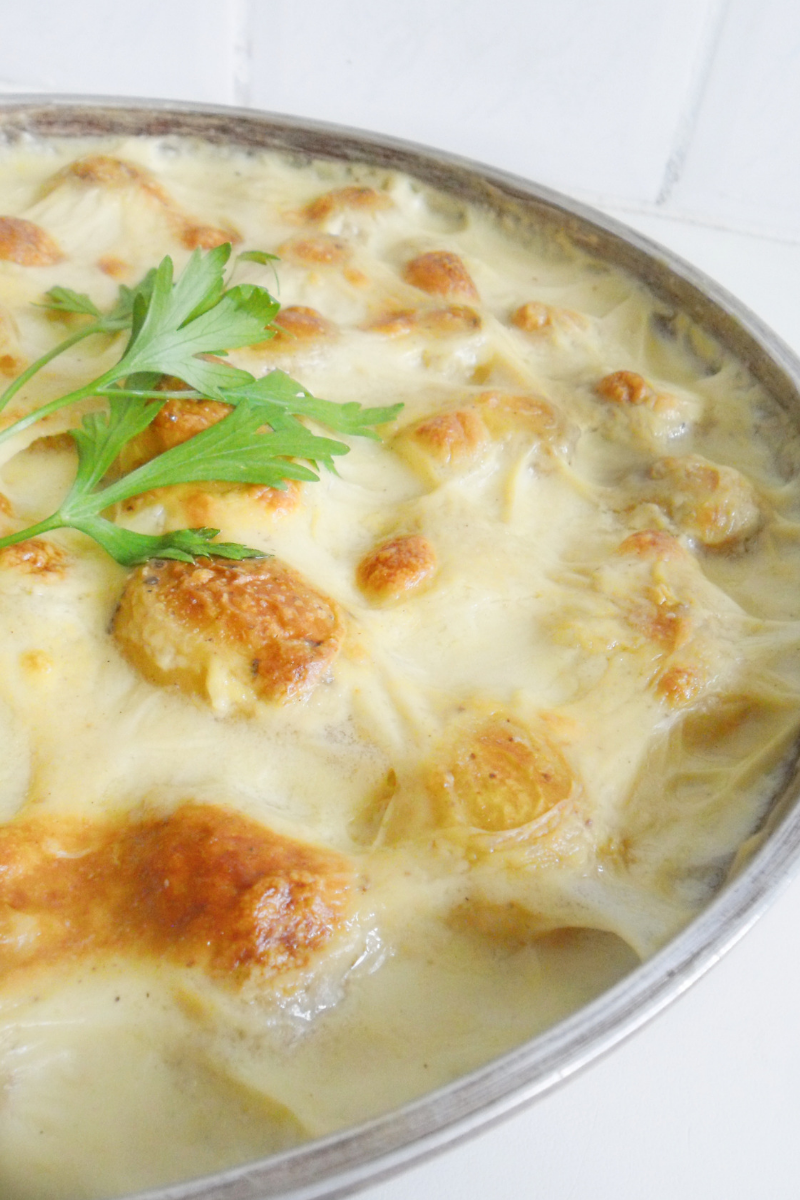
One of the easiest side dishes on the planet: Yummy Vegan Creamed Potatoes. Versatile, kid-friendly, delicious and also budget-friendly. There’s nothing that can go wrong with this dish.

This is another one of those recipes that has been waiting to be published for months. I first came out with these Vegan Creamed Potatoes one ereb shabbath, when I needed that “little extra” because I felt something was missing for the Shabbat dinner. I quickly thought about what can be done with what I had on hand, and that was it. 

My husband says it is obvious I have ancestry from eastern and central Europe, because I love my potatoes, lol. I mean, they are just so versatile. Am I right? 😛  If you love potatoes as much as I do, also check out our super easy Lemony Potato Salad. I will eat those two dishes every other day if I could!  

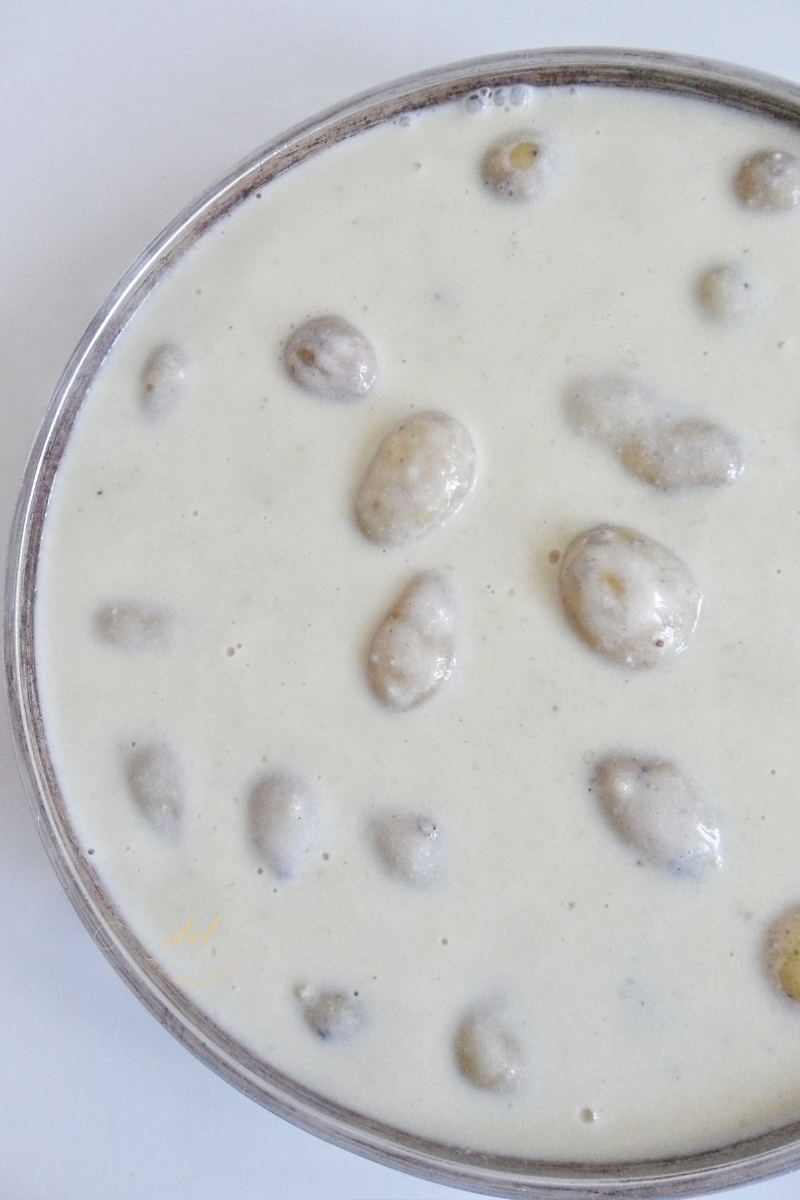
As I told you already, this Vegan Creamed Potatoes are extremely easy to make. Just gather your ingredients, boil the potatoes for a few minutes (This is what I like to do so I don’t end up with raw potatoes and dried sauce, but I guess you can do this if you have a mandoline), mix the ingredients for the sauce, cook a bit on the oven, and voila! Creamed Potatoes ready to enjoy! 🙂 

Let’s talk about the ingredients…

Simple ingredients. Great results

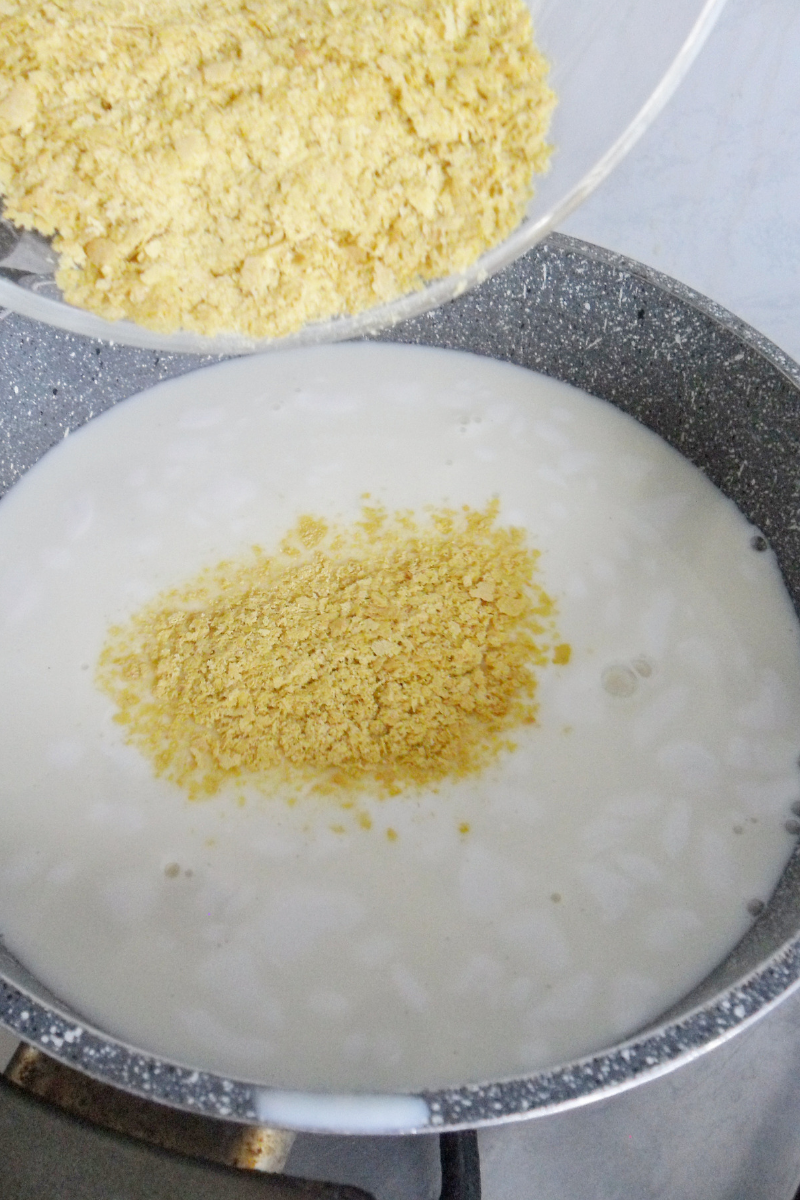
For the Vegan Creamed Potatoes you’ll need just a handful of ingredients: coconut milk (Do you realize already I love coconut?), nutritional yeast, mustard, nutmeg, some flour and a touch of salt and pepper. 

Those few ingredients will give you a delicious white sauce that you will use to dress up the humble potatoes. 

This particular time I used mini potatoes, that I cleaned well before boiling for about 10 minutes. I left them whole and with the skin on for this occasion because I was out of time, and also because I wanted to give another look to these Vegan Creamed Potatoes, but you can also peel the skin off and slice to make like a more traditional scalloped potatoes dish. 

Nutritional yeast + mustard + nutmeg, is a key combo for this recipe. I find that these 3 ingredients combined add a subtle but fantastic flavor to this dish. I hope you like it as much as I do.

If for any reason you want to make this paleo-friendly, use tapioca starch instead of cornstarch, and you are good to go. 


What would you pair these Vegan Creamed Potatoes with?? Let us know in the comment section below and don’t forget to share pictures with the hashtag #kasheribbean, when you make this recipe. Follow up on instagram and pinterest to keep up with other quick and easy recipes from us and the blogosphere! 

Until next time! 😉 


Creamed Potatoes {Vegan, GF} Read More »

Lemony Potato Salad

A humble Lemony Potato Salad get a punch of flavor from lemon juice, lemon zest and parsley. Keep reading to get the recipe. 

To be honest, this recipe has been sitting on my drafts for over a month now. I made it when the days where way too hot, so it was sitting there while I tried to bring other more “summer friendly” dishes to my table and the blog. 

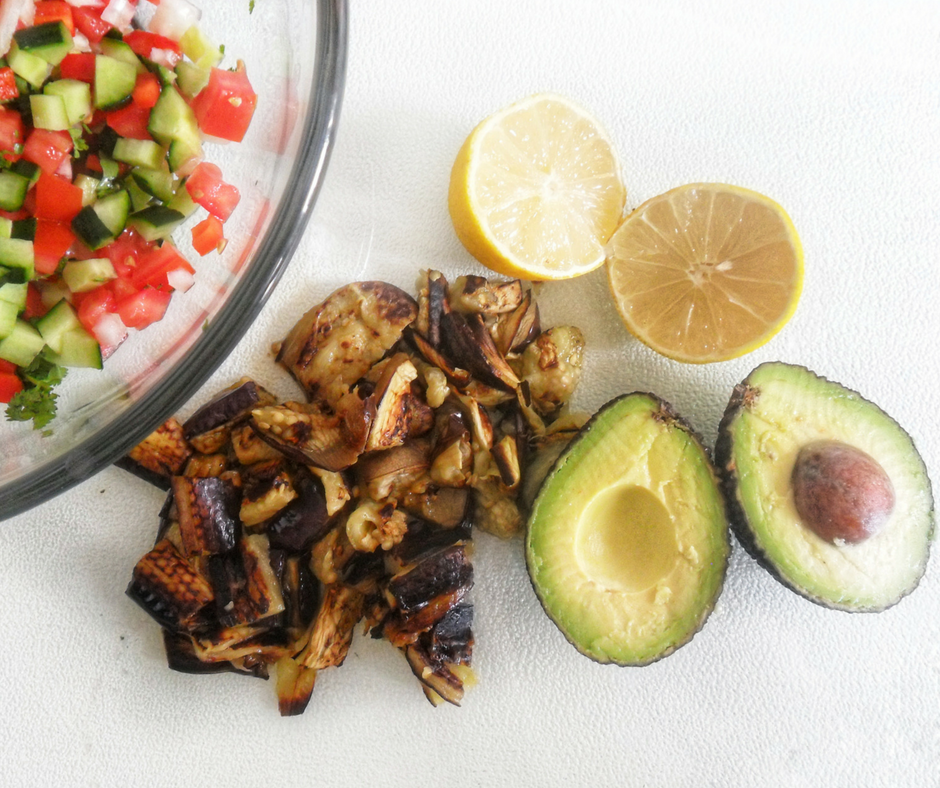
At the end of the day I posted a very fresh Grilled Eggplant & Avocado Salad two weeks ago, and then decided to take a week off as I was setting up the website for the home-based cake business I just started. Yay!. That was a little bit stressful. 


I think this came to be actually the perfect time to post this Lemony Potato Salad because this salad portraits the transition on the weather I am experiencing here right now. It has the bright lemony flavor characteristic of sunny days, but it is also satisfying and filling, sort of a comfort food you’ll want to eat on a much cooler, rainy days. 

Let’s talk about the ingredients…

Simple ingredients. Great results

For this Lemony Potato Salad I used the most humble ingredients you can think of, but they blend beautifully to give you the perfect, but not overpowering, tangy lemony flavor that goes very well with potatoes.  

To get the most amount of juice from the lemon don’t forget to press a little bit against the kitchen counter.

For this particular salad I peeled the potatoes, and cook until they are fork tender. The reason why I peeled is because I want to mash a bit of the potatoes, and that little mash, when mixed with the egg yolks, mayo and mustard, will add to the creamy texture without adding too much mayonnaise. 

To get perfect hard boiled eggs for this, or any recipe, place the room temperature eggs on a pot filled with water (make sure the water covers the eggs) and put over medium high heat. Bring to a boil and then lower the heat, and let it cook for 6 minutes. Get off the heat and cool off the eggs with cold water. Peel off and they are ready to use. When you cut in half you should be able to see a beautiful, perfectly cooked, creamy and bright yellow yolk. 

Mayo, mustard, onion and lemon are the main seasoning for this salad. I love how these 4 ingredients marry together to compliment the creamy potatoes. 

Yes! I also chopped the stalk of the fresh parsley

Finally, we have sweet peas and parsley. The fresh parsley has a peppery taste that goes really well with the lemon juice and zest. That combo is what gives you the bright flavor of this salad.

On the other hand, the sweet peas add a little bit of sweetness and a pop of color. I always put the frozen sweet peas to a strainer, and then add the hot potatoes on top. While the potatoes cool down, the sweet peas will defrost.   

How do you love your potato salad? Let us know across social media with your delicious pictures and by sharing with your friends and family!! Follow on instagram and pinterest where we share our favorite quick and easy recipes from the blogosphere! We appreciate your support!

Lemony Potato Salad Read More »