Sweet Treats

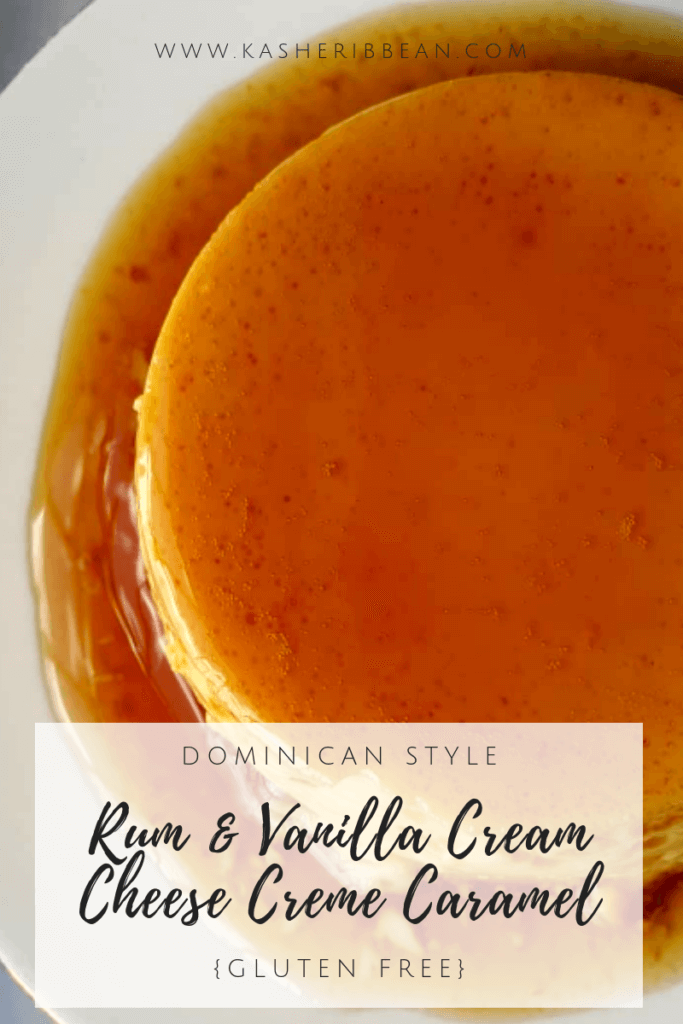
Rum & Vanilla Cream Cheese Creme Caramel {Gluten Free}

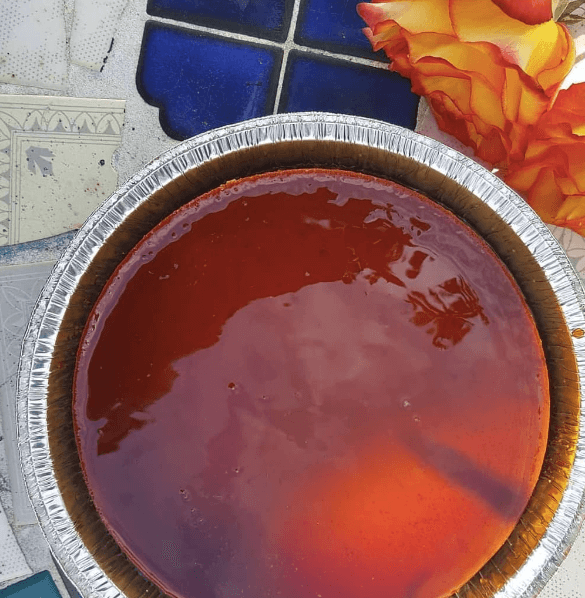
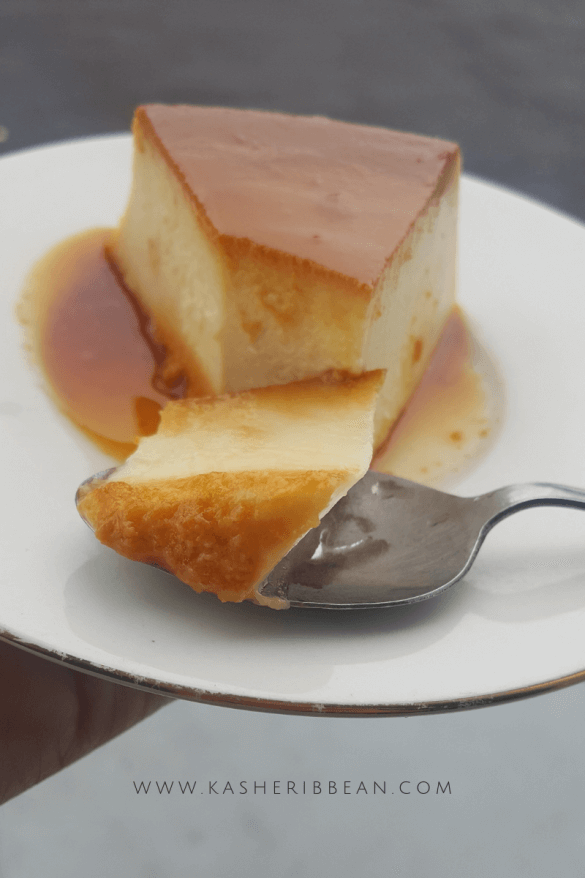
Shabuoth is coming and with it, all the cheesy and creamy recipes afloat including this sexy Rum & Vanilla Cream Cheese Creme Caramel, perfect for the occasion!

It feels almost surreal that is almost Shabuoth again, and we have no time to waste, so I want to keep it simple and precise with a classic and popular dessert: Rum & Vanilla Cream Cheese Creme Caramel.

As you may know, Flan or Creme Caramel is a custard-based dessert, easy to make and if done right, brilliantly decadent to say the least. And, because this one has a cream cheese base, you could potentially skip the caramel, make a cookie base for the bottom, bake and you’ll have Cheesecake! (Consider that a bonus recipe 😛 ) If you are looking for a non-dairy version, check out our Coconut Creme Caramel.

A super easy and delicious dessert for Shabuoth

Rum; Vanilla Cream Cheese Flan {Gluten Free}

Course Dessert
Cuisine Dominican Republic
Servings 8

Ingredients
  

  • 100 gr Granulated Sugar
  • 30 ml Water
  • 400 ml Full Fat Evaporated Milk
  • 400 ml Condensed Milk
  • 400 ml Eggs
  • 200 gr Cream Cheese
  • 40 ml Rum (Optional but recommended)*
  • 1/2 Tbsp Vanilla Extract
  • Pinch of salt

Instructions
 

  • Preheat oven to 180°C (350°F).
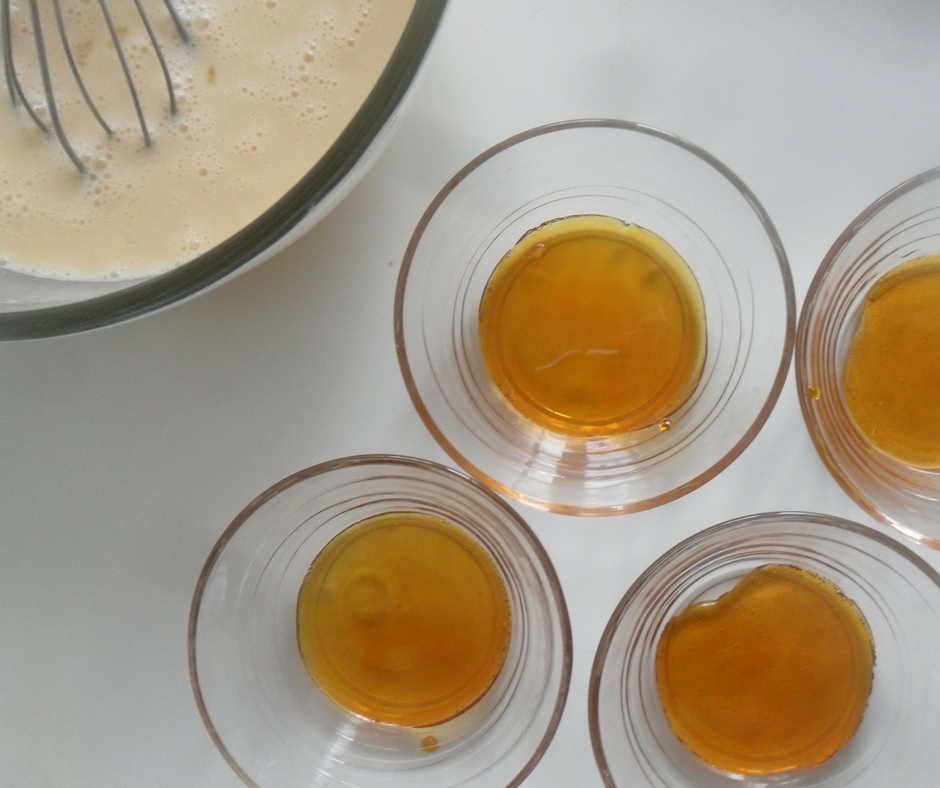
  • In a small pot, place the sugar and water and stir to dissolve. Cover with a lid and cook over medium high heat, swirling occasionally until the caramel starts to form and you see an light amber color. Continue to cook to achieve a caramel color. Quickly pour the caramel in the pan and swirl to coat the bottom.
  • In a blender, add the ingredients for the custard and pulse for a few seconds. Strain the custard mixture through a fine sieve and into the prepared pan.
  • Transfer a bigger pan to the oven, place the prepared pan with the custard inside and add enough water to come halfway up the sides of the pan.
  • Cover the pan loosely with a silicone baking mat or aluminum foil and bake for 35-40 minutes or until the custard is set on the edges and a little jiggly on the center.
  • Remove the pan from the hot water, and remove the baking mat from the top and let it reach room temperature before refrigerating until cold, preferably overnight.
  • To release from the pan, first run a sharp knife on the edge of the pan and invert carefully onto a serving plate.
  • Serve cold.

Notes

  • If adding rum extract, 1/2 tbsp is enough.
Keyword cream cheese, creme caramel, flan, quesillo

Have you made this recipe yet?  We want to see your pictures! Use the tag #kasheribbean to share with us and, don’t forget to follow on instagram and pinterest to keep up with our easy recipes from us and the blogosphere!


Rum & Vanilla Cream Cheese Creme Caramel {Gluten Free} Read More »

Easy Chocolate Mousse {Passover-Friendly, GF}

Easy Chocolate Mousse Cake {Passover-friendly, Gluten-Free}

If you still haven’t decided on what dessert to make for Pesach, this Luscious Passover-Friendly Mousse Cake will be the perfect end to your Passover Celebration!

If you are having a hard time coming up with a menu for your Pesach, we have prepared for you a couple of post to help you in your journey: 


5 Full Menu Ideas for Passover
10 Massoth-free Breakfast Ideas to enjoy during Pesach and all year-round

Making this Mousse cake is very straight-forward process and extremely easy. As a bonus, you can make it vegan as well.

This recipe calls for almond flour, which I find to be available in most places these days, but if for some reason you can’t find it, you can buy peeled whole or silvered almonds and pulse a few times in a food processor until you have course granules. Just be careful not to process too much or you’ll make almond butter instead. You can also use other nuts to make the flour, and that I leave to your preference.

Easy Chocolate Mousse Cake {Passover-Friendly, GF}

Course Dessert
Servings 8

Equipment

  • 1 20 cm Cake Pan Springform cake pan or Round pyrex work

Ingredients
  

Base:

  • 100 gr Caster Sugar
  • 150 gr Almond Flour
  • 70 gr Salted Butter room temperature
  • 30 gr Cocoa Powder

Mousse

  • 400 gr 74% Chocolate semi sweet
  • 150 ml Milk any kind
  • 100 gr Cocoa Powder
  • 600 ml Heavy Whipping Cream, cold 35% Fat. Substitute plant-based if needed
  • 2 tsp Cointreau, Orange Liqueur Optional but recommended. Can use another liquor as well or extract.

Instructions
 

Base:

  • In a bowl, mix all ingredients and flatten the mixture on a 20 cm baking pan (Preferably use a pan with removable bottom)
  • Place in the prepared base in the refrigerator for about 15 minutes to harden.

Mousse:

  • Simmer the whole milk and mix with the cocoa powder until dissolved. Mix well.
  • Add the hot chocolate milk over the semi sweet chocolate and set aside until the chocolate is melted. Mix well, and let it reach room temperature before mixing in with the whipped cream.
  • Beat the cold whipping cream with the orange liqueur to soft picks.
  • Add the chocolate mixture to the whipped cream and mix well.
  • Spread the mousse over the prepared almond crust and place in the refrigerator overnight.
  • Serve cold.

Notes

You can use vegan butter, instead of butter and substitute the whipping cream with vegan whipping cream or full fat coconut milk. 
Keyword Gluten-free, Mousse, passover

When you make these Passover-Friendly Chocolate Mousse Cake use the tag #kasheribbean to share on social media and, don’t forget to follow on instagram and pinterest for more easy kasher recipes!

Easy Chocolate Mousse {Passover-Friendly, GF} Read More »

3 Ingredients Coconut Macaroons {Gluten-Free, Passover-Friendly}

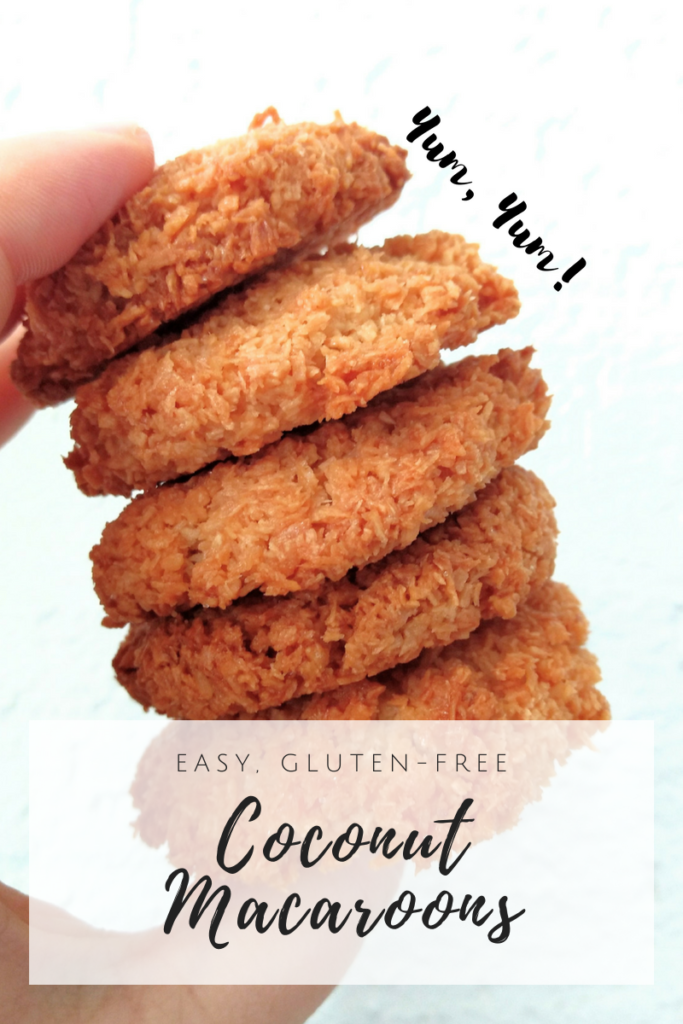
3 Ingredients Coconut Macaroons {Gluten-Free, Passover-Friendly}​

3 Ingredients Coconut Macaroons {Gluten-Free, Passover-Friendly}

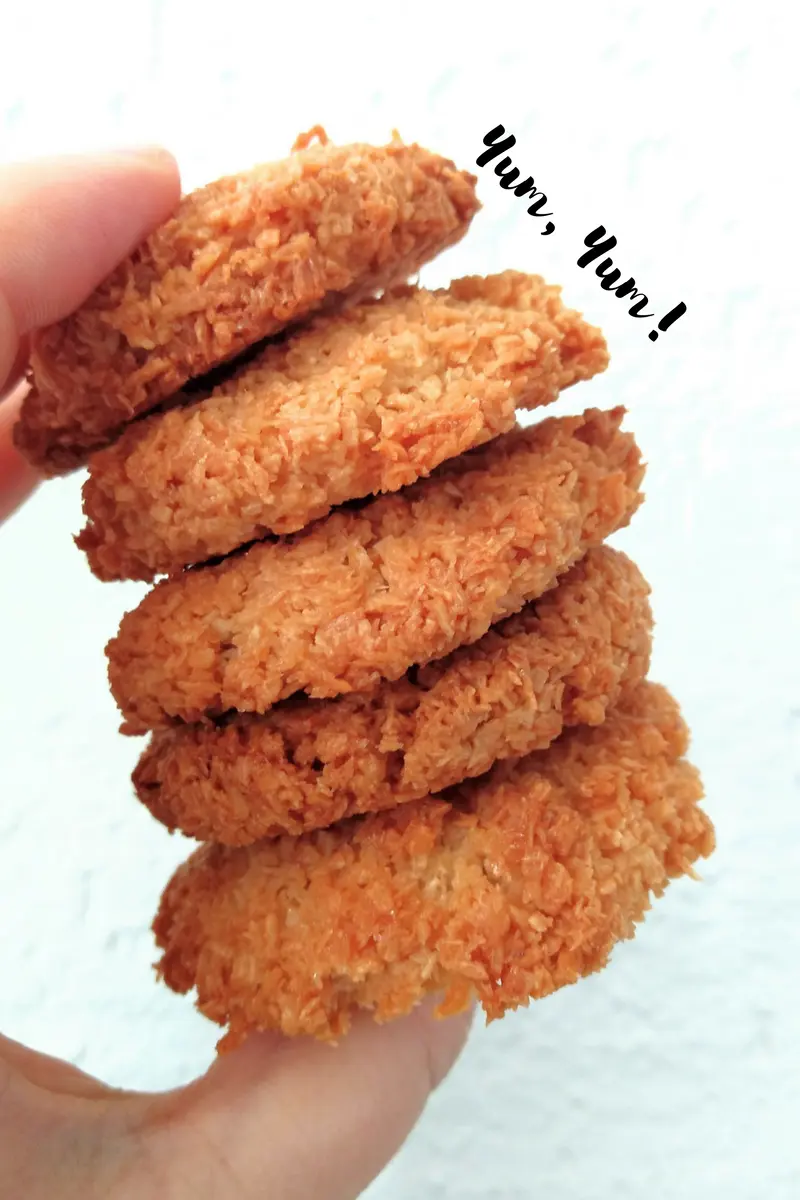
I remember being a fan of all things coconut, and I still am. It’s aroma it’s one of those things that easily transports me to my roots in the Dominican Republic. It is also a feeling ingredient, that can be added to many dishes, savory and sweet, and prepared in many ways. Now, this cookies combine two things that I enjoy: coconut and crunch. 

Are you a fan of peanut or nut butters? You might want to try these Peanut Butter Cookies which are also made with 3 ingredients.

These cookies are perfect because: 

 – They are passover-friendly 

– It’s made with very few ingredients and requires short prep.

– You can increase this recipe easily to make bigger batches depending your needs.


I baked these cookies for 8 minutes and by the time they were golden all around, crunchy on the outside and a little creamy on the inside. You can reduce the oven temperature to 325F and bake for about 10-15 minutes if you want set cookies that are just lightly crunchy and more creamy. 

Semi sweet chocolate drizzle is a nice addition to this cookies, once they are baked and completely cooled down. 


Enjoy!

3 Ingredients Coconut Macaroons {Gluten-Free, Passover-Friendly}

3 Ingredients Coconut Macaroons {Gluten-Free, Passover-Friendly}

Course Snack
Servings 14 Cookies (20 grs each)

Ingredients
  

  • 140 gr Coconut  (Finely shredded)
  • 70 gr Egg whites
  • 70 gr Granulated Sugar

Instructions
 

  • Preheat your oven to 350ºF (175ºC) and line your baking sheet with a silicon mat or parchment paper.
  • Mix all of your ingredients in a small saucepan, turn on the heat and start heating the mixture while stirring, until the mixture is well incorporated and the coconut is moist.
  • Scoop out cookies of about 20 grams onto your baking sheet. You can also shape little balls in your hands and flatten a little.
  • Bake in your preheated oven for 30 minutes, or until your cookies turn a light golden color.
  • Remove from the oven and let cool completely on the baking sheet.
  • This keep well stored in an airtight container for several weeks.

Notes

Optional: You can drizzle or cover these cookies with semi-sweet chocolate or couverture.
Keyword baking, cookies, dairy-free, Gluten-free, passover, sweet treats

Have you make these Peanut Butter Cookies? Use the tag #kasheribbean to share on social media and, don’t forget to follow on instagram and pinterest to keep up with our easy recipes from us and the blogosphere!


Related Posts

4 Easy & Travel-Friendly Meals that will Survive a Long-Haul Flight

A few weeks ago I returned from another long haul flight, and because of previous bad experiences and mistakes with my kosher meals, I wanted to do things differently this time; I decided I was going to prepare my own meals to take on the plane in case there was another mistake. But because not all food can be in optimal condition for long hours without refrigeration, I needed to pick wisely. Today I’ll share with you 4 travel-friendly meals that will

Creamed Potatoes {Vegan, GF}

One of the easiest side dishes on the planet: Yummy Vegan Creamed Potatoes. Versatile, kid-friendly, delicious and also budget-friendly. There’s nothing that can go wrong with this dish. This is another one of those recipes that has been waiting to be published for months. I first came out with these Vegan Creamed Potatoes one ereb shabbath, when I needed that “little extra” because I felt something was missing for the Shabbat dinner. I quickly thought about what can be done

3 Ingredients Coconut Macaroons {Gluten-Free, Passover-Friendly}​ Read More »

Peanut Butter Hamantaschen

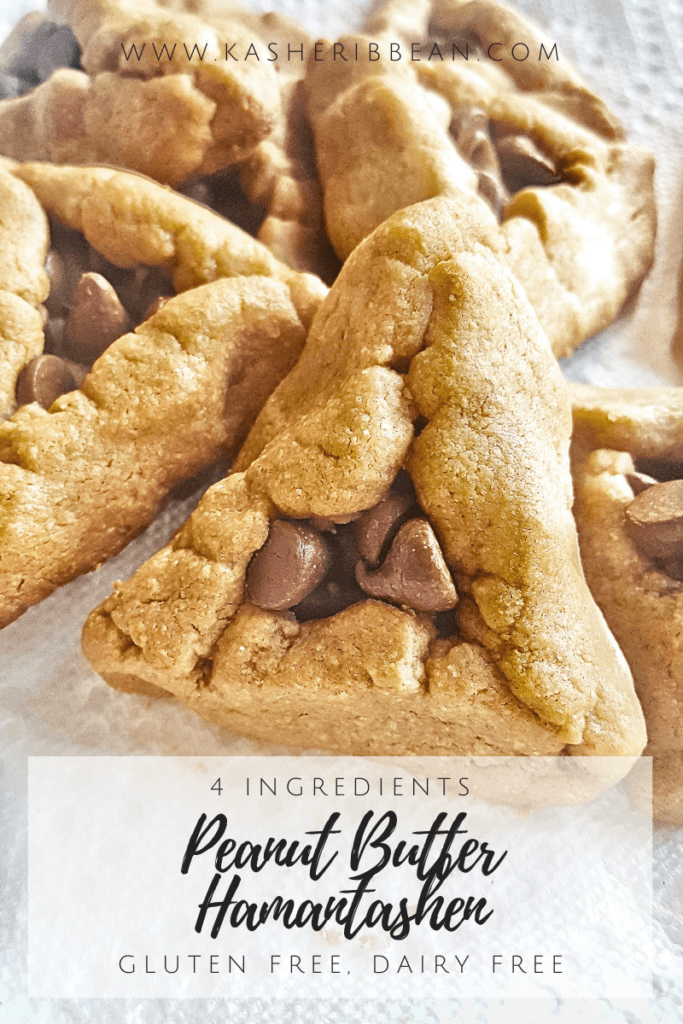
4-Ingredients Peanut Butter Hamantaschen {Gluten-Free, Dairy-Free}

4 Ingredients Peanut butter Hamantaschen {Dairy-Free, Gluten-Free}

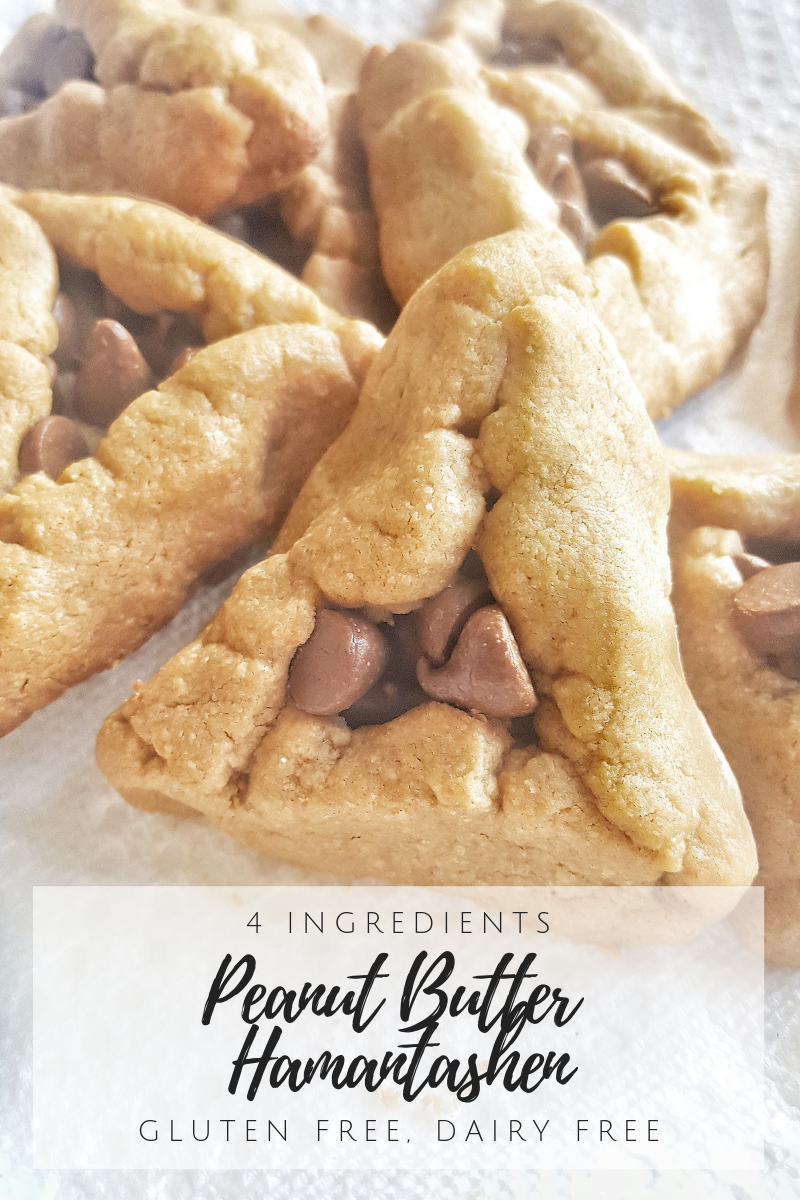
Call me crazy for taking the classic Peanut Butter Cookies and making them “purim style”  in hamantaschen shape. This was the genius idea of my son and niece who wanted to make peanut butter cookies with chocolate chips, but changed the shape of the cookies mid-way through the process, and although I was skeptical, it worked. 

If you are looking for an easy recipe to have some baking fun with the little ones, these 4 ingredients Peanut Butter Hamantaschen with chocolate filling might be what you are looking for. 

Turning a classic into Peanut Butter Hamantaschen

To make these Peanut Butter Hamantaschen you’ll need 4 simple ingredients, you probably have at home right now:  peanut butter, eggs, sugar and chocolate chips, ganache or nutella (or your filling of preference). 

The process couldn’t be easier, just mix the ingredients in bowl (except for the chocolate chips), as you would when making the classic peanut butter cookies, and and mix with a fork or hand mixer until it has the consistency of a thick batter.

Peanut butter Hamantaschen

After this what is left is portioning the cookies, shaping and baking. I find that smaller cookies are easier to handle, so I weigh portions of 25-30 grams each. Flatten each one in your hands, pinch with a fork, place the filling in the center and shape. Transfer to a baking sheet for baking, and bake in a preheated oven at 180°C (350°F) for about 12 minutes. 

Peanut butter Hamantaschen
Peanut Butter Hamantaschen

4-Ingredients Peanut Butter Hamantaschen {Gluten-Free, Dairy-Free}

Course Dessert

Ingredients
  

  • 400 gr Creamy Peanut Butter

  • 100 ml Eggs
  • 100 gr Granulated Sugar
  • 200 gr chocolate chips, ganache or nutella

Instructions
 

  • Preheat the oven to 180ºC (350ºF) and line a baking sheet with a silicon mat or parchment paper.
  • In a bowl, combine peanut butter, sugar and eggs and mix well with a fork until the mixture thickens
  • Scoop out portions of 25 grams each (you can make them smaller or bigger as you please), flat them out and pinch the center with a fork.
  • Add the chocolate chips, ganache or nutella in the center and shape the cookies into a triangle by folding in the edges.
  • Place the cookies on the prepared baking sheet, leaving a gap in between so they can expand.
  • Bake in the preheated oven for 12 minutes (baking time may vary depending on the size of your cookies)
  • Cookies are done when they are lightly brown at the bottom and firm to the touch.
Keyword baking, cookies, Purim

Have you make these Peanut Butter Hamantaschen recipe or any other from the blog? Use the tag #kasheribbean to share on social media and, don’t forget to follow on instagram and pinterest to keep up with our easy recipes from us and the blogosphere!


4-Ingredients Peanut Butter Hamantaschen {Gluten-Free, Dairy-Free} Read More »
Classic Hamantaschen {Dairy-Free}

Classic Hamantaschen {Dairy-Free}

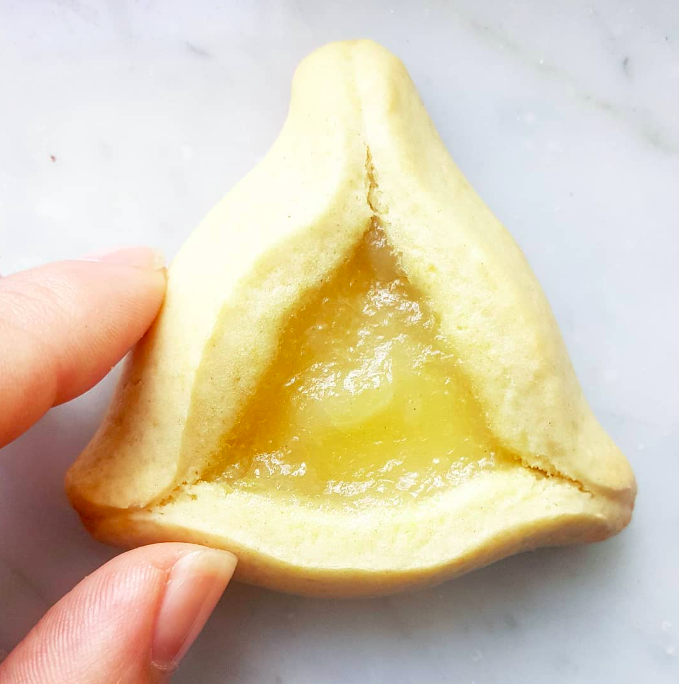
These must be the easiest crunchy on the outside and cake-y on the inside Classic Hamantaschen.

Easy to make,
No need equipment. Just basically a bowl, a whisk and an oven.

It is made with simple, accessible ingredients.
Seven to be exact.

To make these Classic Hamantaschen, you’ll need the most basic ingredients for baking: Flour, sugar, eggs, oil and some flavorings. In this particular recipe I used melted coconut oil to avoid the vegetable oil, but you can use vegetable oil if that’s what you have on hand.

What I love the most about these cookies is that you don’t need a stand-mixer or hand mixer. Your hands, a whisk and a bowl will do the trick. All you have to do is mix all ingredients (except flour) in a bowl. Then, incorporate most of the flour, making sure there is not dry bits when you finish mixing. Finally, add the last 50 grams or so of flour, and work the dough lightly with your hands to finish mixing very well (make sure you don’t overwork it).

Some of you may be wondering, “how do I weight eggs?” In USA, you’ll find a standard large egg is about 50 grams and, an extra large weighs approximately 55 grams. To measure eggs by weight start by cracking a few into a bowl until you are close to the amount you need. Once you are short a few grams, take another egg, whisk it on a separate bowl, and weigh the amount you need. 

This is not your typical cookie dough. It is slightly sticky and that can make it a bit challenging to work. You can help yourself with baking paper, or just shape the cookies in your hands. It might be helpful to use gloves or lightly oil your palms before starting.

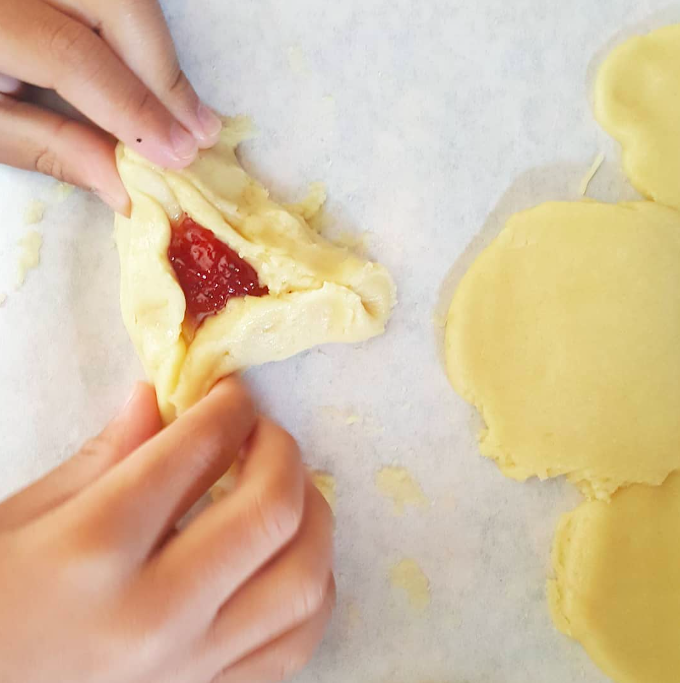
All you have to do is place one ball of dough  in your hand, flatten it out to form a circle, place the jam on the center and fold in the edges to form a triangle. You can also roll out the dough and between two sheets of baking paper. 

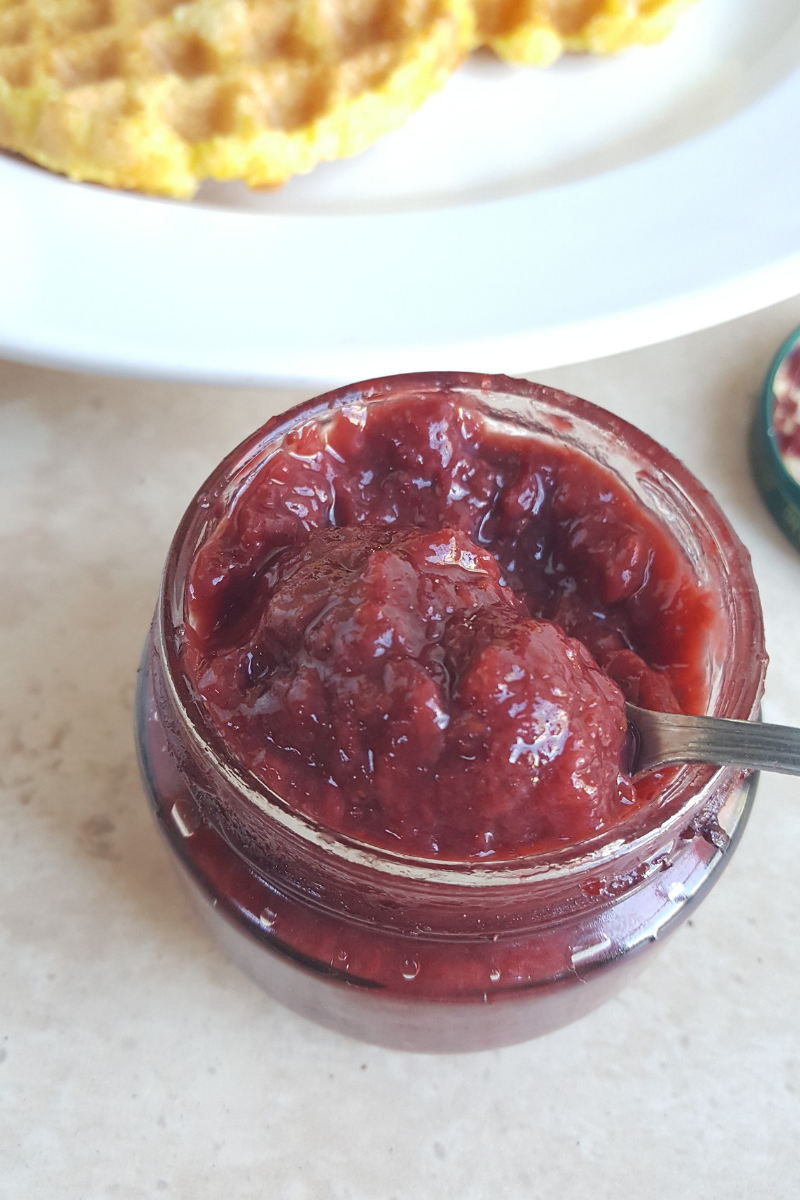
My favorite fillings for these cookies are berries jam, pineapple jam, Nutella or chocolate chips, and peanut butter, but the possibilities are endless. If you need some inspiration check these posts for some sweet and savory ideas: 

 Sweet Hamantaschen Round-Up & Savory Hamantaschen Round Up

Classic Hamantaschen {Dairy-Free}

Prep Time 15 minutes
Cook Time 15 minutes

Ingredients
  

  • 450 gr Self-Rising Flour*

  • 130 gr Granulated sugar
  • 125 gr Eggs
  • 100 gr Coconut Oil, melted** (or vegetable oil)
  • 1/2 tsp Vanilla extract
  • 1/4 tsp Salt

Instructions
 

  • In a bowl mix eggs, sugar, oil, vanilla extract and salt.
  • Then, add 400gr of the flour and start mixing with a fork until you have a homogeneous dough, with no dry flour. Then, mix in the rest 50n grams with your hands.
  • Weight balls 0f 30 grams each (each ball will be a cookie). Place the dough on your hands, flatten the dough out, shaping a circle with approximately 1/4" thickness.
  • Place your preferred jam in the center, then fold in the sides of the circle to achieve a triangular shape.
  • Place carefully on a baking sheet covered with parchment and bake at 180°C (350°F) for aprox. 12-15 minutes or until the bottom is light golden brown.
  • Let them rest for about 5 minutes on the baking sheet and transfer to a wire rack to cool completely if you really can wait lol (I couldn't!)

Notes

  • For this recipe I use Self-Rising flour because is the one I had at home. If you don't have it you can also mix All-Purpose with 1 1/2 (one and a hallf) teaspoon of baking powder. Mix well and sift a couple of times for even distribution of the baking powder.
  • You can also use vegetable oil for this recipe, or any other with mild flavor. 
Keyword hamantaschen, Purim

Have you make this Spinach-Basil & Walnut Pesto, or any other from the blog? Use the tag #kasheribbean to share on social media and, don’t forget to follow on instagram and pinterest to keep up with our easy recipes from us and the blogosphere!


Classic Hamantaschen {Dairy-Free} Read More »

Rice Pudding: 3 Ways {Traditional, Coconut & Coffee}

Rice Pudding is one of those simple dishes you could eat over and over again. For breakfast, for dinner or for dessert, hot or cold, plain or dressed up, is one of a kind recipe. Easy to make and so versatile. Get ready to learn how you can make delicious Rice Pudding 3 ways: the traditional dairy version, the vegan coconut version and the coffee version {can be made dairy or vegan and is delicious!}

The Basics of Rice Pudding

Rice Pudding is one of the most basics and popular breakfasts, dinner and/or dessert served in Dominican Republic.

Is incredibly easy to make, and as you can see, super versatile. The most basic version need 5 ingredients: rice, milk, sugar, salt and lemon peel. For extra flavor some people also add cinnamon stick and sweet cloves, but let’s keep it simple this time. You can later experiment adding more flavor.

When making Rice Pudding I personally prefer to start with my rice uncooked, but you can certainly use leftover white rice, that is not too salty or greasy, and still have a delicious rice pudding.

Are you looking for more recipes with rice? Check out our Dominican Style Spicy Sardines Rice & Beer and Almonds Risotto

The Traditional Version

In general terms, the traditional version of Rice Pudding is made with Milk. Whole milk is just fine for the recipe, but if you are looking for the best of the best, thick and super creamy Rice pudding, always use evaporated milk.

Nowadays you can easily find evaporated plant based milks; you can certainly use that if you avoid dairy products.

The Coconut Version

To make the coconut version you just need to use full fat coconut milk instead of whole or plant-based milk of choice.

What I like about the coconut version is that it has such a silky texture and is very light compared with the dairy version. It also has a very delicate aroma, and a pure white color at the end, which I love. It just looks heavenly.

Keep in mind that in all recipes on the blog that call for Coconut milk we use FULL FAT, simply because we want all that coconut milk goodness in our final product. Fat free or low fat coconut milk are usually full of flavorings, including sugar, and use gums to give a thick texture, but the flavor in general is always off. Avoid yourself the headache of ruining a delicious silky smooth rice pudding by buying the best full fat coconut milk you can find on the market, with not extras or nasty ingredients.

The Coffee Version

Almost a month ago I published a photo on instagram of my breakfast that day: a small glass container full of Coffee Rice Pudding.

The idea just came to me when I couldn’t decide if I wanted a full delicious cup of coffee, or a bowl with freshly made thick and totally delicious rice pudding. Both fill up my stomach easily on their own, and because I couldn’t have both (obvious reason: I am trying to lose my next 25 pounds) I ended up adding a bit of instant coffee to the rice pudding while it was still hot.

Taste wise, the result was a-ma-zing! and to my surprise, that “out-of-the-blue-picture” quickly had over a hundred likes, so is a fact; instagram is full of #coffeelovers.  😛

How to Make Rice Pudding

Have you make this recipe or any other from the blog? Use the tag #kasheribbean to share on social media and, don’t forget to follow on instagram and pinterest to keep up with our easy recipes from us and the blogosphere!

So, now there is a gazillion possibilities on how you can take your traditional rice pudding to the next level. What special ingredient will you add to your very own version?

Until next time! ?

Rice Pudding: 3 Ways {Traditional, Coconut & Coffee} Read More »

Luscious Chocolate Ganache Ice Cream {No Added Sugar, Vegan, GF}

Shabuoth is coming soon and also Mother’s day in Dominican Republic and I will celebrate with this Luscious Chocolate Ganache Ice Cream. Yay!

Looking for more Shabuoth ideas? Check out 3 Full Menu Ideas for your Shabuoth Table & 20 Side Dishes to Bring more deliciousness to your Shabuoth Dinner

Chocolate Ganache Ice Cream?

Chocolate Ganache? Is that right?… Yes! In my quest to make a vegan, creamy, chocolaty ice cream, made without an ice cream maker and with minimum ingredients, this is the best version I could think of. (You tell me in the comments if there is any other that doesn’t involve frozen bananas!)

I have read about all of those methods for making ice cream without and ice cream machine, but I didn’t have the time or energy to make ice cream with such a hassle. If it wasn’t easy peasy I rather peel a banana and eat it, or would eat some grapes! (Now you see my level of laziness was really high!)

I was having a sweet tooth and also my 4yo so I needed this to be quick! And because ganache is one of the most (if not the most!) easy dessert on earth and it also has that thick, pudding like texture, I thought maybe, just maybe, it would turn into ice cream (or close enough).

The coolest thing about this recipe is that, it doesn’t require any special equipment, it is no custard based (so, no grains or eggs), doesn’t require extra bags or lots of ice cubes, or rock salt, or hours going back and forth to the fridge (unless you are actually eating it)…

I wanted to keep things very simple so I used the 2 ingredients, the basics of (vegan) ganache: Chocolate (I used 74% Cacao) and Coconut milk. That’s right! This Luscious Chocolate Ganache Ice Cream (which essentially is frozen ganache! Let’s say it! ) can be made with just 2 Ingredients. Talk about convenience!

A few notes on the ingredients

Go Full fat with the coconut milk and make sure it doesn’t have any weird ingredient, sugar, additives or gums for best results.

I used 74% chocolate so, this is a bittersweet ice cream, but you can use sweetener if you prefer. If you use granulated sugar, mix with the coconut milk and simmer until all the sugar is dissolve. Then, continue as normal.

I haven’t tested this with liquid sweeteners but I think it would work in the same way as a simple syrup added to the ice cream base. This also prevents ice crystals from forming.

If you are making for adults, feel free to add alcohol based vanilla, vodka or rum to prevent ice crystals.

How to make Chocolate Ganache Ice Cream

2 ingredients with a ratio of 1:2, Chocolate to Coconut milk. That’s it!


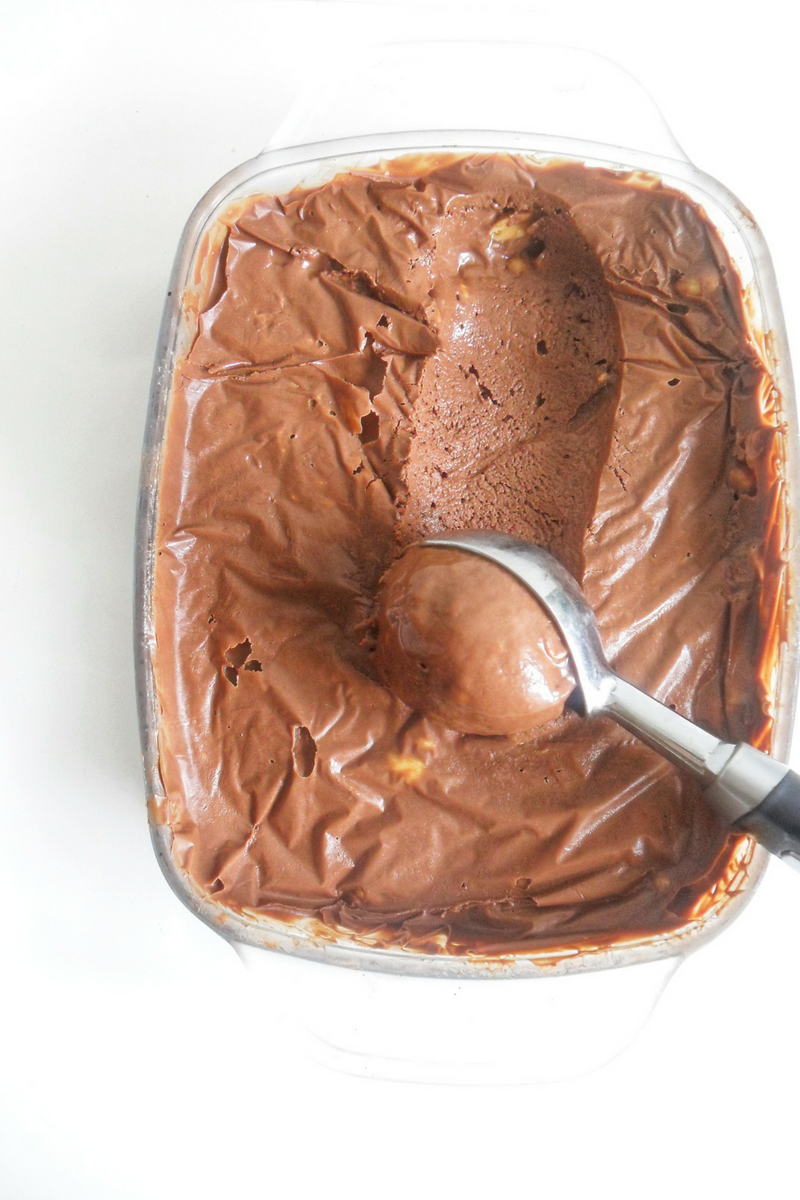
Mix the ingredients and let it rest until the ganache is shiny, thick and pudding-like.

Transfer to a deep container, cover with plastic wrap (making contact with the ganache) and let the freezer make some magic. Depending on your freezer this can take from 30 to 60 minutes.

Scoop the Chocolate Ganache Ice Cream with the help of a warm ice cream scoop, add your toppings and enjoy!

The Downside

This baby is made with ganache which means it melts in your mouth and everywhere fairly quick, so this is not the type of treat you will eat while chatting with that friend who you haven’t talked with for ages. Serve and you enjoy! 🙂

Tell me, what are your preferred base flavors and toppings? Let us know in the comment section and don’t forget to follow on instagram & pinterest!

If you love this recipe share it with your friends and family and if you ever make this Chocolate Ganache Ice Cream, tag us with #kasheribbean! We love to see your amazing creations!

Until next time!


Luscious Chocolate Ganache Ice Cream {No Added Sugar, Vegan, GF} Read More »

Dairy-Free Flan with Coconut Milk

Extra Creamy Dairy-Free Creme Caramel {Passover-friendly}

Extra Creamy Dairy-Free Creme Caramel {Kosher for Passover}

If you dream of making a super creamy dessert for your next gathering or holiday, today is your lucky day because I am sharing with you my recipe for an Extra Creamy Dairy-Free Creme Caramel (also known as “Flan”). Creme Caramel is naturally Gluten Free so, it is also perfect dessert for Pesach too. 

Another bonus of making flan is that is literally one of the easiest desserts on the planet, and it is made with very simple ingredients you probably have at home right now: coconut milk, eggs, milk, sugar and some flavoring. Vanilla is traditionally used, but rum extract or emulsion also adds a nice touch. 

Need more Pesach inspiraion and recipes? Check out other Pesach-friendly recipes from the blog over here and our Pesach Ingredients Swap List right here!

Another thing that I love about Creme Caramel is that it is a very forgiving dessert. If you are looking to reduce the sugar, you can cut in half the amouts for the caramel and the custard. At this time I haven’t yet tried with sugar substitutes, but the ones that are a cup-for-cup replacement for sugar should work with no problem. 


Thanks to the viscosity of the evaporated and condensed milk used in traditional Creme Caramel, the end result tends to be very silky and creamy. To make up for this,
I added 10 grams of cornstarch. Cornstarch is a thickening agent that can set about 4 times its weight. With this little addition of cornstarch we balance the creaminess of the custard, making it less “eggy” (which can be an issue when working with plant based milks). 

If you don’t eat kitniot during Pesach, you are welcome to leave the cornstarch out. You will still end up with flan, but since the cornstarch helps the custard set firmly and faster, I’d recommend you add and extra egg, and bake for a little longer, let’s say an extra 10-15 minutes if doing so.

A very important step when making creme caramel, is to bake it on a bain marie, which helps with even distribution of heat, and with the slow cooking of the egg, which in return gives you a more silky creamy custard. 

Dairy-Free Flan with Coconut Milk

A common mistake when making flan, is to overcook the custard. Don’t do it! But how do you know the custard is ready?? Wiggle the pan or ramekins. When the edges are set and the center jiggles a little, then is ready. The heat from the pan is hot enough to continue cooking the center of the flan, even when taken out of the oven. Once done, remove the creme caramel from the oven, and cool to room temperature completely before storing in the fridge overnight. 

If you are impatient, you can refrigerate for 4 hours before serving, but beware, chilling these babies overnight does make a difference in the texture of the final product (more creaminess, anyone?!) and also intensifies flavor. My recommendation for you is to plan ahead, and make this the day before serving. 


Dairy-Free Creme Caramel with Coconut Milk
Dairy-Free Flan with Coconut Milk

Extra Creamy Dairy Free Creme Caramel

Prep Time 10 minutes
Cook Time 1 hour
Rest time 12 hours
Course Dessert
Cuisine Dominican Republic

Ingredients
  

For the Caramel:

  • 30 gr Water
  • 100 gr Granulated Sugar 

For the Creme Caramel:

  • 800 gr Full Fat Coconut milk
  • 300 gr Eggs
  • 100 gr Granulated Sugar 
  • 10 gr Corn Starch
  • 1/2 Tbsp Vanilla Extract You can also use Rum Extract. If using emulsion of any kind, add 1/2 teaspoon.
  • 1/4 tsp Salt 

Instructions
 

  • Preheat your oven to 180°C (350°F)

For the caramel:

  • Combine water and sugar and melt over medium heat until it gets a deep amber color.
  • Take the caramel off the heat and coat with it 6 ramekins or 1 - 9" (inches) round cake pan.
  • Set aside to cool down and harden, before adding the custard.

For the Creme Caramel:

  • In a bowl, mix corn starch and 2-3 Tablespoons of coconut milk and mix well.
  • In bowl, mix all of the ingredients for the custard, including the previous mix of corn starch+coconut milk.
  • Pass the custard mixture through a fine sieve to discard any egg residue.
  • Equally divide the mixture into the ramekins or the 9 inches baking pan.
  • Fit the custard ramekins or cake pan into a bigger ovenproof dish (like Pyrex, a roasting pan, etc).
  • Place the ramekins or baking pan in the oven, and then carefully pour water into the bigger baking dish. The water should be 1½ to 2 inches deep.
  • When using ramekins, bake for 30-35 minutes. If using a 9 inches baking pan, bake for 60 minutes or until edges are firm but the center still jiggles a little.
  • Once ready, take out of the oven, and let it cool down completely before placing in the refrigerator for at least 4 hours; but preferably (and recommended) overnight.
  • When is time to serve, run a knife around the edge of the creme caramel and invert it into a bigger dish, preferably with slightly tall sides. The creme caramel will drop and you can see some caramel sauce flowing. Cut into slices and serve.

Notes

  • You can easily increase or decrease this recipe to fit your needs.
  • If you ever find yourself with leftover raw custard mixture, store it in an air-tight container and freeze. When ready to use, thaw completely, whisk really well or mix with a blender, just to make sure everything is well combined, pass through a sieve and then pour into the prepared ramekins or baking pan and bake.
 
Keyword custard, dairy-free, desserts, sweet treats

Have you made this Dairy-Free Creme Caramel already? Use the hashtag #kasheribbean to share with us on social media and, don’t forget to follow on instagram and pinterest for more easy recipes.

Extra Creamy Dairy-Free Creme Caramel {Passover-friendly} Read More »

Vegan Chocolate Chunks Cookies

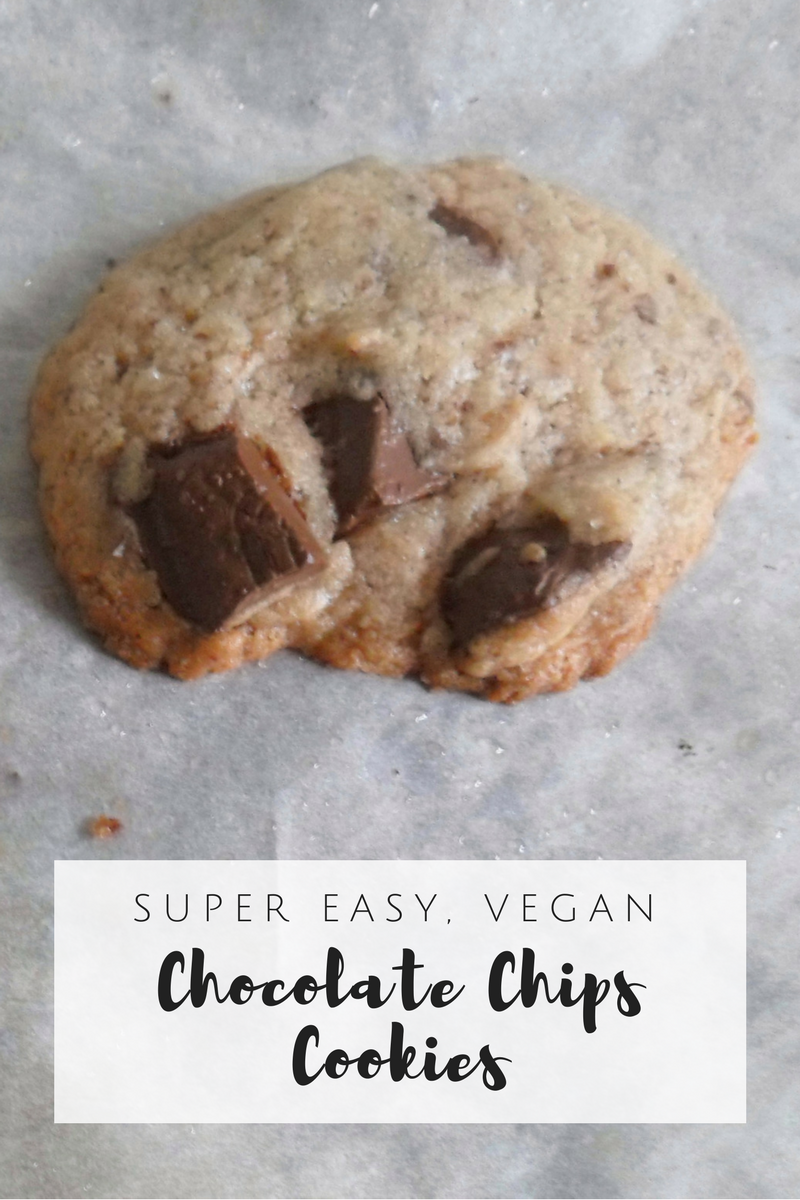
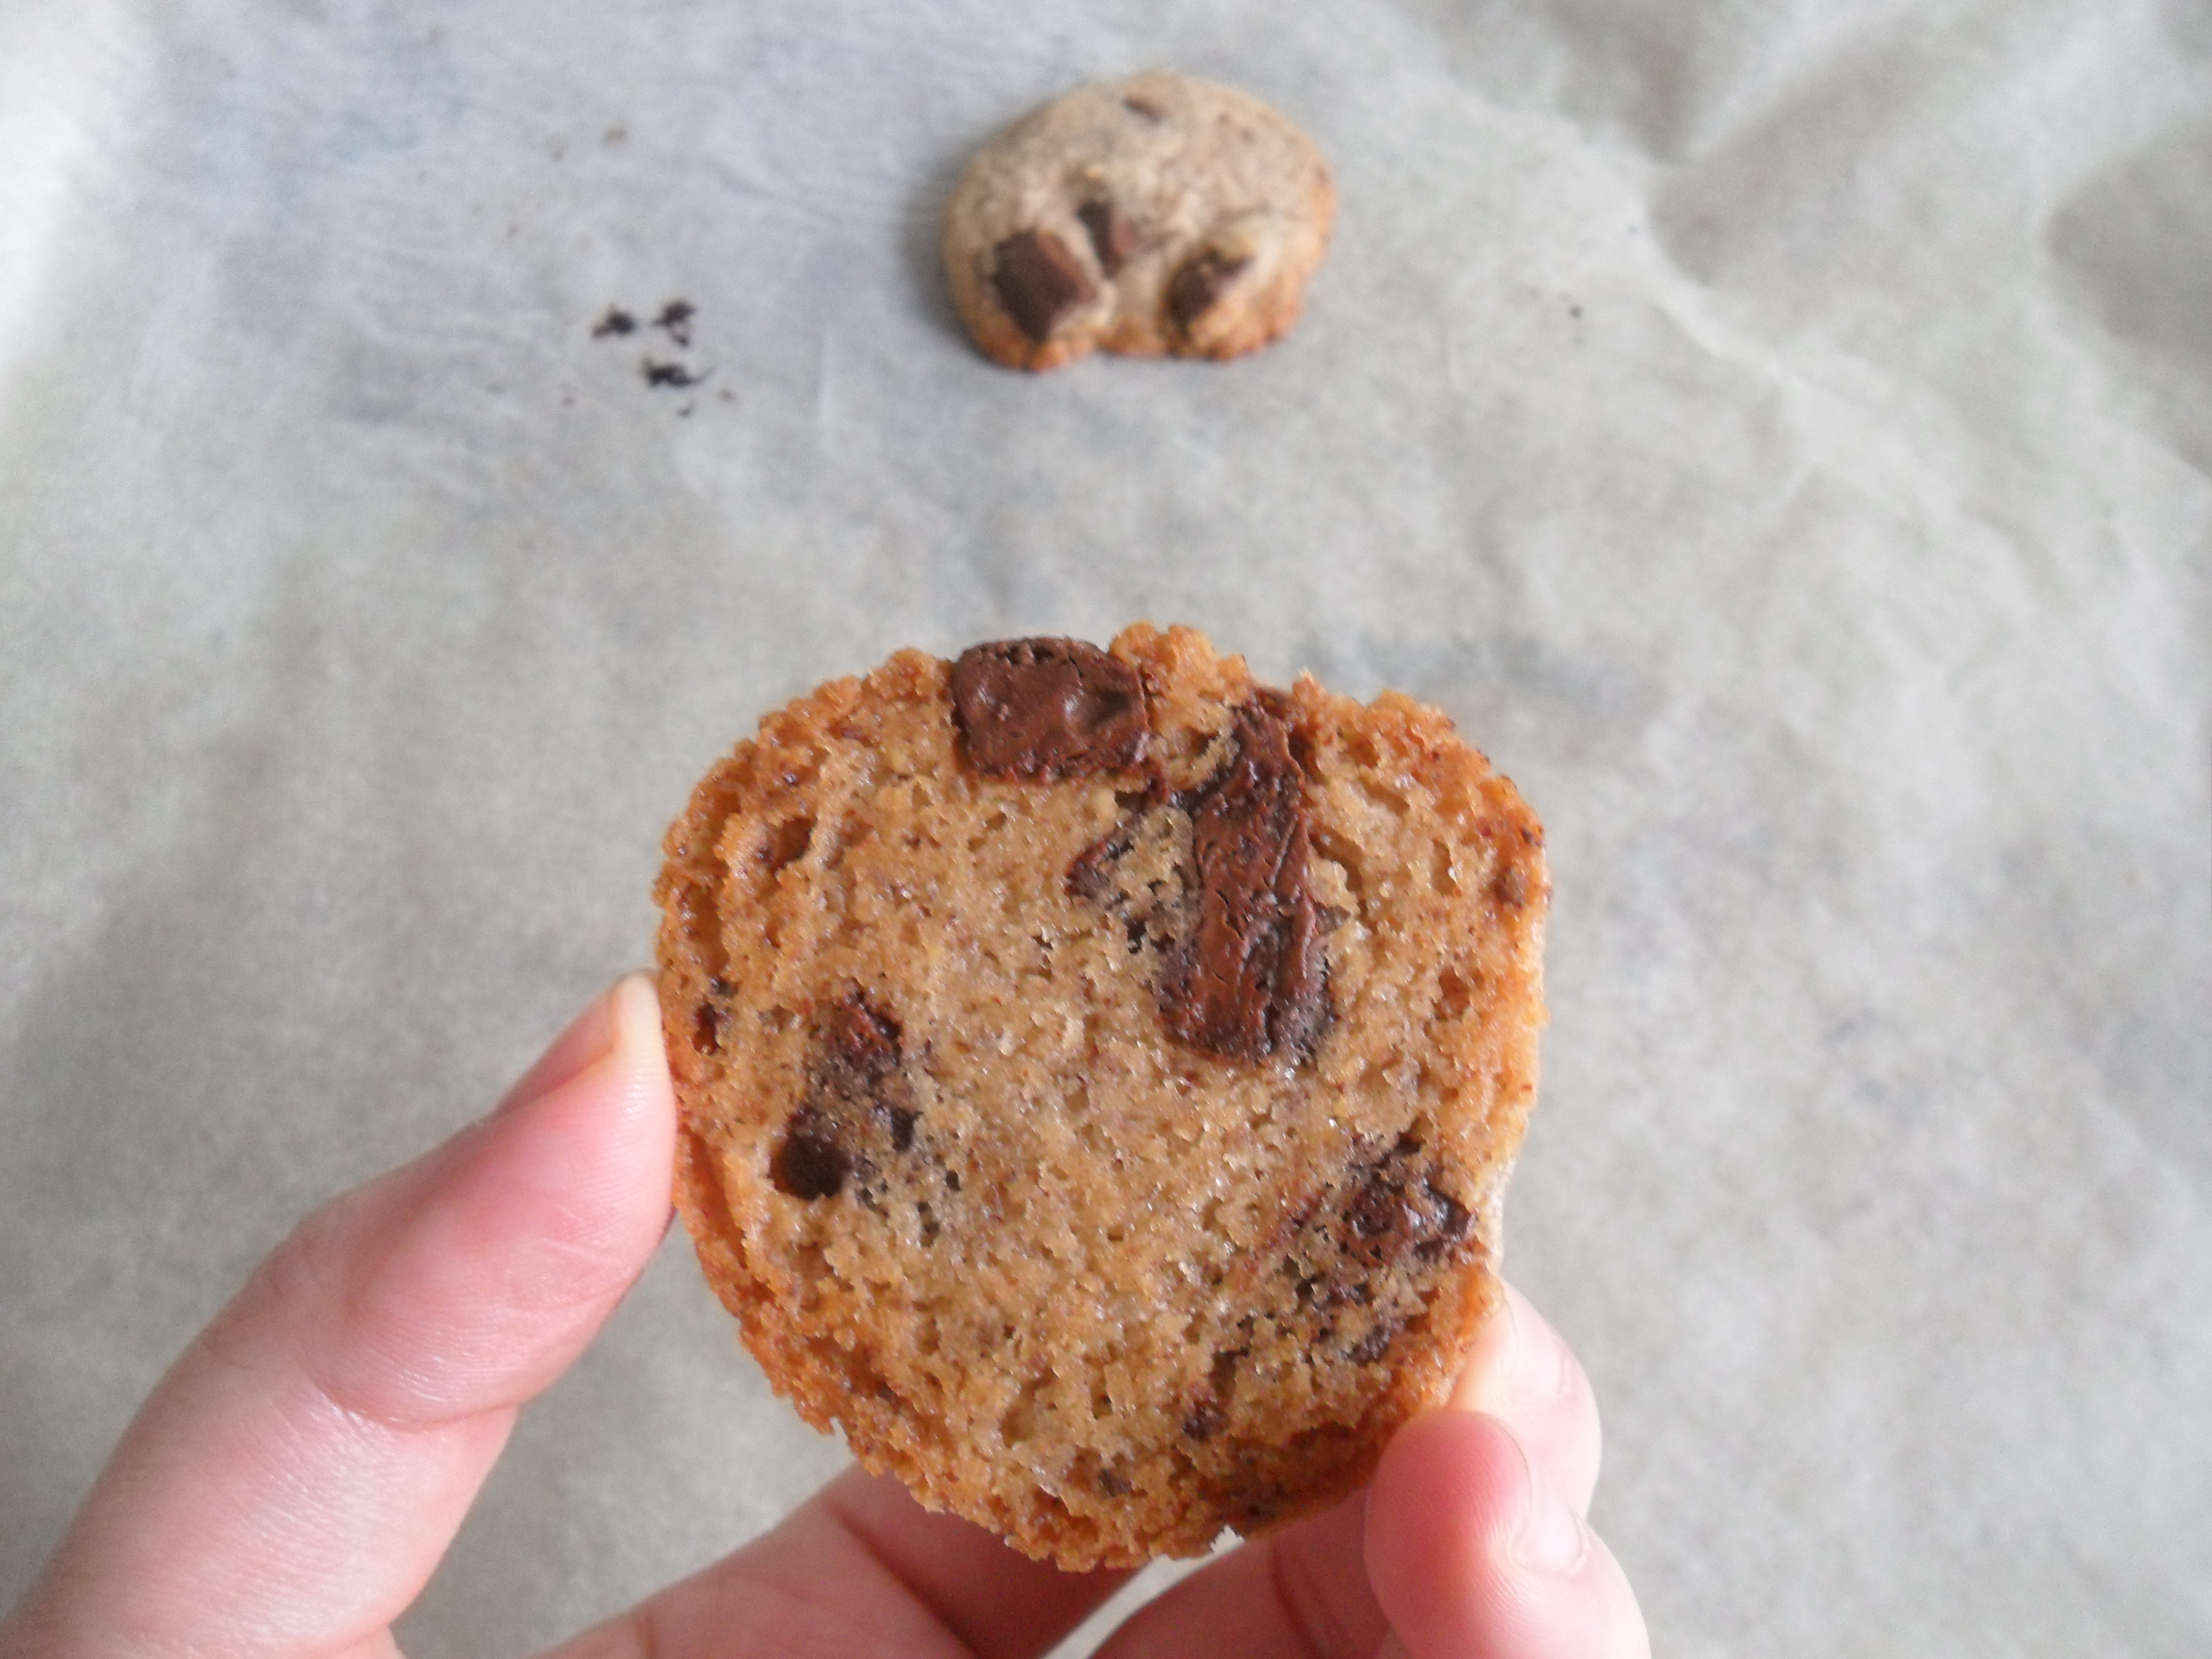
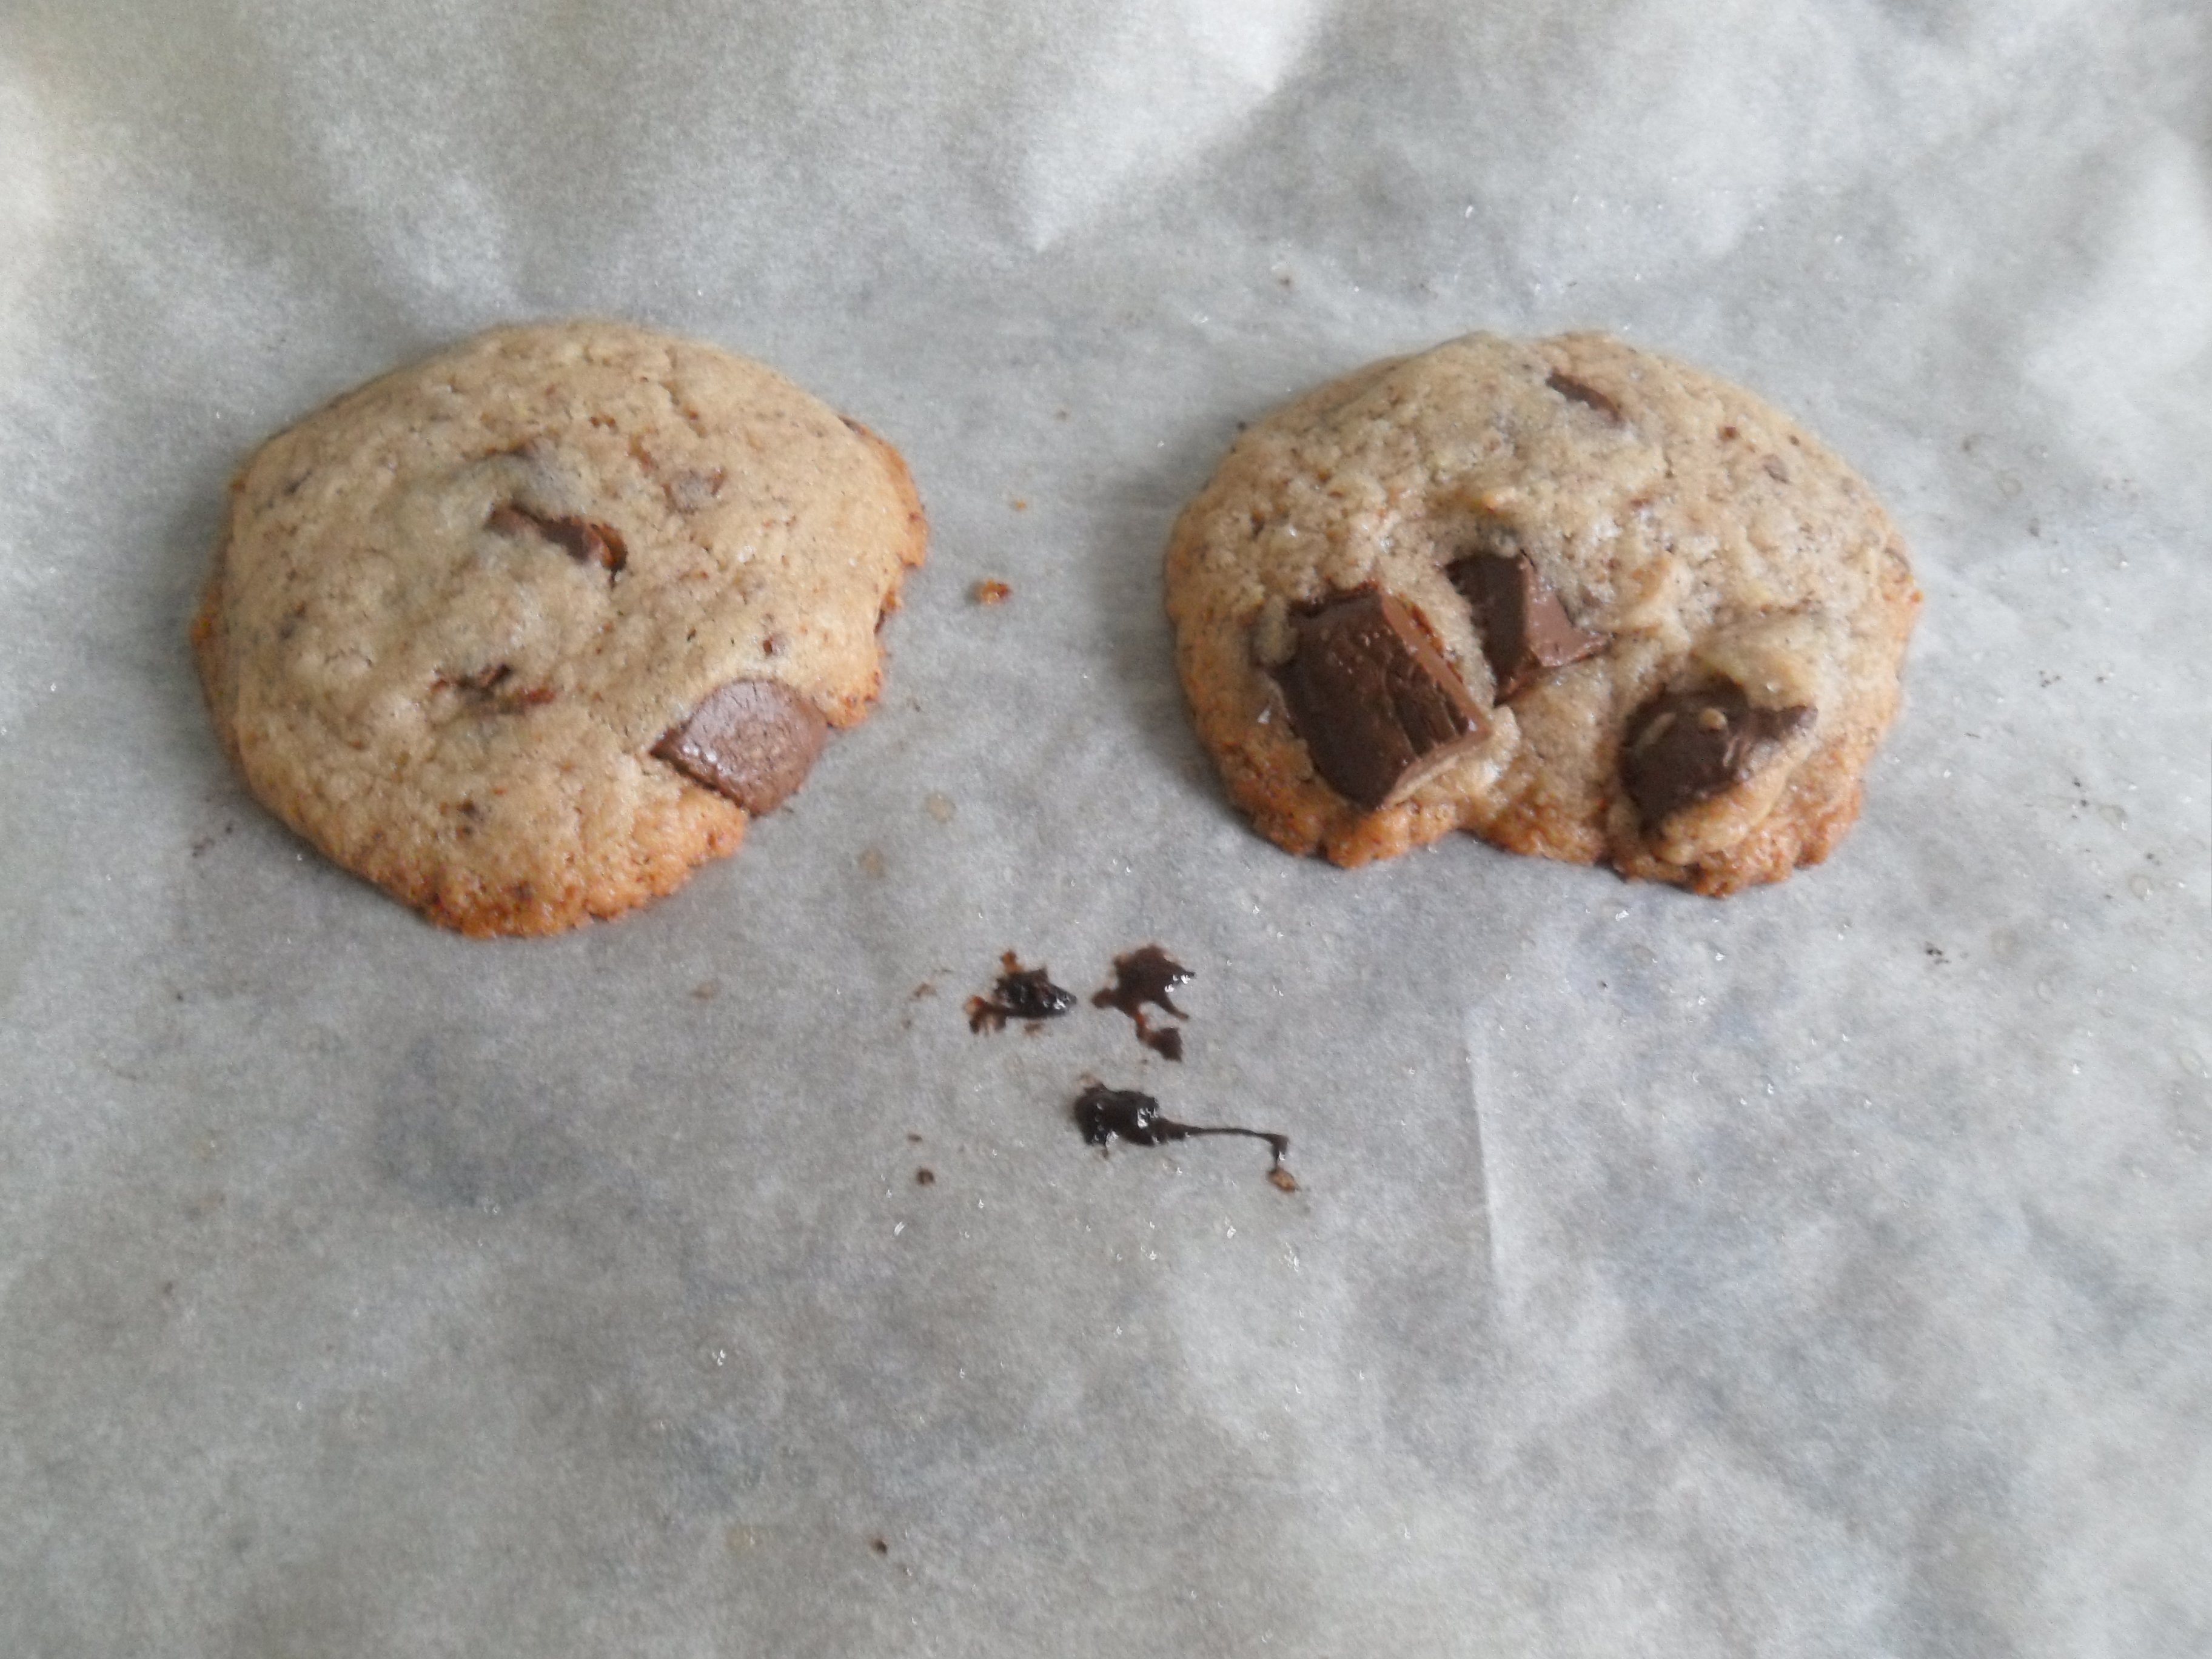
Hello, dears! Today we share a super easy Vegan Chocolate Chips (or Chunks!) Cookies made with flax egg and coconut oil.

I found this recipe for vegan chocolate chips cookies while I was scrolling down Pinterest looking for vegan sweet treats and desserts for a small wedding.  I love Pinterest because it is an endless source of inspiration and ideas but haven’t actually tried many recipes I’ve liked. This time I was willing to try and I was surprised by the simplicity of these little goodies and the result.  You never know what little gem you can find on Pinterest!!

These Vegan chocolate chips cookies couldn’t be easier! – Not that traditional cookies are so difficult to make anyways, but what I love the most is that you don’t have to use tons of butter!. With just a handful of ingredients is needless to say, you will have cookies ready in no time.

When I tried this recipe for the first time, I used my handheld mixer as stated in the original recipe but this can be easily made by hand with a whisk and rubber spatula. I tried both ways and honestly I cannot see a difference in the results.

I also tried this recipe with the whole lot of sugar as stated in the original recipe (it uses both brown and white) and it was incredibly sweet for my taste so, second time I reduced the sugar and third time I used just white sugar because I was out of brown. Ops! (Next time I want to try with maple!)

These cookies spread a little in the oven and after baking for the whole 10 minutes they are more on the crunchy side, but if you want them softer I guess you can bake for 8 minutes and then let rest on the baking tray, out of the oven until they have cooled down and are completely set. I haven’t tried this myself because I love crunchy stuff, but I guess you can do this to get softer-chewy cookies.

Few adjustments

Flours can differ in quality depending where you are and how the flour was made so that can be a reason why I had to adjust the flour. Another factor may be also that the recipe is in cups and I weighted in grams (this is what ensures you get the same results each time).

The original recipe asks for 1 ¼ cups or as stated in grams 156.25 – I used 157 grams- and when I baked 2 for test purposes, they resembled more tuiles than actual cookies so I ended up using 210 grams for my second and third.

I have linked the original recipe so that you can have it for future reference if you want to try for yourself (There you will find a link for an aquafaba version of the cookies. Let us know if you try it first!) and, if you want to make tuiles like cookies you can stick to the 157grs of flour. 😀

Super Easy Vegan Chocolate Chips Cookies 

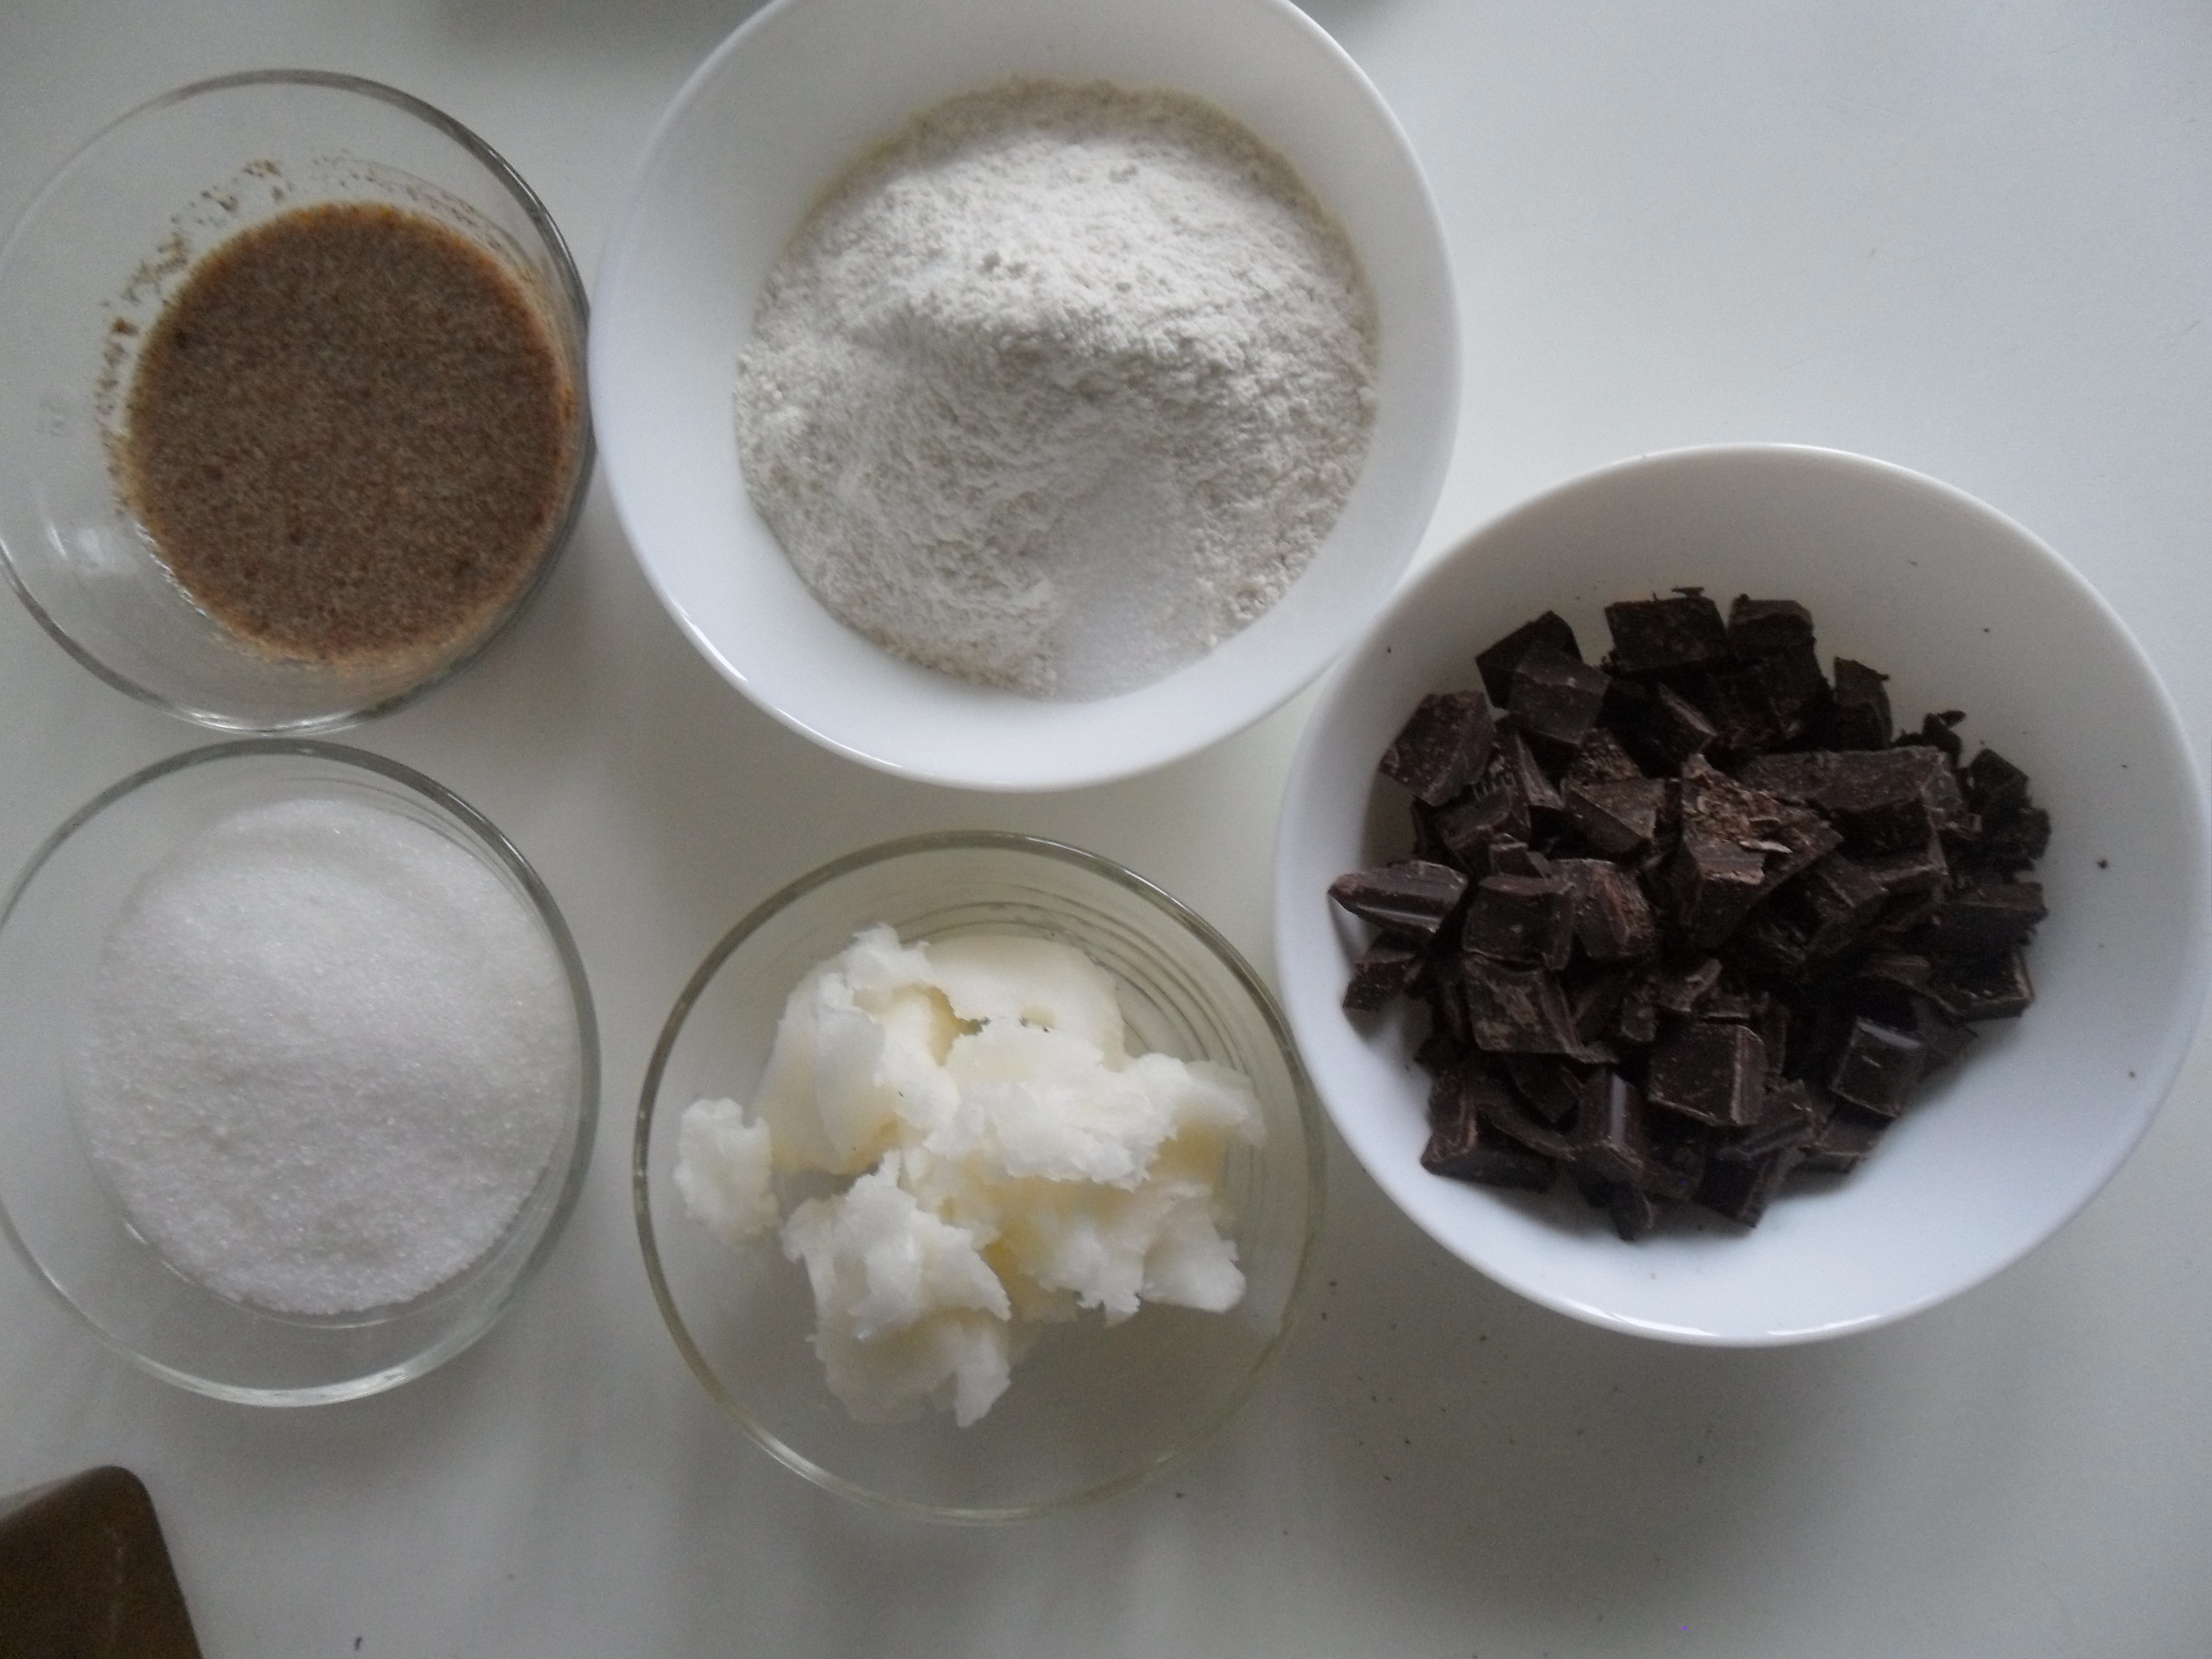
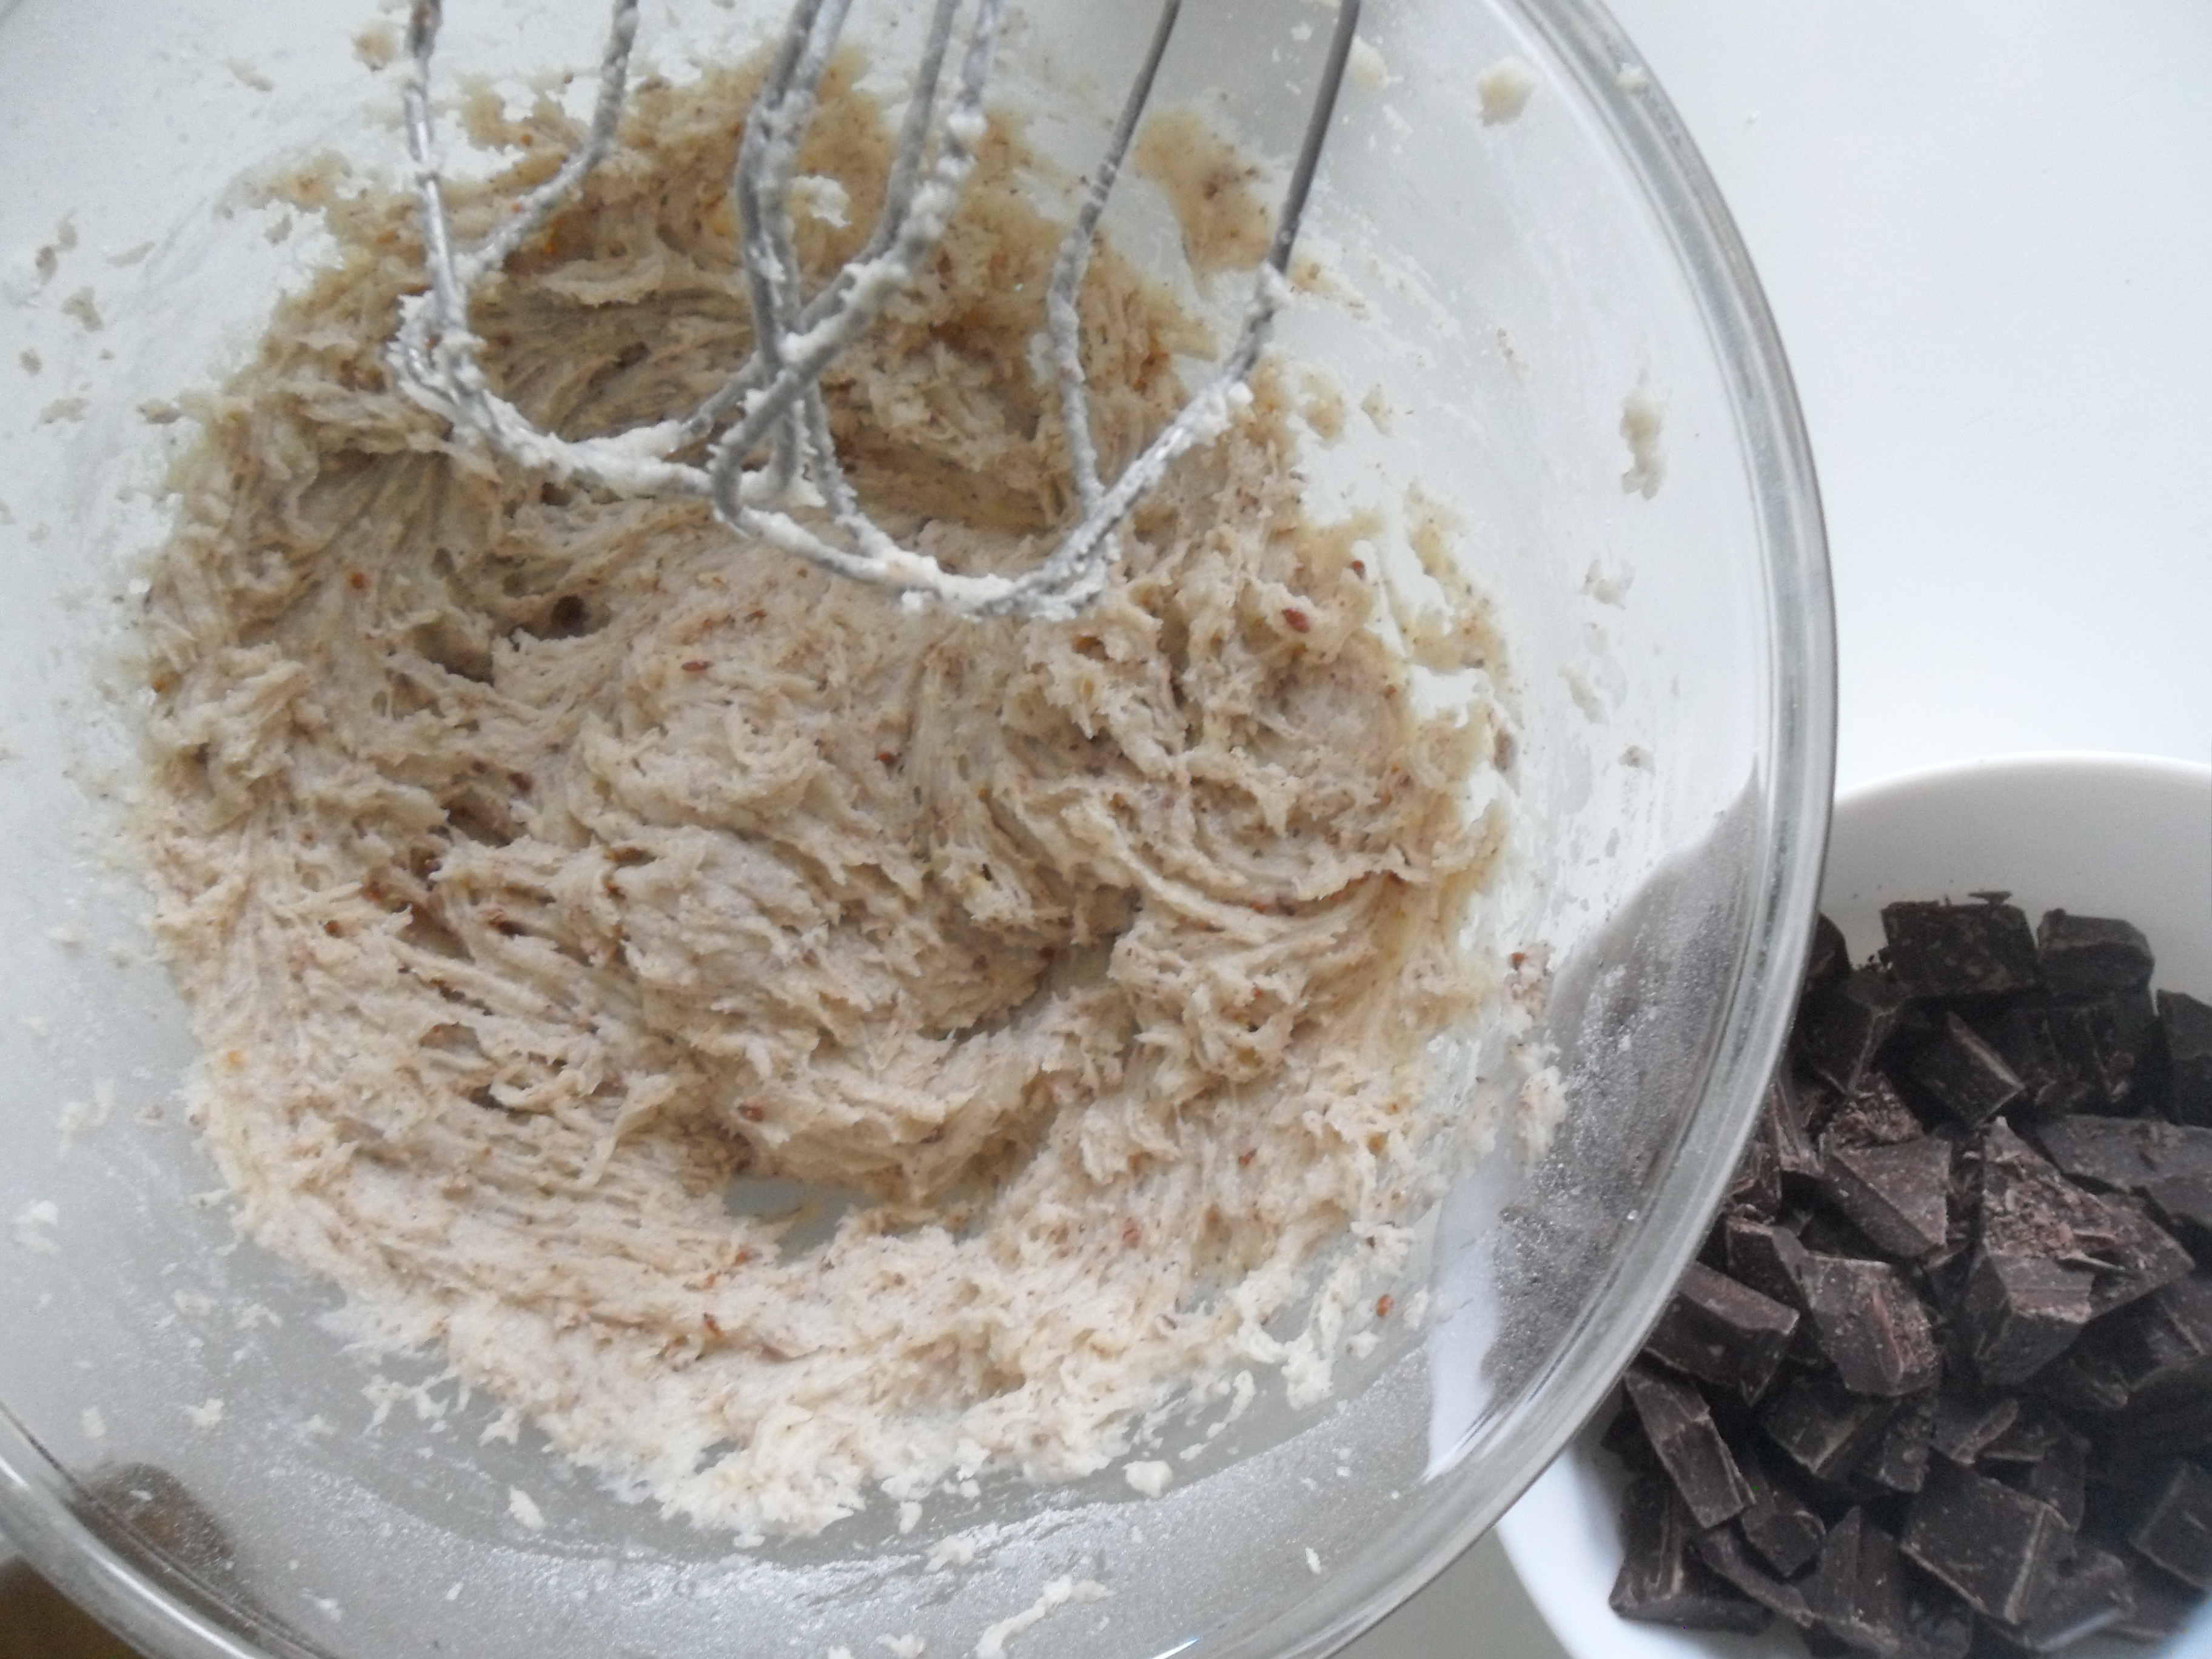
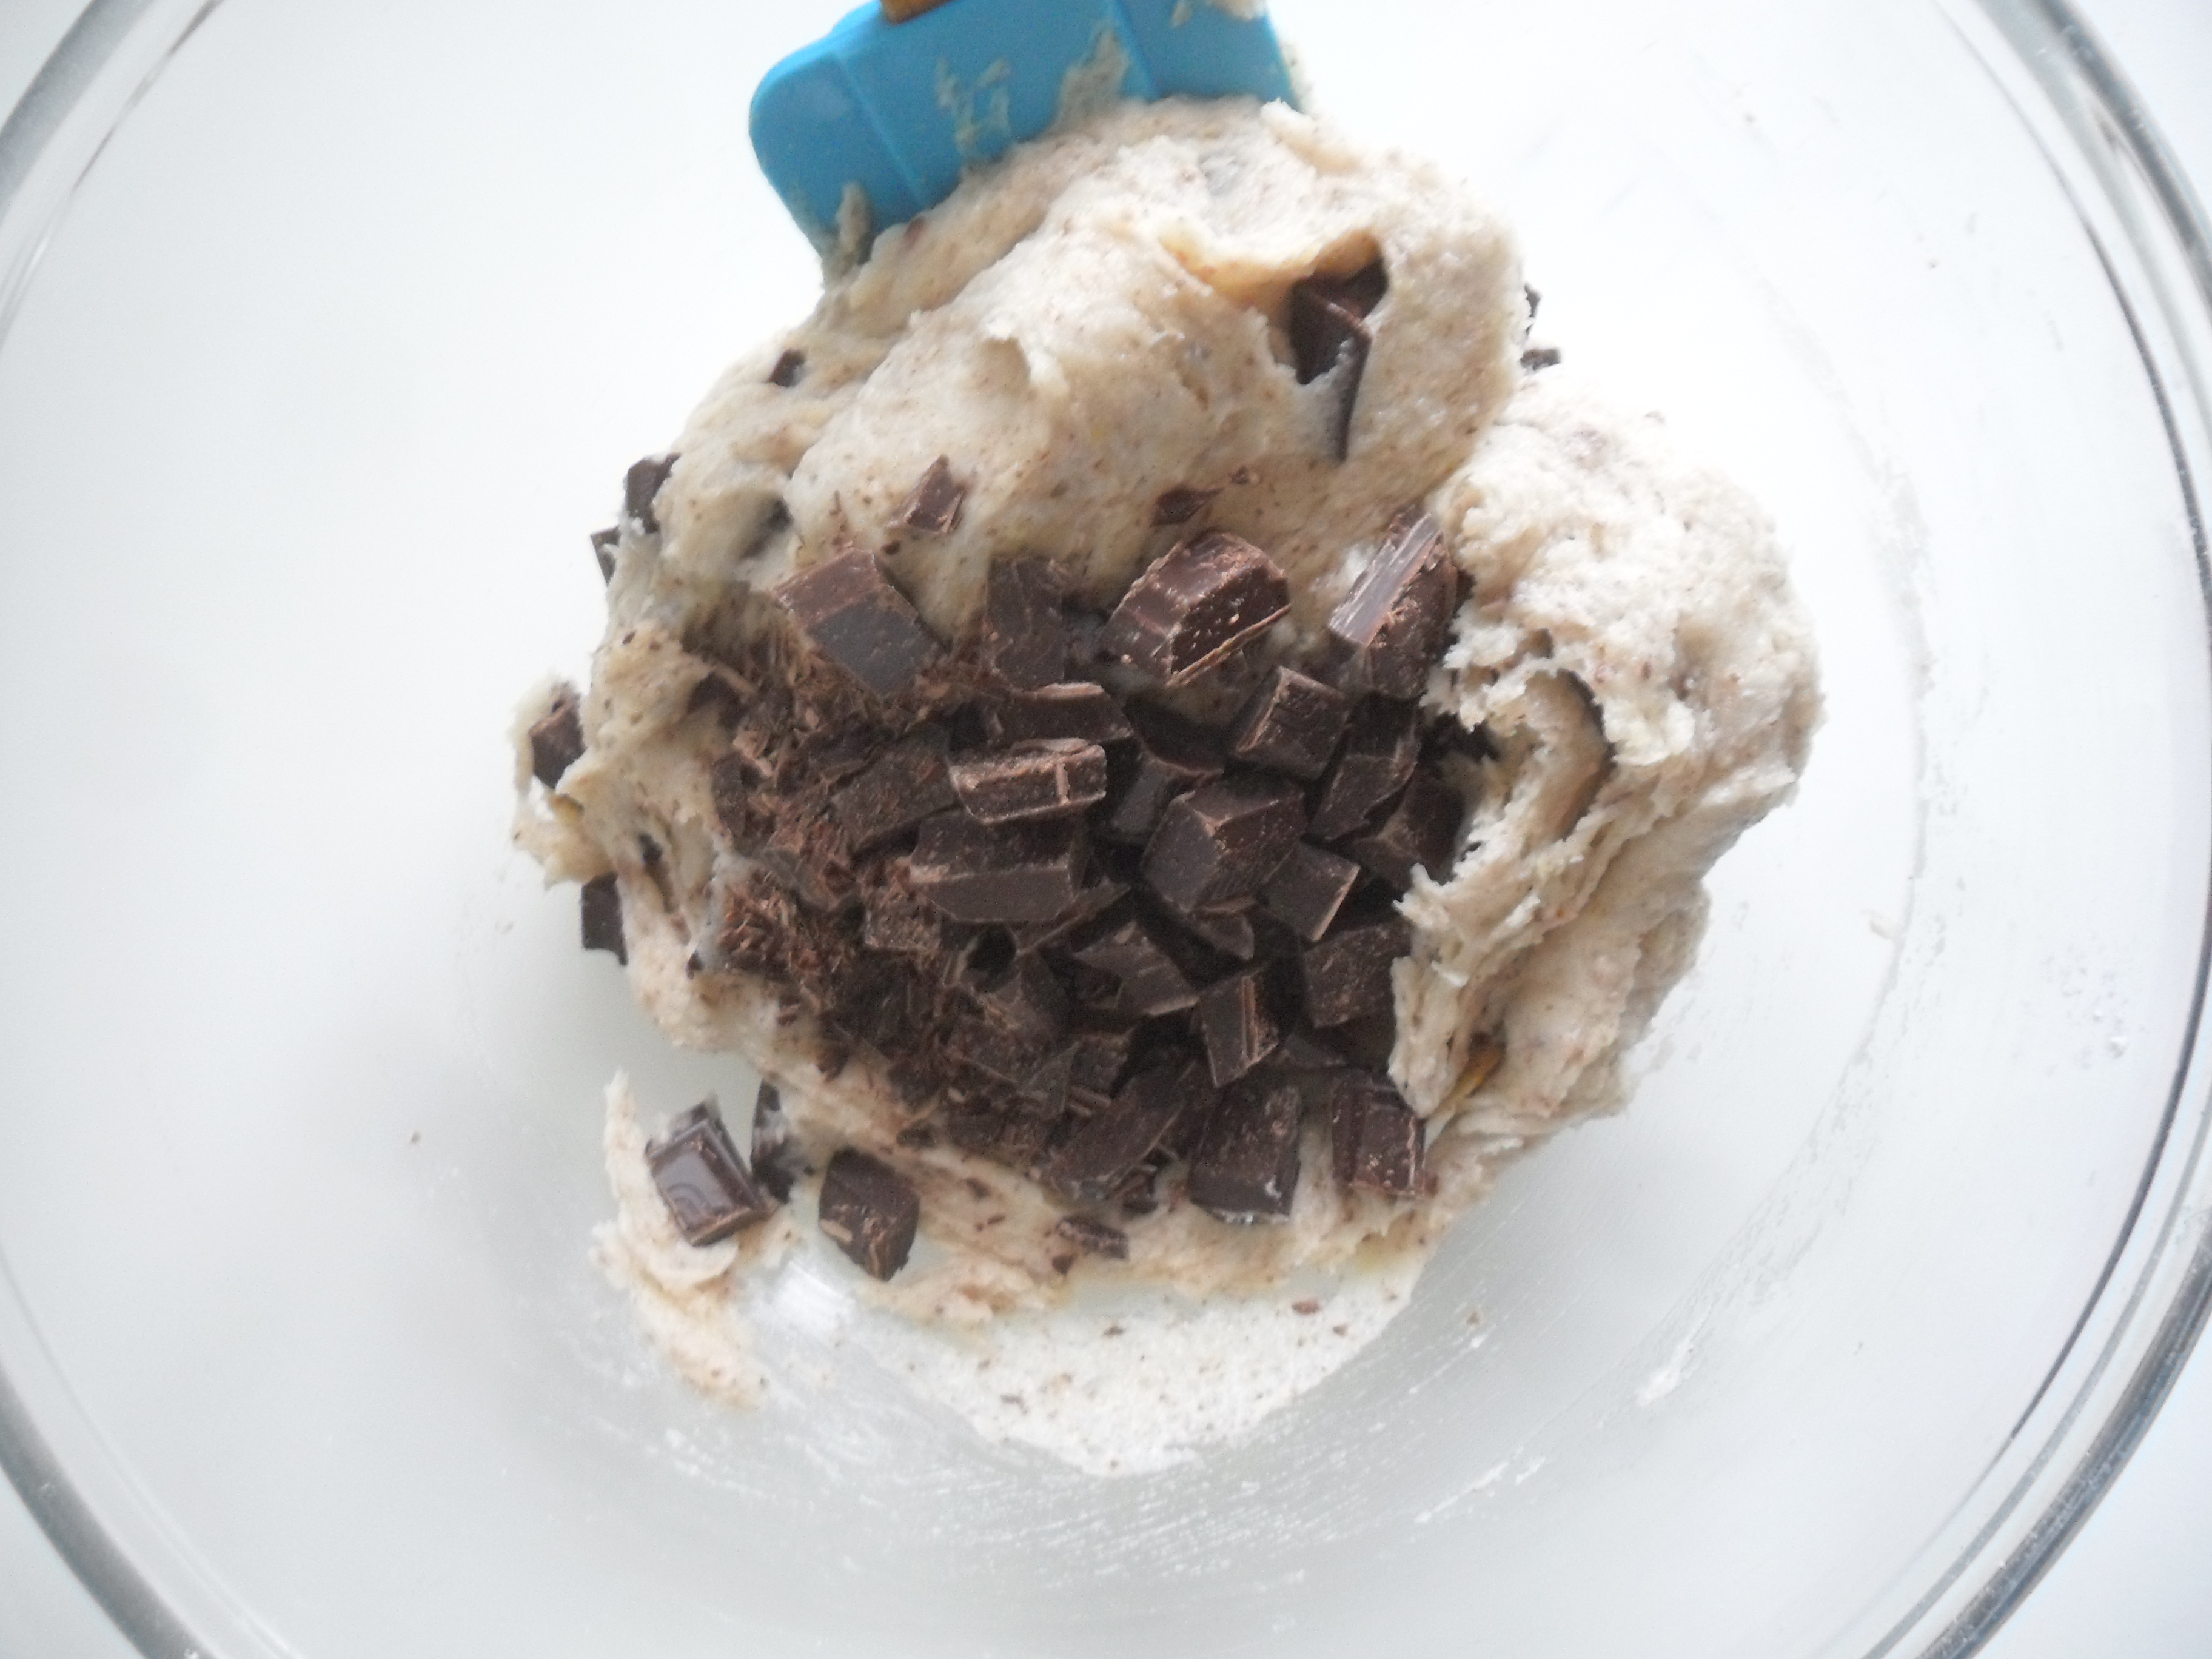
The process to make this cookies is pretty simple, you start by “creaming” fat and sugar (in this case coconut oil) and mix in flax egg and vanilla until light and fluffy. Then, add the flour in few additions (I integrated a bit with the handheld mixer and then I used my spatula). Finally, you mix in the chocolate chunks or chips.

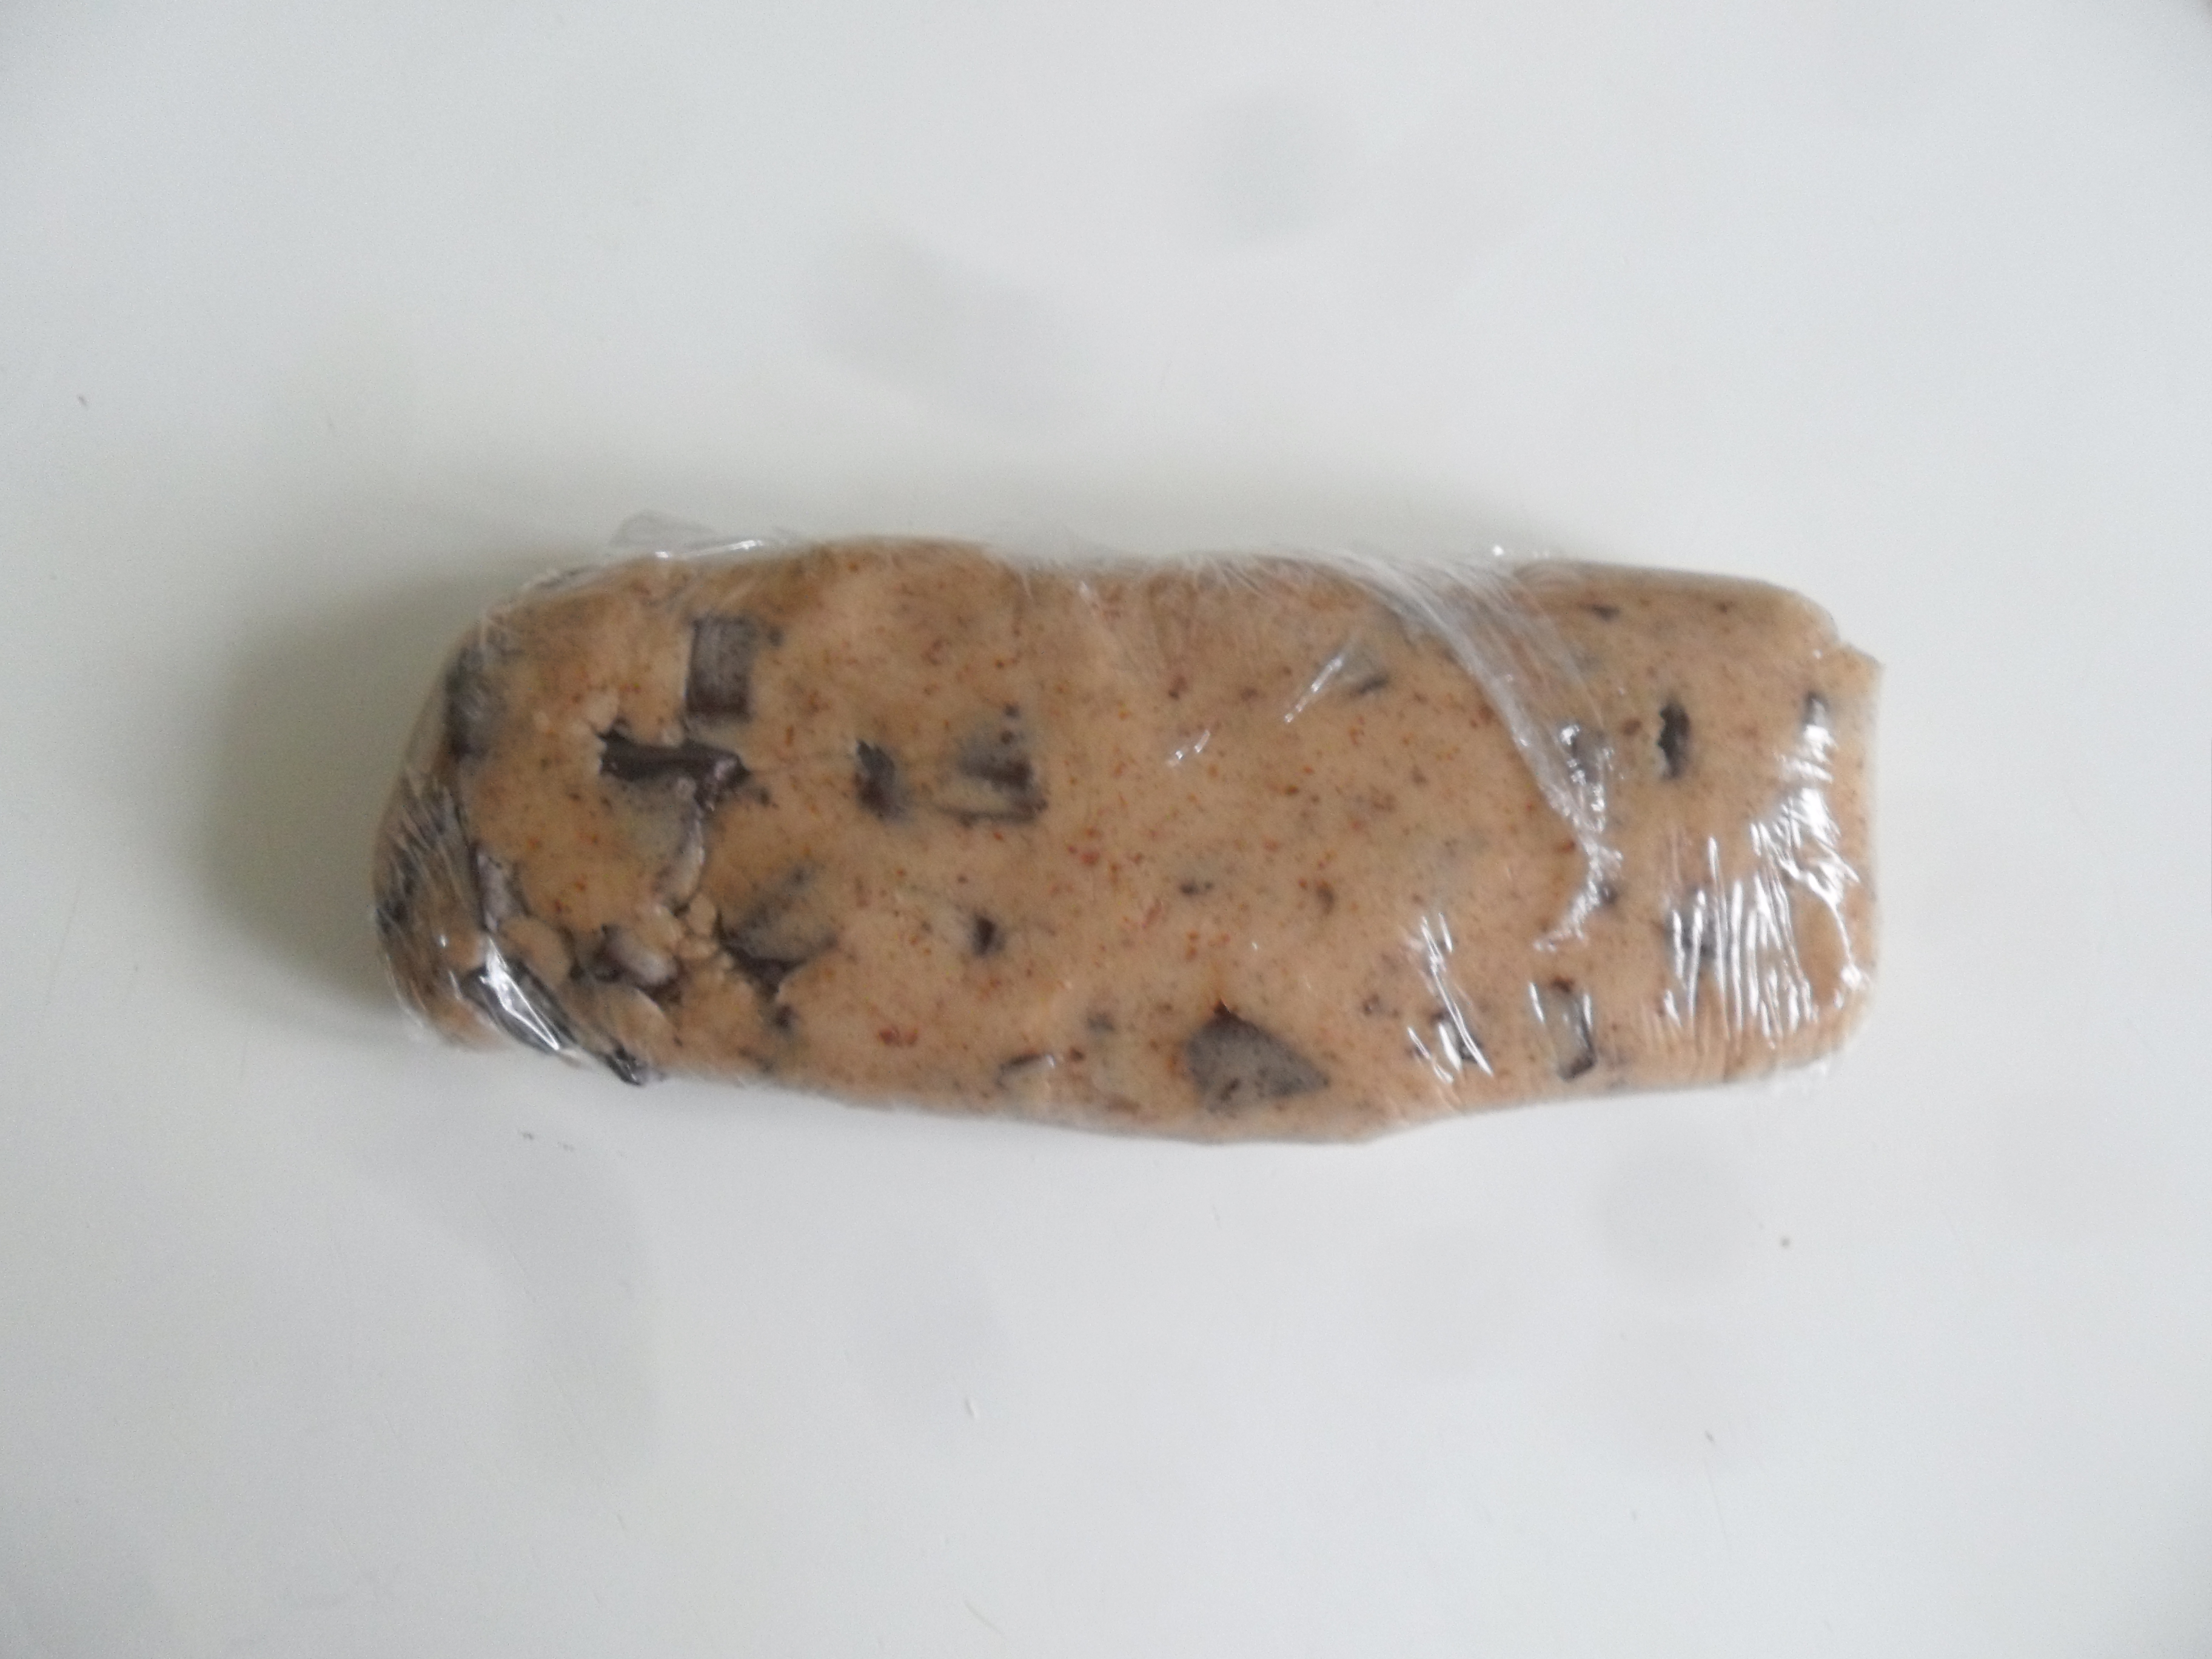
You can make this recipe in advance, wrap in clear film and store in the fridge until ready to use. When you are ready to bake, just take spoonfuls of dough and bake as directed (180ºC or 350ºF for around 10 minutes or until they have a light golden color on the edges).

You can also scoop the cookie dough on your baking tray covered with baking paper, freeze and then store in a freezer bag. Thaw and bake as directed.

I have tried to bake the cookies without thawing but they take a little longer to bake. Also, I noticed the coconut oil was melting away from the cookie dough while baking, when I placed directly from the freezer into the oven. Not sure why, so I personally won’t risk to freeze the dough again, but you can try it if you want.

The author recommends to slam the baking tray on a heat proof surface to give the cookies a wrinkled look. I didn’t do this because I forgot. Big Oops!! But will keep in mind for the next time and make sure you do it!

Now, let’s jump to the recipe

{NOW IMAGINE A PLATE FULL OF COOKIES! THEY JUST DISAPPEARED BEFORE I COULD TAKE PICTURES!)

Did you realize how easy is to make vegan chocolate chips cookies? Hope you try them soon and let us know when you try it. Don’t forget to follow on instagram and pinterest to keep up with our latest posts. We love to hear from you!

Until next time!

Vegan Chocolate Chunks Cookies Read More »