Recipes

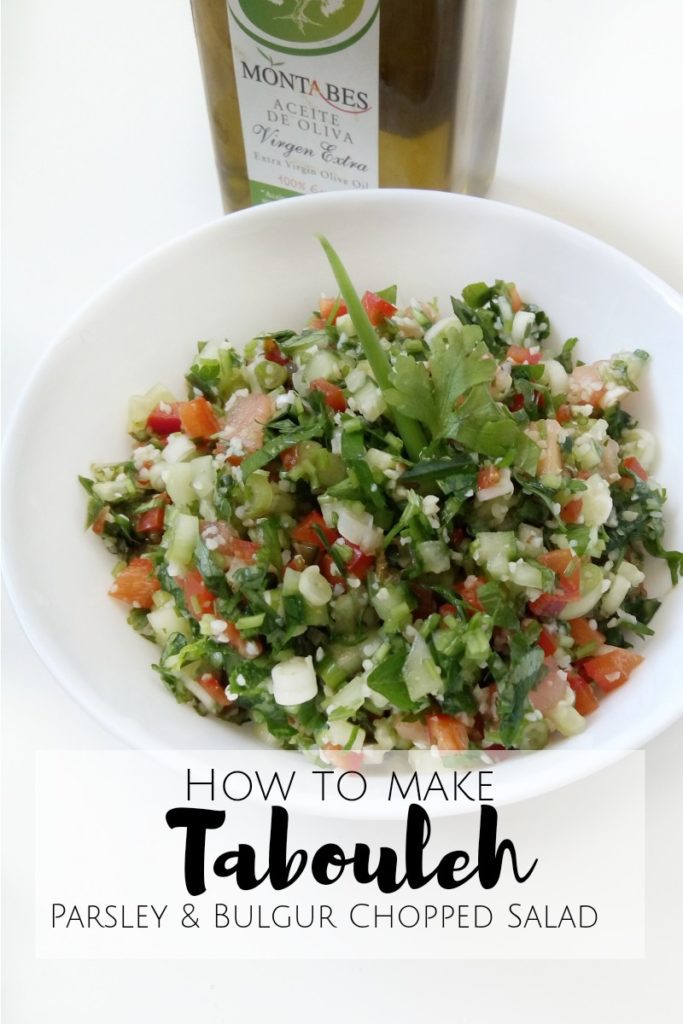
How to Make Tabouleh {Parsley & Bulgur Salad}

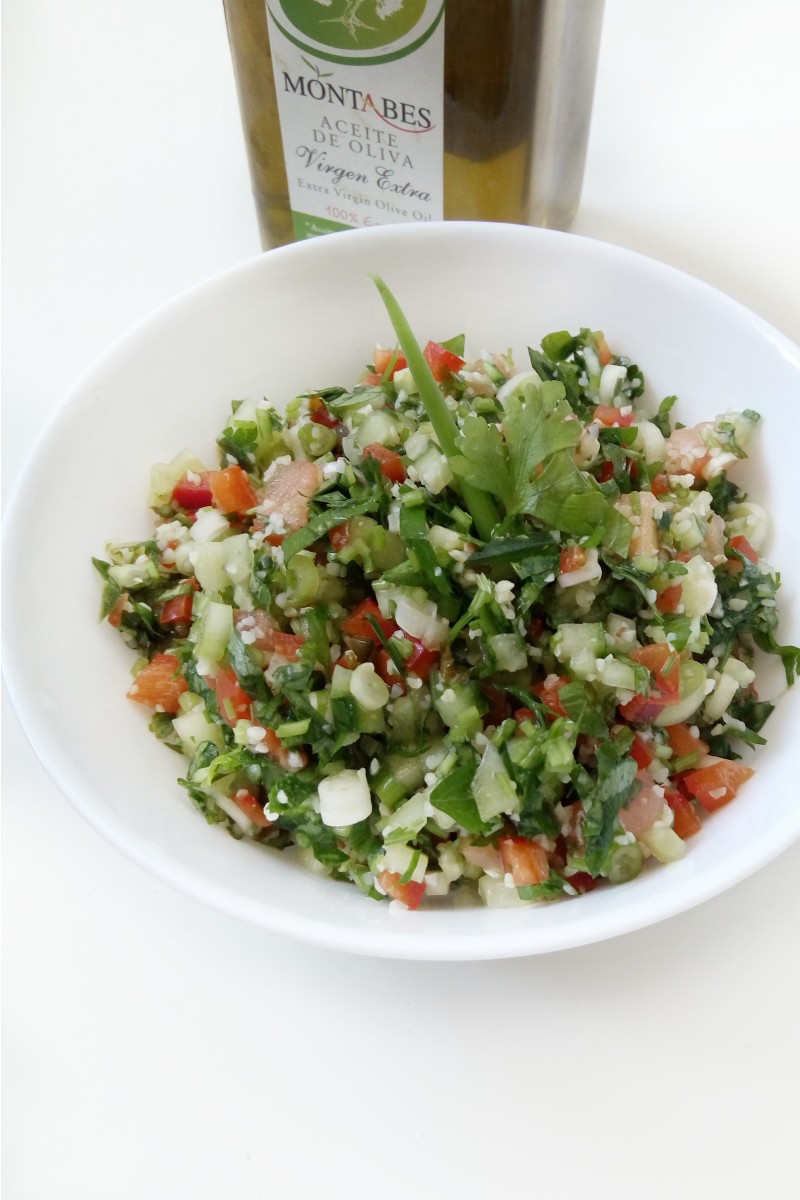
Despite the cold weather and my love for soup, on Wednesday I was craving something more vivid, crunchy and tangy so I decided to make Tabouleh or Tabuli for lunch instead.

This vegan salad is one of my favorites so far because:

It has a lot of flavor. All that chopped parsley just take this salad to the next level.

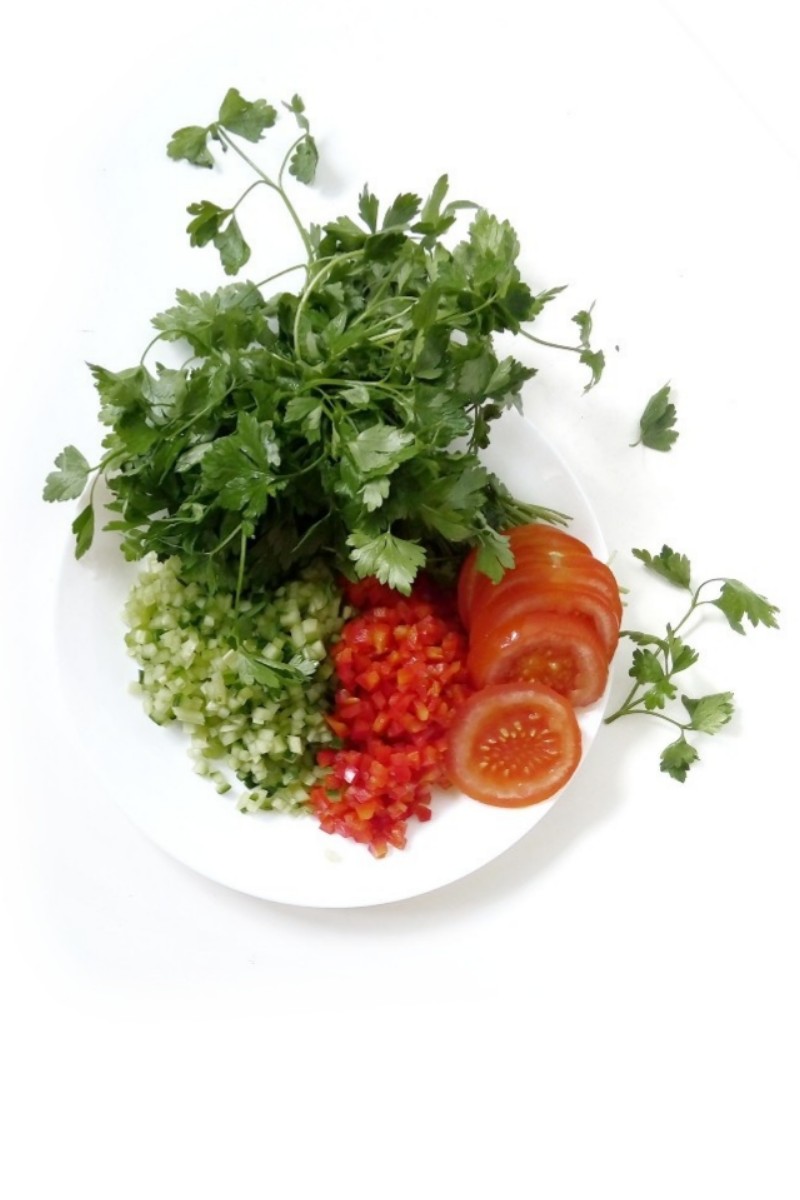
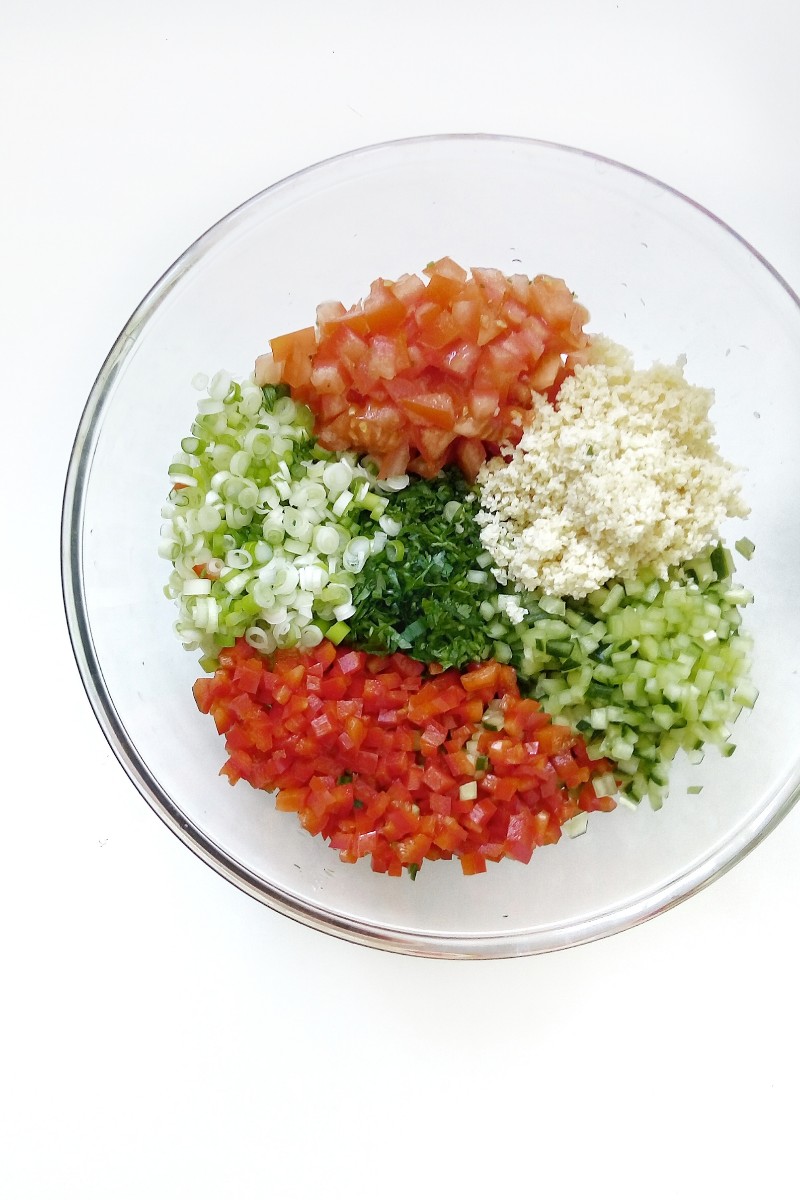
Uses a few ingredients. I LOVE those recipes that take few ingredients I usually have around the house, and I am sure you are the same.

It is very satisfying. Some people may think a salad is just “water” (meaning like you will be hungry five minutes after eating) BUT this is a really satisfying lunch or dinner (or even breakfast! Why not?). So satisfying you won’t worry about food for a long time.

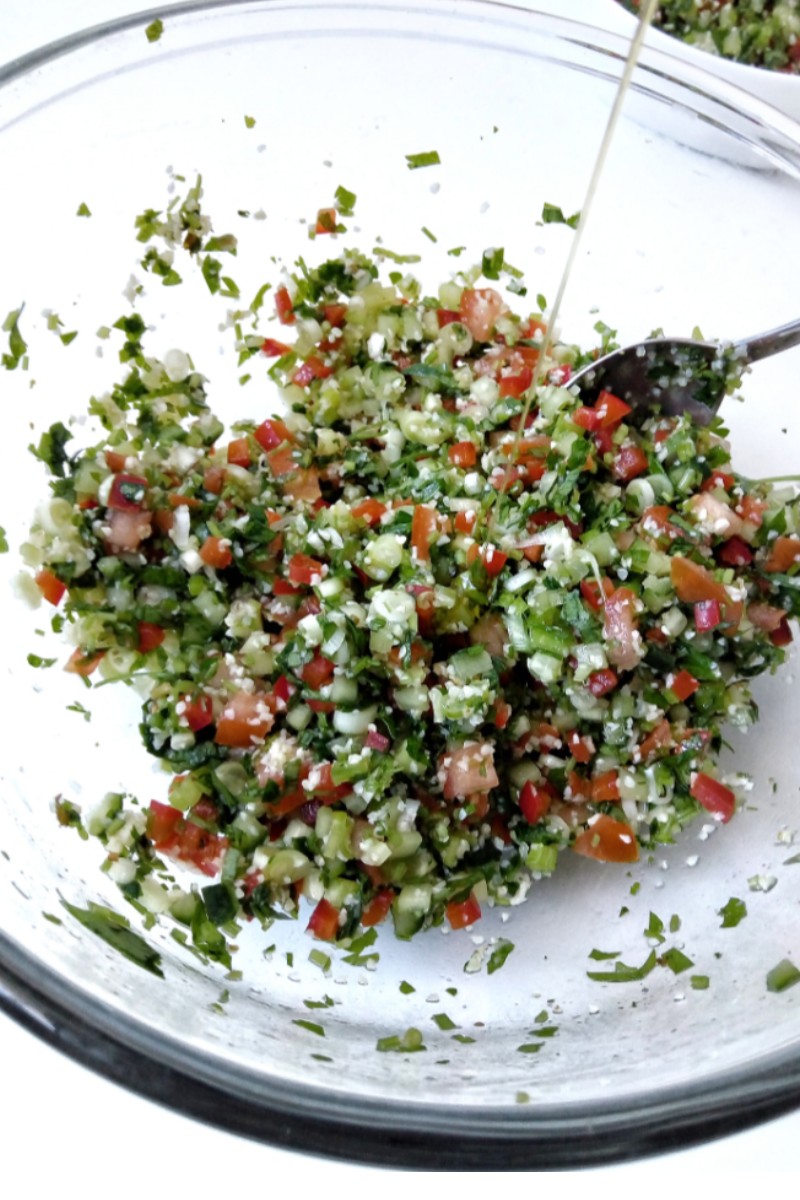
It is extremely easy to make. If you can move your arms and use a knife, you are all set.

Even if you don’t normally like salads, you are going to love this one. This easy and refreshing salad is perfect for those who are trying to incorporate more veggies in their diets. Believe me, you can eat the whole bowl and dont even notice ? plus, you won’t feel guilty at all!


So easy and good looking, right? This should be enough reason to eat salad everyday.

Tell us, do you also crave salad in winter? Which one is your favorite? Let us know in the comment section below or head over instagram or Pinterest.

Until next time!

How to Make Tabouleh {Parsley & Bulgur Salad} Read More »

Easy Banana Bread {Vegan, Low-sugar with Fat-free option}

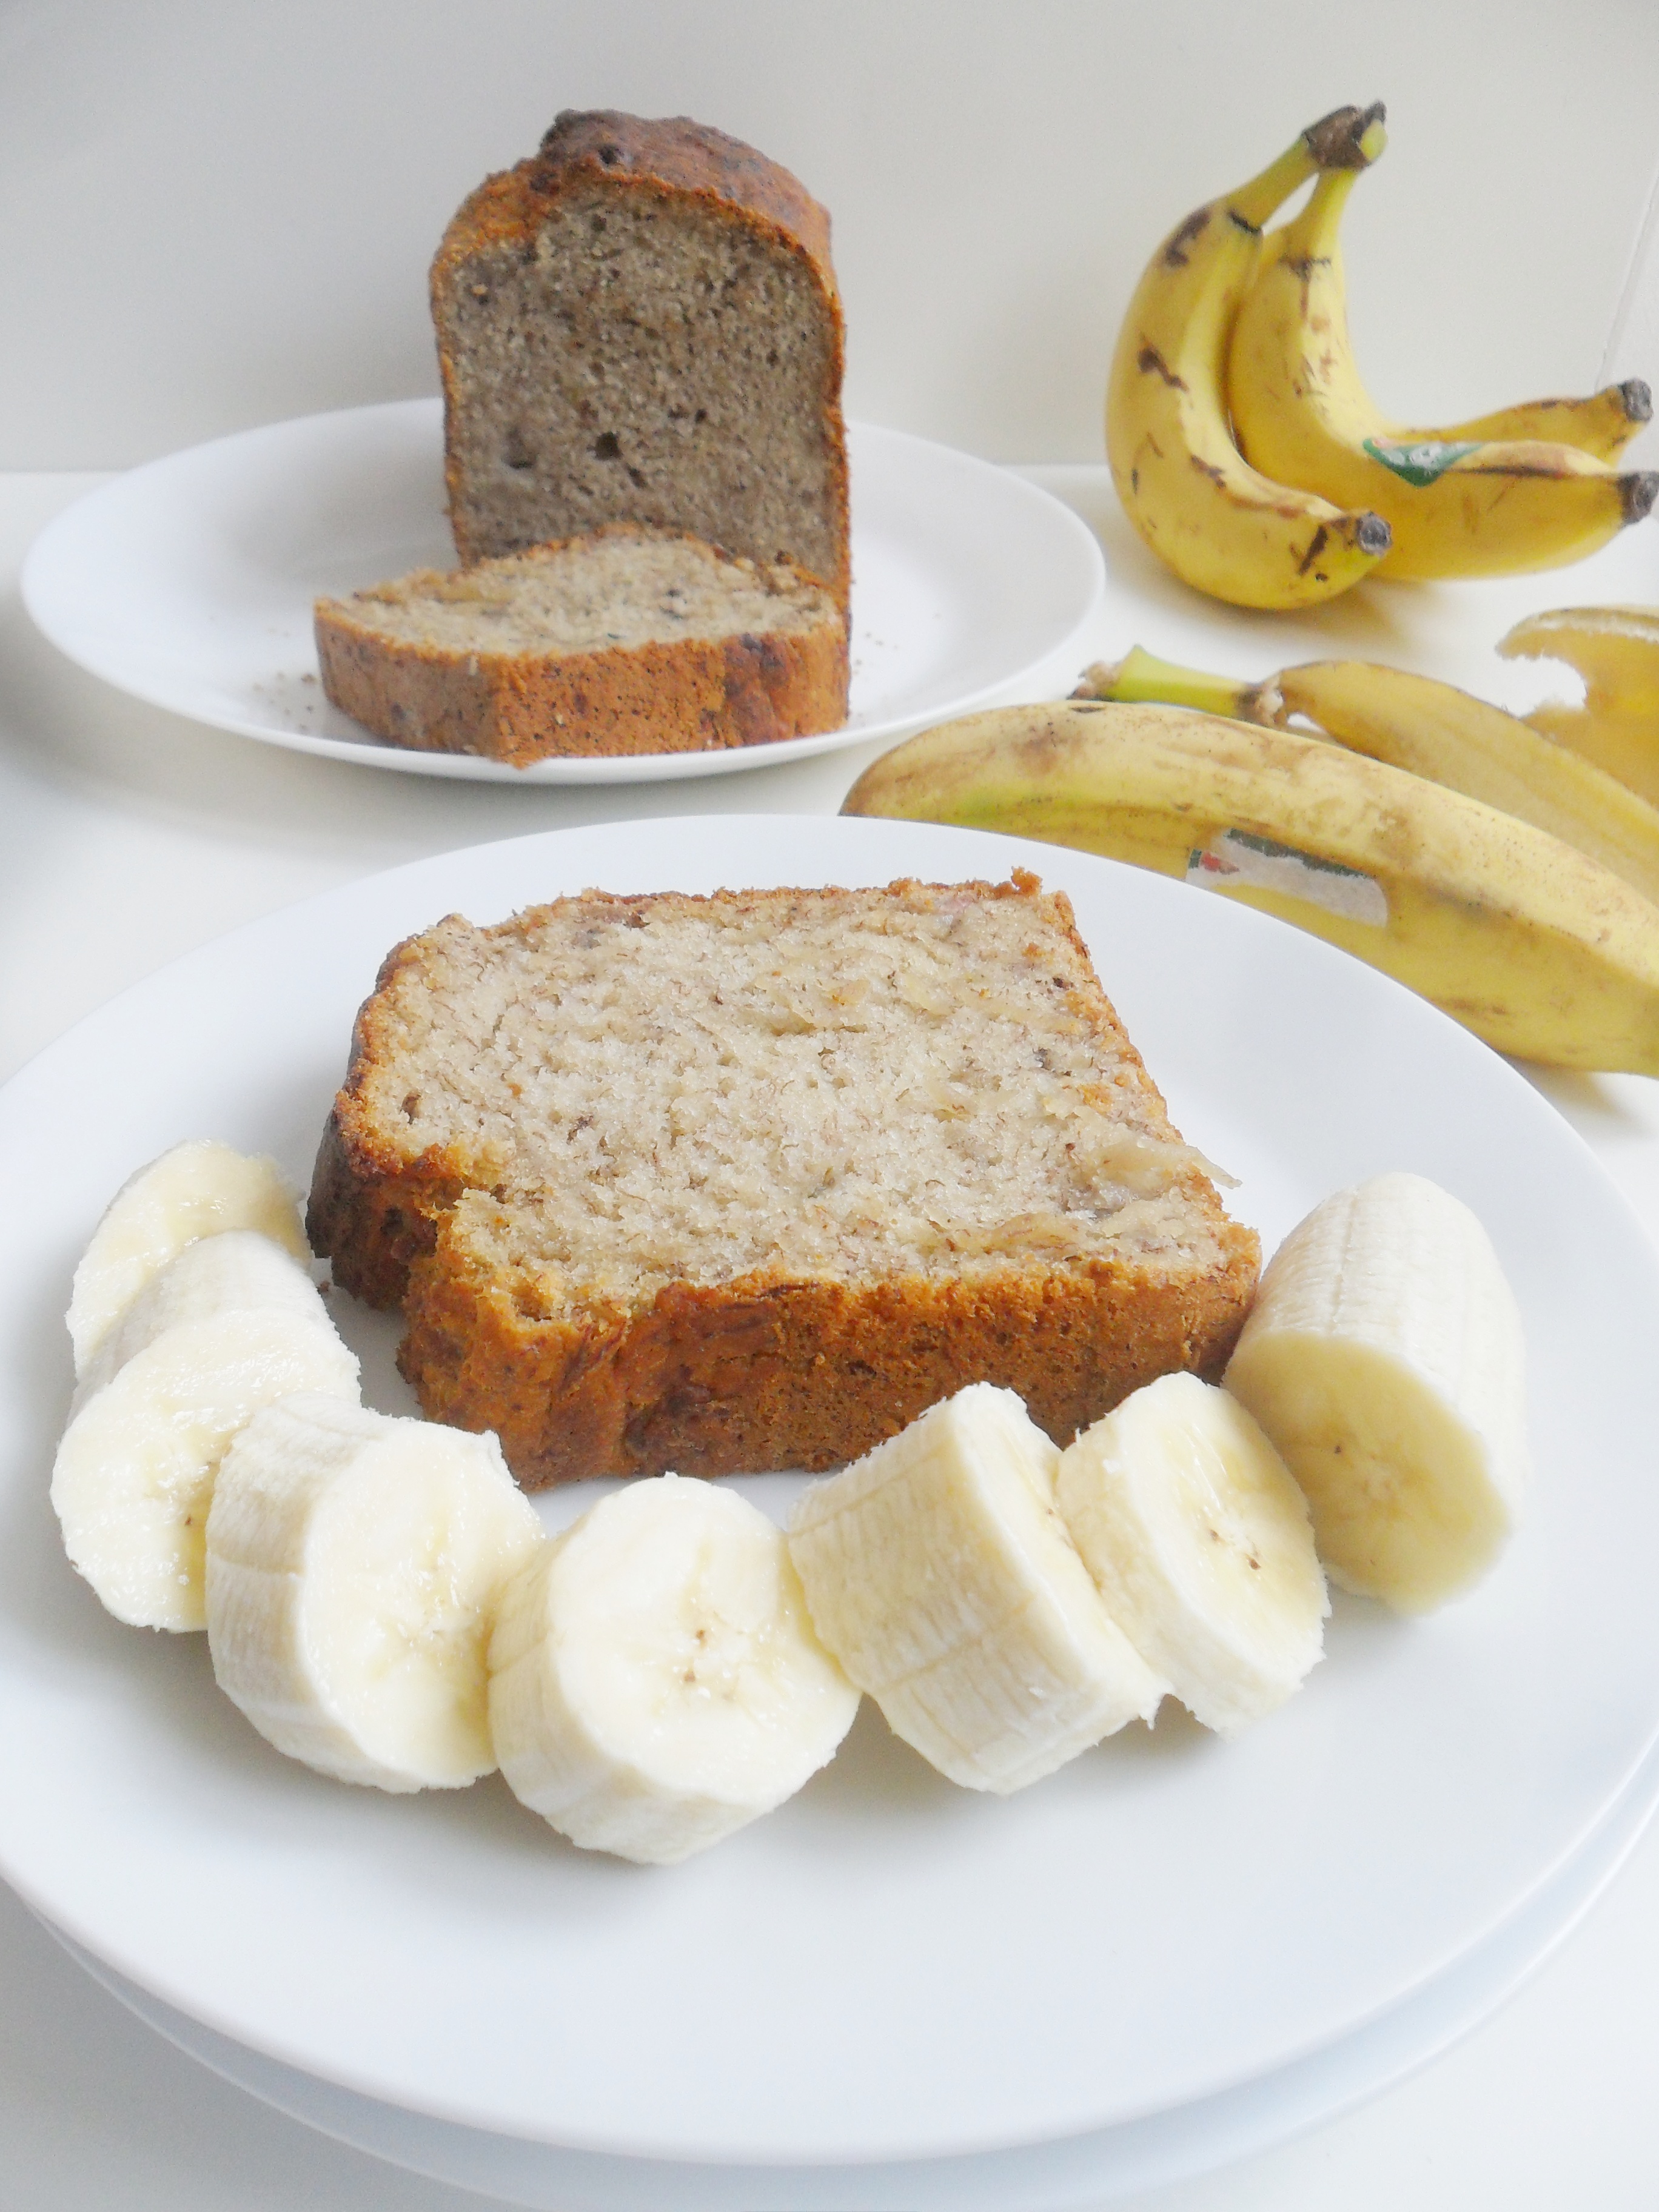
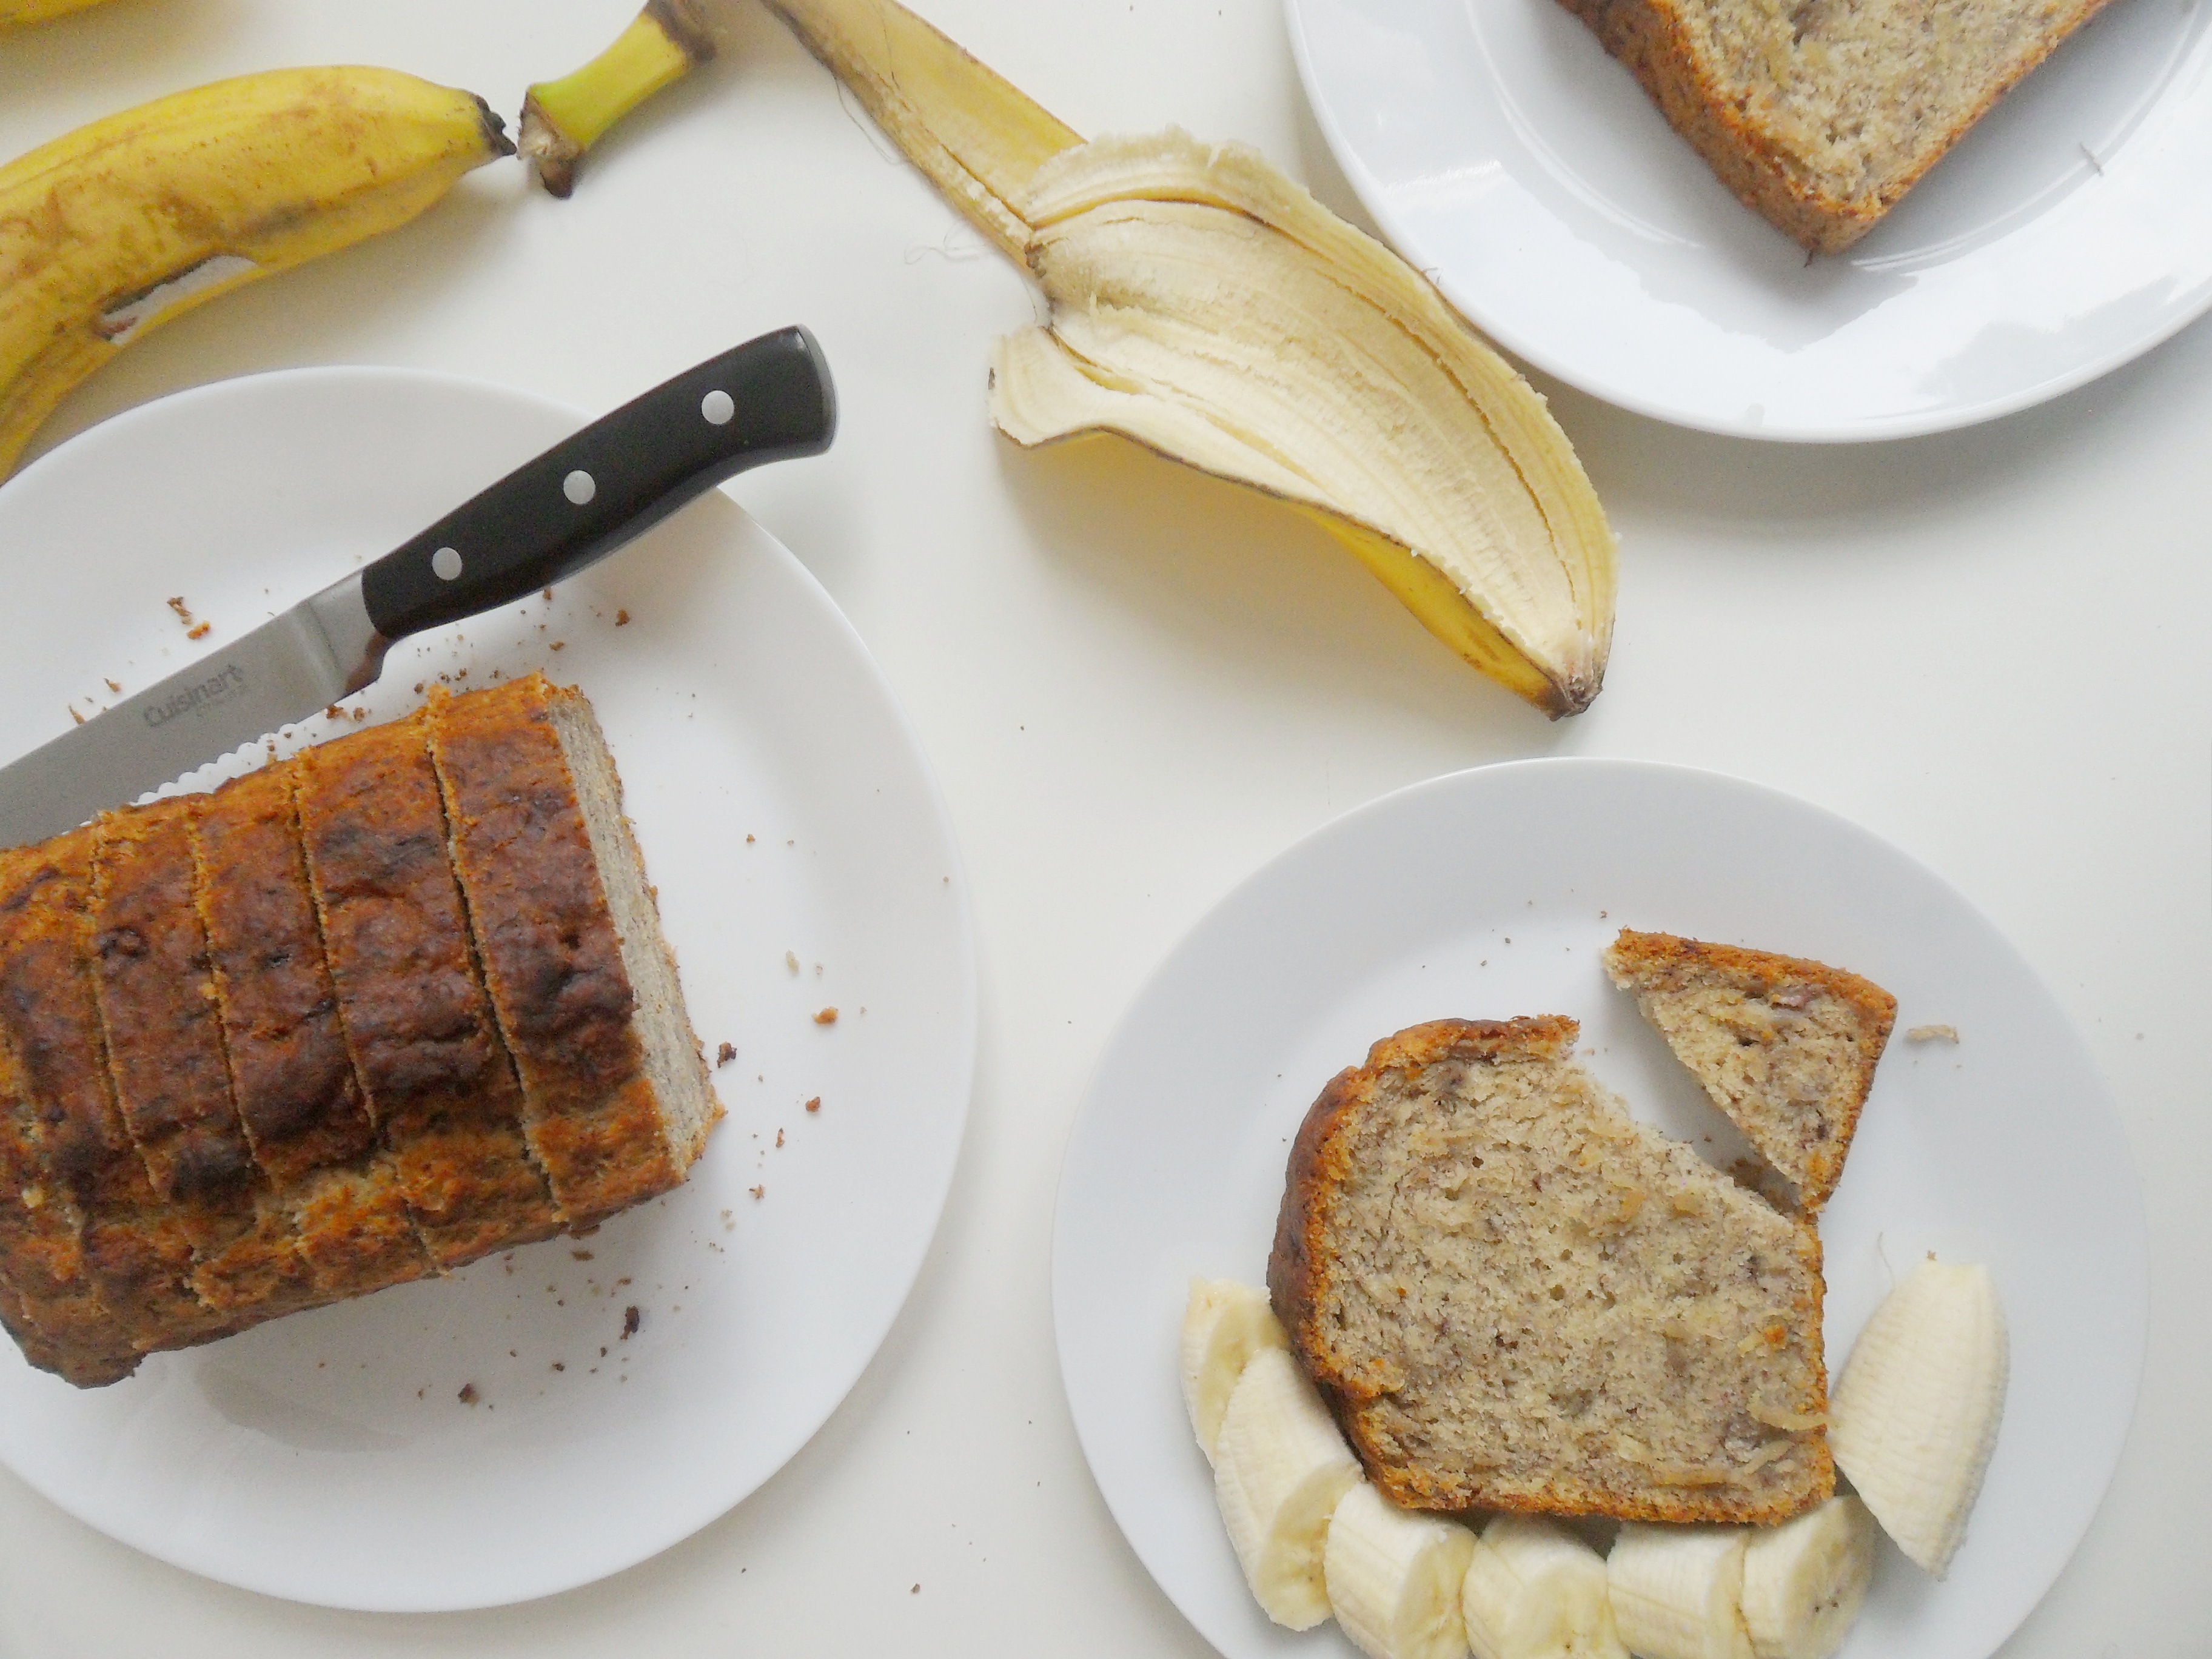
Hello, everyone! It was about time to write another post! My absence has been due to a malfunctioning laptop. It won’t turn on, no matter what I do. Apparently, it needed a vacation, so I had to figure out a way to make blog images with my phone. Not that I am very good at that, but at least we can continue posting regardless of my “smartphone-photo-editing-abilities” ? I guess we just cannot have it all. Can we? Anyways! To sweet up the day I made this incredibly easy Vegan Banana Bread.

Disclosure: Please note this post contains affiliate links, which means at no additional cost to you, we earn a few bucks if you decide to make a purchase through any of those links. We only recommend products that we personally use, support and/or would recommend without an affiliate link. Do not spend any money on these products unless you totally feel you need them for more that one-time use. Thank you so much for your support. For more information visit our Affiliate Disclosures Page.

You’re going to love it because:

It is extremely easy. You just need a bowl, a fork and rubber spatula (and, well, your scale too! ?)

It is vegan and budget-friendly. Just a few ingredients you probably have at home.

It is barely sweet. After making this recipe 3 times in a row, I decided to cut down the sugar even more and it was still delicious

You can make it fat-free. For the original recipe I used melted margarine, then I used coconut oil and for my final try I skipped the added fat entirely (I substituted the fat with unsweetened apple sauce) so you can do it either way.

First of all I have to say…This is not your typical overly sweet banana bread. The sweetness of this banana bread come almost in its entirely from the very ripe bananas , so if you are looking for that, super sweet and so called “indulgent” recipe, this is not the one.

This recipe is great to use those bananas that are too ripe to eat by themselves. I have read some people suggesting that if you don’t have ripe bananas you can “ripen” them by baking them until the peel is black, BUT this doesn’t really work well with this (or any banana bread, for that matter) because even though you will soften the bananas is the oven, the sweetness and characteristic flavor of ripe bananas won’t be there. So, forget about the shortcut and just use very ripe bananas (if yours are still too green, this will be a great opportunity to also exercise your patience)

Vegan Banana Bread

Let’s talk about results

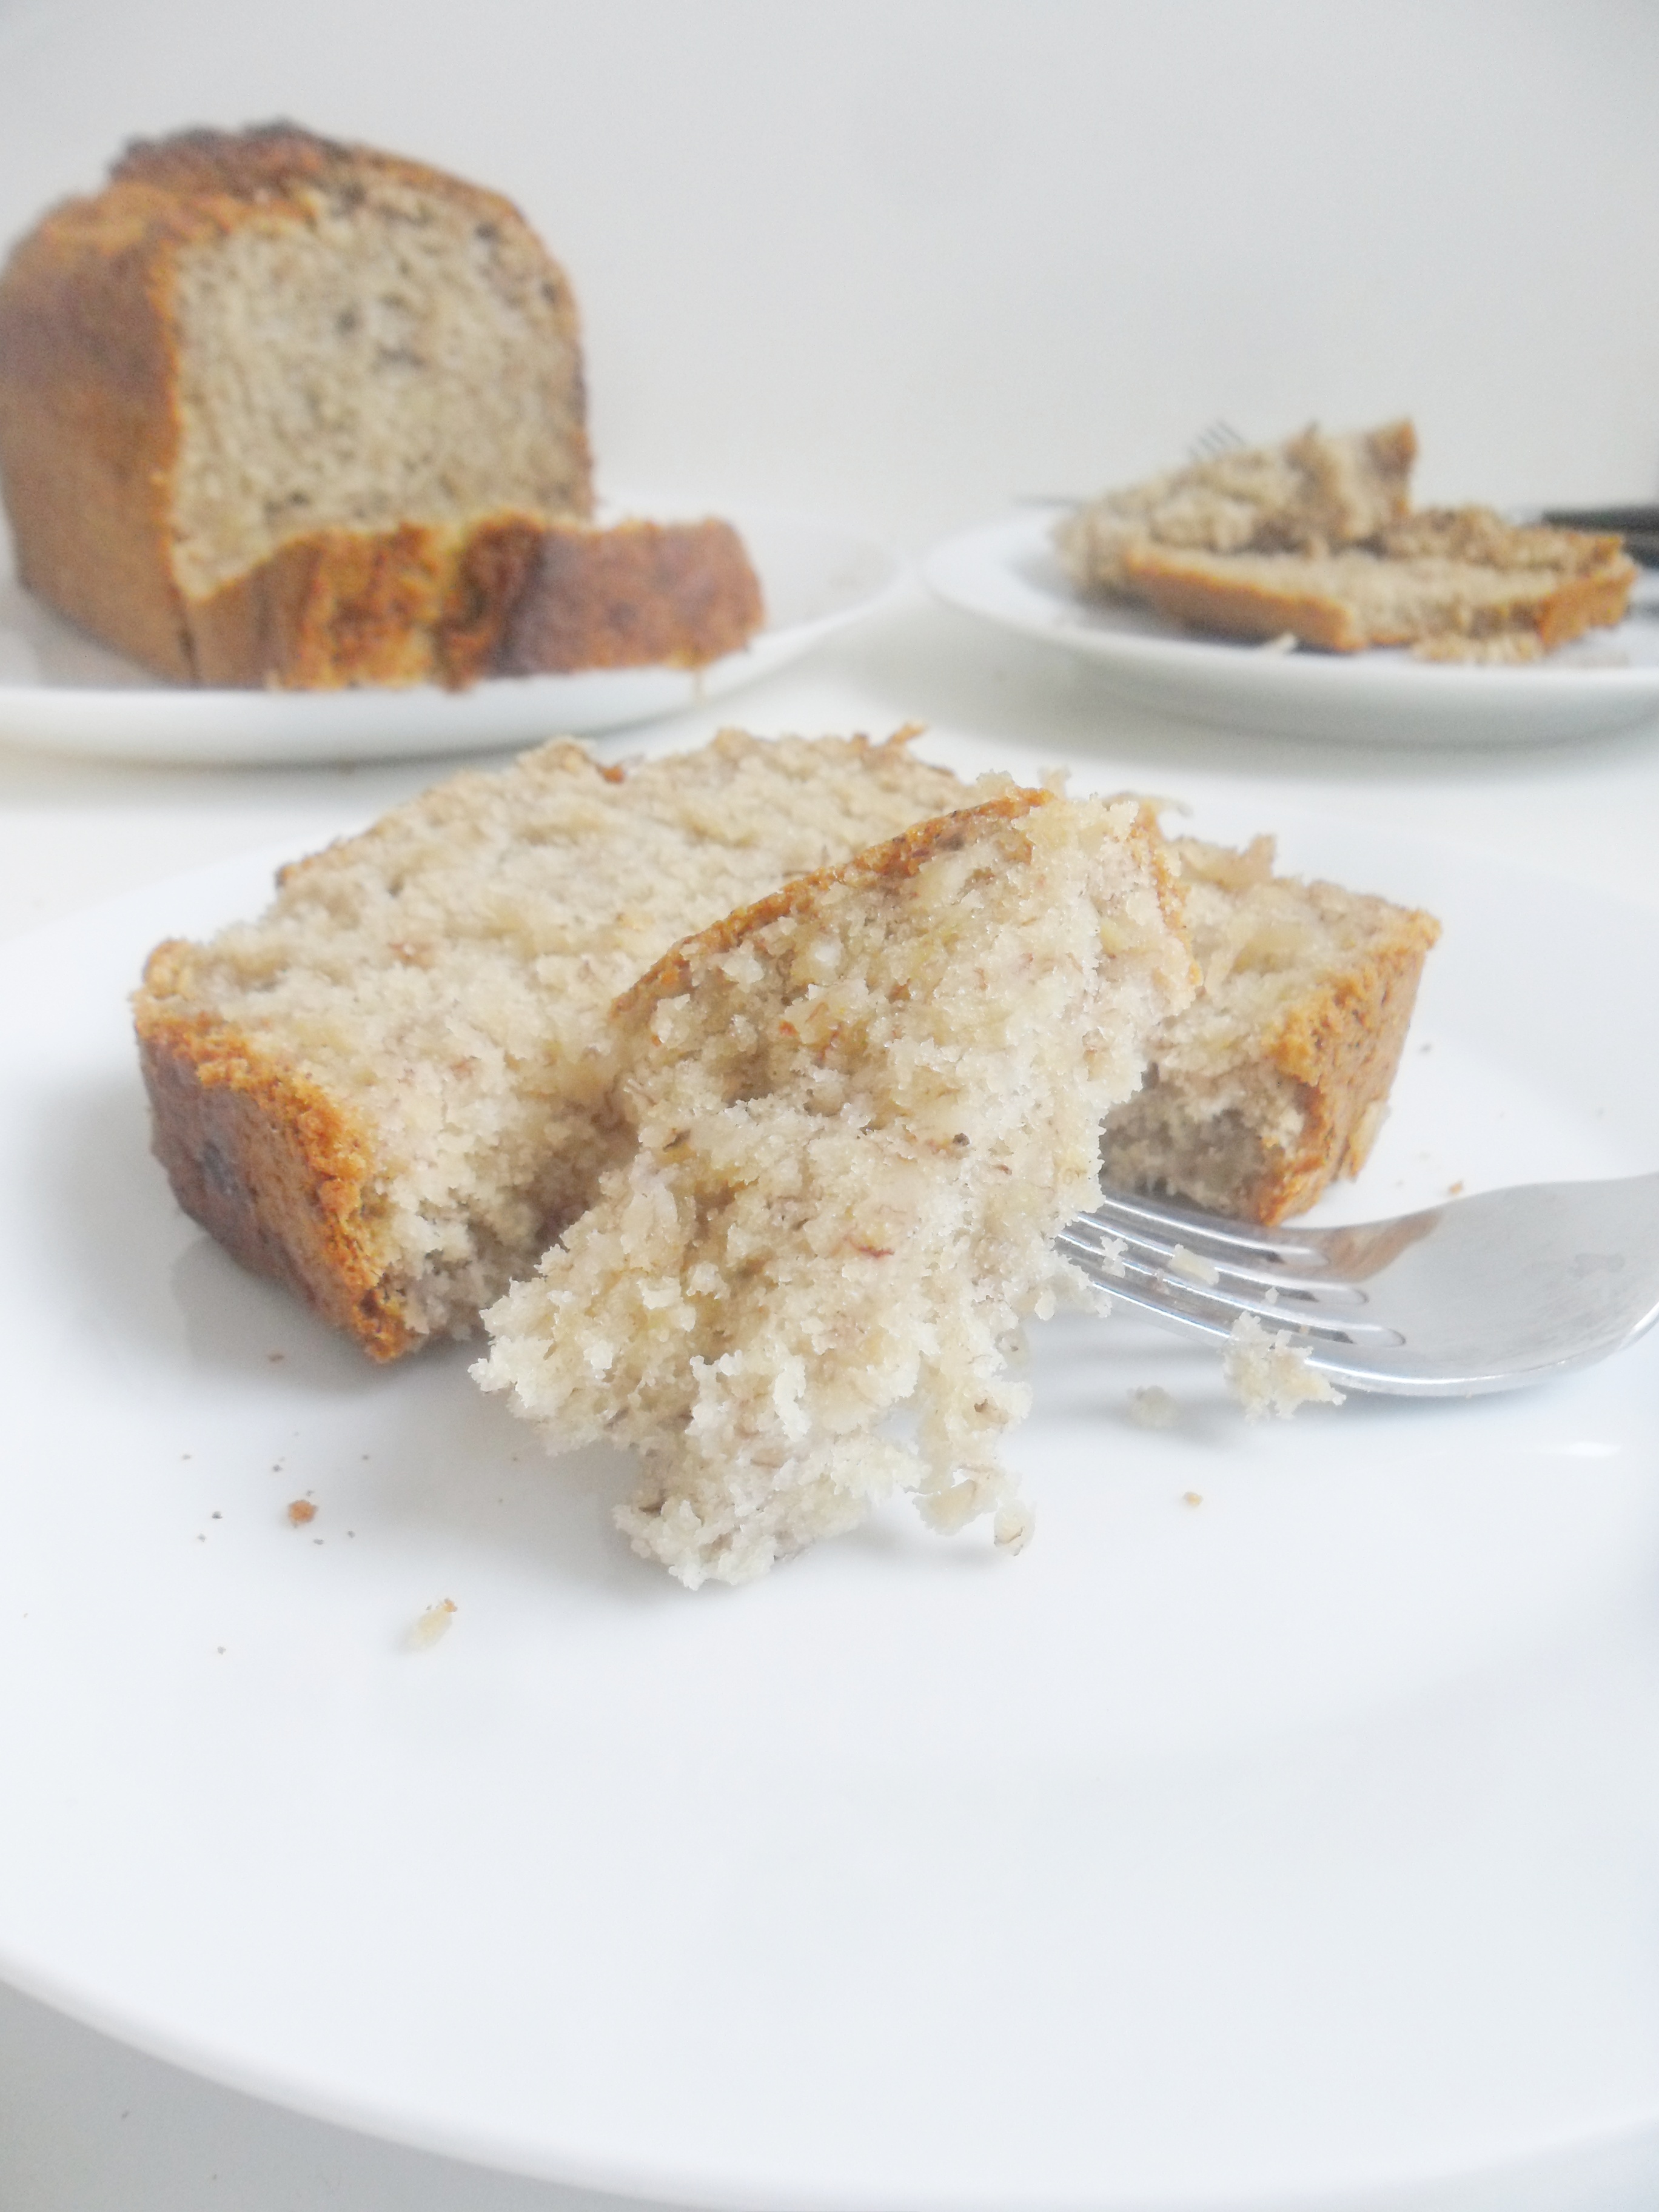
All banana bread versions came out spongy and barely sweet to my taste. The one made with margarine had a little crunchiness on the edges and it was slightly taller than the one with apple sauce. Also, the banana bread with margarine had a more tender and more fine crumb.

The last batch (made with less sugar and applesauce) came out a bit smaller than the first two but it wasn’t dense, and for me wasn’t really a big deal, but, if you feel your batter is too dense for your liking you always can add a bit of liquid (like soy or coconut milk). The crumb wasn’t as tender as the batch with margarine but for me still an excellent choice for breakfast or as a snack, specially for kids. And if you are watching your caloric intake, you don’t really need the extra fat and sugar ?

Vegan Banana Bread

– For the fat-free and (and less sweet) version I reduced the amount of sugar to 60grs and used 100 grs of unsweetened applesauce instead of the melted coconut oil (or margarine)

– To make this banana bread I used this 9×4 loaf pan. If you are making half batch, use smaller pan.

– The best way to test for doneness is with a thermometer. It needs to register 200ºF. If you are baking half batch and using a smaller pan, adjust baking time.

– For a half batch recipe see below


VEGAN BANANA BREAD (HALF BATCH)

330gr ripe bananas, mashed
5 grs baking soda (1 tsp)
55 grs sugar (1/4 cup)*
215 grs self rising flour
1 tsp ground cinnamon
50 grs coconut oil or margarine, melted* (see notes for fat-free option)
A pinch of ground nutmeg
A pinch of salt
100 gr roasted almonds (optional)
5 ml vanilla extract (optional)

Which version are you trying first? Let us know in the comments section below, or on social media: Instagram & Pinterest. When you make this recipe, don’t forget to post your photos on Instagram with the hashtag #sisterblissdiary.

Until next time!


Easy Banana Bread {Vegan, Low-sugar with Fat-free option} Read More »

Apple Peel Chutney & Apple Crisp Cake {Stop Food Waste!}


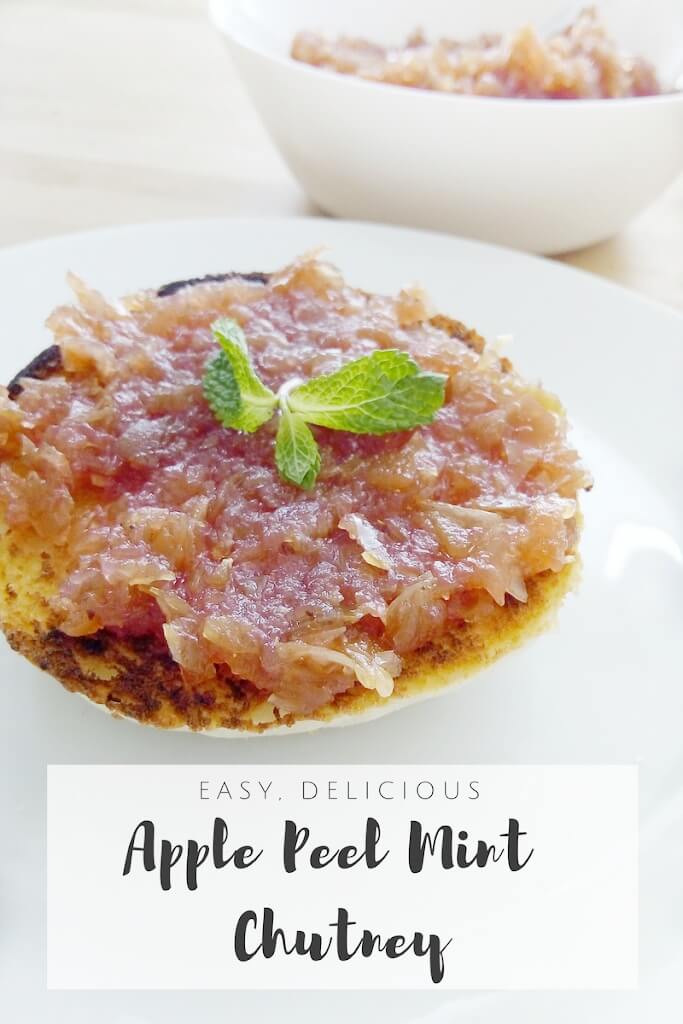
A few days ago, I had the pleasure to cook a wonderful Rosh haShanah Dinner alongside my beautiful friend Shifrah. Together we prepared a simple yet delicious Vegan Dinner (well, almost vegan because we used honey!) and as I was prepping the ingredients for an apple crisp. I was left with a ton of apple peels so I said to myself: “how can I use this?” I figured I’d make and Apple Peel and Mint Chutney.


The food waste issue…


Maybe you are wondering ”why?”. Why to save trims or peels from fruits and veggies? Why even bother about making a cake with a fraction of apple crumble?

Well, 30% to 40% of all the food is wasted in the United States only! (that was 133 Billions Pounds equivalent to $161 Billion dollars worth of food in 2010 and 100 Billions in Europe in 2014). Last time I checked 1/3 of the world food production goes to waste and, on average, families in the USA throw away 25% of the foods they buy. That is simply insane!


Precious food that:
– Could have helped feed families in need.
– Could have being used to give you more for the money you already spent by, for example, using peels and veggies scraps, or repurposing leftovers.
– The resources used to put all that food to waste globally, could be use to end, or at least alleviate, world’s hunger problems.
– Resources used to waste that insane amount of food could be used to help the planet not endanger it.


When all the cooking madness finished in my kitchen, I process the apple peel into tiny pieces, added sugar, spices, mint and voilá! This “chutney” made a nice addition to our breakfast oatmeal, toasts, and crackers, for a couple of weeks. If you are left with more that you can eat, store in a glass jar and give away to your family and friends. It would certainly make a nice holiday gift. Win win!
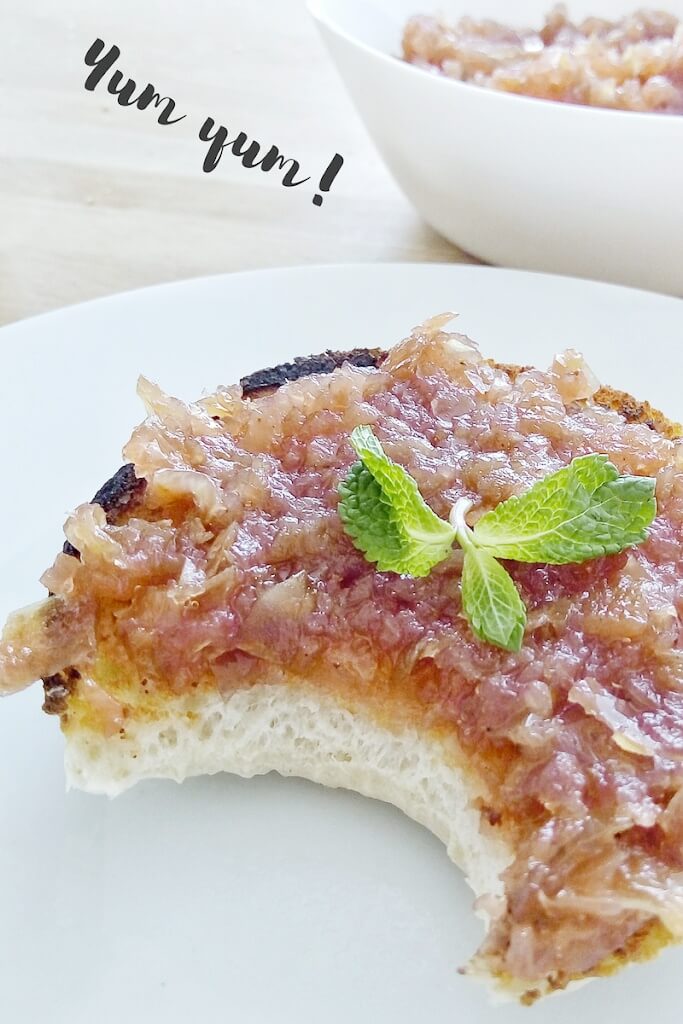


Super simple, right?

Let’s look at some other ways you can reduce food waste?

1. Don’t buy so much food in the first place

Certainly, many people buy too much; more than they can eat in a reasonable amount of time, sometimes as a result of  the “it-was-on-special-offer” syndrome. Buying less means you will take advantage of everything you buy before it goes to waste, and before you go and buy the same foods. You also will be showing some love to your pockets because wasting about 25% of your grocery budget is not funny.

2. Find ways to reuse the leftovers in your fridge

Instead of eating based on the “mood of the day”, check what you have in your fridge at least once a week, and build your meals of that day based on that (in my house that day is sunday, when we repurpose shabbath leftovers). After checking your fridge and realizing how much food you waste you will definitely be more mindful about the quantities you’ll buy next time, and you’ll learn more about it in the way.  After a while, you might start having fun with the process and discover new ways of eating your leftovers.

After Rosh haShanah dinner, we had leftover apple crumble and the “crumble” was not crunchy anymore, so I was going to repurpose it, no question about it! I mixed the apple crumble with a few ingredients and I got a nice, perfectly sweet cake, which I served as snack and nobody noticed it was made from leftover apple crumble!


To make this LEFTOVER APPLE CRISP CAKE you’ll need:


The leftover: 350grs of apple crisp (including homemade apple filling and the crumble (made with oats, sunflower and pumpkin seeds, and almond flour)
50 gr sugar (the apple crisp is already sweet)
3 Eggs, separated
125 gr self rising flour
Splash of vanilla extract (optional)
A pinch of salt.

For this recipe I used a 6″ round cake pan, with detachable bottom, covered with baking paper.

To make the cake, I started by whipping up my egg whites, adding your sugar little by little as I whip, until I got soft peaks.
Then, to this I added the egg yolks, and keep beating for a couple more minutes until the ribbon stage (this is where the mixture is a pale yellow color and thick).

At this point, I added the flour, a third at a time, sifting it over the egg mixture, and mixing it with a folding motion with a rubber spatula. Finally, mixed in the leftover Apple Crisp, poured the batter into the prepared pan and baked at 350ºF (180ºC) for 25-30 minutes.

If you are using this recipe as a reference for other fruits leftovers, keep in mind that it may take more or less time in the oven.  A good rule of thumb is check your cake with a toothpick inserted in the center after 25 minutes. If it is done, your toothpick will come out clean, and your cake should at least have some color on top and spring back when touched.

Take the cake out of the pan immediately and let cool completely in a wire rack before serving.
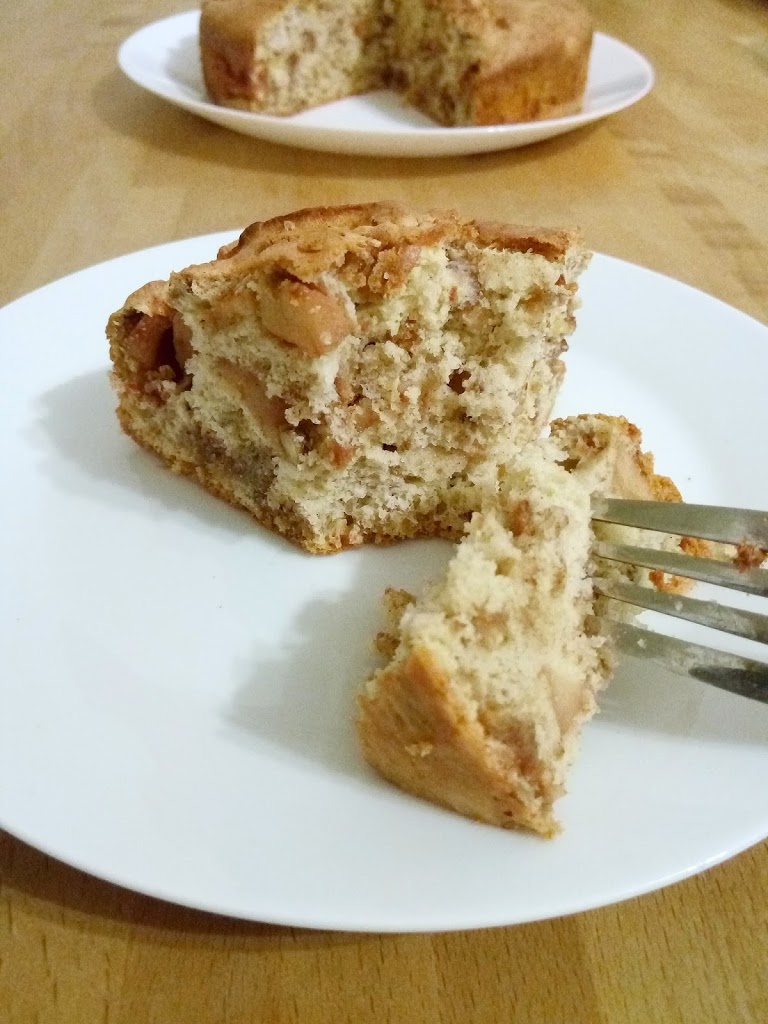


This simple cake was delicious and spongy, and not too sweet, so perfect for breakfast. The oatmeal, seeds and ground almonds of the crumble also gave a nice texture to this humble cake. I certainly loved the result and I hope you try it too!

3. Give away

If you have some foods you know you won’t eat (it happens!!) just give it away to your friends and family, or even random people. There are so many people in need, no matter the country where you live in.

One way you can do this is by cooking a meal with those ingredients and give it to the homeless. You can also, look for food sharing websites or Stop Food Waste initiatives on Facebook groups. They are plenty.

Hopefully now you see some ways for you to save money, take advantage of what you buy, waste less, help people in need and take care of the planet. It is important that we open our eyes about how much we waste in order to stop this madness, and our kitchens is a good place to start.

As we still have other big holidays coming; we can be more mindful this time and practice all we’ve learned. No excuse!


We have a dedicated Pinterest Board to collect all the excellent ideas and resources out there about food waste. If you want to be over there pining, just let us know by sending us an email to kasheribbean@gmail.com and we will add you as soon as possible.

Do you have other ideas about how to stop food waste? Let us know in the comment section below, pinterest or instagram!

Tizkú leshanim rabboth!

Apple Peel Chutney & Apple Crisp Cake {Stop Food Waste!} Read More »

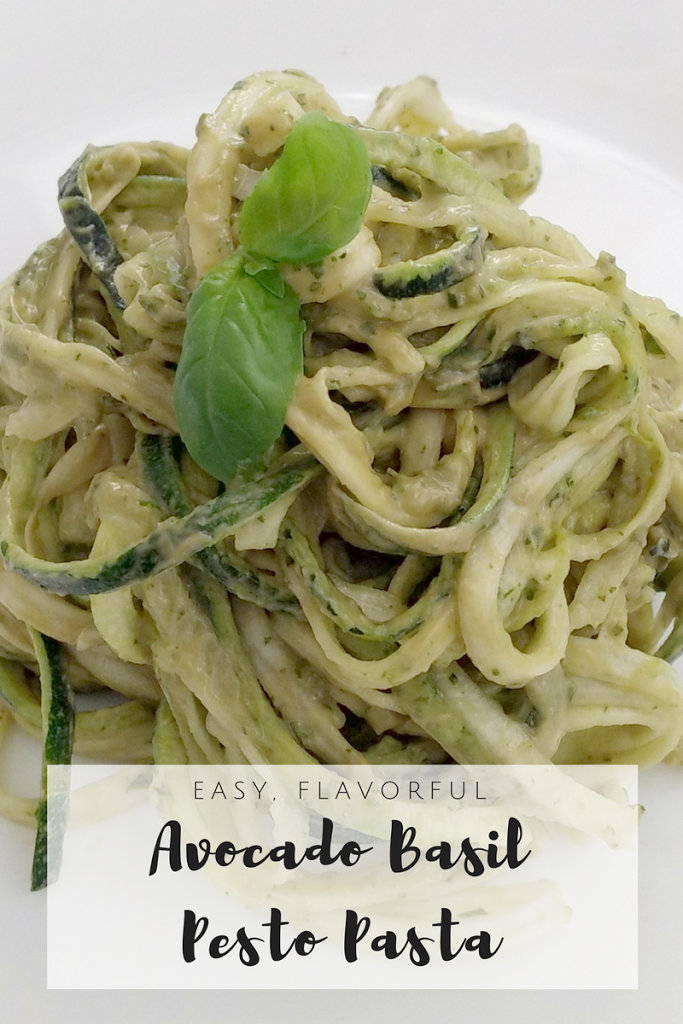
Avocado Pesto Pasta

Hi, everyone!
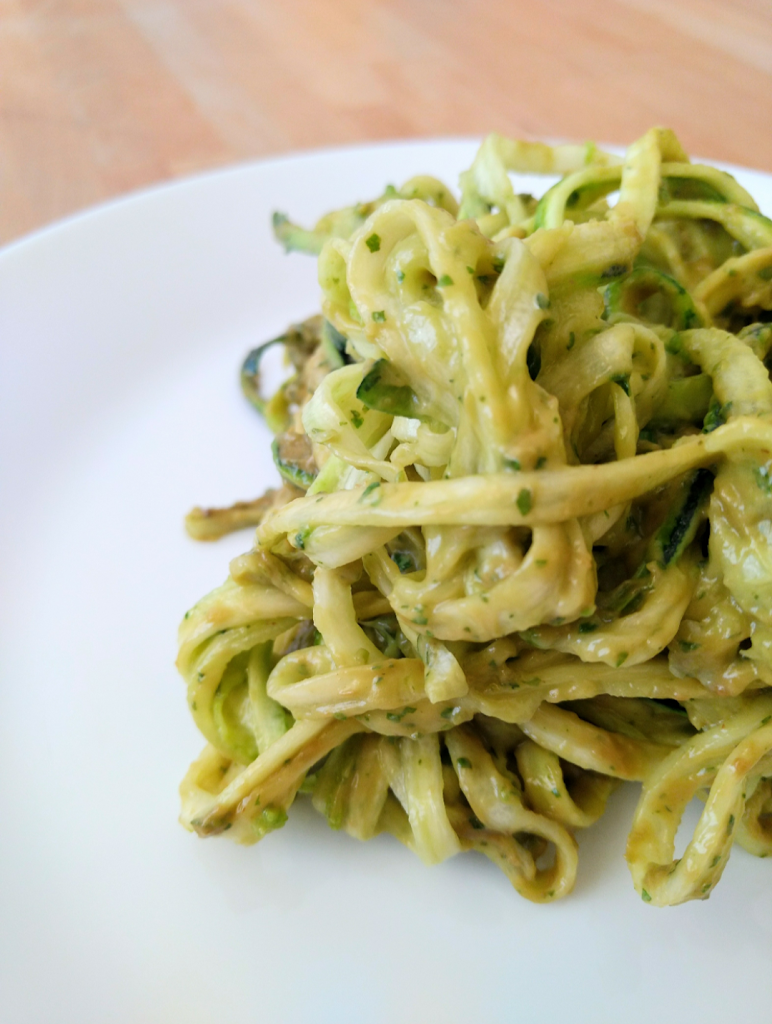
As you can see, the recipe we are presenting today is avocado pesto pasta.
I can totally say that avocado is one of the favorite fruits of my mom, sister and I and yet, this was the first time I personally tried the avocado pesto. I don’t even know why I didn’t try it before (probably because I was having a difficult time finding good ripe avocados 🤔) Anyways, this is for sure one of the easiest, simplest yet extremely delicious pasta dishes I’ve tried.
In terms of texture, this is probably the cremiest pasta that I have eaten (no cream, no butter, all vegan, just creaminess from the avocado). I instantly felt in love with this avocado pesto pasta, but because this was my first time, there are a few things I will do differently next time I am doing this:
Ex.: Next time I will double or triple the amounts because I cooked 1 pound of linguini and it was way too much pasta for the pesto, so the pasta didn’t get the super green color I like in pesto. The zoodles were different, though.
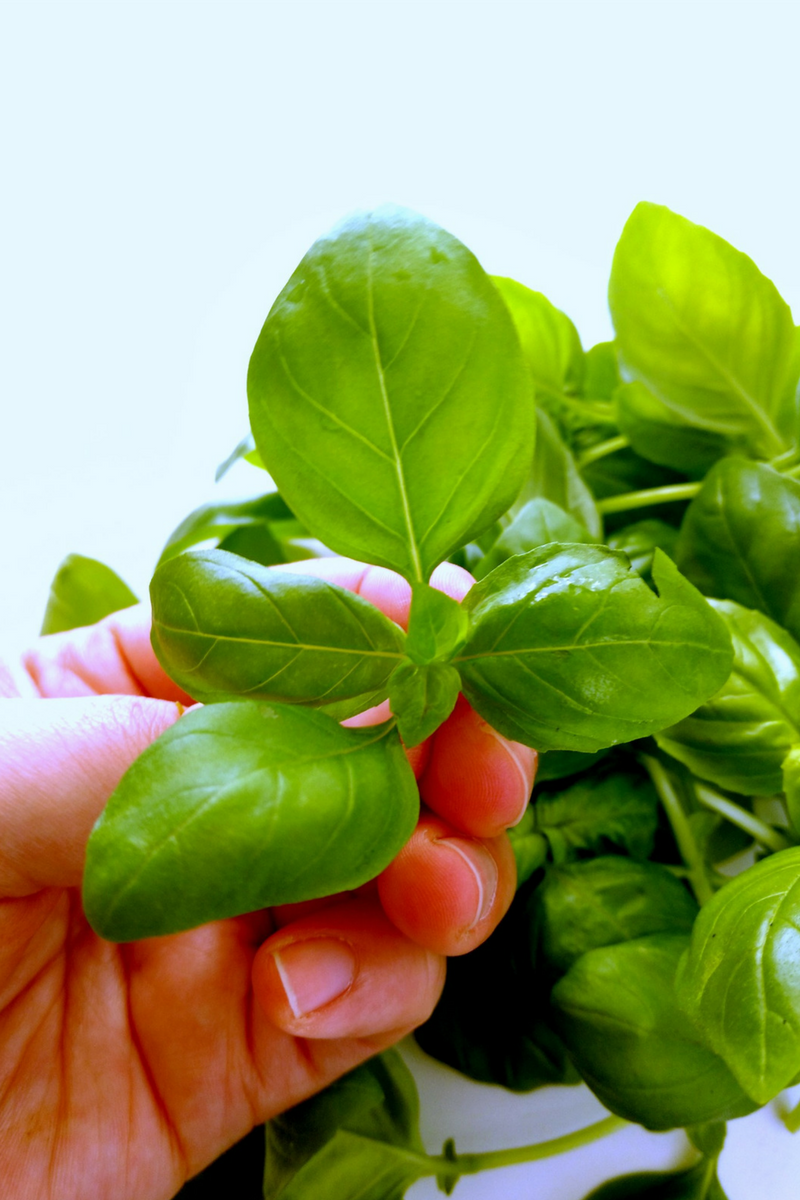
Also, next time I will make de pesto first with 3 or 4 bunches of basil for 1 pound fetuccini and then, add the avocado to the ready pesto. This is because I always add the whole bunch of basil to my pesto (yup, stalks included!) and for some reason they were not properly processed when added from the beginning with the avocados.
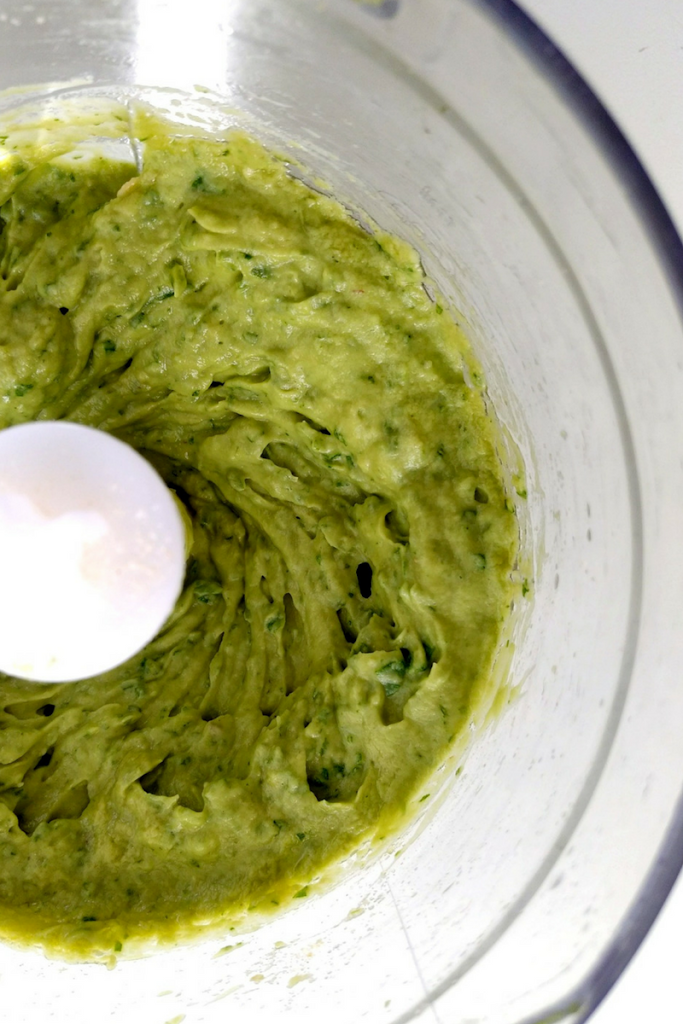
There were not any other issue. The process is very straight-foward. Just process all the ingredients until creamy.
That was enough introduction, let’s jump to the recipe:
YUMMY AVOCADO-BASIL PESTO
Prep. Time: 5 minutes.

Cooking time: 10 minutes (if using pasta)

Ingredients:

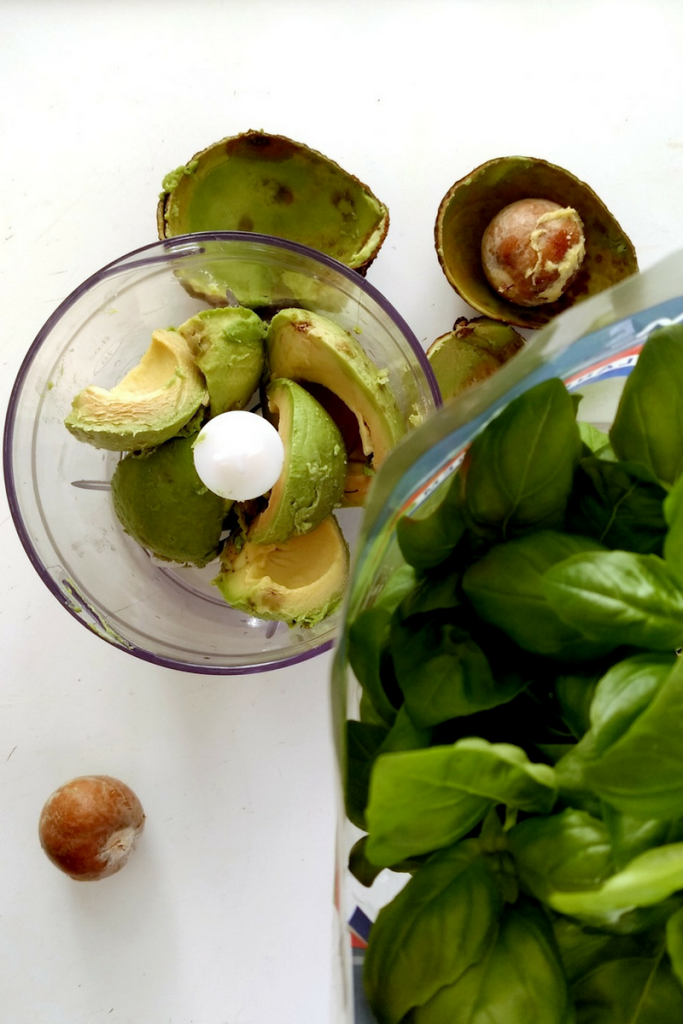
115 gr Avocado, ripe but firm (about 2 avocados)

About 150 gr fresh basil
¼ cup Extra Virgin Olive Oil
1 clove of Garlic
½ tsp of salt (or more to taste)
Pepper to taste
Juice of half lemon, about 2 Tbsp.

¼ cup of pine nuts or almond Meal*

Preparation:

First make your traditional pesto by processing all the ingredients except for the avocados. (I added almond meal to my pasta first because I didn’t have the pine nuts and second because is nutritious anyway and I love the flavor, but if you don’t have any, it can be totally optional).
Then add your avocados for extra creaminess. Mix with your pasta or veggie noodles and enjoy.
It couldn’t be easier! Keep this in your list of life saving recipes list so you can grab a jock lunch or dinner next time you are in a hurry! Oh! And, I almost forgot!… This is very kid friendly (if your children love colorful creamy pasta 😉😋)
Have you guys tried avocado pesto pasta? Do you prefer zoodles or noodles? 😆😋 Let us know in the comment section below!


Avocado Pesto Pasta Read More »

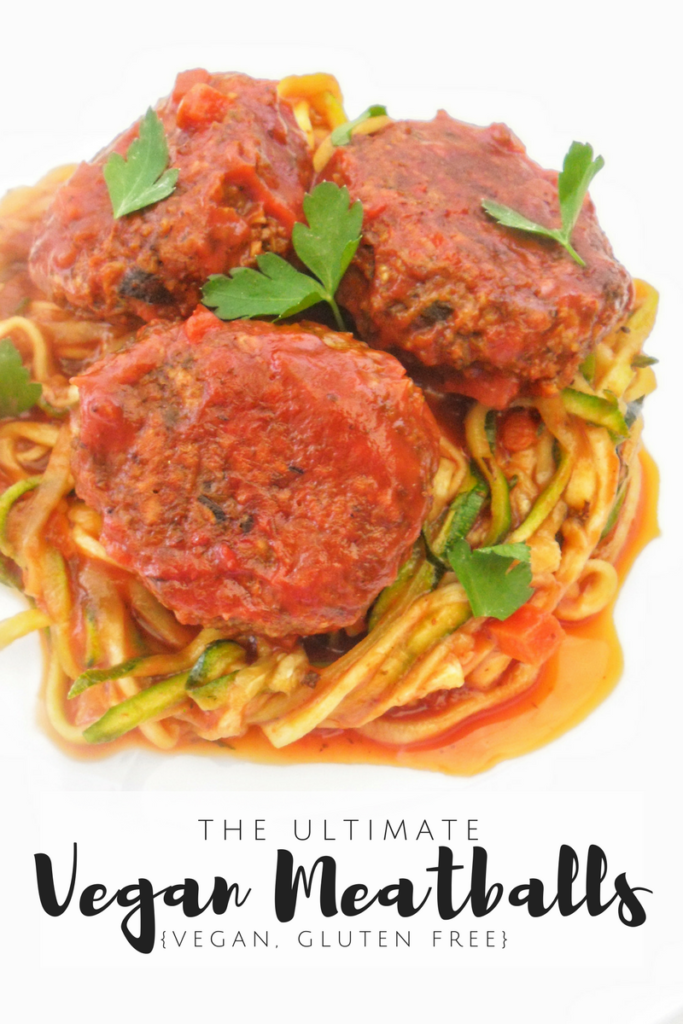
The Ultimate Vegan Meatballs {Vegan, Gluten Free}

The Ultimate Vegan Meatballs {Vegan, Gluten-Free}

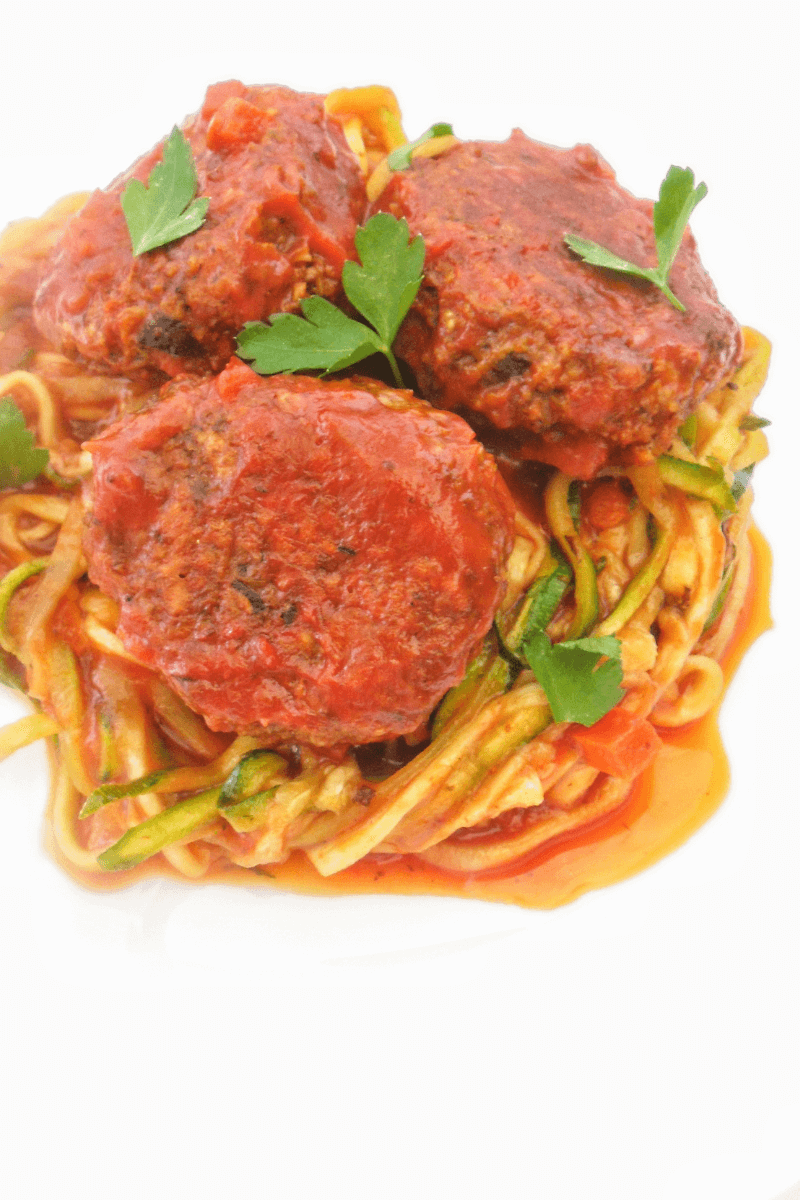
Hi, everyone! I am very excited today to finally share with you this recipe for vegan meatballs. I have taken some time perfecting it to get it right, and I hope you enjoy as much as I do. These are The Ultimate Vegan Meatballs.

How the Ultimate Vegan Meatballs came about...

The Ultimate Vegan Meatballs were born a couple of weeks ago while I was cooking a whole bunch of mushrooms for lunch but once they were cooked they were so little! The disappointment was real! Those mushroom filled the pan and when cooked were just a few grams! I needed to act quickly and finish lunch so I thought: Why not make some meatballs? Yes! Of course!

I processed the mushrooms with some oats, more spices, a bit of water and so on until I had the consistency I wanted. Then I finished cooking in tomato sauce. They were good in terms of flavor, but way too dense, so I had to make them again correcting the amounts but I was out of mushrooms, so the recipe had to wait.

Next day was friday. I was cooking chicken for Shabbath but, who says you cannot make chicken and vegan meatballs? I made up my mind to take advantage of the momentum, so I weighed my ingredients, took some notes and pictures, cooked and reserved the meatballs, that were going to be served for dinner.

We had guests for shabbath and I was mortified. I just was praying the meatballs were at least edible. But, well, if they were not that good, at least I could have some feedback to perfect this recipe and write it on the blog.

The time to eat came and I remember when one of the kids wanted to try the meatballs. They honestly looked like their meaty cousins so much but to avoid any confusion, I told him straight away the meatballs were vegan. He tried it and immediately his eyes opened up!

When he asked for more I realized they were happy open eyes, those that happen when you try something delicious! At this point, everyone started eating the meatballs and I was receiving positive feedback. I was very happy when a vegan guest told me she wanted the recipe for making them like everyday 🙂 That moment I knew they were not only edible, but certainly good. Even my picky husband liked them!
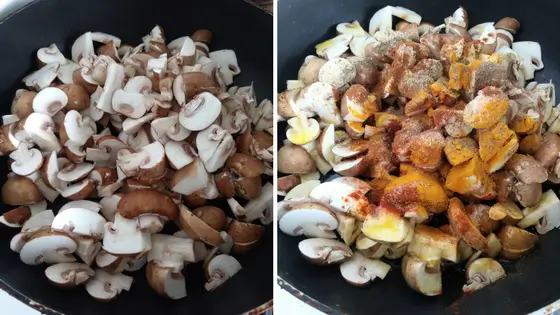
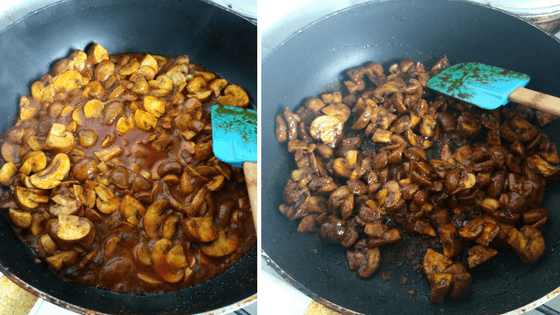
In the week that followed I probably made this recipe every other day, just to make sure the recipe was on point, and now it is just turn to try them. I really really hope you like them.

How to make the Ultimate Vegan Meatballs

The main ingredients in the Ultimate Vegan Meatballs is Mushrooms. Since they can come quite dirty, you’ll start by soaking the mushrooms in cold water for a few minutes, and then finish cleaning with a paper towel or a soft brush to remove any soil, before continuing with the next steps which include removing the excess moisture, mix all ingredients with the help of a food processor, fry or bake and finish cooking in the sauce. 

UPDATE: You can totally make this recipe OIL-FREE by skipping the oil entirely and baking these vegan meatballs instead. 

When first cooking the mushrooms we want most of the liquid to evaporate. This step is important. Our second most important ingredient, 100% Whole Grain Oats will benefit from some moisture, but if the mushrooms are too moist and you end up adding more oats than recommended (which you totally can) the texture won’t be as desired and meaty as intended. 

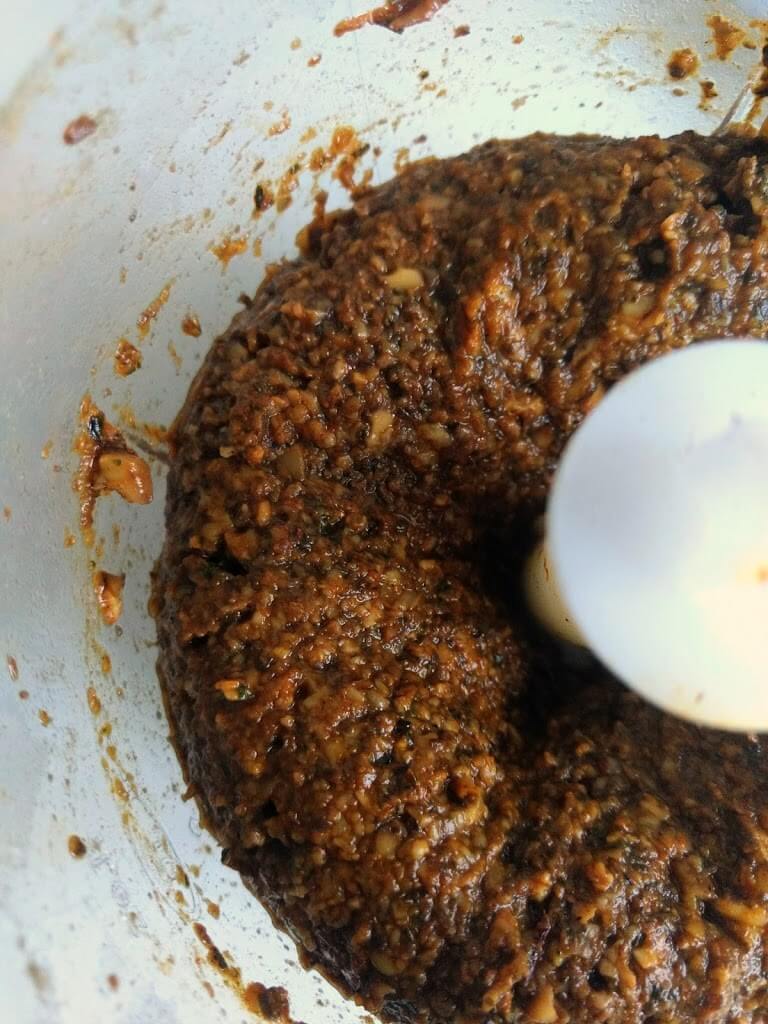
Once in the food processor make sure you chop the mushrooms enough but not too much.  You still want little pieces of mushrooms in there for texture. 

Now, the second part of the recipe includes transferring this concoction to a bowl and mix in whole grain oats and water. And you might be thinking “didn’t we just remove the water while cooking the mushrooms? Why are we then adding water back?”. Well, there’s two reasons for this: 

  1. The cooking of the mushrooms with the spices gives a better texture and flavor to the recipe than just adding them raw with the spices. 

  2. Adding the needed water (or liquid) in this second phase of the recipe gives you more control, because you know exactly how much liquid is getting into it, instead of just eyeballing every time the amount of water vs. oats that you need, which can be frustrating and lead to different results every time.

Shaping and Cooking

To shape the vegan meatballs it helps to wet your hands a bit before shaping each meatballs as the oats they contains get very sticky.
 
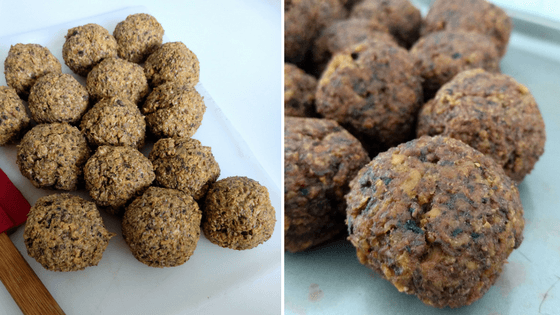
To cook you can either fry or bake.
 

IF FRYING: make sure the oil is well heated before you start, or the meatballs can lose the shape. Fry until hey are golden brown on both sides, and transfer to paper towel to drain the excess oil.

Fried Vegan Meatballs
Baked Vegan Meatballs

IF BAKING: Make sure you use a silicone mat or baking paper to line the baking tray. Using just oil or butter won’t work (I’ve tried). Bake them for about 30 minutes or until you see they are firm to the touch, thoroughly cooked and with a nice brown color. Get them out of the oven and let them cool down a bit before you attempt to take them off the silicone mat or the parchment so they don’t break. Once they cool down, they should peel off esily from the baking paper.

If they are not peeling easily is because they are still a bit too wet. Stick the tray for a few more minutes in the oven and then remove them from the baking tray.

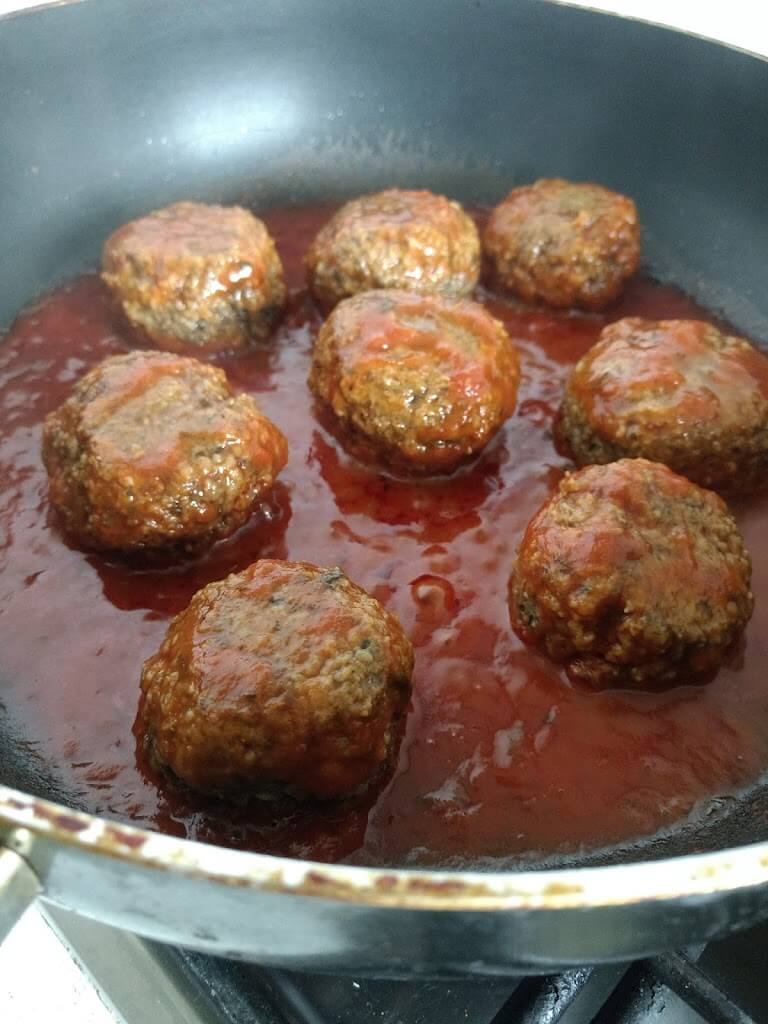
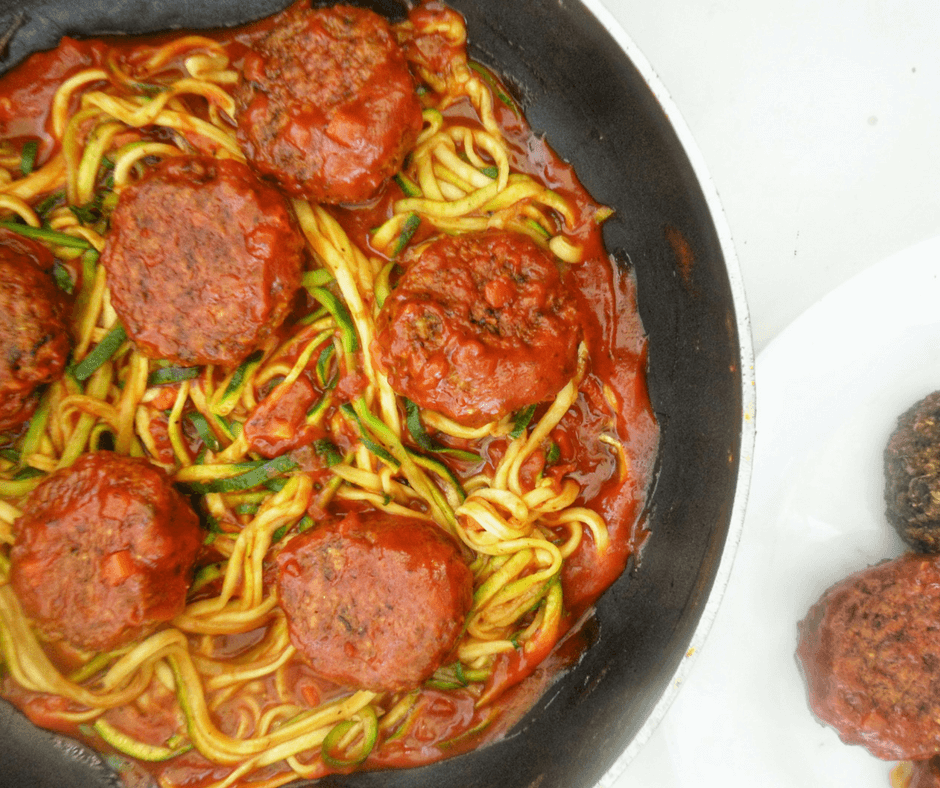
You can finish The Ultimate Vegan Meatballs by cooking them in your preferred tomato sauce (Check out our Sweet Potato & Tomato Pasta Sauce) for 5 minutes or so, on low heat. This last step is important to give the meatballs a meaty texture. 

Serve them with regular pasta, or try them over zucchini noodles! Delicious! 🙂

The Ultimate Vegan Meatballs

Mushrooms and oats based vegan meatballs perfect for your pasta dishes
Prep Time 15 minutes
Cook Time 35 minutes
Total Time 50 minutes
Course Dinner, Lunch, Main Course
Servings 4 people

Ingredients
  

  • 450 gr Portobelo Mushrooms
  • 200 gr 100% Whole Grain Oats
  • 180 ml Water
  • 1/4 Cup Dried Oregano (It's not a typo, it's 1/4 Cup of dried Oregano)
  • 3 Tbsp Extra Virgin Olive Oil
  • 1.5 Tbsp Sweet Paprika
  • 1.5 tsp Salt I use Himalayan or Sea salt
  • 1 tsp Garlic powder
  • 1/2 tsp Turmeric
  • 1/4 tsp Ground cinnamon
  • 1/4 tsp Ground black pepper
  • Pinch Nutmeg

Instructions
 

  • Clean mushrooms by soaking in cold water for a few minutes, then rubbing gently paper towel or soft brush. Roughly chop.
  • Heat your pan on medium-high heat. Add the oil (you can skip to make oil-free if you prefer), mushrooms and seasonings. Cook until there is no excess water left and the mushrooms are cooked through.
  • Process with a food processor, add oregano and pulse to a rough paste.
  • Transfer the mixture into a bowl and add oats and water. Mix well.
  • Let the mixture rest in the fridge for 5-10 minutes so the oats absorb the liquid and bind everything together.
  • Shape with wet hands and fry (or bake for about 30 minutes in a parchment lined baking tray) until browned and completely cooked through.
  • Finish cooking in your preferred tomato sauce for 5 minutes or so, on low heat for the perfect melt-in-your-mouth texture.
Keyword dinner, vegan

Have you make the Ultimate Vegan Meatballs already? Use the tag #kasheribbean to share your pictures on social media and don’t forget to follow on instagram and pinterest for more easy recipes! 

The Ultimate Vegan Meatballs {Vegan, Gluten Free} Read More »

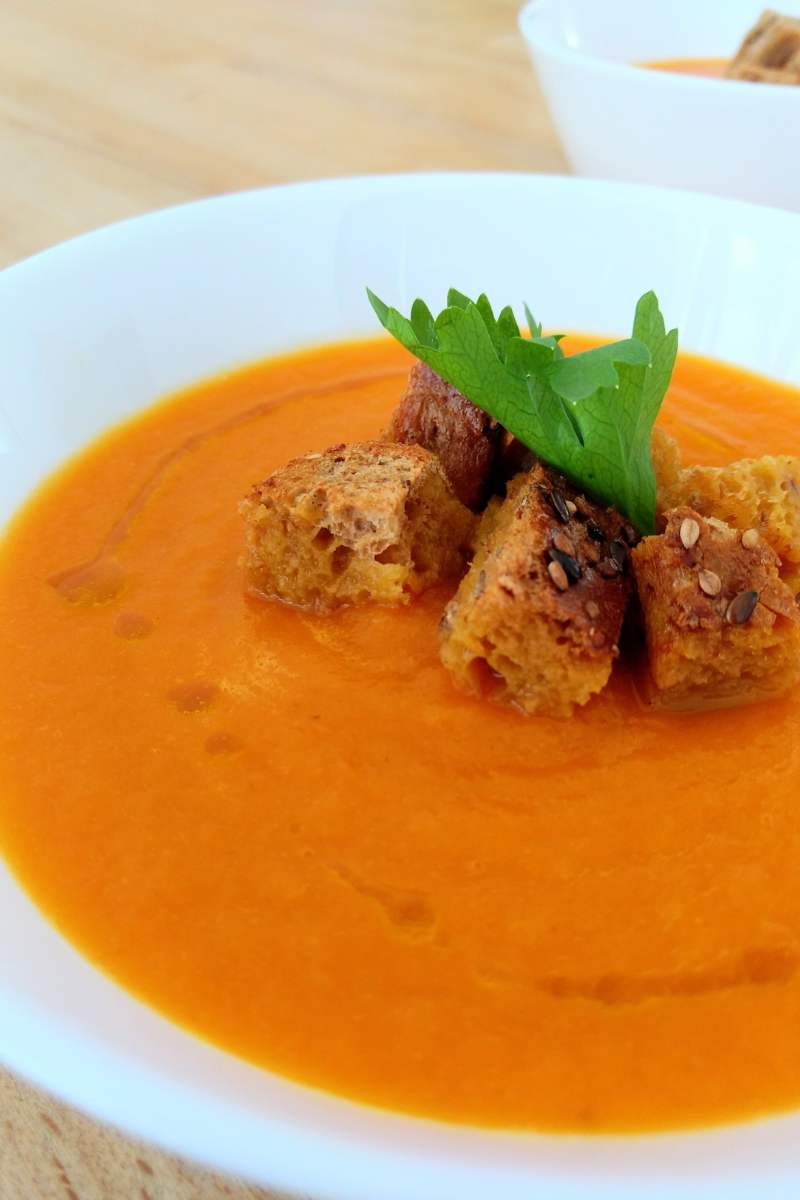
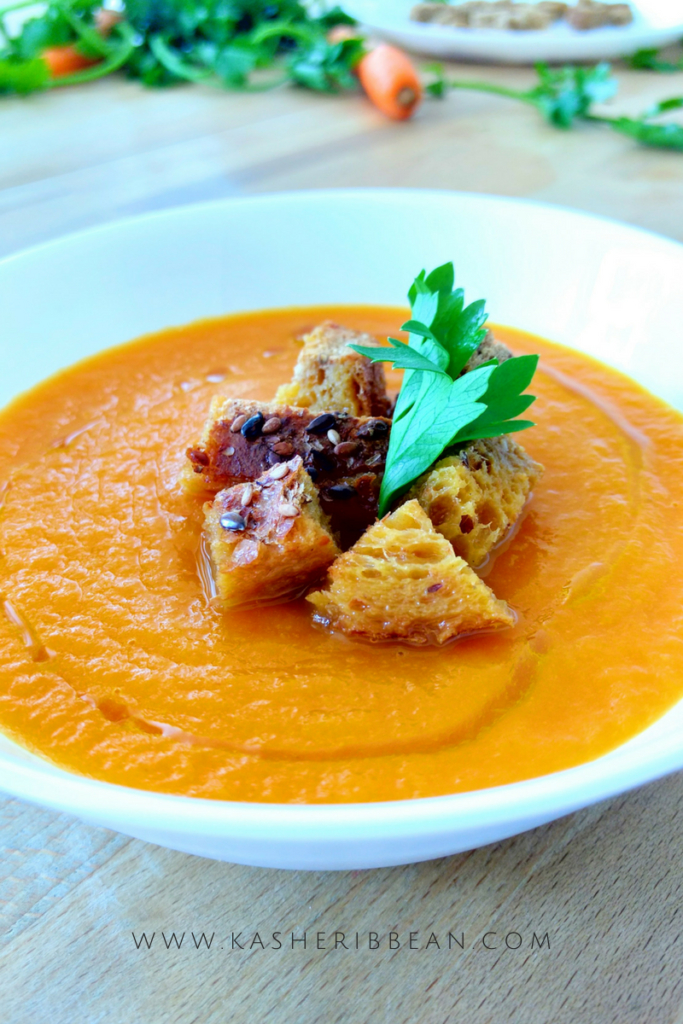
Carrot, Turmeric & Ginger Soup

Carrot, Turmeric & Ginger Soup {Vegan, Gluten-Free}

Carrots are a very versatile and nutritious vegetables, commonly used around the globe, raw and cooked, in a wide range of dishes, adding both taste and nutritional value. This particular recipe, Carrot, Turmeric and Ginger soup, is also a great opportunity for you to use those carrot tops and bottoms left behind after grating carrots. Turmeric and ginger are added for a kick, and because of their nutritional value as well. 

When buying carrots, look for firm, smooth, and brightly colored ones. They can be stored in the refrigerator, either loose or in a perforated reusable plastic bag, for up to a few weeks. To maintain their freshness, it better to remove the green tops before storing as they can draw moisture from the carrot roots. But don’t worry, you don’t have to throw them out. Use the green carrot tops for salads, pesto, pastas or garnish. 

If you forget a few carrots in the fridge, and they become soft, you can always revive them by soaking them in ice water and leave in the fridge for a few hours.

How to make Carrot, Turmeric Ginger soup

To make this Carrot, Turmeric and Ginger Soup is really easy. First, you need to create a flavorful base, which you’ll make by the sautéing the vegetables until they are somewhat caramelized. This process will provide deeper flavor than if you just add the broth right away. So, taking a little time with this step is worthy. 

Since the carrot soup has to cook for a bit, hence evaporating some of the liquid added and concentrating the flavors, I advise you to add the salt once the cooking process has finished, and specially if you used regular store-bought vegetable broth, which is often rich in sodium. 

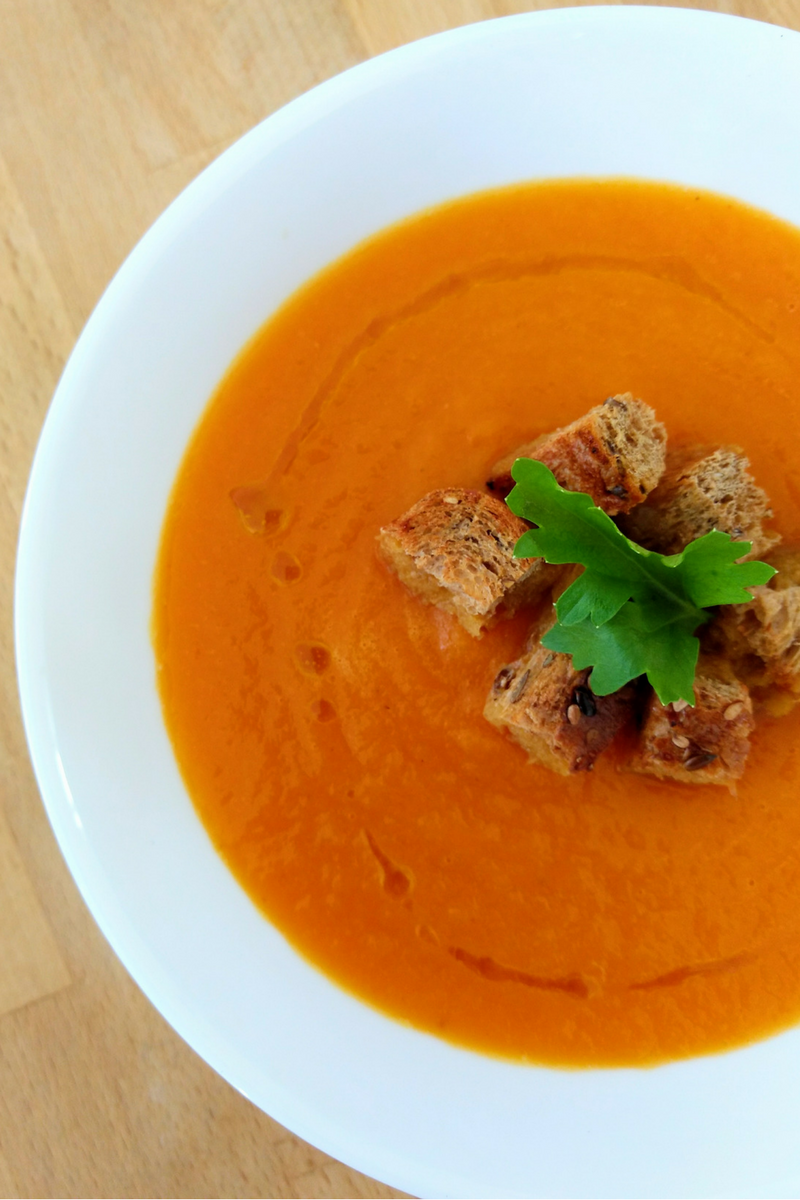
Easy Carrot Soup

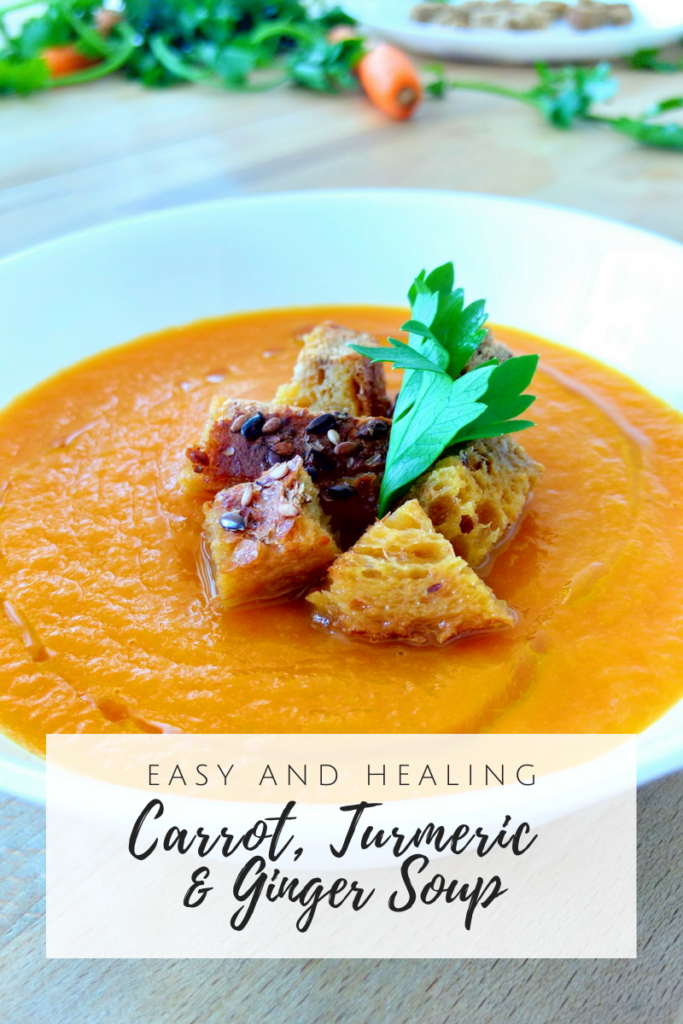
Carrot, Turmeric & Ginger Soup

Course Appetizer, Soup
Cuisine Dominican Republic

Ingredients
  

  • 100 gr Yellow onion, roughly chopped {about 2 medium onions}
  • 1 Celery stalk, chopped
  • 500 gr Carrots, chopped
  • 500 ml Vegetable broth { up to 700 ml of homemade or pre-made}
  • 10 gr Ginger root, peeled
  • 3 tsp Turmeric powder {or to taste}
  • 2 Garlic cloves, chopped {or 2 tsp of garlic powder}
  • 1 ½ tsp Salt

Instructions
 

  • To your pot add the oil and sauté the onion with a pinch of salt, until they are a nice light brown color. Be careful not to burn them or they will give an aftertaste to the soup.
  • Add the celery, carrots, ginger root, garlic, turmeric, and sauté on medium high for about 5 minutes or until you get some caramelization in the veggies.
  • Add the broth (start with 500ml. After the soup is blended you can add more if you want it thinner). Put the lid on and cook on medium low until all the veggies are cooked through. About 20 minutes.
  • Lower the heat to a minimum and using an immersion blender blend the soup until smooth. Finish by adding salt to taste.
  • Serve with a splash of olive oil or cream, and croutons.

Notes

If you use store-bought vegetable broth, make sure to buy low-sodium, and don't add your salt until the end of the cooking time.
Keyword carrots, soups
Carrot soup

Have you make this Carrot, Turmeric & Ginger Soup or any other recipe from the blog? Use the tag #kasheribbean to share on social media and, don’t forget to follow on instagram and pinterest to keep up with our easy recipes from us and the blogosphere!


Carrot, Turmeric & Ginger Soup Read More »

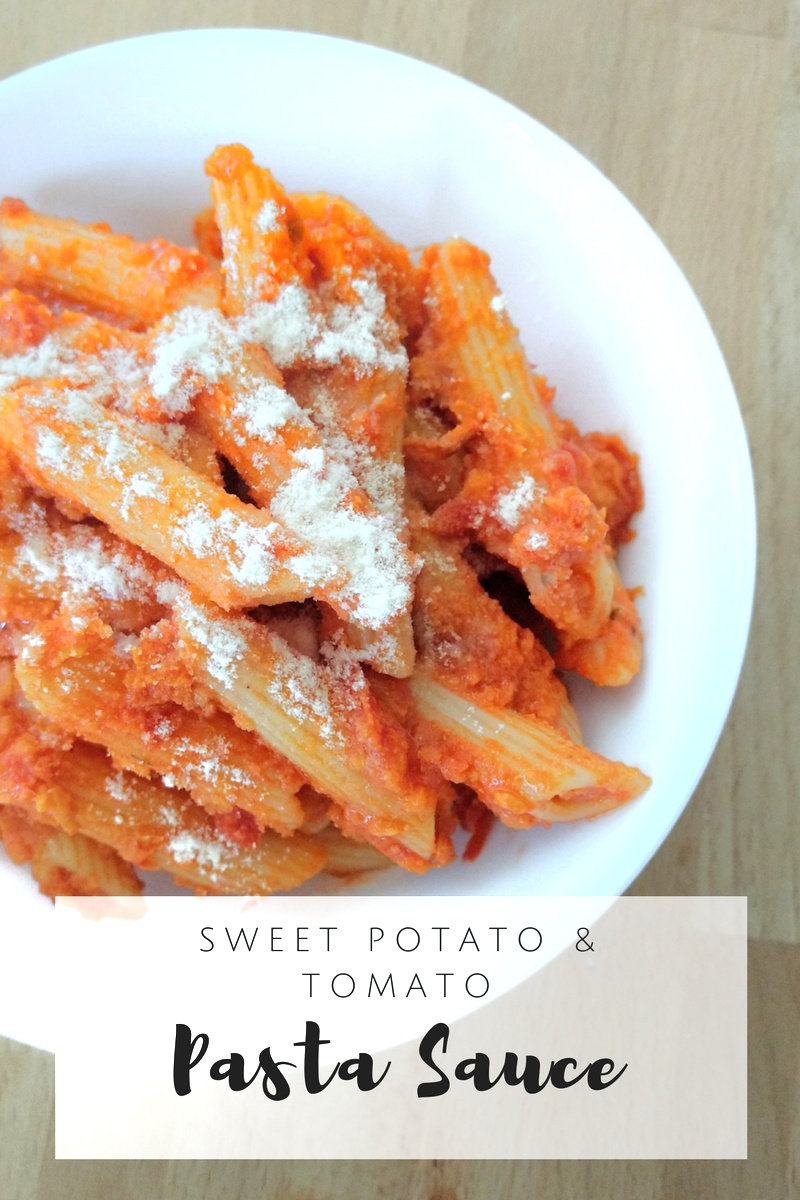
Sweet Potato & Tomato Pasta Sauce

Sweet Potato & Tomato Pasta Sauce

This creamy, slightly sweet pasta sauce combines roasted or sautéed sweet potatoes with classic tomato sauce for a comforting, nutrient-packed twist. Vegan, simple, and full of flavor—perfect with pasta, zucchini noodles, or as a base for other dishes.

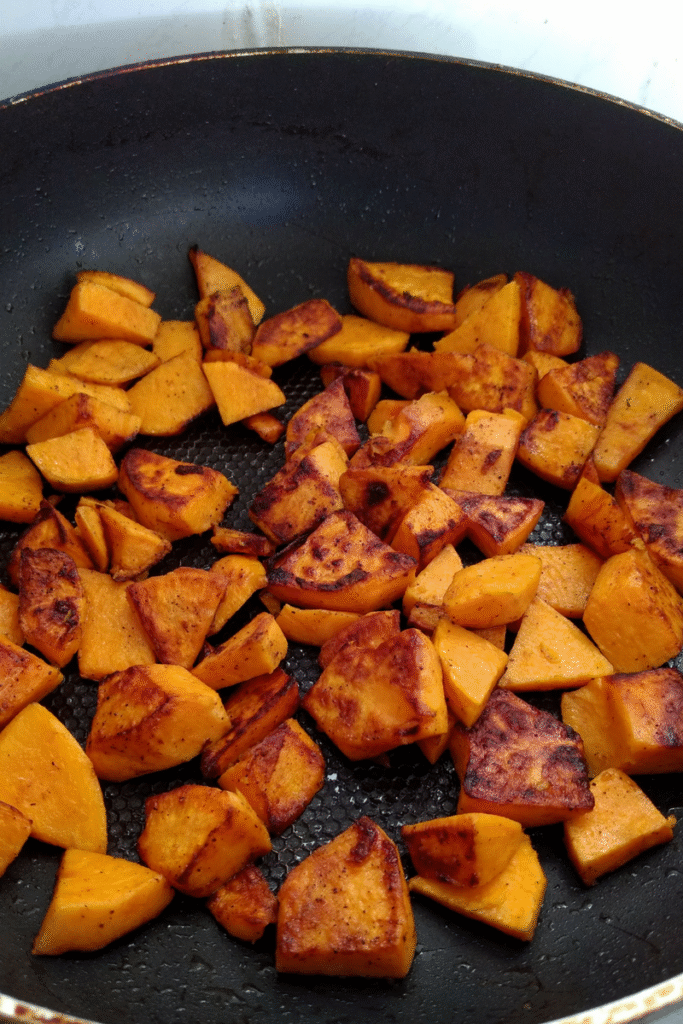
sweet potato cooking on a frying pan
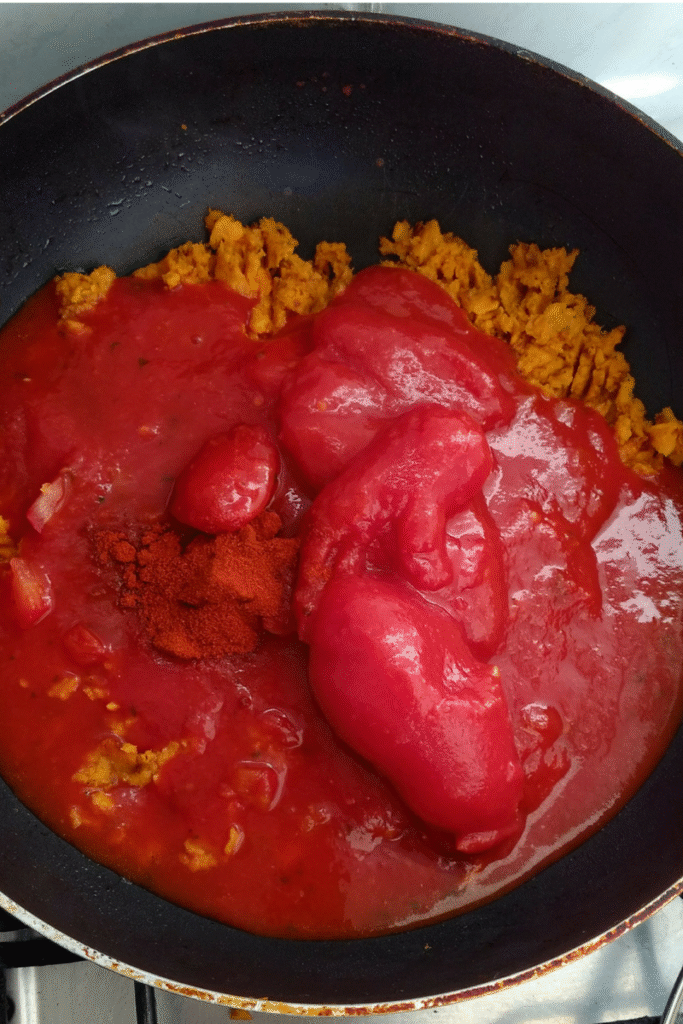
sweet potato on a frying pan with canned tomatoes and seasonings tomato sauce2

Sweet Potato & Tomato Pasta Sauce

Creamy, slightly sweet pasta sauce that blends sweet potato with tomato for a comforting, budget-friendly, vegan dinner. Great with any pasta or veggie noodles.
Prep Time 5 minutes
Cook Time 45 minutes
Total Time 49 minutes
Course Main Course, sauce
Cuisine International
Servings 6 servings

Equipment

  • 1 Large skillet or saucepan
  • Potato masher, fork or blender for smooth texture
  • Silicone spatula
  • Measuring cups & spoons
  • Cutting board & knife

Ingredients
  

  • 45 ml Olive Oil 3 Tbsp
  • 100 g onion, finely chopped
  • 300 g sweet potato, peeled and chopped (or leftover roasted)
  • 800 ml Canned tomatoes 2 standard cans
  • 1 Tbsp tomato paste
  • 3 dried bay leaves
  • a pinch of sugar
  • salt and pepper to taste

Instructions
 

  • Heat 1 tbsp olive oil in a skillet over medium heat. Add sweet potato, a pinch of salt, and cook until tender and lightly browned (15–20 minutes). Remove and mash (or leave chunky).
  • In the same pan, add remaining olive oil and onion. Cook until translucent and fragrant (about 5 minutes).
  • Return the sweet potato to the pan. Stir in the tomatoes and tomato paste, bay leaves, sugar (if using), salt, and pepper.
  • Simmer on medium-low for 15-20 minutes, stirring occasionally.
  • Taste and adjust seasoning. Remove whole bay leaves before serving.
  • Serve warm with pasta or zucchini noodles.

Notes

  • For a smoother sauce, blend sweet potato with part of the tomato sauce before simmering.
  • Refrigerate up to 4 days or freeze up to 2 months.
  • Delicious with penne, spaghetti, or veggie noodles.
Keyword dairy-free, dinner, easy, pasta, pasta sauce, sweet potato, vegan

This Sweet Potato & Tomato Pasta Sauce is proof that simple ingredients can create something amazing. It’s creamy, filling, and perfect for any pasta night. If you give it a try, don’t forget to tag me on Instagram or Pinterest—I’d love to see your version!

Did you try this recipe?
Share your photos with us on social media by using the hashtag #kasheribbean. We want to feature you!  And don’t forget to follow along on instagram and pinterest for more tips, recipes and inspiration.

WhatsApp
Facebook
Pinterest
Telegram
Email
Print

Sweet Potato & Tomato Pasta Sauce Read More »

emergency biscuits

Emergency Biscuits (Super Easy, No Milk, No butter)

Emergency Biscuits (Super Easy, No Milk, No butter)

emergency biscuits

Sometimes the simplest recipes come from unexpected moments. These emergency biscuits were born on a day when I couldn’t find bread at the store, and I didn’t have milk or butter at home. With just flour, water, oil, and a pinch of salt, I whipped up these quick biscuits—and to my surprise, they turned out soft, fluffy inside, and slightly crisp on the outside. Now they’ve become a family favorite, ready in just 12 minutes whenever we need fresh bread in a hurry.

emergency biscuits

Emergency Biscuits (No Milk, No Butter)

These quick biscuits, born out of necessity, turned out so good, they’ve become a go-to recipe. Soft inside, slightly crisp outside, and ready in just 10 minutes. Perfect for when you need bread in a hurry!
Prep Time 2 minutes
Cook Time 10 minutes
Total Time 12 minutes
Course bread, Breakfast, Side Dish
Cuisine International
Servings 8 Biscuits

Equipment

  • 1 Mixing bowl
  • 1 Fork or whisk
  • Measuring cups & spoons
  • Bench scraper or knife for cutting
  • Baking sheet

Ingredients
  

  • 250 g self-rising flour see notes below
  • 110 ml water
  • 70 ml vegetable or Olive oil
  • a pinch of salt

Instructions
 

  • Preheat oven to 220ºC (450ºF).
  • In a mixing bowl, combine self-rising flour and a pinch of salt.
  • Add water and vegetable oil. Mix with a fork until the dough comes together (do not overmix).
  • Transfer dough to a lightly floured surface, gently flatten with your hands, and cut into rounds or squares
  • Place biscuits on a baking sheet.
  • Bake for 10 minutes, until lightly golden.
  • Remove from oven, let cool slightly, and enjoy warm.

Notes

  • If you don’t have self-rising flour: for every 125 g (1 cup) flour, add 1 ½ tsp baking powder + ¼ tsp salt.
  • Best eaten fresh, but can be stored in an airtight container for up to 2 days.
  • Add herbs, garlic powder, or nutritional yeast for extra flavor.
Keyword biscuits, bread, dairy-free, easy bread

Who knew that a kitchen “emergency” could turn into such a reliable go-to recipe? These biscuits are perfect for busy mornings, last-minute dinners, or anytime you need something quick and satisfying on the table. I hope you give them a try and love them as much as we do. If you make them, don’t forget to share your creations with #kasheribbean on Instagram—I’d love to see your take on these simple, no-fuss biscuits!

Did you try this recipe?
Share your photos with us on social media by using the hashtag #kasheribbean. We want to feature you!  And don’t forget to follow along on instagram and pinterest for more tips, recipes and inspiration.

WhatsApp
Facebook
Pinterest
Telegram
Email
Print

Emergency Biscuits (Super Easy, No Milk, No butter) Read More »

Veggies Packed Fritatta (Stop Food Waste!)

Veggies Packed Fritatta (Stop Food Waste!)

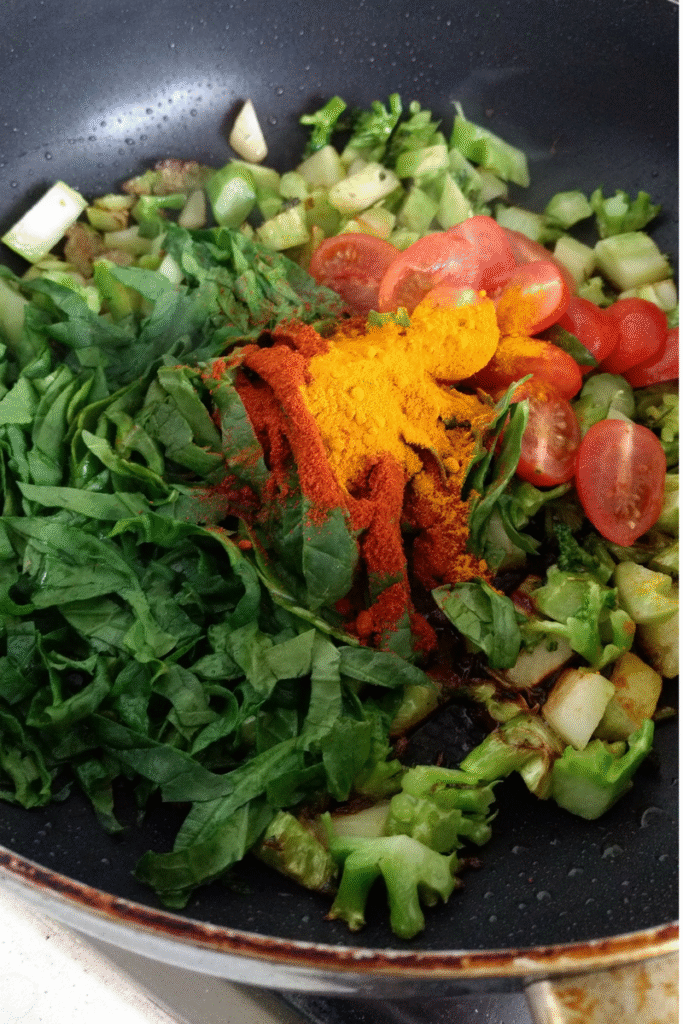
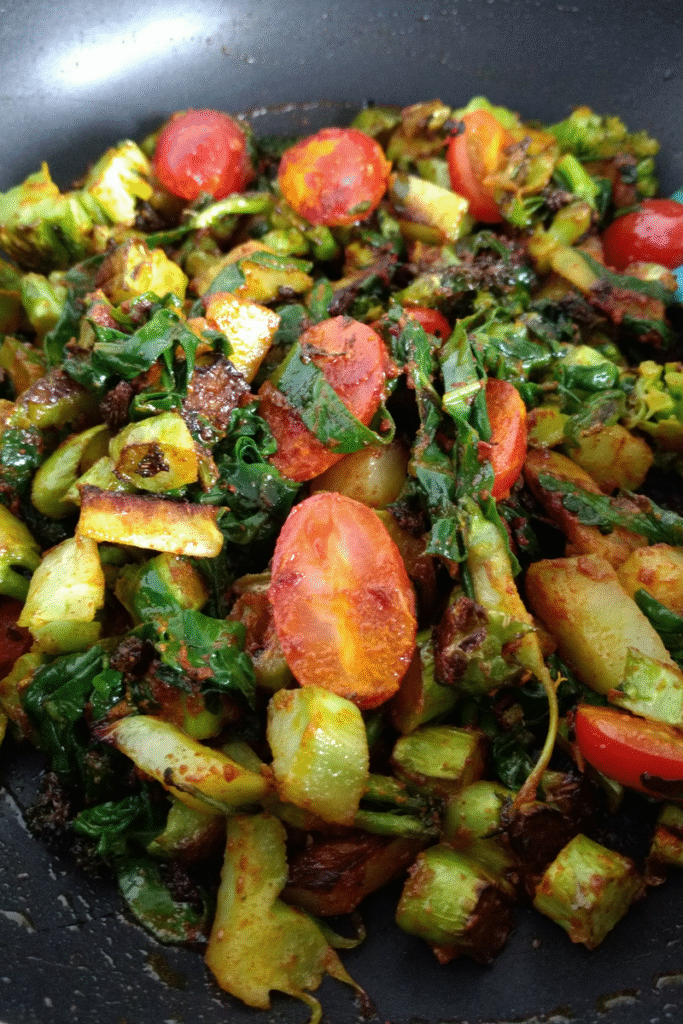
For this frittata, I used some leftover veggie trims I had sitting in the fridge. They were originally waiting to become soup, but with the heat these days, soup was the last thing I wanted. Instead of letting them go to waste, I gave them new life in this dish.

Now, you might be wondering—why worry about such a small amount of vegetables? The truth is, it really matters. According to the USDA, back in 2010, about 133 billion pounds of food (worth $161 billion dollars) ended up in landfills. And that was 7 years ago—imagine how much more it is now! To make things worse, that wasted food (just in the U.S. alone!) could have covered 60% of the cost to end world hunger for a whole year, based on UN estimates. Pretty eye-opening, right?

So what does all this have to do with a frittata? Well, using your veggie scraps may seem like a tiny action, but when you put it into perspective, it’s a powerful way to reduce waste. Plus, you’re stretching your grocery budget and creating a tasty new meal out of something that might have been thrown away.

And speaking of tasty—let’s get back to the frittata!

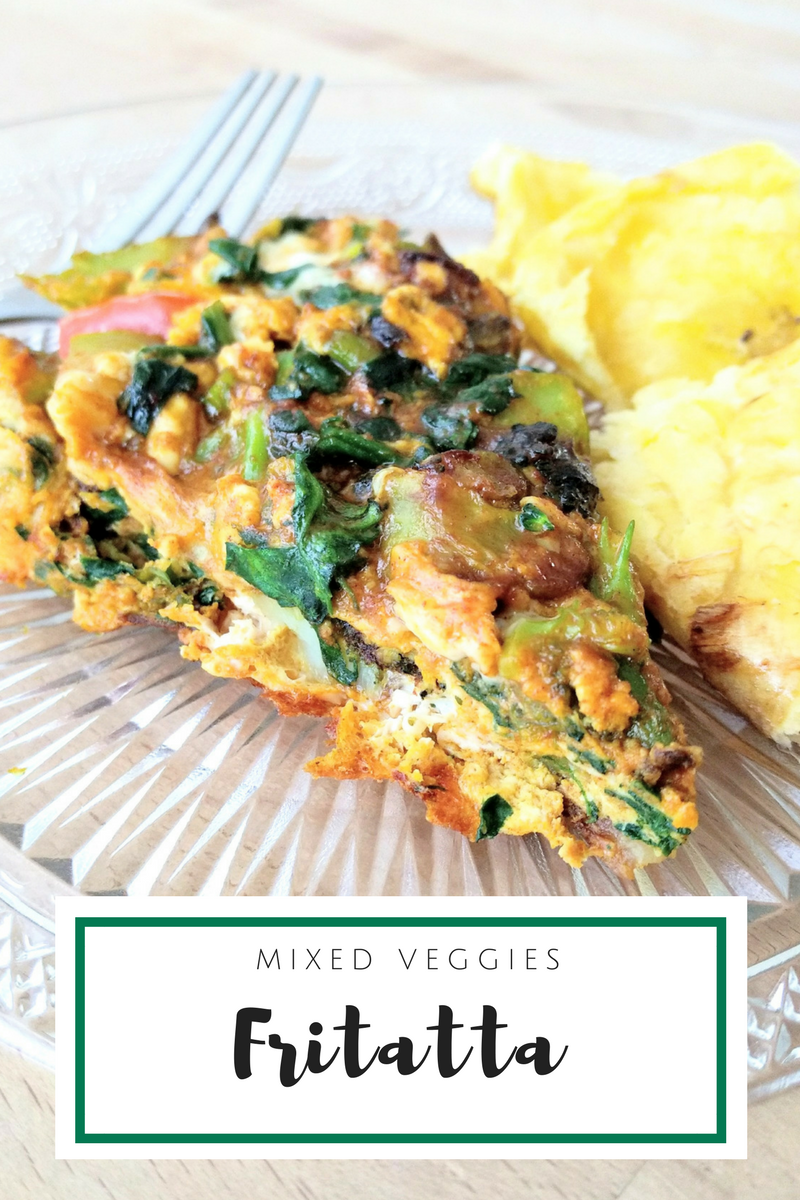
veggies fritatta
veggies fritatta1
veggies fritatta2

Prep Time 10 minutes
Cook Time 12 minutes
Resting Time 3 minutes
Total Time 25 minutes
Course Breakfast, Dinner

Equipment

  • 1 Cutting board
  • 1 Sharp knife for chopping
  • 1 Mixing bowl
  • 1 Fork
  • 1 Non-stick skillet (24–26 cm / 9–10 in)
  • 1 Lid that fits the skillet
  • 1 Silicone spatula
  • 1 Measuring Cups and spoons

Ingredients
  

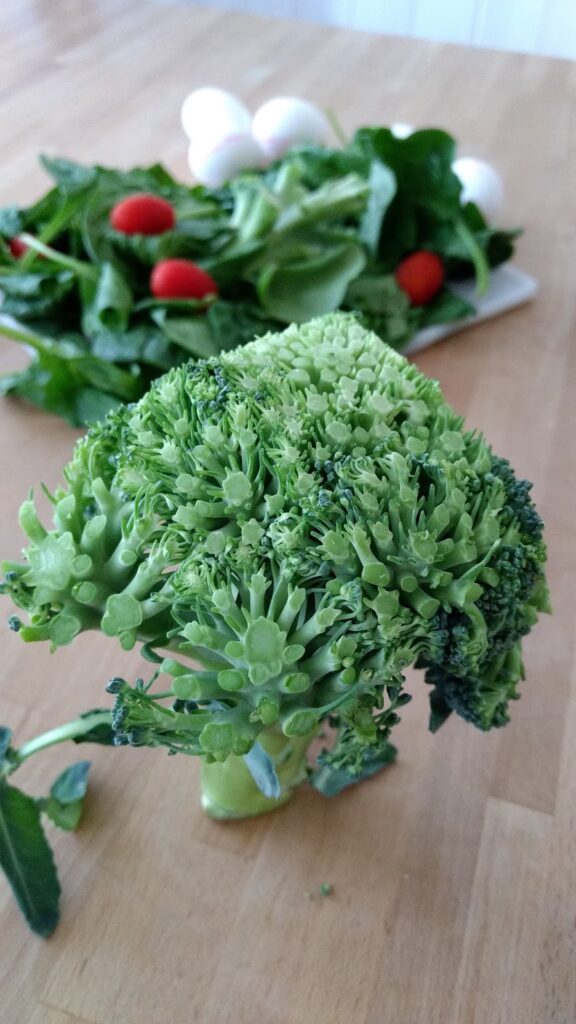
  • 1 Broccoli stalk, finely chopped
  • 10 Cherry tomatoes, halved
  • 3 Cups Fresh Spinach, chopped
  • 6 Eggs large
  • 1 Tbsp Sweet Paprika
  • 1 tsp Turmeric
  • 3 Tbsp Olive Oil
  • Salt and Pepper to taste

Instructions
 

  • Chop all your veggies finely (if they are not already chopped).
  • Heat olive oil in a non-stick skillet (about 24–26 cm / 9–10 in) over medium heat.
  • Add the broccoli with a pinch of salt. Cook for 3–4 minutes, stirring occasionally, until it begins to soften.
  • Add the tomatoes and spinach. Stir and cook for another 2–3 minutes, until the spinach wilts.
  • Sprinkle in the paprika, turmeric, and a little more salt. Stir to coat the veggies evenly.
  • Lightly beat the 6 eggs in a bowl (season with a little salt if you like). Pour the eggs evenly over the vegetables and tilt the pan gently so the eggs spread across the surface.
  • Reduce the heat to low, cover the skillet with a lid and cook for 6–8 minutes, until the edges are set but the center is still slightly jiggly. Halfway through cooking, run a spatula around the edges to make sure it’s not sticking.
  • Check doneness: if the center is too liquid, cook covered for another 2–3 minutes.
  • Turn off the heat while the frittata is still slightly soft in the middle (it will keep cooking from the residual heat). Keep covered and let it rest for 3–5 minutes before serving.
  • Slice into wedges and serve warm. Pairs well with rice, toast, salad, or fried plantains.
Keyword breakfast, eggs, frittata, Gluten-free, veggies

Food waste may seem like a small thing when it’s just a broccoli stalk or a handful of spinach, but every little choice adds up. By turning scraps and leftover veggies into something as simple as a frittata, you’re not only saving money—you’re also making a difference for the planet. Plus, you get a delicious, versatile dish that works for breakfast, lunch, or dinner.

So next time you open your fridge and see those veggies on the edge of being forgotten, remember: they might be the star of your next meal. Give this frittata a try, and let it inspire you to get creative with what you have on hand.

Did you try this recipe?
Share your photos with us on social media by using the hashtag #kasheribbean. We want to feature you!  And don’t forget to follow along on instagram and pinterest for more tips, recipes and inspiration.

WhatsApp
Facebook
Pinterest
Telegram
Email
Print

Veggies Packed Fritatta (Stop Food Waste!) Read More »