Breads & Doughs

Super Crusty No Knead Bread {Vegan}

Super Crusty No-Knead Bread {Vegan}

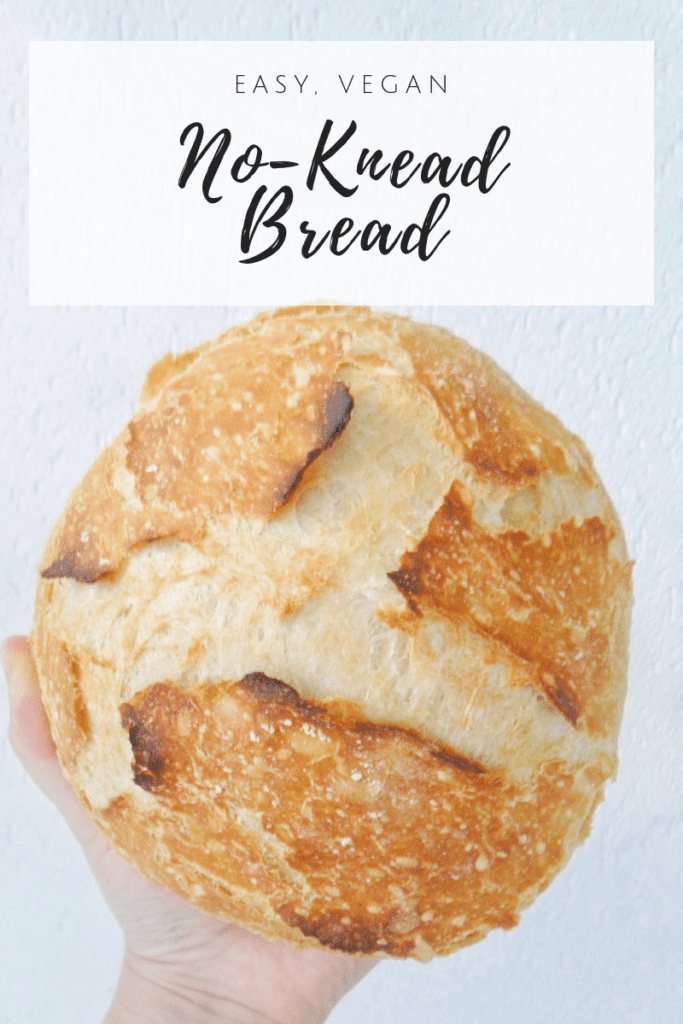
With this easy No-Knead bread we officially start our Pre-Pesach cleaning season. Ha! Better to start early with the cleaning of the infamous flour in the cabinets and this is an excellent recipe to get started, as it is effortless and you just need 4 basic ingredients, a bowl, a “caldero” ( or you can use a cast iron pot or dutch oven with a lid) and patience to wait until is done!  

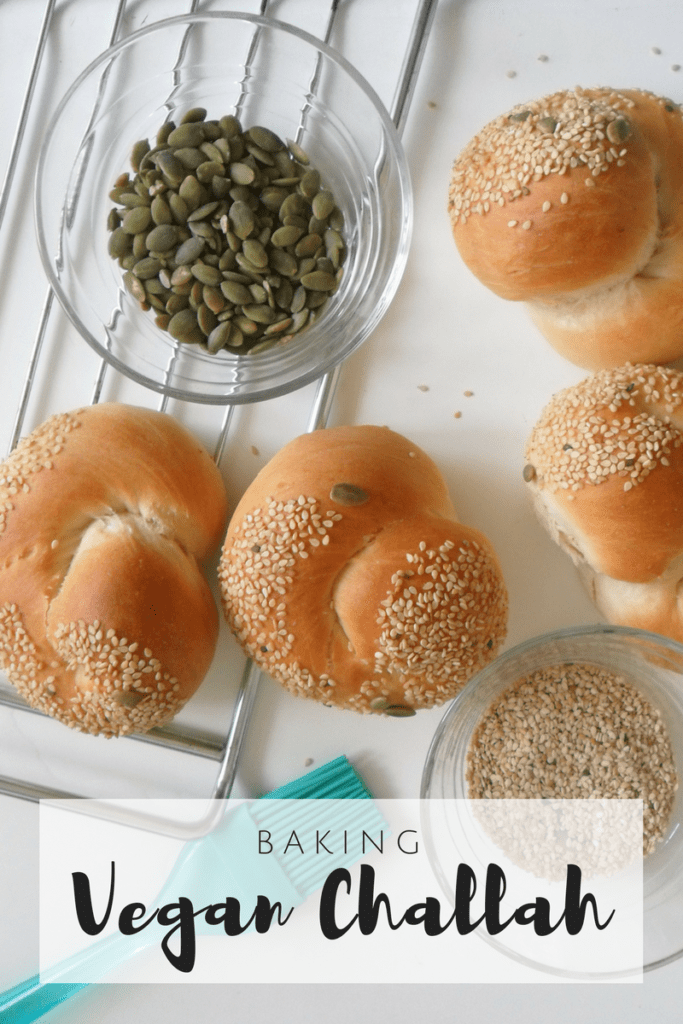
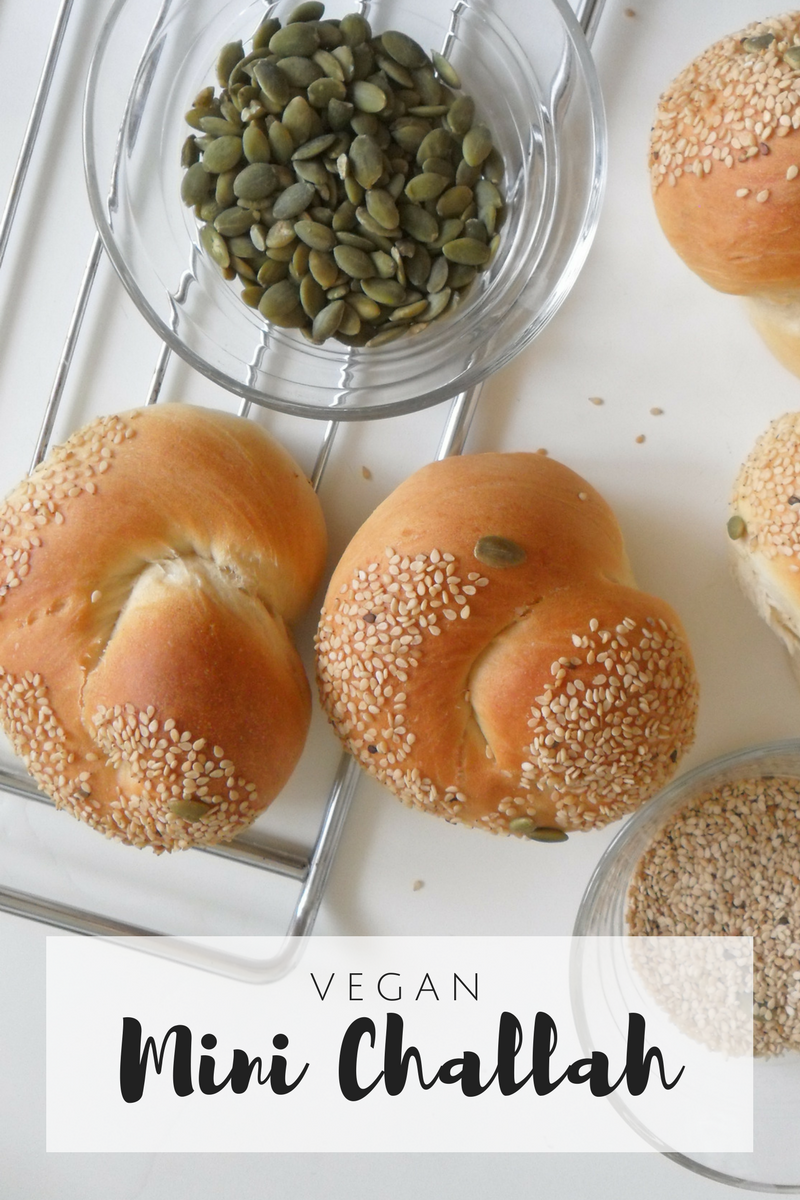
You may also like Coconut Milk Brioche with Chocolate Chunks & Vegan Challah

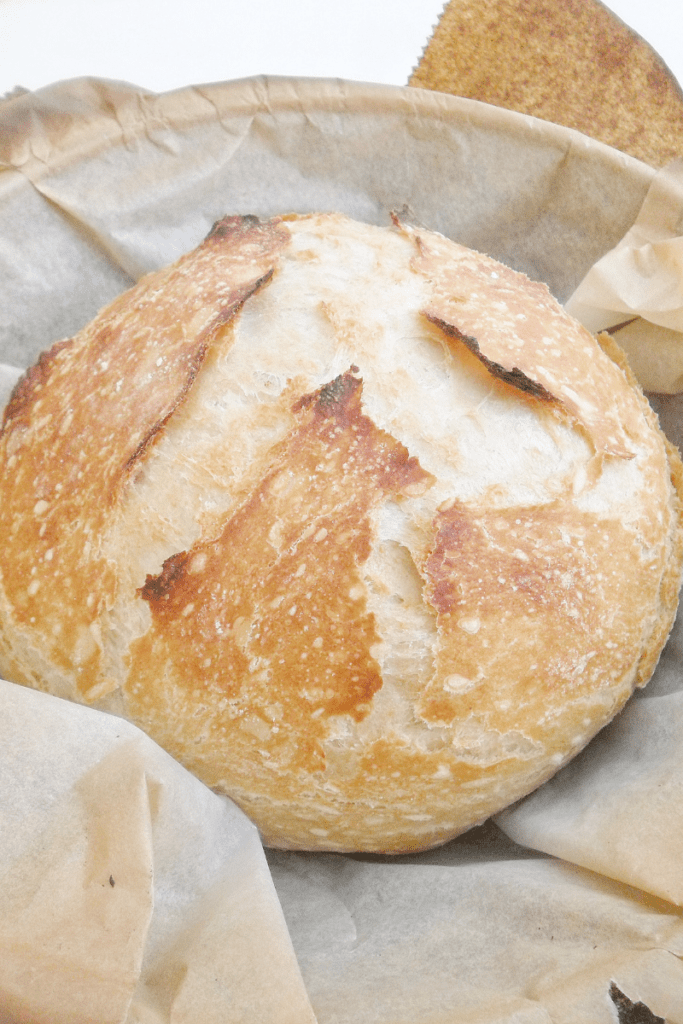
Any person that bakes at home has to eventually make this super crusty No-Knead Bread. The most basic of all breads, continue to be the king, for its simplicity and perfect crusty exterior. It also requires minimum effort on our part, and it so versatile you can have it ready tomorrow for breakfast, brunch, lunch or dinner. Any time is the perfect time to have freshly baked bread at home so, let’s get to it! 

Once you have mixed the dough, the dough have to rest for a long time. This is the price we have to pay for “no knead bread”!! This process is call “fermentation”. It is when the yeast is activated and start eating the sugars and fermenting the dough. I am not going to get into the nitty gritty of bread baking here, but essentially this process will help our dough rise, among other things. 

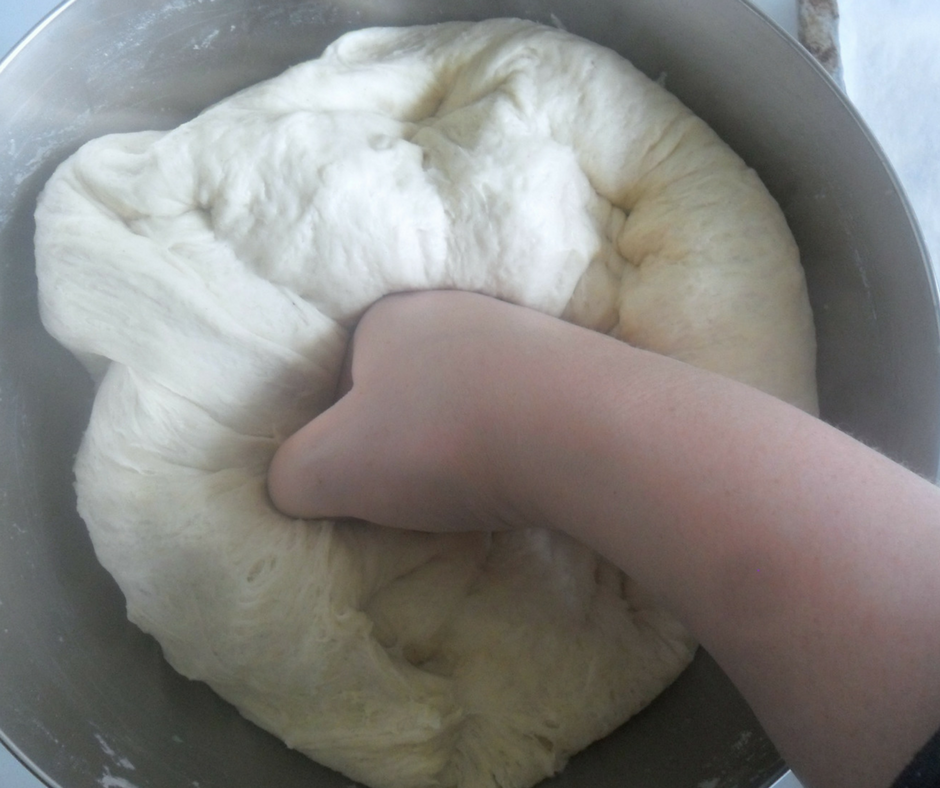
I let my dough for 12-14 hours at room temperature, and it was good; but in reality the fermentation process can be a lot longer (up to 24 hours in this particular case) if you want. This will develop more complex aromas in the dough. It’s magic happening. Your dough will be ready when is full of tiny air bubbles, very elastic, and at least doubled in size (image #1). At this point you need to she a ball. Your dough will be sticky so don’t panic. Shape a ball and get ready to bake. 

IMPORTANT NOTE: keep in mind that, when shaping YOU DON’T WANT TO INCORPORATE MORE FLOUR INTO THE DOUGH , you just need enough flour to be able to shape the dough into a ball without it being a sticky mess.

It is always a good idea to have some hummusbabaganoush and salads ready for when it’s munch time! 
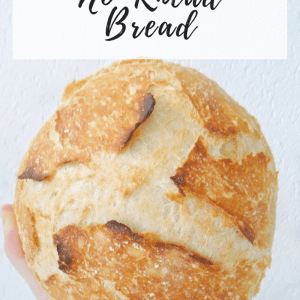
Easy, Vegan & Super Crusty No Knead Bread {Just 4-ingredients}

Course Breakfast, Dinner

Equipment

  • Dutch Oven or Cast Iron

Ingredients
  

  • 450 gr Bread flour
  • 300 gr Lukewarm water
  • 4 gr Instant yeast
  • 10 gr Salt

Instructions
 

  • In a bowl, combine flour, yeast and salt. Add the water and mix well with a fork or wooden spoon until a rough dough is formed.
  • Place the rough dough on a lightly oiled bowl, cover tightly with plastic wrap and let it rest at room temperature (see notes) for at least 12-14 hours.
  • Before you are ready to bake, preheat the oven to 232°C (450°F). Place the cast iron pot or dutch oven with its lid inside to preheat as well.
  • Place the fermented dough on a flat surface sprinkled with enough flour to avoid the dough from sticking. Gently shape a ball.
  • Carefully take the cast iron pot out of the oven, place a piece of baking paper on it and gently place the dough ball inside.
  • Put the lid on the dutch oven, take back to the oven and bake for 30 minutes
  • After 30 minutes, carefully remove the lid and bake for another 30 minutes or until the bread is golden brown and crusty.

Notes
The time of 12-14 hours is average for room temperature (around 20°C or 68°F).
If the average temperature in your kitchen is over room temperature, you can ferment your dough in the refrigerator covered with plastic wrap for up to 24 hrs. If that's the cake, before you are ready to bake, take the dough out of the refrigerator and let it come to room temperature before shaping and baking. 
If the average temperature in your kitchen is colder than room temperature, you can leave your dough to ferment in he counter. It might just take a bit longer to be ready for baking. 
Keyword baking, bread

When you make this easy Crusty No-Knead Bread use the hashtag #kasheribbean to share on social media and, don’t forget to follow on instagram and pinterest to keep up with our easy recipes from us and the blogosphere!


Super Crusty No Knead Bread {Vegan} Read More »

Easy Hamburger Buns {Vegan}

Easy Hamburger Buns {Vegan}

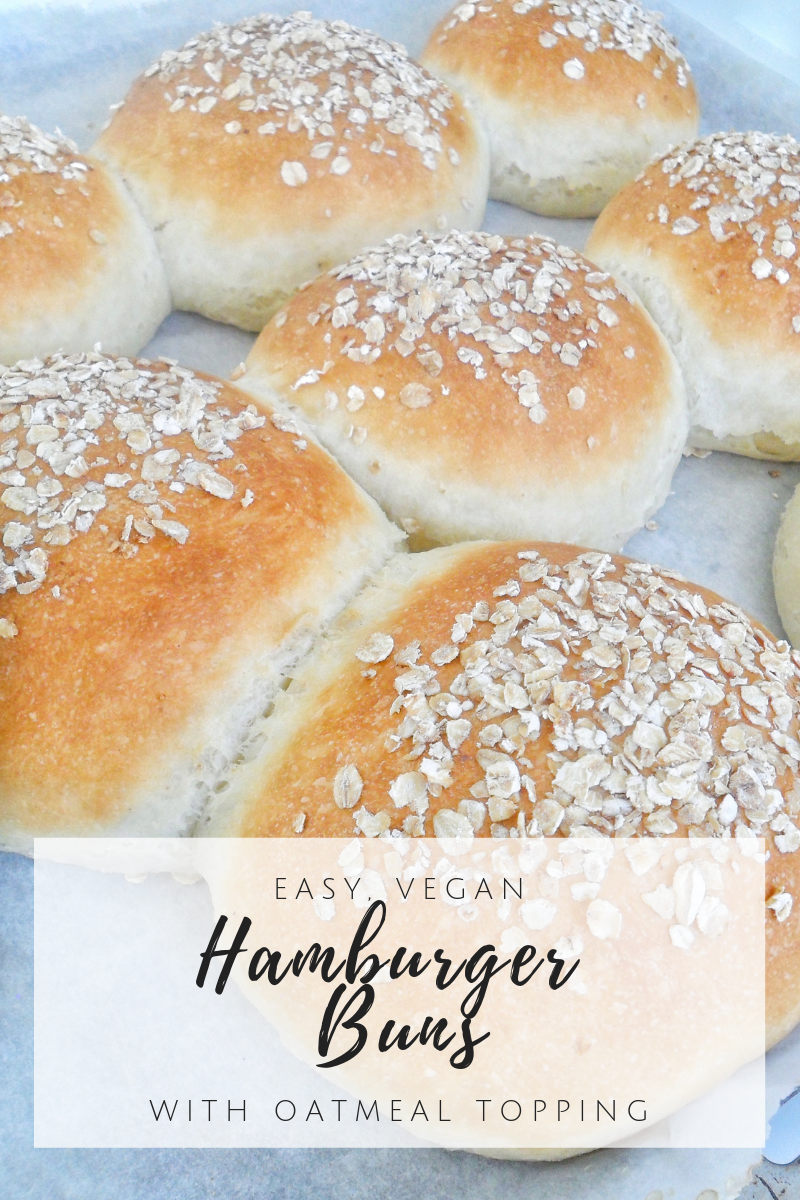
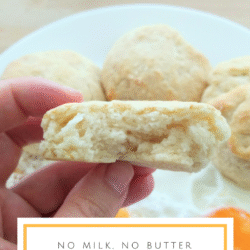
A humble bread, perfect to hold a thick and juicy burger, without overpowering it. 
These hamburger buns are: 
Easy to make: no need equipment to make, just a bowl, your hands and an oven
Vegan: so, no eggs, no butter… simple, accessible ingredients
Fluffy: zero overpower, just a fluffy guy 

How to make Vegan Hamburger Buns

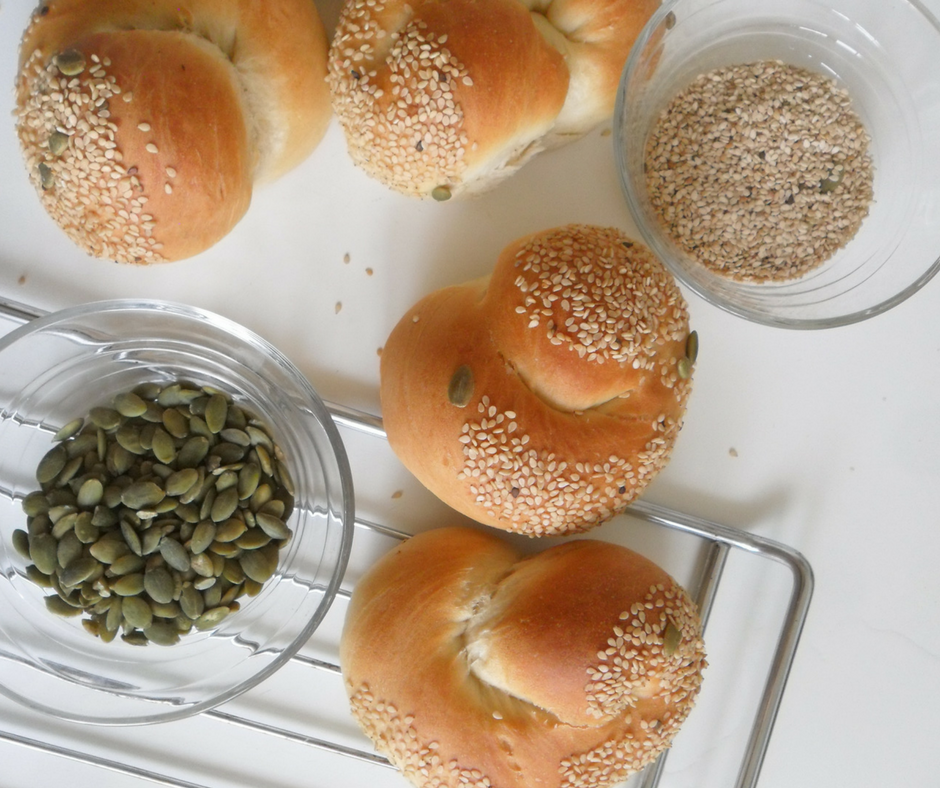
To make these hamburger buns you’ll need the basic ingredients of bread baking: Flour, yeast, water, salt, plus we add a bit of sugar for softness and help with fermentation, a little bit of shortening also for texture, and oatmeal to coat before baking (but you can use other ingredients like seeds, nuts or other grains to coat). 

The process is fairly simple as well, and something that you can do by hand: 

If you love this recipe, you may be interested in my Coconut Milk Brioche with Chocolate Chunks & Vegan Challah

Now, Let’s get into it with a visual step by step: 

Vegan Hamburger Buns

Course Breakfast, Dinner, Lunch
Servings 8 buns

Ingredients
  

  • 550 g Bread flour 12% or more protein
  • 60 gr vegetable shortening
  • 50 gr sugar
  • 10 gr salt
  • 8 gr instant yeast
  • 350 gr lukewarm water

Instructions
 

  • Mix dry ingredients and add water.
  • Start mixing with your hands until you form a rough dough. Keep kneading until you get an homogeneous dough with no dry spots.
  • Lightly grease the bowl, and let the dough rest in the bowl, covered in plastic wrap, until doubled in size.
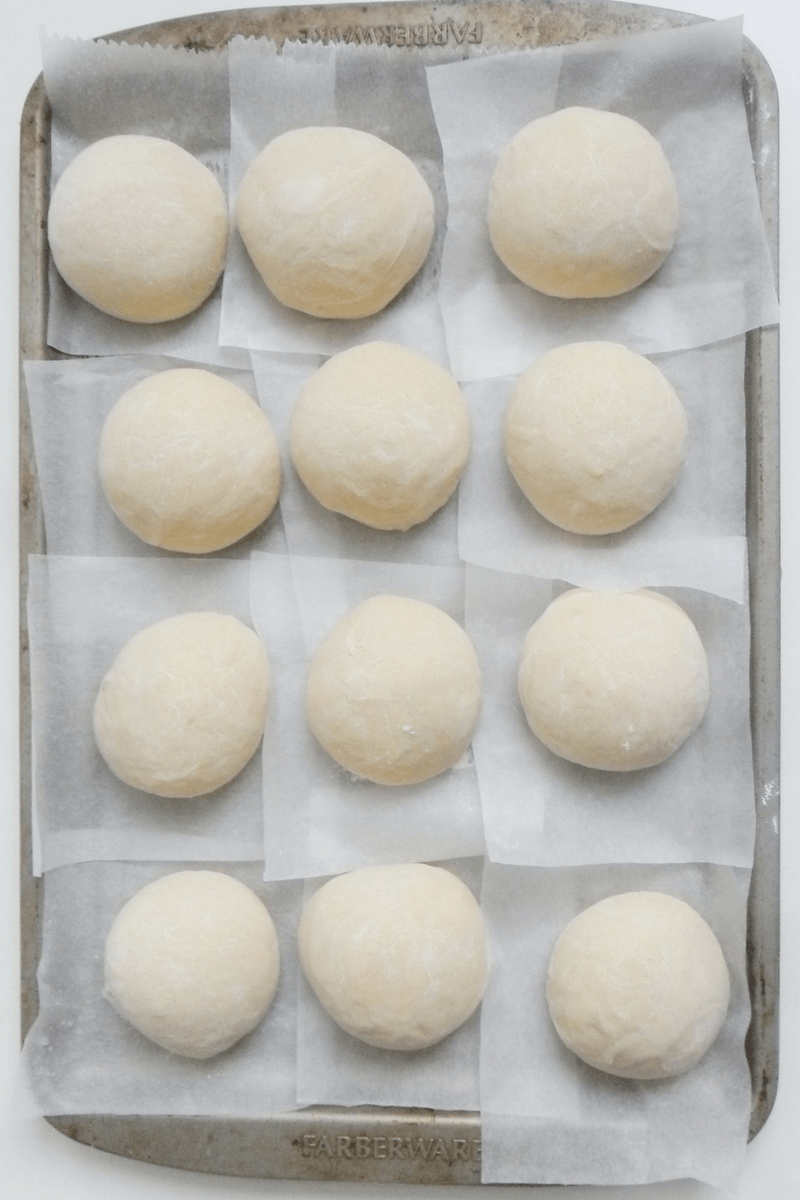
  • Gently deflate the dough, and transfer it to a lightly floured surface. Flatten it out to form a round shape. Cut into 8 portions. Lightly oil the palm of your hands to shape each piece into a ball.
  • Brush the top with water, and dip into a bowl of oatmeal, your preferred seeds or a mix of both.
  • Place the buns in a baking sheet, covered with baking paper.
  • Bake the buns in a preheated at 190°C (375°F) oven for 15 to 18 minutes, until golden.
  • Remove from the oven, and place on a cooling rack for a few minutes before serving. Enjoy!
Keyword bread, buns, hamburger, vegan

When you make these vegan hamburger buns use the tag #kasheribbean to share on social media and, don’t forget to follow on instagram and pinterest to keep up with our easy recipes from us and the blogosphere! 

Easy Hamburger Buns {Vegan} Read More »

Caramelized Onions & Arugula Rolls

Caramelized Onion & Arugula Rolls {Dairy-Free}

Recipes happen as any other event in life, some are even the result of unexpected situations, like these Caramelized Onion Paste & Arugula Rolls, that have quickly become a favorite. Bare with me as we explore this incredibly delicious combo in form of dinner rolls.

For weeks I have been thinking about making cinnamon rolls as a gift for a lovely couple. I bought all of my ingredients and when I was ready to make them, I just changed my mind. Why make it sweet when savory rolls can be as delicious? As usual, I opened the fridge and quickly scanned what I had. Onion and arugula seemed like the perfect savory combo at the time, even when I haven’t tried it before, but I went with it and this is the results!

For weeks I have been thinking about making cinnamon rolls as a gift for a lovely couple. I bought all of my ingredients and when I was ready to make them, I just changed my mind. Why make it sweet when savory rolls can be as delicious? As usual, I opened the fridge and quickly scanned what I had. Onion and arugula seemed like the perfect savory combo at the time, even when I haven’t tried it before, but I went with it and this is the results!

Make the Dough

To make these delicious Caramelized Onions & Arugula Rolls you’ll start by making a brioche-style dough, since it has a bit of resting time. While the yeast is working its magic, you can go ahead and make the caramelized onions paste.

If you love this recipe, you may be interested in Coconut Milk Brioche with Chocolate Chunks & Vegan Challah

Make the Caramelized Onion paste

Traditionally, caramelized onions require a lot of time to cook, plus fat and sugar, but for this recipe I followed Cook’s Illustrated method which calls for no sugar and a secret-not-so-secret ingredient and got 225 gr onion paste. Here’s how to make it:

{CARAMELIZED ONIONS PASTE}

3 pounds yellow onions, julienne
3/4 cups water
2 Tbsps Oil 
3/4 tsp salt 
1 Tbsp water + 1/8 tsp baking soda. 

PREPARATION:

1) Cook the onions with water, oil and salt over high heat until the water is evaporated and onions sizzle.

2) Cook on medium-high while pressing & stirring the onions consistently for about 15-20 minutes or until the onions are well browned and sticky.

3) Combine a tablespoon of water with baking soda, add the solution to the onions and cook for another minute until the solution has completely evaporated.

4) Let the caramelized onions cool down and process to a fine paste with a food processor or blender. 

Caramelized Onions & Arugula Rolls

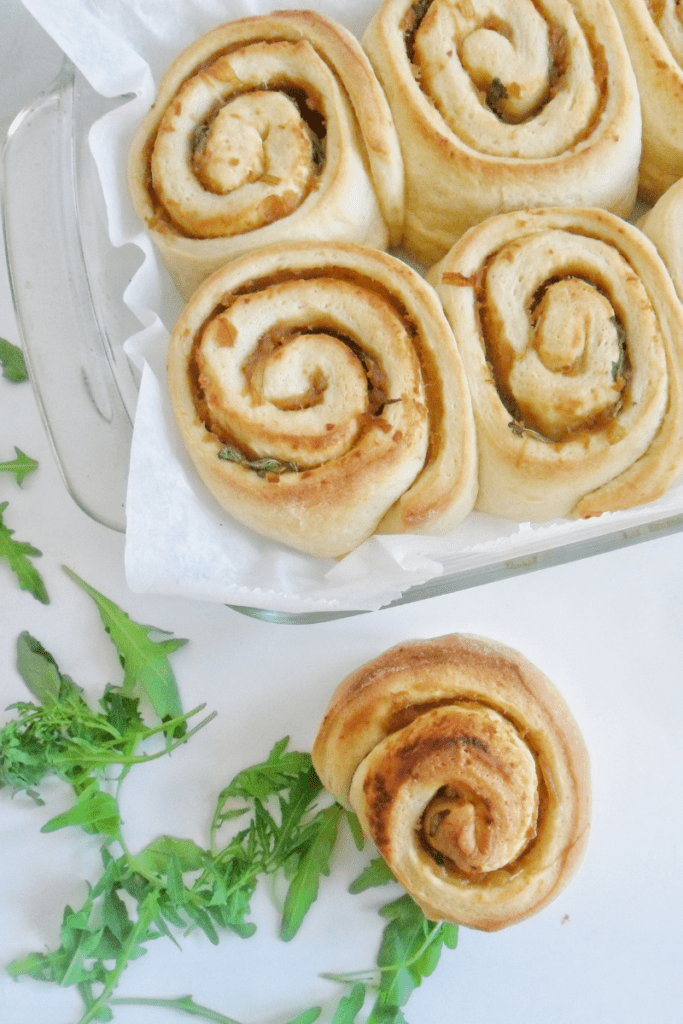
Delicious dinner rolls with caramelized onions paste and arugula
Course Appetizer, Dinner, Snack
Cuisine Mediterranean

Ingredients
  

  • 400 g All Purpose flour
  • 100 g Bread flour
  • 14 g Dry yeast
  • 250 ml Lukewarm milk I used evaporated soy milk. You can use coconut to keep soy-free
  • 60 g Sugar
  • 12 g Salt
  • 90 g Egg yolks
  • 150 g Vegetable shortening You can use butter if not dairy-free
  • 225 g caramelized onions paste

Instructions
 

  • Mix dry and make a well on the center.
  • Add liquids, eggs and 2/3 of the fat. Mix until a rough dough forms.
  • Transfer to a lightly floured surface and knead for 10-15 minutes, until you get a soft dough.
  • Transfer to a lightly oiled bowl and let rest for 1hr at room temperature or until double in size.
  • Knead the remaining shortening in, and let rise for another hour.
  • Punch the dough and form a ball. Let rest in the counter for 10 min to relax. Roll into a rectangular shape, about 17 x 15 inches.
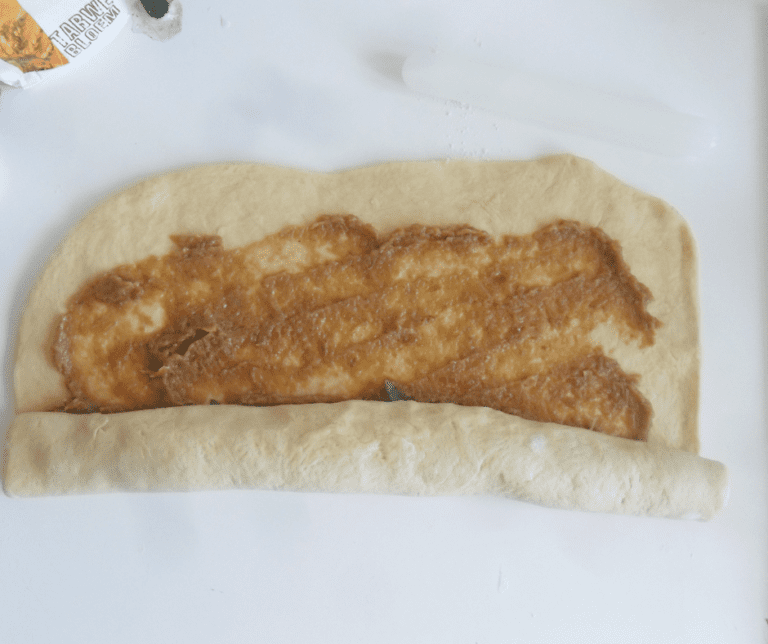
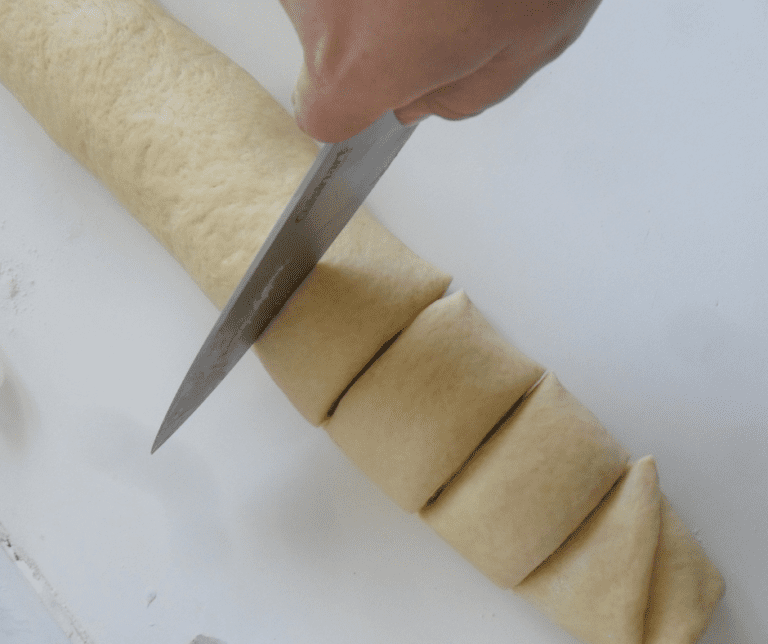
  • Spread the caramelized onions paste evenly and add the arugula. Shape into a roll and cut into 10 rolls.
  • Arrange on a baking sheet with baking paper and bake in a preheated oven at 350°F for 20 -25 minutes, or until the rolls are lightly golden on top.
  • If desired, brush the top lightly with olive oil as soon as they get out of the oven. Let rest on the baking sheet for a few minutes before transferring to a cooling rack to cool completely (if you can really wait for that!!)
Keyword baking, dinner, rolls

Have you make these Caramelized Onions and Arugula Rolls yet? If so, use the tag #kasheribbean to share on social media and, don’t forget to follow on instagram and pinterest to keep up with our easy recipes from us and the blogosphere!


Caramelized Onions & Arugula Rolls Read More »

Overnight Sweet Crescent Rolls {No-Knead, Dairy Free}

Today we are making fantastic, delicious and super easy Sweet Crescent Rolls.

While I was cleaning the house the other day, I found one of my old recipes notebooks and noticed I’ve tried to make crescent rolls at least 6 times, but the annotations were unfinished. Apparently, they didn’t have the ideal fluffy texture and the distinctive aroma (I honestly don’t know exactly how to describe) so, I guess after a while I forgot about it. 

So, I feel very happy to share these this Sweet Crescent Rolls in today’s post, because even though it may sound intimidating, they ended up being so easy to make, and I will tell you all about this foolproof recipe.

Are you looking for more Shabbath-worthy recipes? Click here

Flour, sugar…

These Sweet Crescent Rolls are made with flour, yeast, brown sugar, vegetable shortening, eggs, water and salt. I am still working on a vegan version, that hopefully I can share soon, but still, it is clear that these Sweet Crescent Rolls are not healthy food.

For this recipe I use vegetable shortening because I wanted to have a setamí (parve) product, but you can substitute butter if you prefer. I haven’t use coconut oil for this recipe.

I used bread flour because it is a yeasted product and have quite a lot amount of fat and sugar. If you use AP (all purpose flour) for this, it will be too soft to handle. Of course, all AP flour differ in terms of the protein content, so, some brands of AP flour may work, while others won’t work so well. If you ever try with AP, please let us know the details of your adjustments, and the brand of flour you used in the comments section below 😉 

For the yeast, I used instant yeast, so if you just have on hand baker’s yeast (which is the same as fresh yeast) keep in mind that you need to triple the amounts. 

How to make Sweet Crescent Rolls

As the title says, these are overnight sweet crescent rolls, so, this recipe take time to develop in texture and flavor. It has also the plus factor that you don’t have to knead anything.

What you really need for this recipe, is a plan and schedule, so that you prepare the dough with plenty of time (26-28 hours before the time you plan to bake) and have fresh, out of the oven crescent rolls for breakfast. Nom nom! 

After the dough has rest for 24hrs, the final dough should be 1000gr or very close. Divide the dough in half, lightly flour the surface, roll, cut into triangles and shape into crescents. 

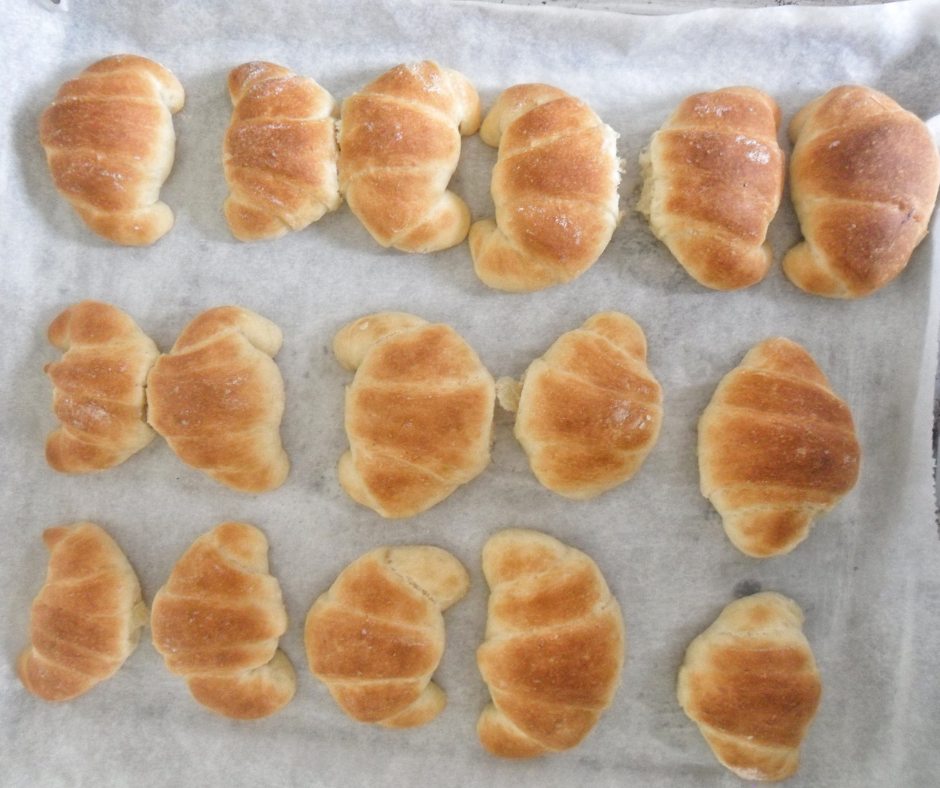
To shape the sweet crescents rolls, take one triangle and stretch the wider side. Then, roll towards you, making sure the end tip is tucked underneath. Place on a baking sheet, at let rest for 3-4 hours, or until double in size. Then, bake in a preheated oven for 10-12 minutes, or until is light golden brown on top.

What would you serve these Sweet Crescent Rolls with? I will definitely pair with classic hummus or babaganoush.  If you think of another dip to pair these babies with, let us know in the comment section below. And, of course, don’t forget to share pictures with the hashtag #kasheribbean, when you make this recipe. Follow up on instagram and pinterest to keep up with other quick and easy recipes, meals ideas and travel posts!! Until next time! 😉

Overnight Sweet Crescent Rolls {No-Knead, Dairy Free} Read More »
Coconut Brioche with Chocolate Chunks {Easy, Dairy-Free}

The day before my last trip, I wanted to make some brioche to take to the airport (When traveling with kids you just have to be creative) but I realized I didn’t have butter or milk as the original recipe call. I thought, why not to substitute those ingredients with coconut milk and coconut oil and make a brioche with coconut flavor? I love coconut so the answer was “Let’s do it!”. Let me show you how how to make Coconut Brioche with Chocolate Chunks.

Want more coconut + chocolate flavor in your life? Check out Vegan Chocolate Ganache Ice Cream & Vegan Chocolate Chunks Cookies

Ingredients & Tools

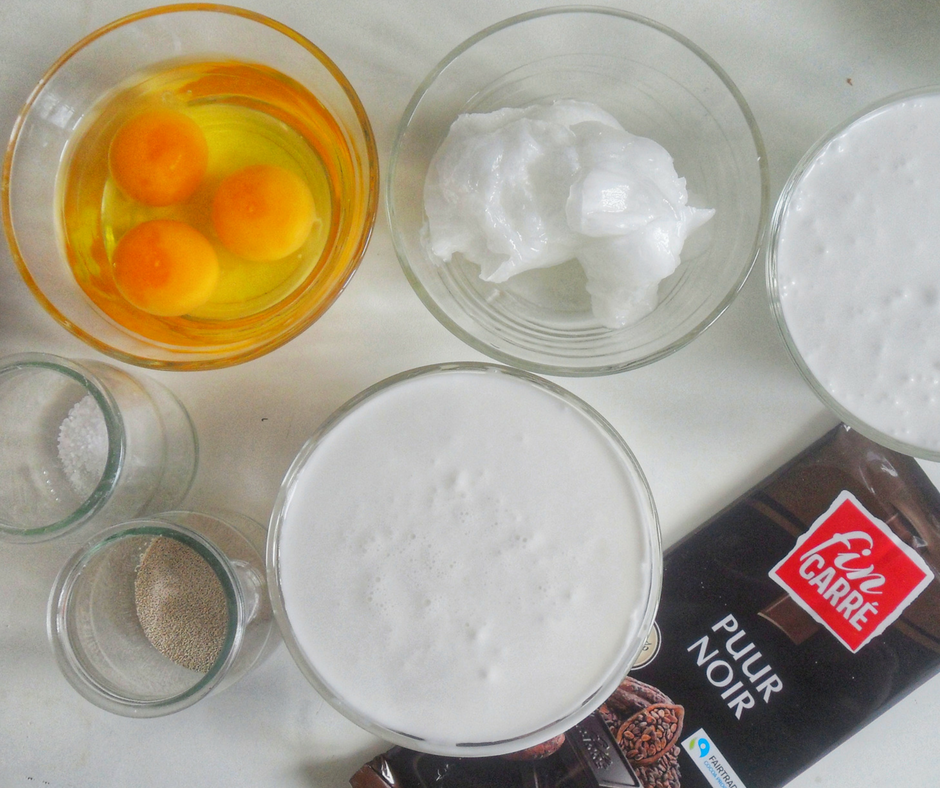
For this recipe you will need: bread flour, yeast, sugar, salt, coconut milk, coconut oil and some chocolate.

Bread baking is a therapy for me; specially when I knead the dough by hand. But because we are talking about coconut brioche and this dough can be super sticky, you’ll need a stand mixer.

I haven’t made this specific recipe by hand, but as soon as I do I will post an update. Let me know if you do it first!

Bread flour, Yeast & Chocolate

The most important ingredient here is the bread flour. Bread flour is very different from other flours (aka. all purpose, cake flour, etc) because it has a higher protein contain (gluten) which means that once you have mixed the dough, and the fermentation process begins, your dough will be more stable and trap more air, resulting in a better crumb and fluffy bread.

You’ll also need yeast. For this recipe I used instant yeast that is widely available in the supermarket. The difference between “instant” and “dry yeast” is simple: you don’t need to proof instant yeast in warm liquid, you can add it directly to your flour. On the other hand, dry yeast (aka: granulated dry yeast) needs proofing in warm water that helps to activate and dissolve the bigger granules.  Instant yeast is usually also marketed as rapid rise yeast. 

Keep in mind that there is another type of yeast, most commonly used by professional bakers which is called baker’s yeast and this is usually sold in blocks. If by any chance you have baker’s yeast at hand, you can use that, just triple the amount of yeast called in the recipe and, dissolve it in a tiny bit of warm coconut milk, before adding to the dry ingredients.

I personally love dark chocolate (74%) and is what I used for this recipe to balance the little sweetness of the bread, but feel free to use whatever chocolate you like (semi sweet, milk chocolate or even white)

Dry ingredients: Bread flour, sugar, salt & instant yeast.

Liquids: Coconut milk, Eggs & Coconut Oil

For this Coconut Brioche I substitute the milk in the original recipe with coconut milk. Because I wanted a more strong coconut flavor, I also added Unrefined (Extra Virgin) Coconut Oil. I guess you can use the refined version of coconut oil, but in that case I will add some coconut flavoring.

Because fats in the coconut milk tend to solidify when cooled, warm the milk a little in the microwave or stovetop and then cool to room temperature, before adding to your dry ingredients. The same applies to the coconut oil. Weight it and leave at room temperature until has a spreadable consistency. You don’t want the coconut oil to be hard or melted.

Eggs should also be a room temperature.

Liquids in: lukewarm coconut milk and eggs

Mixing & Kneading

Once you start mixing the ingredients you will see the dough foming into a hot mess. Don’t worry. At this point the main goal is to incorporate dry and wet ingredients the best that you can. Make sure to use an spatula to mix in any dry flour that may be at the bottom of the bowl and continue to mix on low speed until there is no big lumps of dry flour.

Add the coconut oil, and knead for 5 to 7 minutes, until you have a silky smooth beautiful dough.

Liquids mixed in, before coconut oil.
Coconut mixed in. Dough ready for bulk fermentation.

Once the coconut oil is mixed in and the dough is kneaded, I added some chocolate chunks but forgot to take the pic. Arrg! Add the chunks and pulse for a few times until the chocolate is incorporated.

Bulk fermentation & Shaping

Transfer this baby dough to a lightly oil bowl, cover in plastic wrap and let it rest for at least one hour, or until is double in size.

Ready to Roll!

The bulk fermentation can also be achieved in the fridge, it will just take a little longer for the dough to double in size; but this comes in handy if you need to go out for an hour or two. I don’t recommend more than that because the dough can suffer and deflate.

Once the bulk fermentation is done, punch the dough and start dividing the dough into your different baking pans.

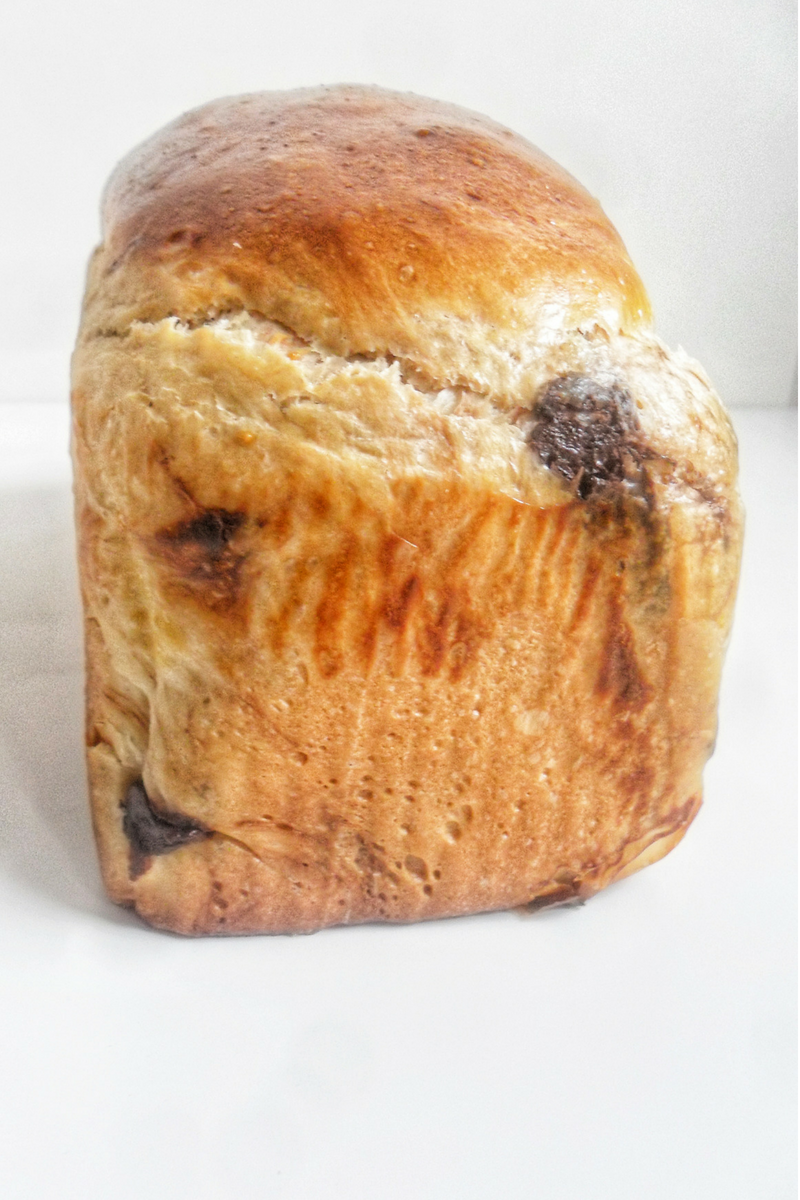
From this dough I’ve got 1 medium loaf (500 gr) and 22 buns (30 gr)

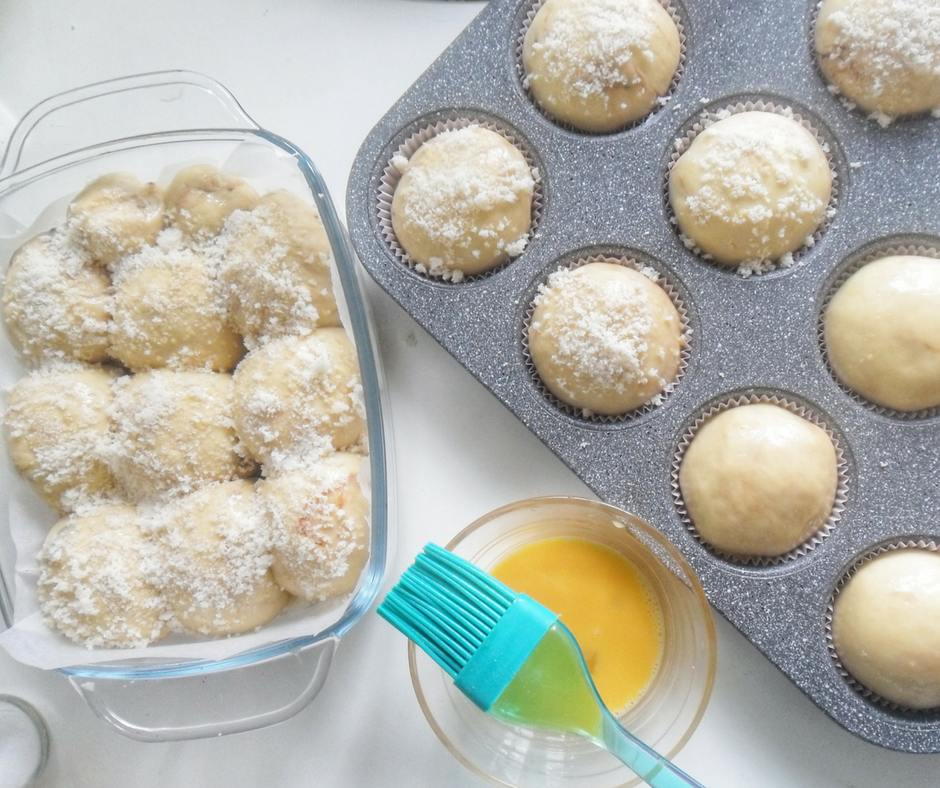
Once you divide the dough, brush some egg wash and, you can also sprinkle the top with some fine shredded coconut (optional).

Don’t make the same mistake I did of preparing my muffin tin with paper cups because I was out of baking paper. That went so horribly wrong! They stuck to the bottom of the buns and were a complete pain to peel off. Avoid the pain by greasing your pan generously.

Second fermentation & Baking

Your loaf and buns are ready for the final fermentation and then baking.

Cover the pans with a light wet towel and let rest until double in size. As in bulk fermentation, this can vary depending on the weather and your kitchen temperature, but it should be around 1 hour. If so, Once the dough has rested for 40 minutes, turn on the oven to 180°C (350°F) so that it can reach the correct temperature by the time the dough is ready to bake.

The loaf is ready after 30-35 minutes and the buns in 20-25 minutes, or when the top is golden brown and the bread has registered an internal temperature of 85°C-88°C (185°F-190°F).

You did it! You are now ready to devour your homemade Coconut Brioche with Chocolate Chunks!

If you have any question regarding this recipe let us know in the comments section below. We love to hear from you!

Finally, don’t be shy and show your Coconut Brioche with Chocolate Chunks on instagram with the hashtag #sisterblissdiary. If you love this recipe don’t forget to follow on instagram and pinterest to keep up with our lastest recipes, and of course, share with your friends and family! It really means a lot to us!

Happy Baking! ?


Coconut Brioche with Chocolate Chunks {Easy, Dairy-Free} Read More »