Holidays

Chickpeas & Spinach Curry {Vegan, GF}

Temperature is dropping and rainy days are pretty much everyday, and this Chickpeas & Spinach Curry is perfect for such days. I hope you enjoy this easy recipe and make it very soon.

Super Quick Lunch or Dinner

I have been making this delicious and super quick Chickpeas & Spinach Curry for months now. The first time I made it I basically just trowed some random ingredients in a pot and let it cook for a few minutes. The combination of ingredients resulted in a very yummy, thick and chunky “soup” that totally exceeded my expectations.

For this recipe I used the most simple ingredients of all: yellow onion, potato, spinach, parsley, chickpeas and spices. In the pictures you can see I ended up adding some carrots; and from that you understand this curry (or thick soup) is very forgiving. You can add as much variety of veggies as you like, scraps and also is a great way to use leftovers. 

Ginger, Garam Masala, Turmeric & Curry 

These are the 4 spices I used for this recipe. The aromas are strong but the coconut milk balanced them out really well with its sweet smell. 

You can find Garam Masala in the ethnic food aisle, or in Hindu, Suriname or Morocco shops. If you don’t have one of those shops close by you can easily buy on amazon and other places online. 

How to make Chickpeas & Spinach Curry

Months ago, I was making this recipe over and over again every week, so one day I made a quick video on how to make it that you can find on our IGTV, so go check it out. 

Want more Vegan Recipes? Check out Our Ultimate Vegan Meatballs (They taste almost like the real thing!!) & the Classic Stuffed Peppers

Don’t llet the simple ingredients and easy process fool you because the flavor is amazing!

Have you made this recipe or any other from the blog? Use the tag #kasheribbean, so we can see your yummy pictures. And, don’t forget to follow on instagram and pinterest to keep up with the easy recipes we share also from the blogosphere!

Until next time! 😉  

Chickpeas & Spinach Curry {Vegan, GF} Read More »

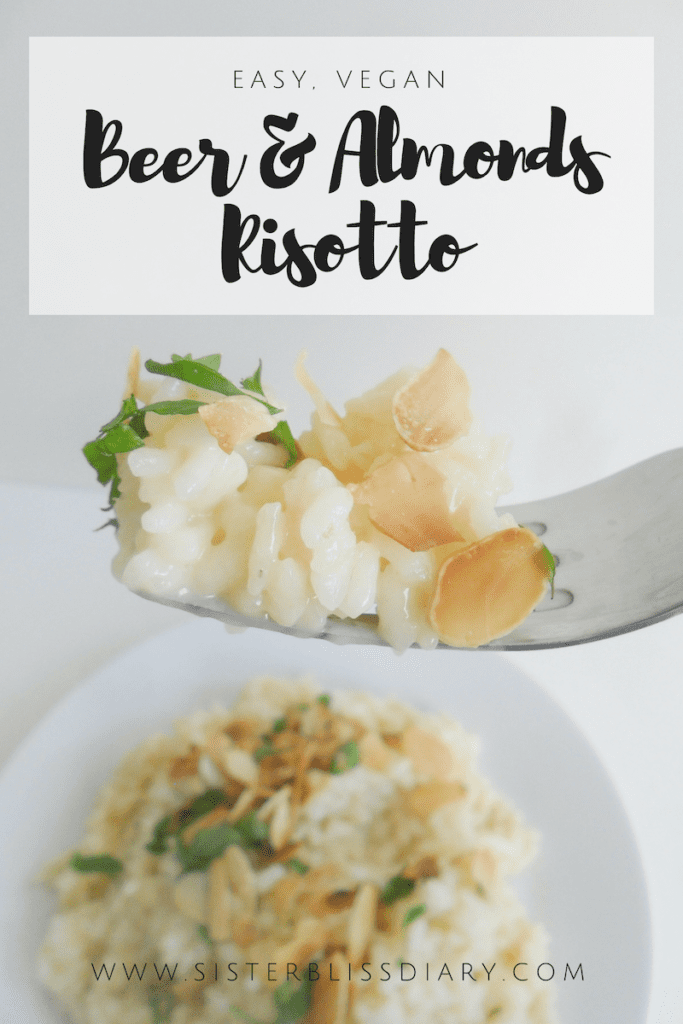
Vegan Beer & Almonds Risotto


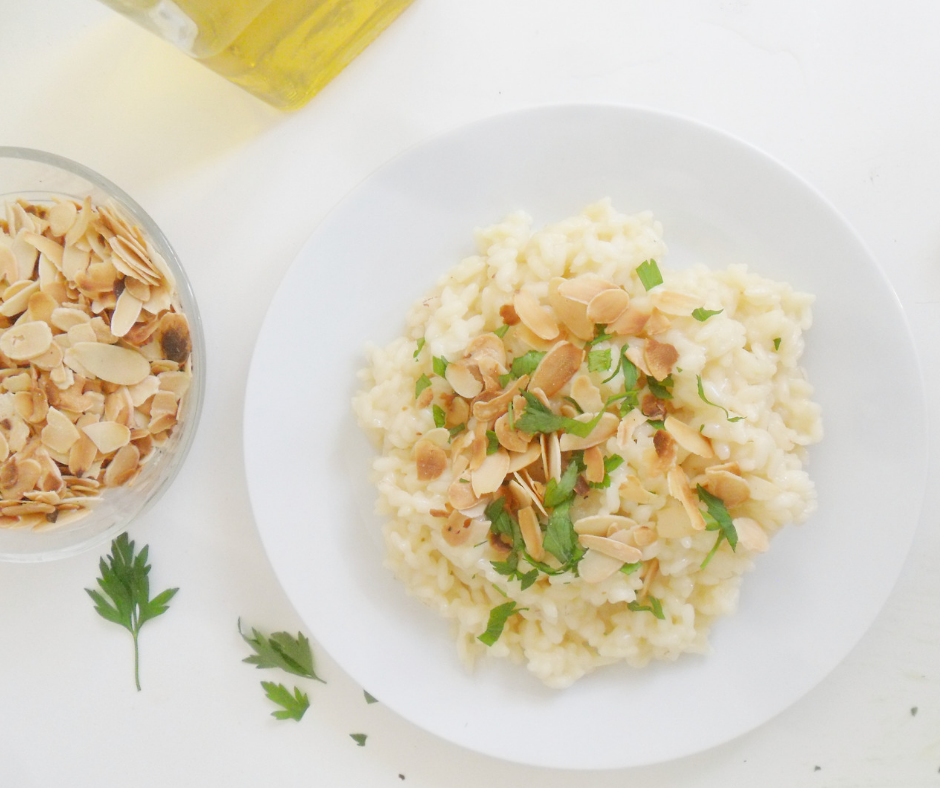
A few weeks ago I made proper risotto for the first time, and today I bring you the results: A delicious, easy, vegan with Gluten Free option Beer & Almonds Risotto!

The inspiration behind this Beer & Almonds Risotto 

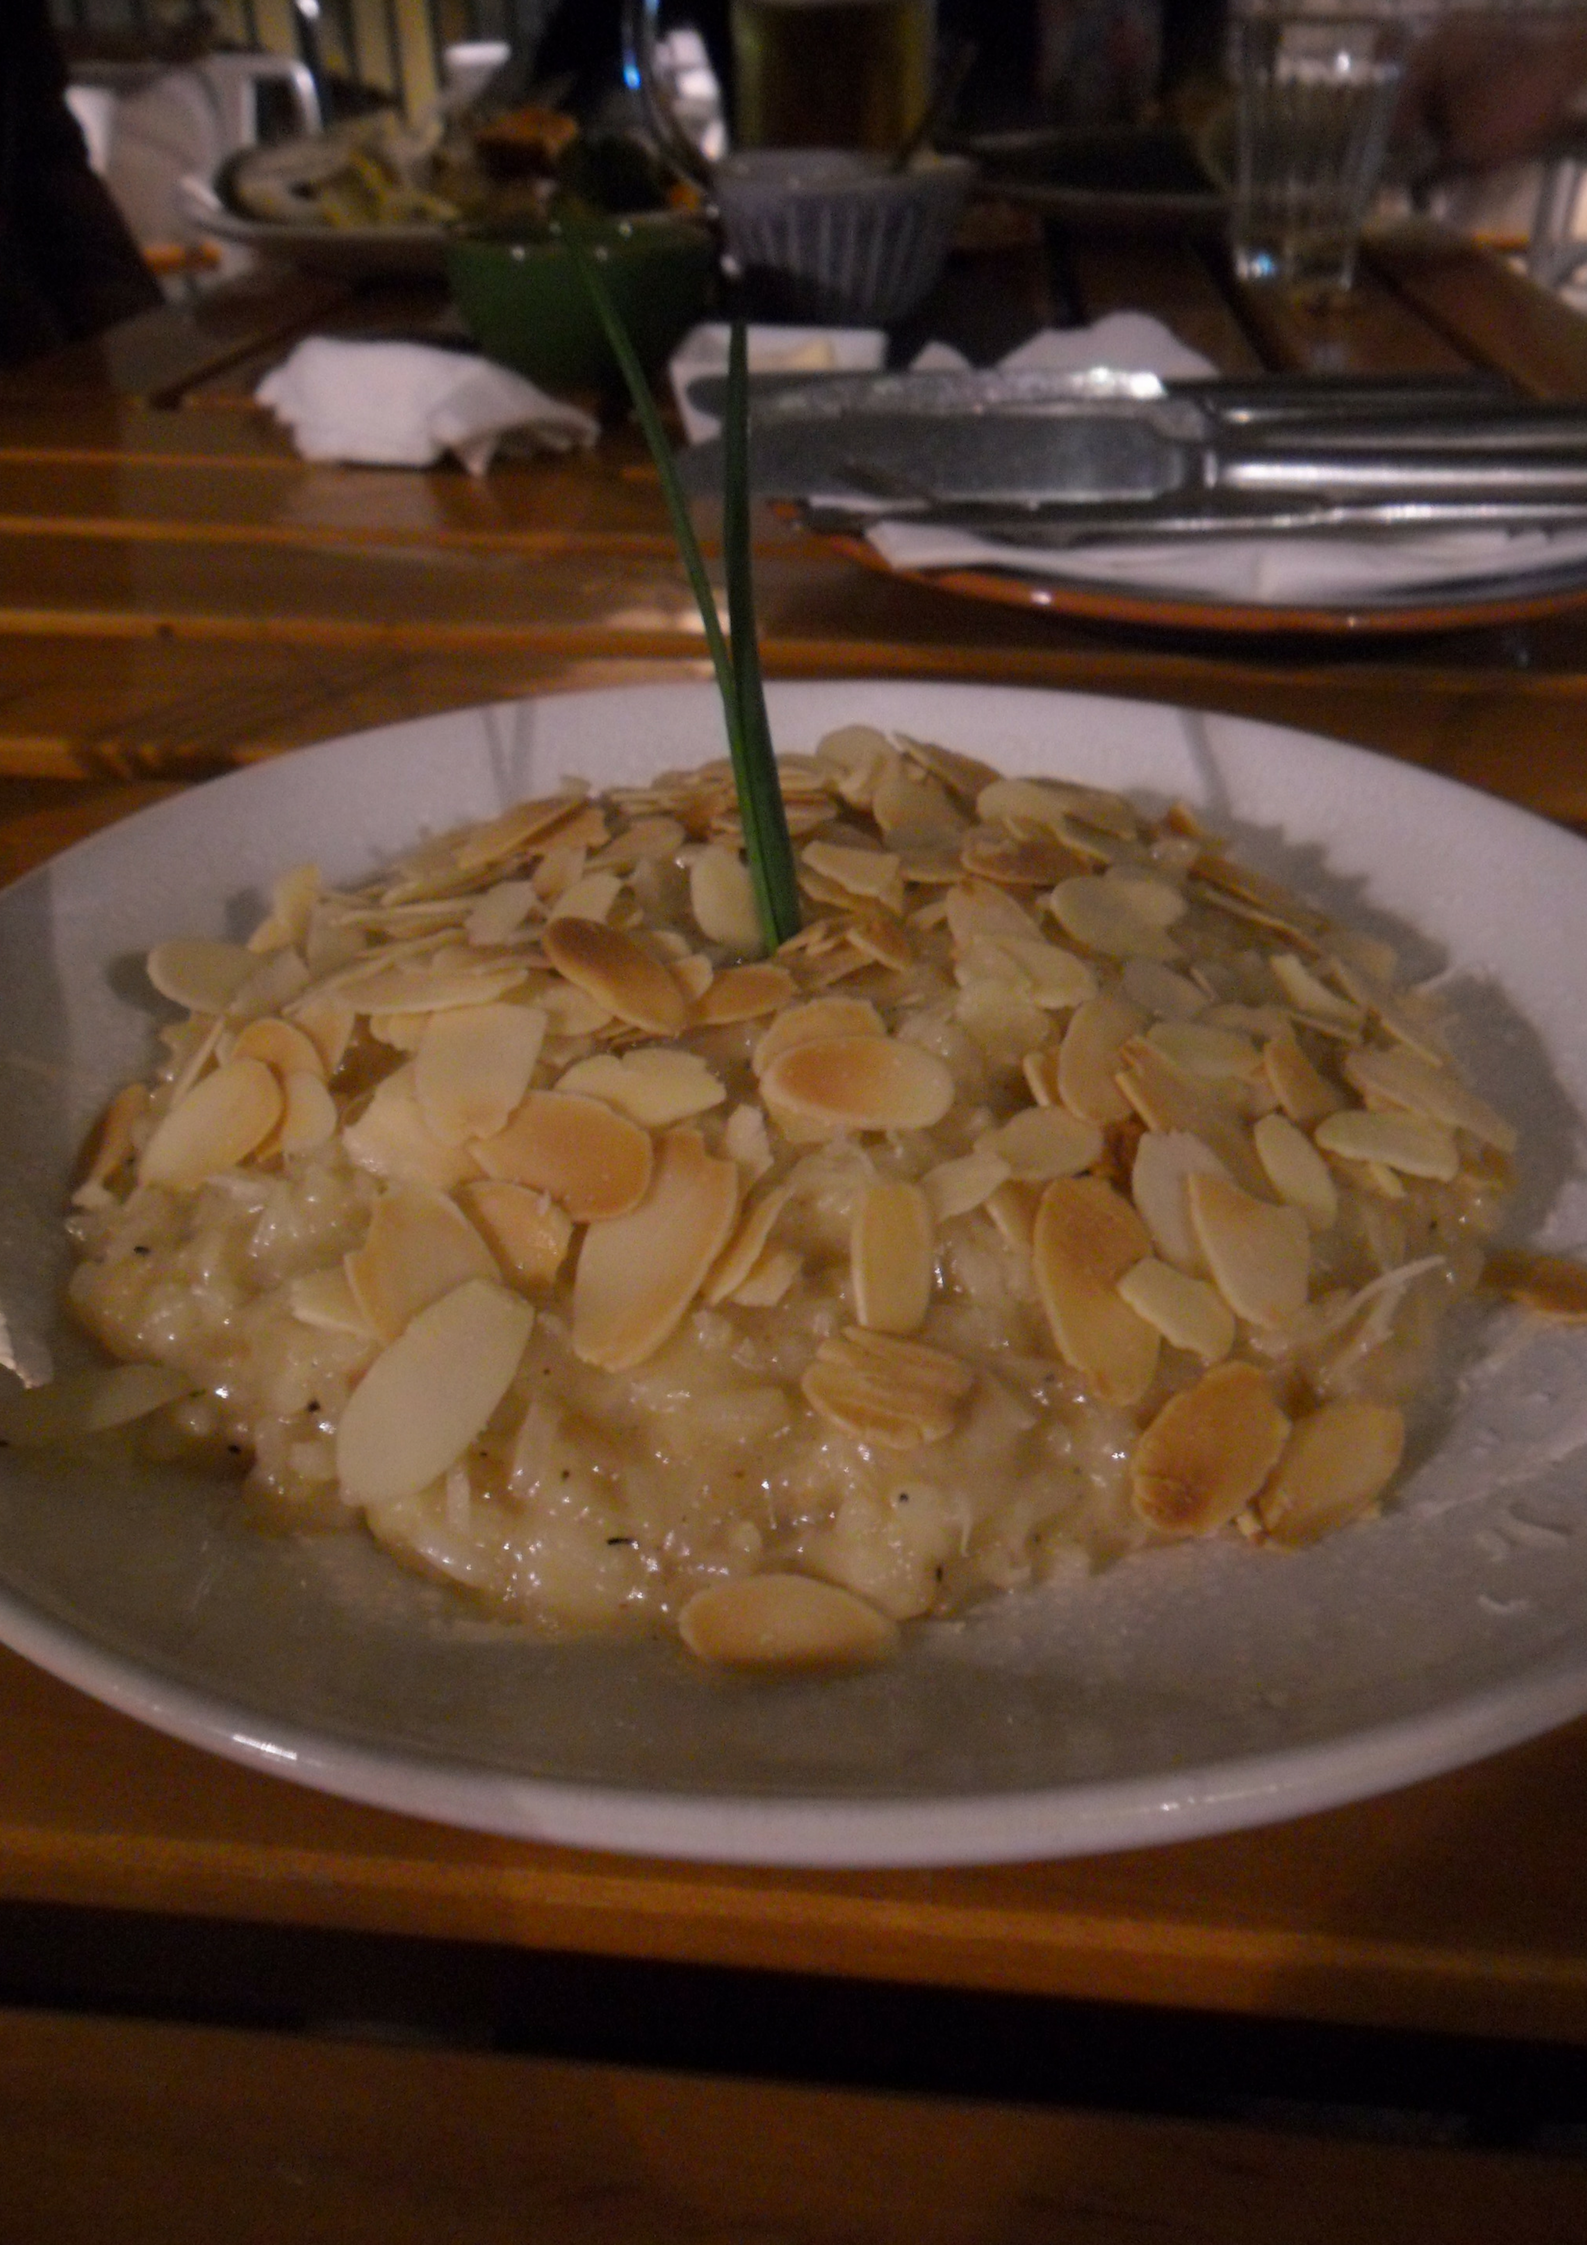
Back in march this year, we went to Portugal, and after spending the whole day walking and exploring the city of Lisbon, we had a lovely dinner under the stars. On the menu, one dish catches my attention: Almond Risotto.

When I saw that perfectly cooked, creamy and absolutely delicious risotto, my mind immediately took me back in time to when I was twelve. The time when we met Tio Mario (uncle Mario, whose real name was Mario Autore).

Tio Mario was an old man that lived in our building, originally from Napoli, Italy. Everyone’s perception was that Tio Mario was just a difficult man. He barely talked to anyone, and he didn’t have family and friends in the country.

After a few weeks, my mom realized they had met before, back when my mother was studying at university. He was a restaurant owner, his restaurant was near the university and my mom went there often. That realization evolved into instant connection. That old, lonely man started cooking for us every week, we started visiting often, to the point that if we were not at home, we were with Tio Mario. We soon became family. 

Endless pastas… and, risottos

The first thing we tried from Tio Mario, was pasta! Now you know my little secret: my appreciation for pasta recipes comes from those memories. My LOVE for culinary arts was also born and grown since the day I met Tio Mario, because he not just started cooking for us, but when I told him I wanted to be a chef, he soon welcomed me into his kitchen, and became my mentor.  

Endless kind of pastas, risottos, pasta, sauces, snacks and desserts, became part of our lives and memories, alongside our newly added family member! 🙂 He was 84 by the way!! 

Check out the perfect companion of pasta with tomato sauce! The Ultimate Vegan Meatballs 

The inspiring picture 

Few weeks ago, on a random day, I was thinking of Tio Mario and I thought of the risotto we had back in Lisbon. When I saw the picture I captured after the one of the risotto, the idea hit me. I didn’t have white wine so I would make BEER & Almonds risotto 😛

The inspiring glass of beer

I don’t know why I was so intimidated by the idea, because it ended up being so easy to make! You just need to start with the right rice, risotto rice , and you have won half the battle. 

How to Make Beer & Almonds Risotto


To make this Beer & Almonds Risotto, I started by dry-roasting some silvered almonds on the pan, until they were light golden brown and fragrant. Once they were done, I set aside, added some olive oil to the pan and sauteed some shallots. 

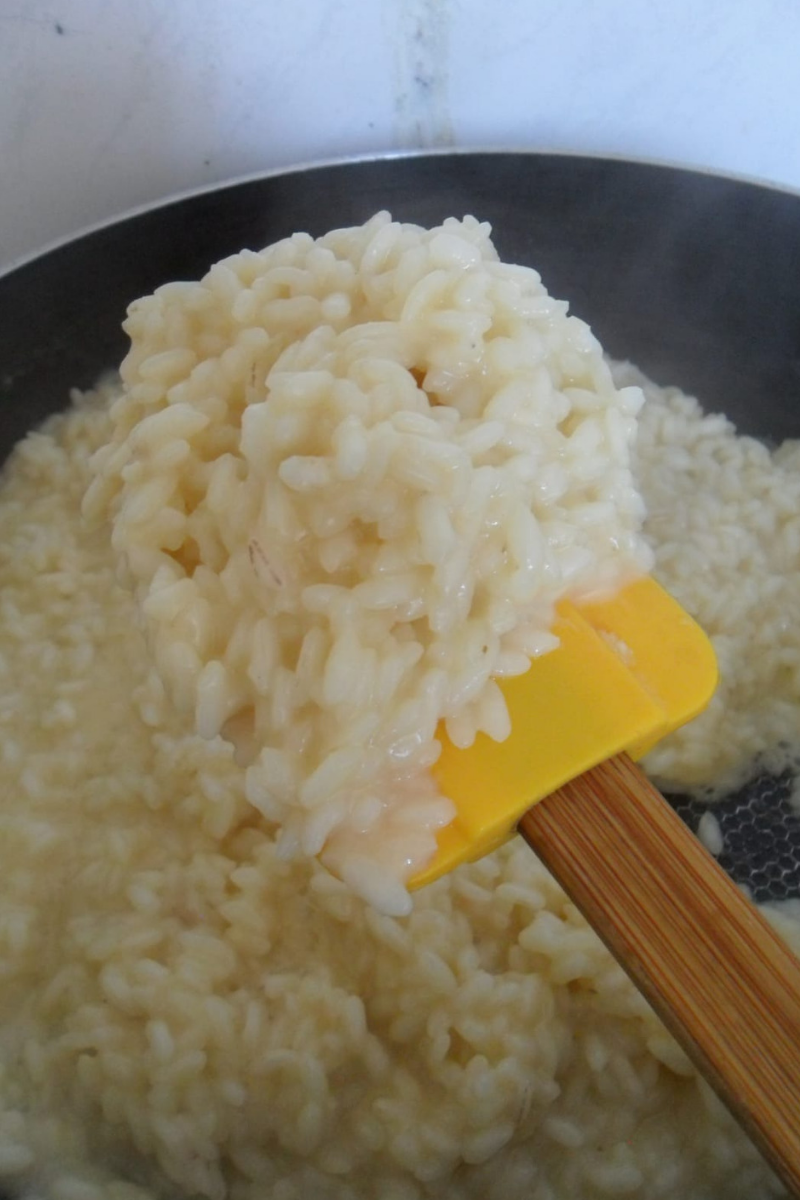
Once the shallots were fragrant and translucent, I added the risotto rice and this is when the fun starts. You start by adding the alcohol, seasonings and the stock, stir and stir, until the ingredients transform into a yummy, creamy al-dente risotto. 

It would have not been possible for me to have a great Beer & Almonds Risotto without Gennaro Contaldo’s fantastic tutorial on how to make Risotto Bianco

Sometimes it saddens me that Tio Mario passed away four years after we met him. It also saddens me that I don’t remember all the names of the dishes, or the flavors of many. Despite that, I keep his memory alive, and every time I cook or see any resemblance of Italian gastronomy, I think of my beloved Tio Mario. 

When you make this recipe or any other from the blog, use the tag #kasheribbean. And, don’t forget to follow on instagram and pinterest to keep up with our easy recipes from us and the blogosphere! 

Do you have food memories that you cherish? I bet you do!! Never take them for granted and express your  gratitude and love for them on every possible opportunity! Until next time! 😉  


Vegan Beer & Almonds Risotto Read More »

Overnight Sweet Crescent Rolls {No-Knead, Dairy Free}

Today we are making fantastic, delicious and super easy Sweet Crescent Rolls.

While I was cleaning the house the other day, I found one of my old recipes notebooks and noticed I’ve tried to make crescent rolls at least 6 times, but the annotations were unfinished. Apparently, they didn’t have the ideal fluffy texture and the distinctive aroma (I honestly don’t know exactly how to describe) so, I guess after a while I forgot about it. 

So, I feel very happy to share these this Sweet Crescent Rolls in today’s post, because even though it may sound intimidating, they ended up being so easy to make, and I will tell you all about this foolproof recipe.

Are you looking for more Shabbath-worthy recipes? Click here

Flour, sugar…

These Sweet Crescent Rolls are made with flour, yeast, brown sugar, vegetable shortening, eggs, water and salt. I am still working on a vegan version, that hopefully I can share soon, but still, it is clear that these Sweet Crescent Rolls are not healthy food.

For this recipe I use vegetable shortening because I wanted to have a setamí (parve) product, but you can substitute butter if you prefer. I haven’t use coconut oil for this recipe.

I used bread flour because it is a yeasted product and have quite a lot amount of fat and sugar. If you use AP (all purpose flour) for this, it will be too soft to handle. Of course, all AP flour differ in terms of the protein content, so, some brands of AP flour may work, while others won’t work so well. If you ever try with AP, please let us know the details of your adjustments, and the brand of flour you used in the comments section below 😉 

For the yeast, I used instant yeast, so if you just have on hand baker’s yeast (which is the same as fresh yeast) keep in mind that you need to triple the amounts. 

How to make Sweet Crescent Rolls

As the title says, these are overnight sweet crescent rolls, so, this recipe take time to develop in texture and flavor. It has also the plus factor that you don’t have to knead anything.

What you really need for this recipe, is a plan and schedule, so that you prepare the dough with plenty of time (26-28 hours before the time you plan to bake) and have fresh, out of the oven crescent rolls for breakfast. Nom nom! 

After the dough has rest for 24hrs, the final dough should be 1000gr or very close. Divide the dough in half, lightly flour the surface, roll, cut into triangles and shape into crescents. 

To shape the sweet crescents rolls, take one triangle and stretch the wider side. Then, roll towards you, making sure the end tip is tucked underneath. Place on a baking sheet, at let rest for 3-4 hours, or until double in size. Then, bake in a preheated oven for 10-12 minutes, or until is light golden brown on top.

What would you serve these Sweet Crescent Rolls with? I will definitely pair with classic hummus or babaganoush.  If you think of another dip to pair these babies with, let us know in the comment section below. And, of course, don’t forget to share pictures with the hashtag #kasheribbean, when you make this recipe. Follow up on instagram and pinterest to keep up with other quick and easy recipes, meals ideas and travel posts!! Until next time! 😉

Overnight Sweet Crescent Rolls {No-Knead, Dairy Free} Read More »

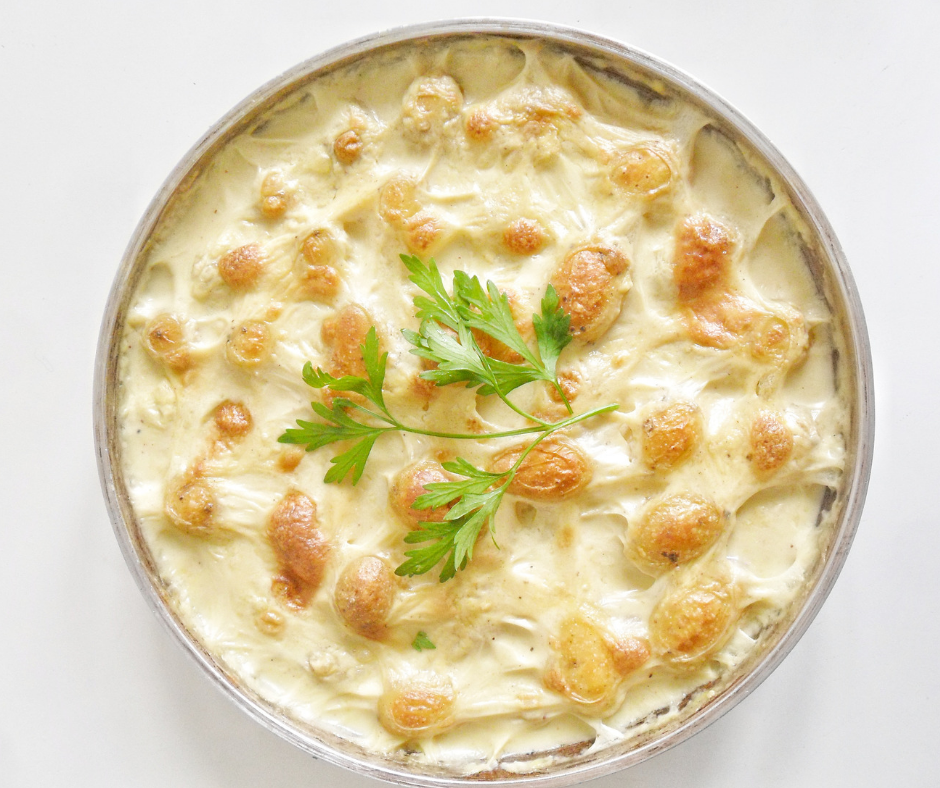
Creamed Potatoes {Vegan, GF}

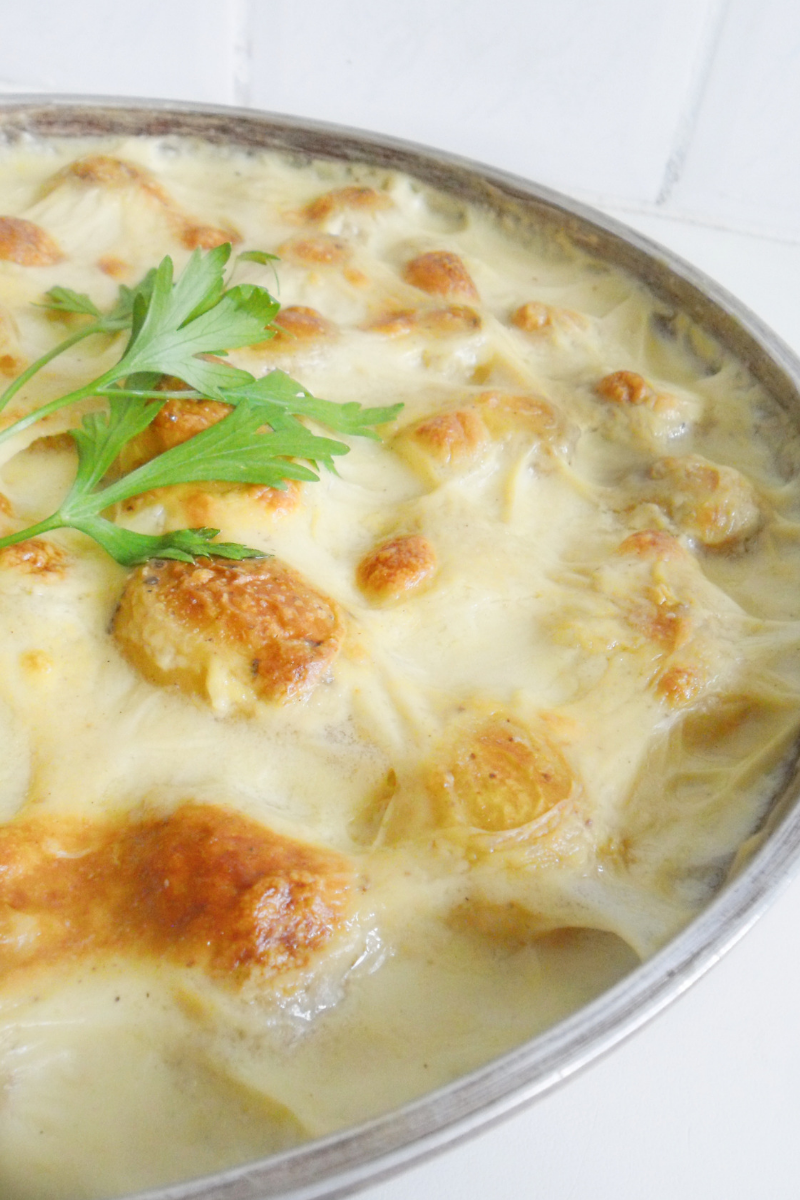
One of the easiest side dishes on the planet: Yummy Vegan Creamed Potatoes. Versatile, kid-friendly, delicious and also budget-friendly. There’s nothing that can go wrong with this dish.

This is another one of those recipes that has been waiting to be published for months. I first came out with these Vegan Creamed Potatoes one ereb shabbath, when I needed that “little extra” because I felt something was missing for the Shabbat dinner. I quickly thought about what can be done with what I had on hand, and that was it. 

My husband says it is obvious I have ancestry from eastern and central Europe, because I love my potatoes, lol. I mean, they are just so versatile. Am I right? 😛  If you love potatoes as much as I do, also check out our super easy Lemony Potato Salad. I will eat those two dishes every other day if I could!  

As I told you already, this Vegan Creamed Potatoes are extremely easy to make. Just gather your ingredients, boil the potatoes for a few minutes (This is what I like to do so I don’t end up with raw potatoes and dried sauce, but I guess you can do this if you have a mandoline), mix the ingredients for the sauce, cook a bit on the oven, and voila! Creamed Potatoes ready to enjoy! 🙂 

Let’s talk about the ingredients…

Simple ingredients. Great results

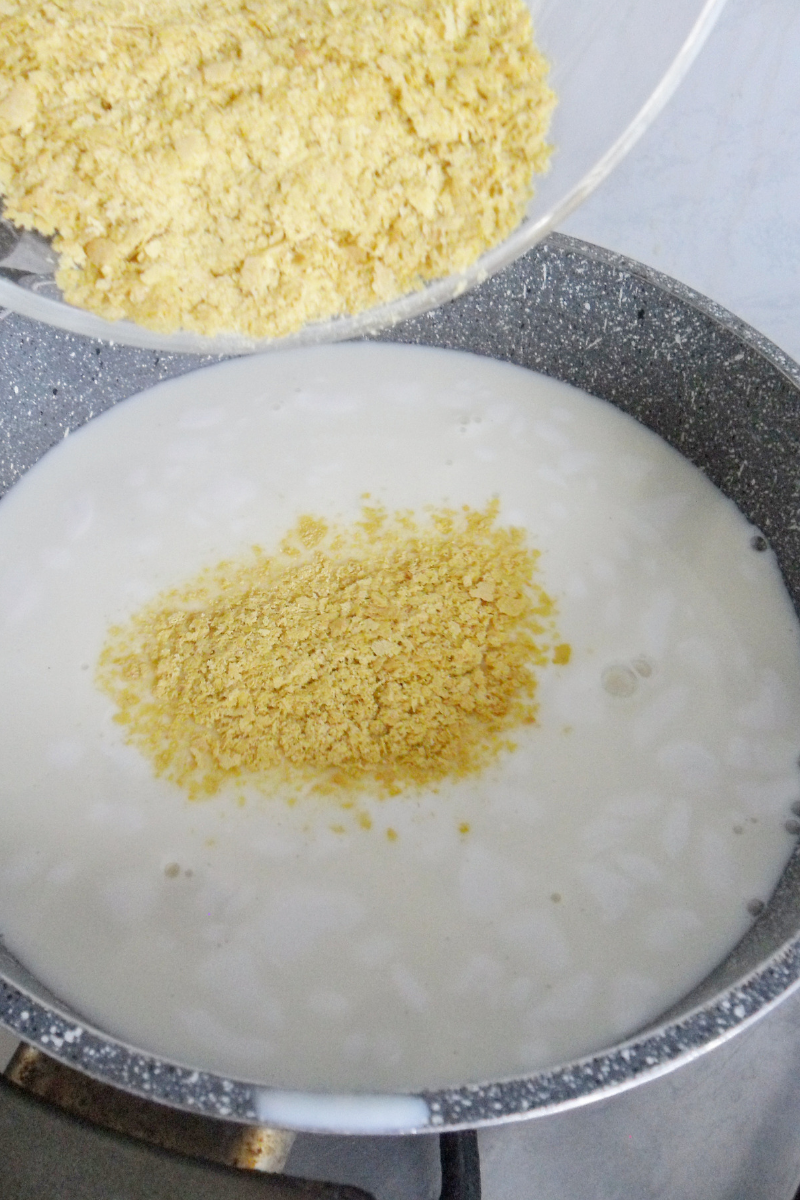
For the Vegan Creamed Potatoes you’ll need just a handful of ingredients: coconut milk (Do you realize already I love coconut?), nutritional yeast, mustard, nutmeg, some flour and a touch of salt and pepper. 

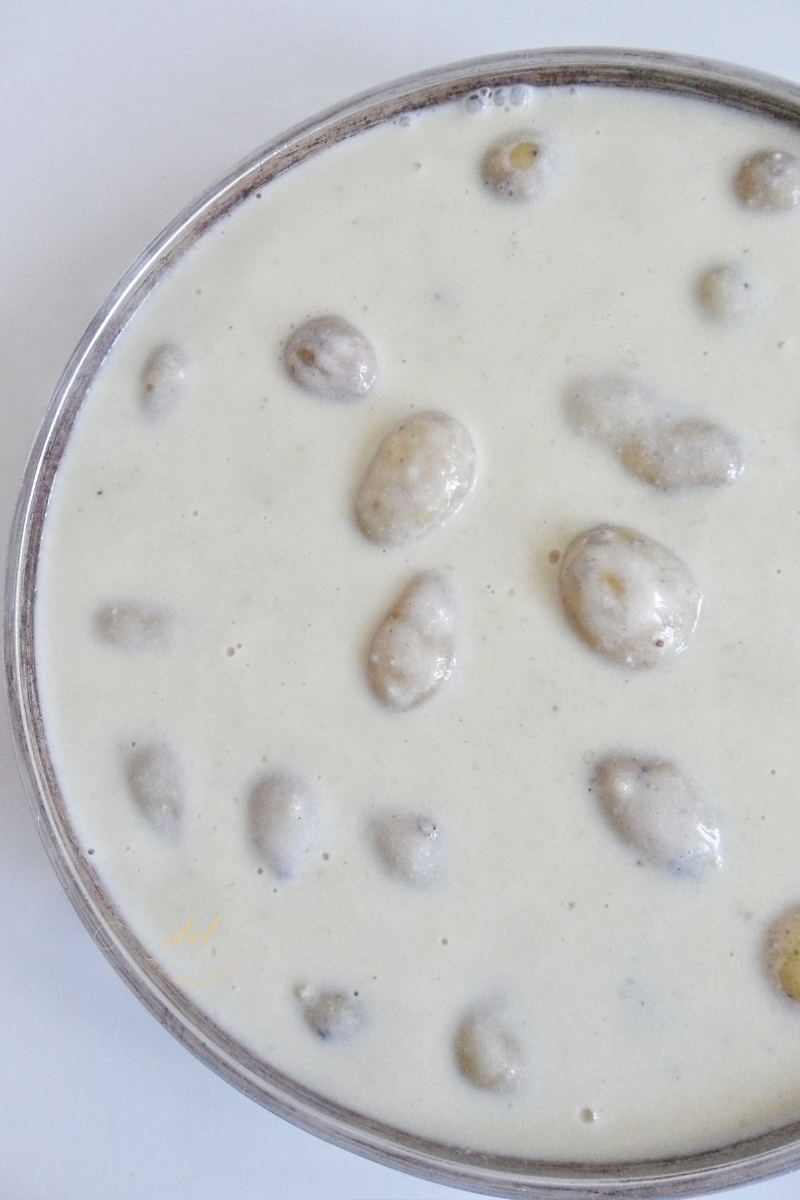
Those few ingredients will give you a delicious white sauce that you will use to dress up the humble potatoes. 

This particular time I used mini potatoes, that I cleaned well before boiling for about 10 minutes. I left them whole and with the skin on for this occasion because I was out of time, and also because I wanted to give another look to these Vegan Creamed Potatoes, but you can also peel the skin off and slice to make like a more traditional scalloped potatoes dish. 

Nutritional yeast + mustard + nutmeg, is a key combo for this recipe. I find that these 3 ingredients combined add a subtle but fantastic flavor to this dish. I hope you like it as much as I do.

If for any reason you want to make this paleo-friendly, use tapioca starch instead of cornstarch, and you are good to go. 


What would you pair these Vegan Creamed Potatoes with?? Let us know in the comment section below and don’t forget to share pictures with the hashtag #kasheribbean, when you make this recipe. Follow up on instagram and pinterest to keep up with other quick and easy recipes from us and the blogosphere! 

Until next time! 😉 


Creamed Potatoes {Vegan, GF} Read More »

Last Minute Rosh HaShanah Centerpieces {10 easy ideas to beautify your dinner table}

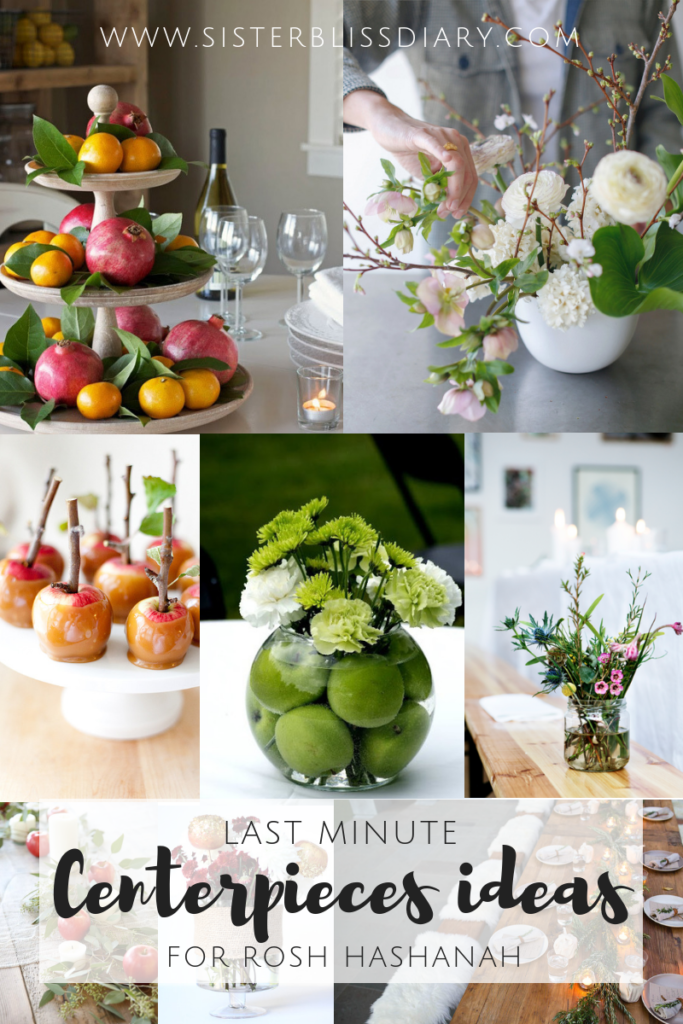
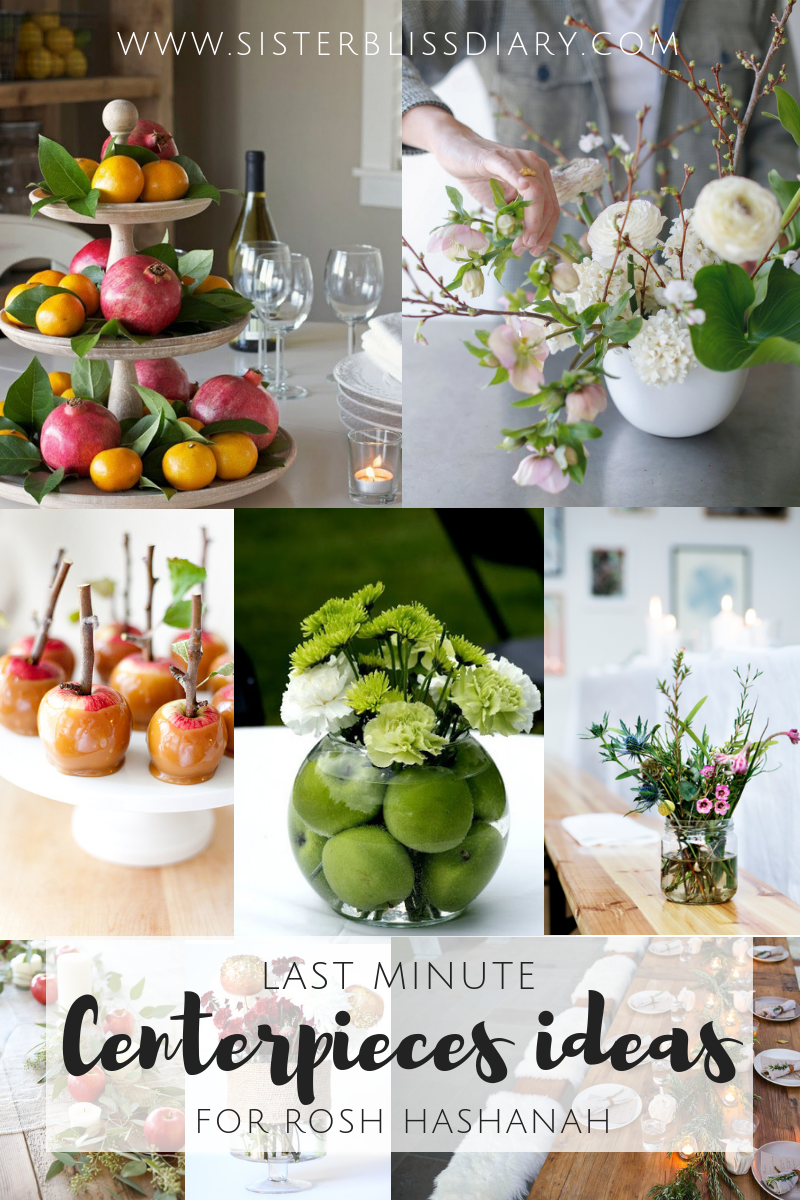
In today’s post I round up my 10 favorite last minute Rosh HaShanah Centerpieces ideas, that are super simple to make and budget friendly, so that you, and I, can add that lovely touch to our Rosh HaShanah table. Just click on each title to go straight to the tutorial.

1. Herbs Centerpiece

This centerpiece is obviously very simple (I love it!), made with fresh rosemary (yup, you read that right!). You can make similar arrangements for literally any occasion. To give it some Rosh Hashanah vibes and a pop of color, you can place pomegranates or apples on top.

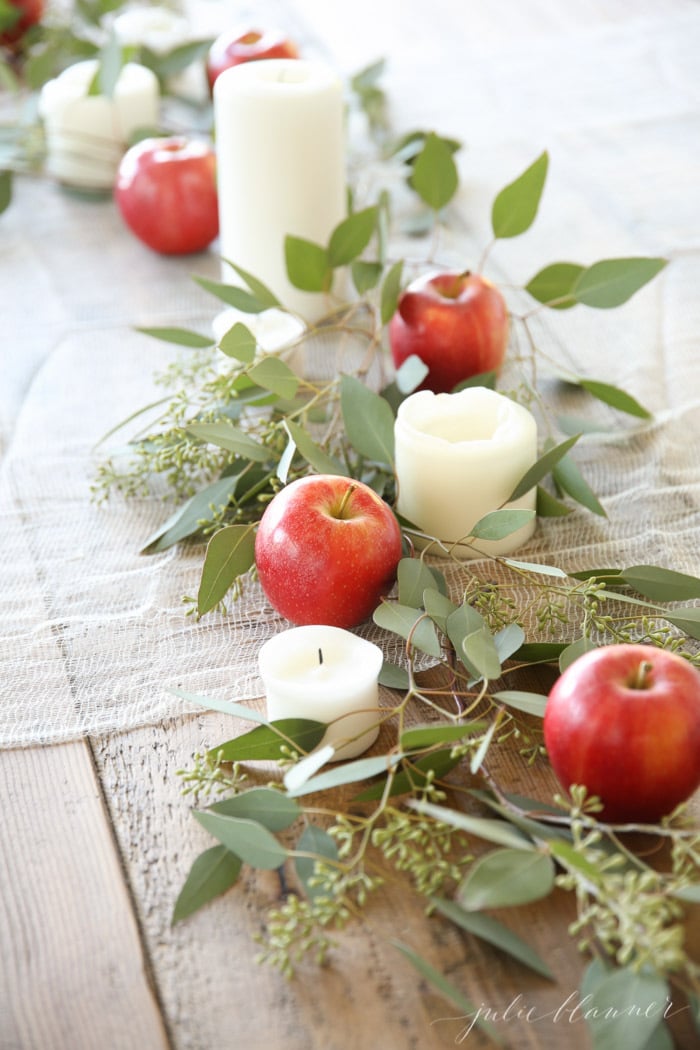
2. Seeded Eucalyptus & Apples Centerpiece

This is basically the same concept as the one before, but uses eucalyptus (I can imagine the smell already!) Find the tutorial here

3. Tiered Pomegranate & Oranges Centerpiece

Unfortunately, I couldn’t find the original post for this beauty (apparently the blog has been deleted), but obviously is not rocket science. Perfect for me! 😀

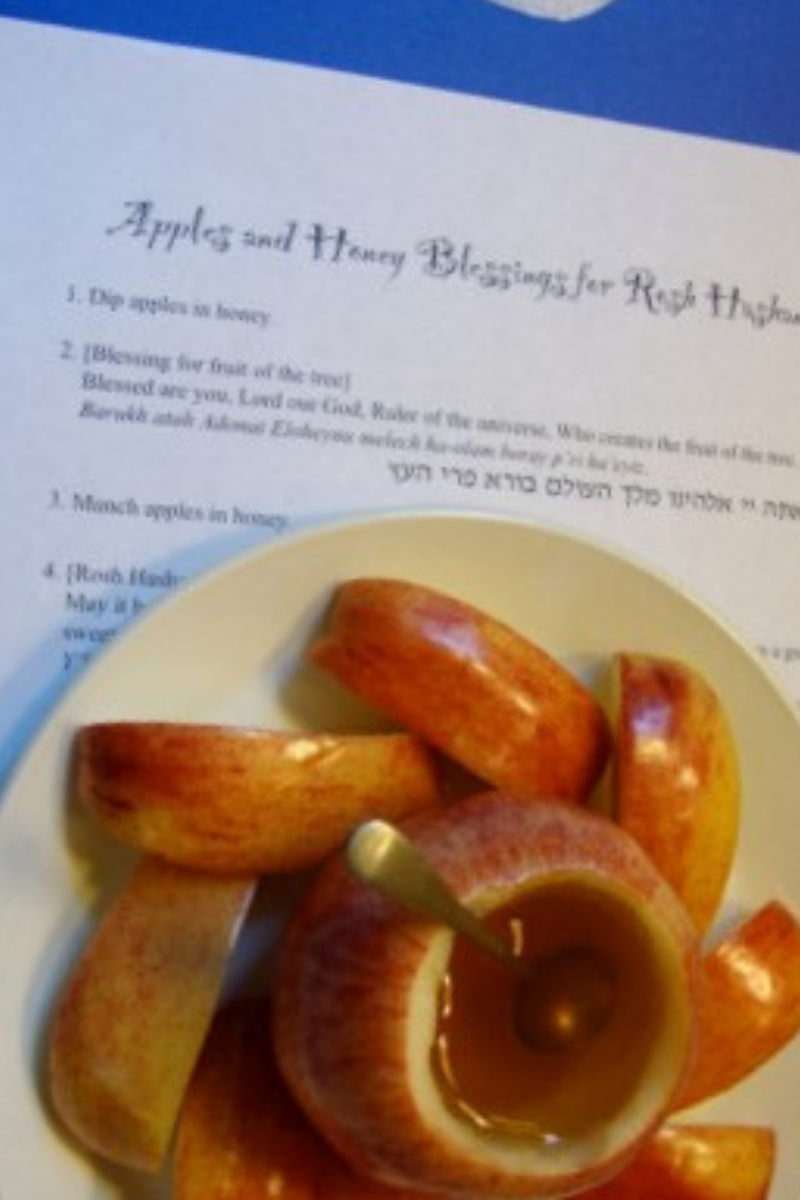
4. Apple Bowls with Honey

If you are a complete foodie and can’t think of anything else but an edible centerpiece, this is a good option 🙂 I did this last year and it doubled as dessert for some kids lol. A few apple bowls on the center of your table and you will be good to go.

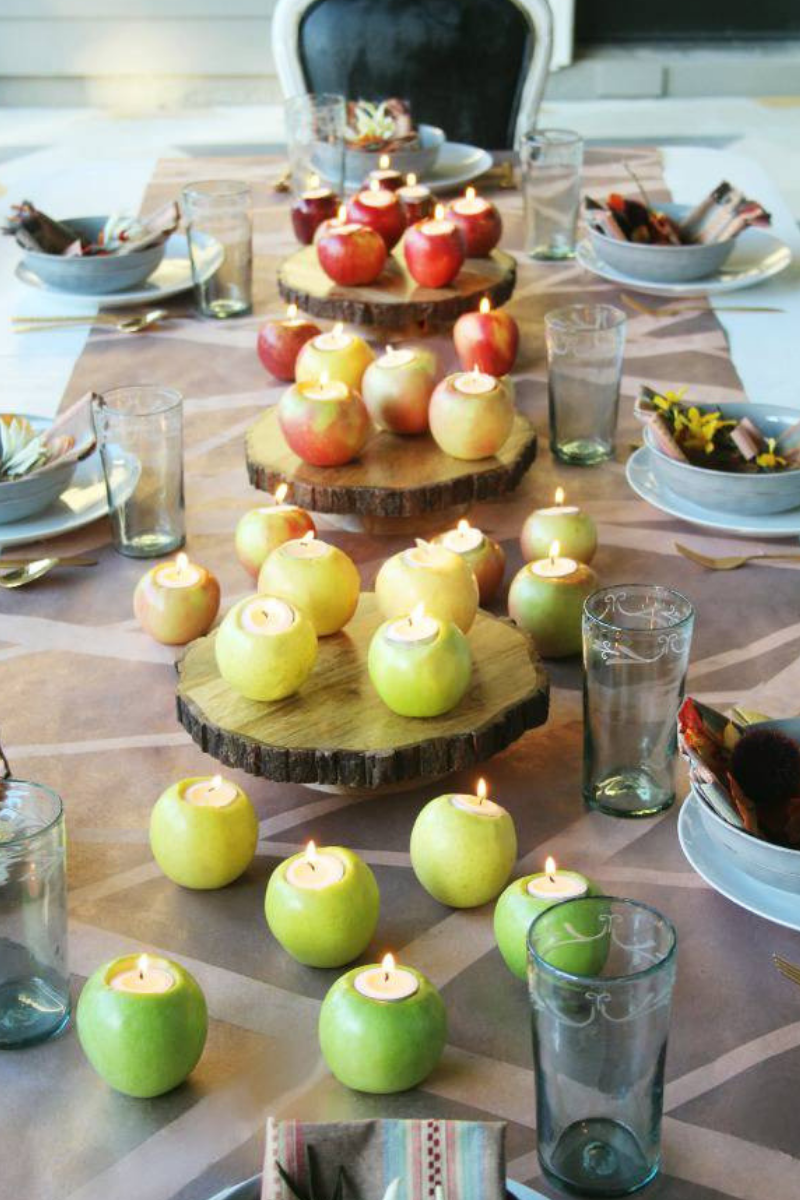
5. Apple Candle holders Centerpiece

Apples + Candles. It cannot get more simple than this! Tutorial is here.

6. Simple Flower Arrangement

If you are more of a floral person, you will like this beautiful and simple flower arrangement with pastel flowers that can easily be on your table for countless occasions. Find the tutorial here

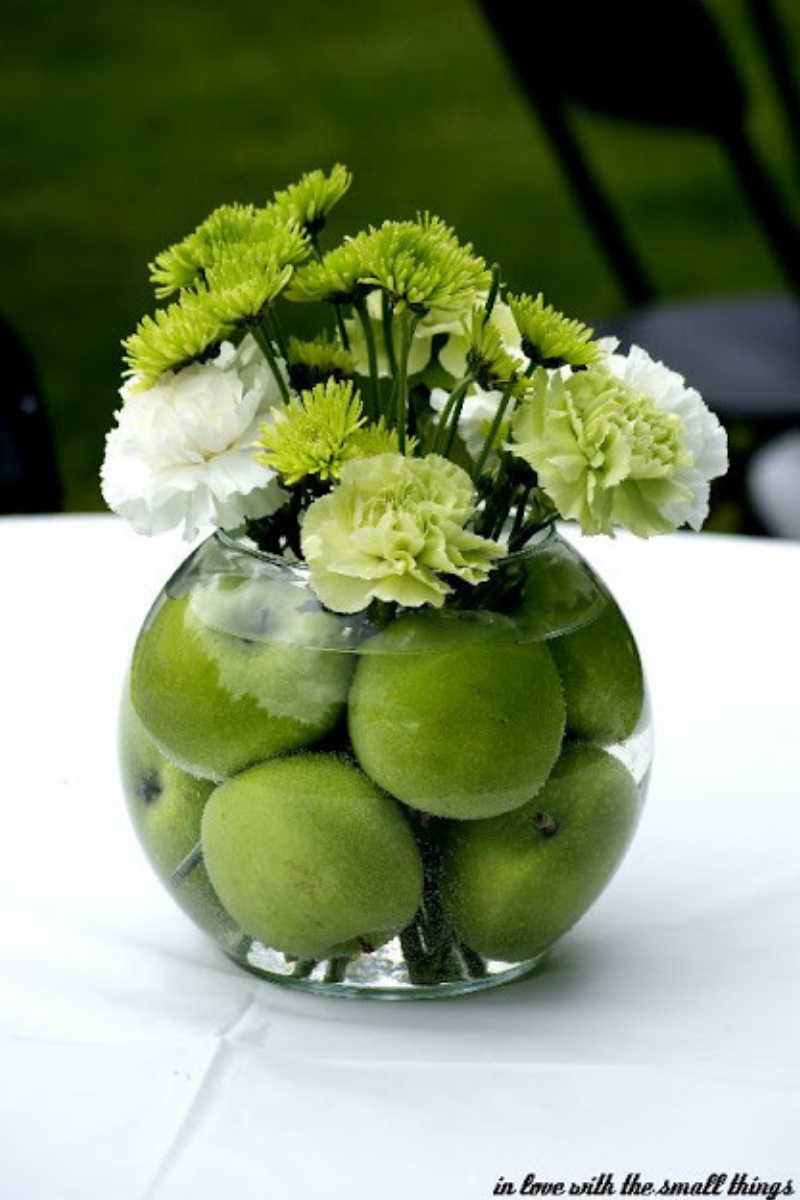
7. Green Apples in a Vase

Cute and clean is what comes to my mind when I see this beautiful centerpiece. You cannot beat the beauty of a clear vase filled with apples and fresh flowers <3 Click here for this  simple DIY.

8. Mini Candied Apples

These Mini Caramel Apples make an adorable and yummy centerpiece. Find the tutorial here.

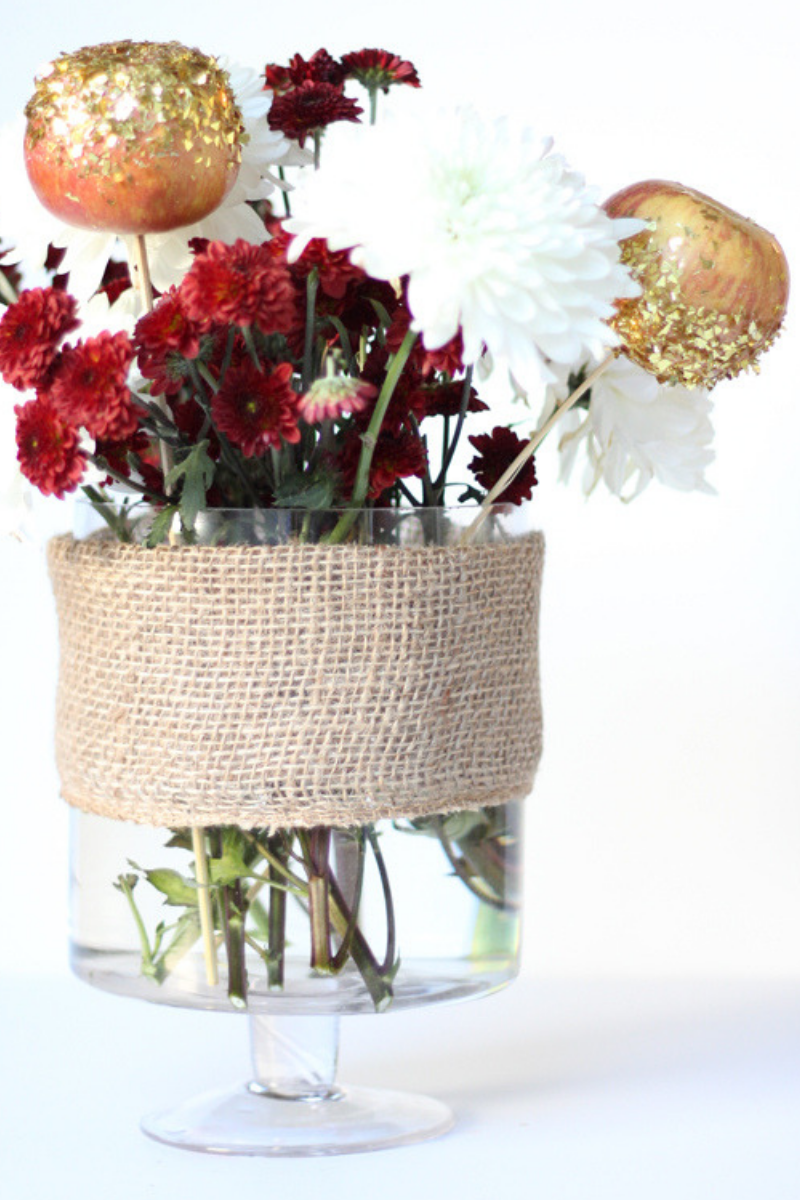
9. Golden Apples

For those of you who love to add golden accents to everything, you can try this one here. I personally don’t like the idea of using fresh apples, so that they are not wasted (I will go with fake apples instead) or, you could use edible glitter if you can find it easily.

Another idea that comes to mind is just paint in golden color a few fake apples and attach to skewers with hot glue. Easy peasy.

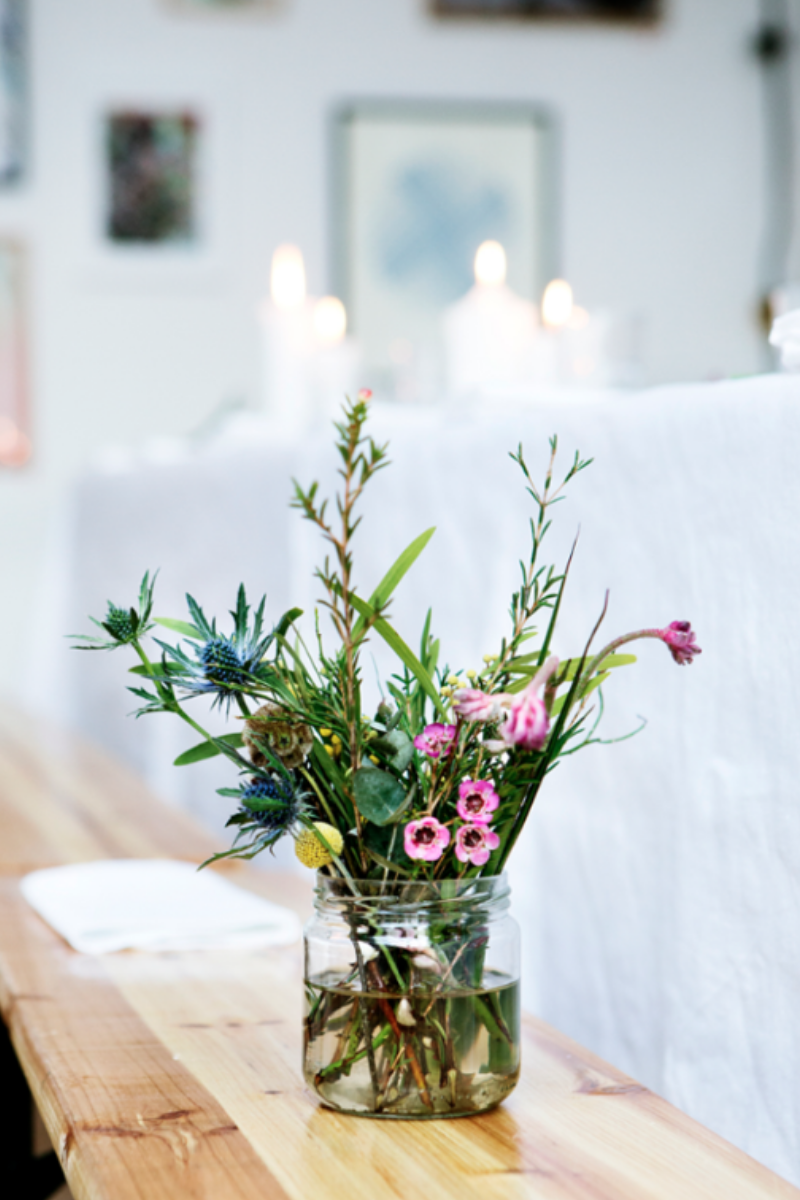
10. Free Style Flower Arragement

If you are a free soul that prefer timeless design ideas and want to use what you have at home, you may find this tutorial on how to make simple flower arrangements by Glitter Inc. very useful. Take a look here.

And, with this free style flower arrangement we get to the end of this post. Tell us, which Rosh Hashanah Centerpiece is your favorite? Let us know in the comments section below or head to instagram to say hi and leave your comments! And don’t forget to follow on Pinterest & Instagram for more inspiration and easy recipes!

Until Next Time!


Last Minute Rosh HaShanah Centerpieces {10 easy ideas to beautify your dinner table} Read More »