Passover

Top 10 Pesach-Friendly Desserts {Easy & Budget-Friendly}

If you are still wondering what desserts to put on the table during Pesah, you don’t have to wonder any longer. In today’s post we share our Top 10 Passover Friendly Desserts from the blogosphere.

If you haven’t done already, check out the Full 5 Menus to cover your Passover Needs, 10 Matzot-Free Breakfasts Ideas to enjoy during Pesah and all year round and the High Holidays Series Part 1: Menu Planning and Meal Prepping (with 3-days downloadable timeline).

Here we go!

1. Pear & Almond Clafoutis

This easy clafoutis should be a classic for Pesach, and you can follow the same steps to make it with virtually any fruit to suit the occasion.

2. Chocolate Mousse {VEGAN}

Any day, any occasion is excellent for a decadent and creamy Chocolate mousse, don’t you agree? And, specially if you are talking about vegan chocolate mousse! Oh, Yum!

3. Cherry Crumble {VEGAN}
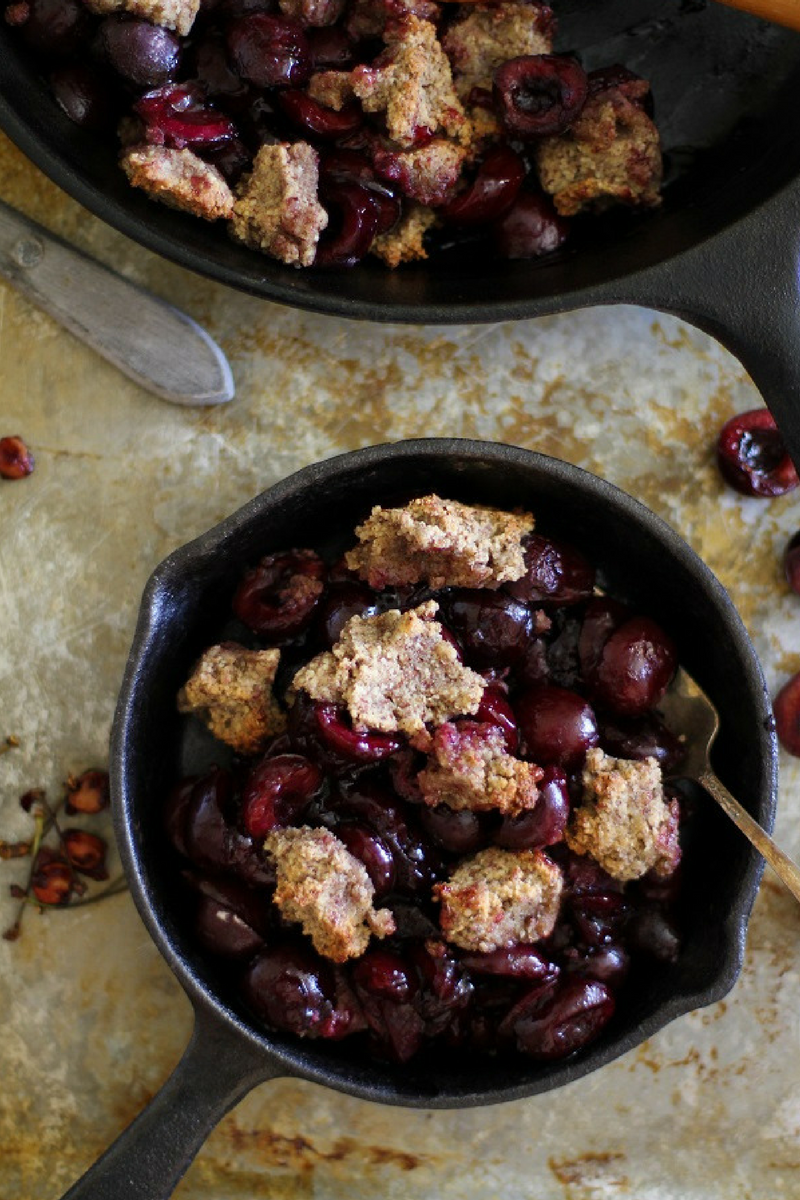
This Cherry Crumble uses hazelnut meal, but if you can’t find it you can make it yourself by grinding the nuts or you can substitute with almond meal.

4. Tahini Brownies
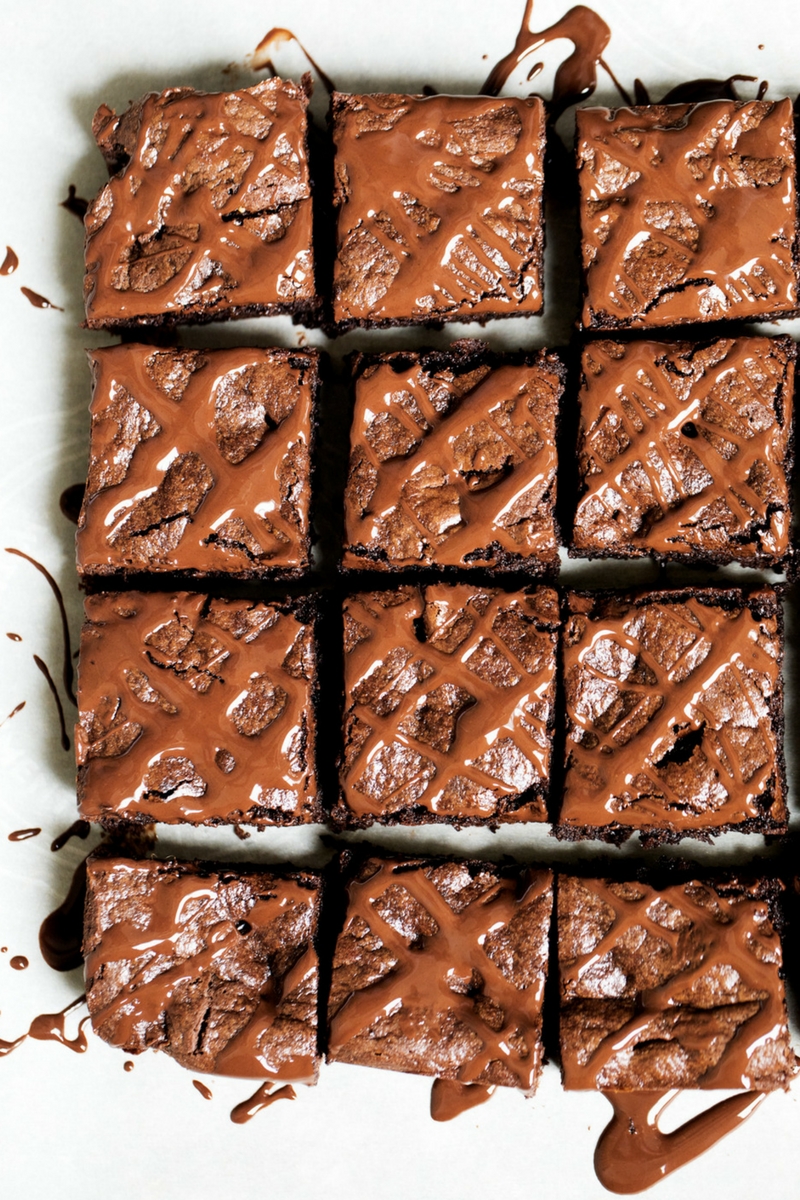
Tahini + Chocolate is one of those weird but “oh-so-delicious” combos you need to try as soon as possible. Comes in form of brownie? Even better!

5. Roasted Pears with Cream {VEGAN}
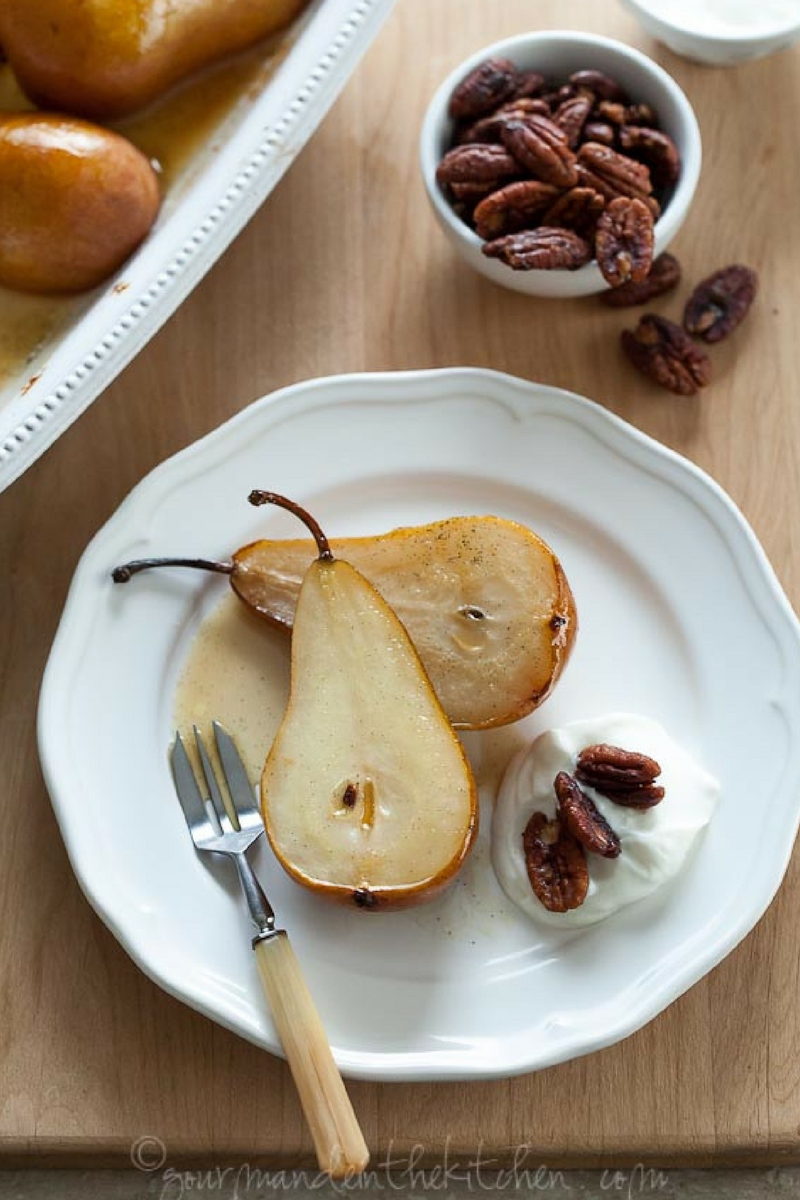
I love everything about this dessert. Simple, flavorful and elegant.

6. Magic Cookie Bars {VEGAN}
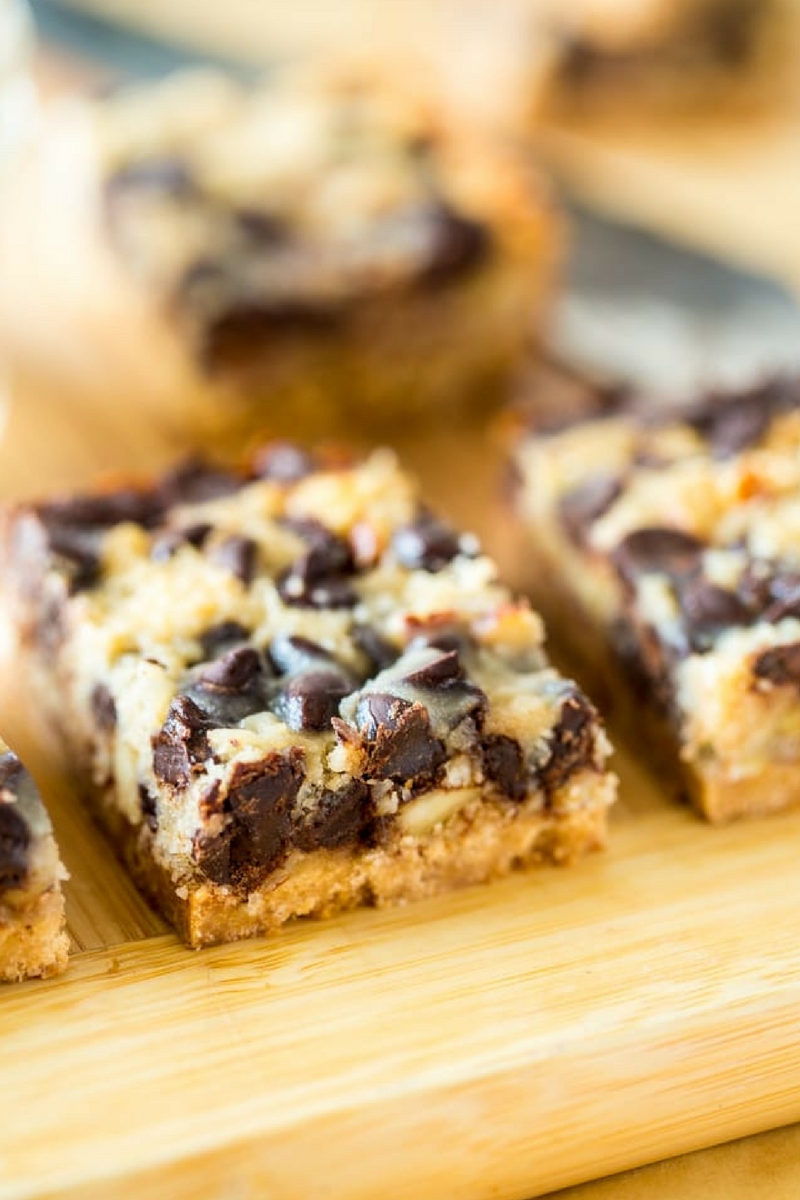
These look glorious! Need an incentive to make these cookie bars? The recipe comes with a little video for you visual learners 😀

7. Crème Caramel
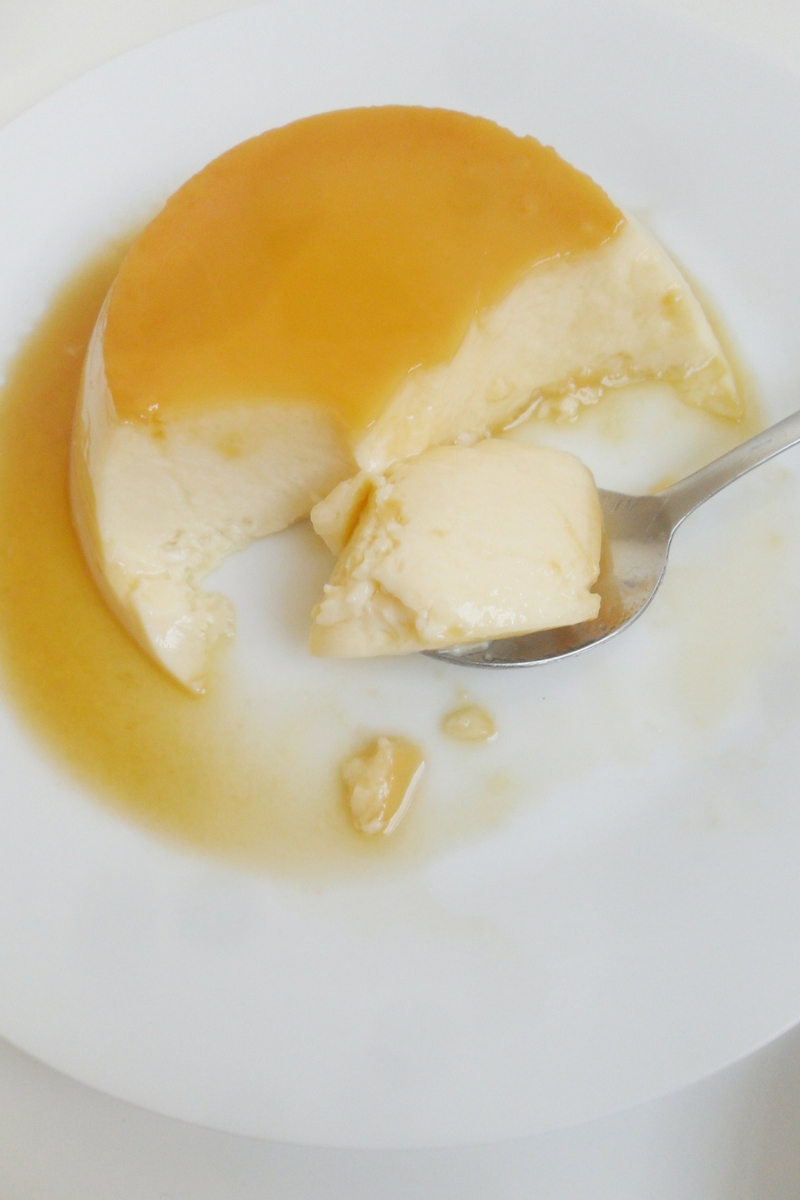
Creamy + Easy + Luscious = perfect dessert.

8. Cookie Dough Bites {VEGAN}

Aren’t these babies gorgeous? 🙂 They are also extremely easy to make and they cannot just satisfy your sweet tooth but also beautify your table.


9. Vanilla Custard Cake {VEGAN}
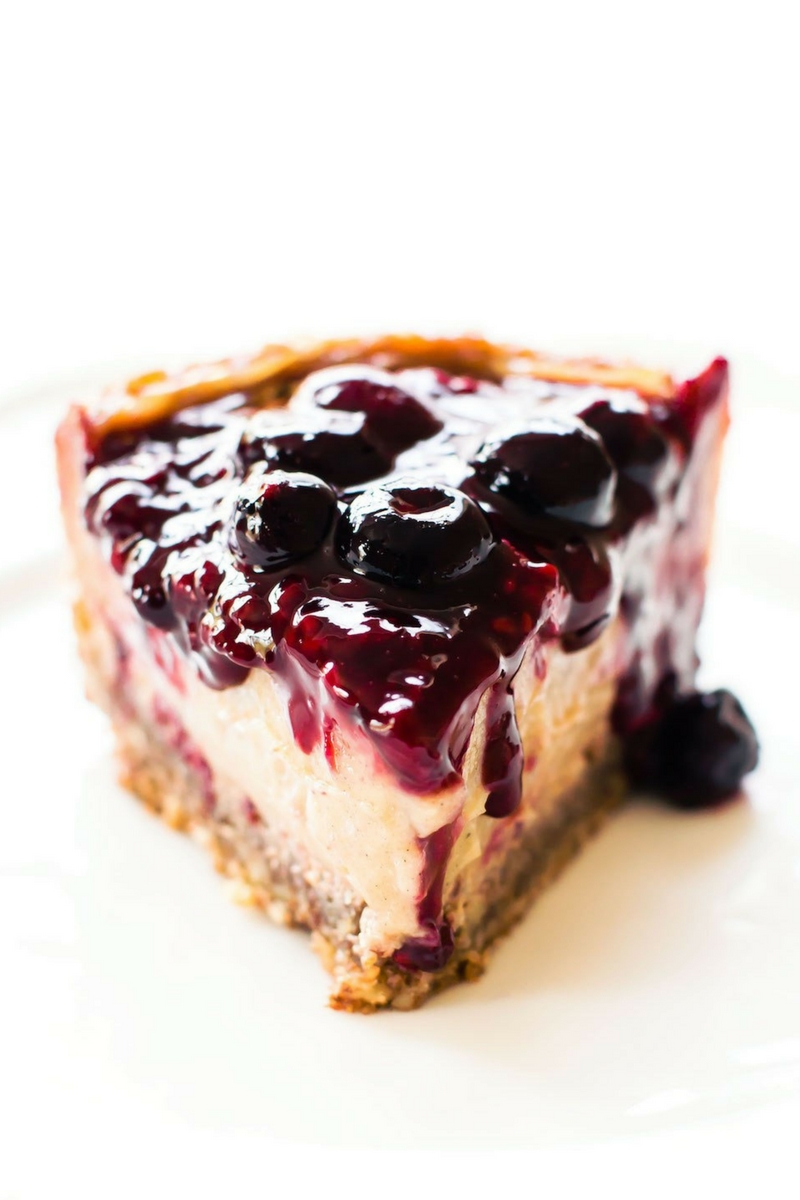
OMG! I am salivating just by looking gat this picture. Don’t let the decadent look intimidate you. This decadent cake uses a 2-ingredients crust and 9-ingredients total.

10. Berry Cheesecake Bars {VEGAN}

Of course, we couldn’t ignore this Berry Cheesecake. It’s vegan, it is easy and it is no-bake. This gems will close with a flourish any gatherings. Guaranteed!

Which one is your favorite?
We really hope you found some inspiration and  a few (if not all) treats for your very own gatherings during Pesach. Don’t forget to share with your friends and follow us on instagram and pinterest for more budget friendly kasher recipes for the busy cook.

Until Next time!


Top 10 Pesach-Friendly Desserts {Easy & Budget-Friendly} Read More »

Dairy-Free Flan with Coconut Milk

Extra Creamy Dairy-Free Creme Caramel {Passover-friendly}

Extra Creamy Dairy-Free Creme Caramel {Kosher for Passover}

If you dream of making a super creamy dessert for your next gathering or holiday, today is your lucky day because I am sharing with you my recipe for an Extra Creamy Dairy-Free Creme Caramel (also known as “Flan”). Creme Caramel is naturally Gluten Free so, it is also perfect dessert for Pesach too. 

Another bonus of making flan is that is literally one of the easiest desserts on the planet, and it is made with very simple ingredients you probably have at home right now: coconut milk, eggs, milk, sugar and some flavoring. Vanilla is traditionally used, but rum extract or emulsion also adds a nice touch. 

Need more Pesach inspiraion and recipes? Check out other Pesach-friendly recipes from the blog over here and our Pesach Ingredients Swap List right here!

Another thing that I love about Creme Caramel is that it is a very forgiving dessert. If you are looking to reduce the sugar, you can cut in half the amouts for the caramel and the custard. At this time I haven’t yet tried with sugar substitutes, but the ones that are a cup-for-cup replacement for sugar should work with no problem. 


Thanks to the viscosity of the evaporated and condensed milk used in traditional Creme Caramel, the end result tends to be very silky and creamy. To make up for this,
I added 10 grams of cornstarch. Cornstarch is a thickening agent that can set about 4 times its weight. With this little addition of cornstarch we balance the creaminess of the custard, making it less “eggy” (which can be an issue when working with plant based milks). 

If you don’t eat kitniot during Pesach, you are welcome to leave the cornstarch out. You will still end up with flan, but since the cornstarch helps the custard set firmly and faster, I’d recommend you add and extra egg, and bake for a little longer, let’s say an extra 10-15 minutes if doing so.

A very important step when making creme caramel, is to bake it on a bain marie, which helps with even distribution of heat, and with the slow cooking of the egg, which in return gives you a more silky creamy custard. 

Dairy-Free Flan with Coconut Milk

A common mistake when making flan, is to overcook the custard. Don’t do it! But how do you know the custard is ready?? Wiggle the pan or ramekins. When the edges are set and the center jiggles a little, then is ready. The heat from the pan is hot enough to continue cooking the center of the flan, even when taken out of the oven. Once done, remove the creme caramel from the oven, and cool to room temperature completely before storing in the fridge overnight. 

If you are impatient, you can refrigerate for 4 hours before serving, but beware, chilling these babies overnight does make a difference in the texture of the final product (more creaminess, anyone?!) and also intensifies flavor. My recommendation for you is to plan ahead, and make this the day before serving. 


Dairy-Free Creme Caramel with Coconut Milk
Dairy-Free Flan with Coconut Milk

Extra Creamy Dairy Free Creme Caramel

Prep Time 10 minutes
Cook Time 1 hour
Rest time 12 hours
Course Dessert
Cuisine Dominican Republic

Ingredients
  

For the Caramel:

  • 30 gr Water
  • 100 gr Granulated Sugar 

For the Creme Caramel:

  • 800 gr Full Fat Coconut milk
  • 300 gr Eggs
  • 100 gr Granulated Sugar 
  • 10 gr Corn Starch
  • 1/2 Tbsp Vanilla Extract You can also use Rum Extract. If using emulsion of any kind, add 1/2 teaspoon.
  • 1/4 tsp Salt 

Instructions
 

  • Preheat your oven to 180°C (350°F)

For the caramel:

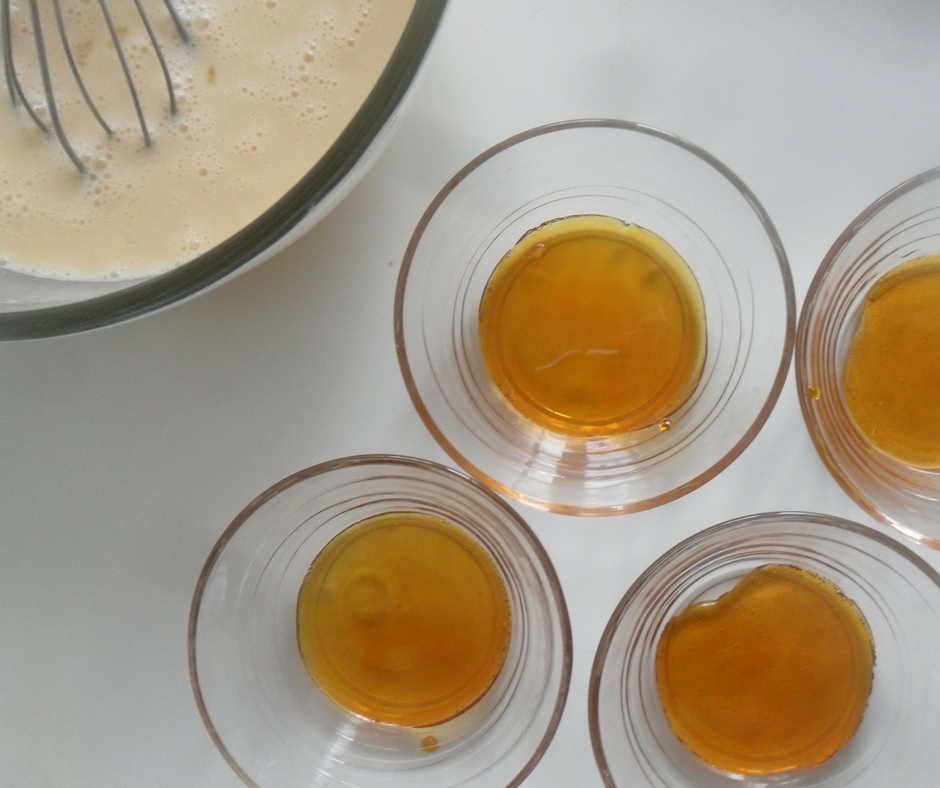
  • Combine water and sugar and melt over medium heat until it gets a deep amber color.
  • Take the caramel off the heat and coat with it 6 ramekins or 1 - 9" (inches) round cake pan.
  • Set aside to cool down and harden, before adding the custard.

For the Creme Caramel:

  • In a bowl, mix corn starch and 2-3 Tablespoons of coconut milk and mix well.
  • In bowl, mix all of the ingredients for the custard, including the previous mix of corn starch+coconut milk.
  • Pass the custard mixture through a fine sieve to discard any egg residue.
  • Equally divide the mixture into the ramekins or the 9 inches baking pan.
  • Fit the custard ramekins or cake pan into a bigger ovenproof dish (like Pyrex, a roasting pan, etc).
  • Place the ramekins or baking pan in the oven, and then carefully pour water into the bigger baking dish. The water should be 1½ to 2 inches deep.
  • When using ramekins, bake for 30-35 minutes. If using a 9 inches baking pan, bake for 60 minutes or until edges are firm but the center still jiggles a little.
  • Once ready, take out of the oven, and let it cool down completely before placing in the refrigerator for at least 4 hours; but preferably (and recommended) overnight.
  • When is time to serve, run a knife around the edge of the creme caramel and invert it into a bigger dish, preferably with slightly tall sides. The creme caramel will drop and you can see some caramel sauce flowing. Cut into slices and serve.

Notes

  • You can easily increase or decrease this recipe to fit your needs.
  • If you ever find yourself with leftover raw custard mixture, store it in an air-tight container and freeze. When ready to use, thaw completely, whisk really well or mix with a blender, just to make sure everything is well combined, pass through a sieve and then pour into the prepared ramekins or baking pan and bake.
 
Keyword custard, dairy-free, desserts, sweet treats

Have you made this Dairy-Free Creme Caramel already? Use the hashtag #kasheribbean to share with us on social media and, don’t forget to follow on instagram and pinterest for more easy recipes.

Extra Creamy Dairy-Free Creme Caramel {Passover-friendly} Read More »
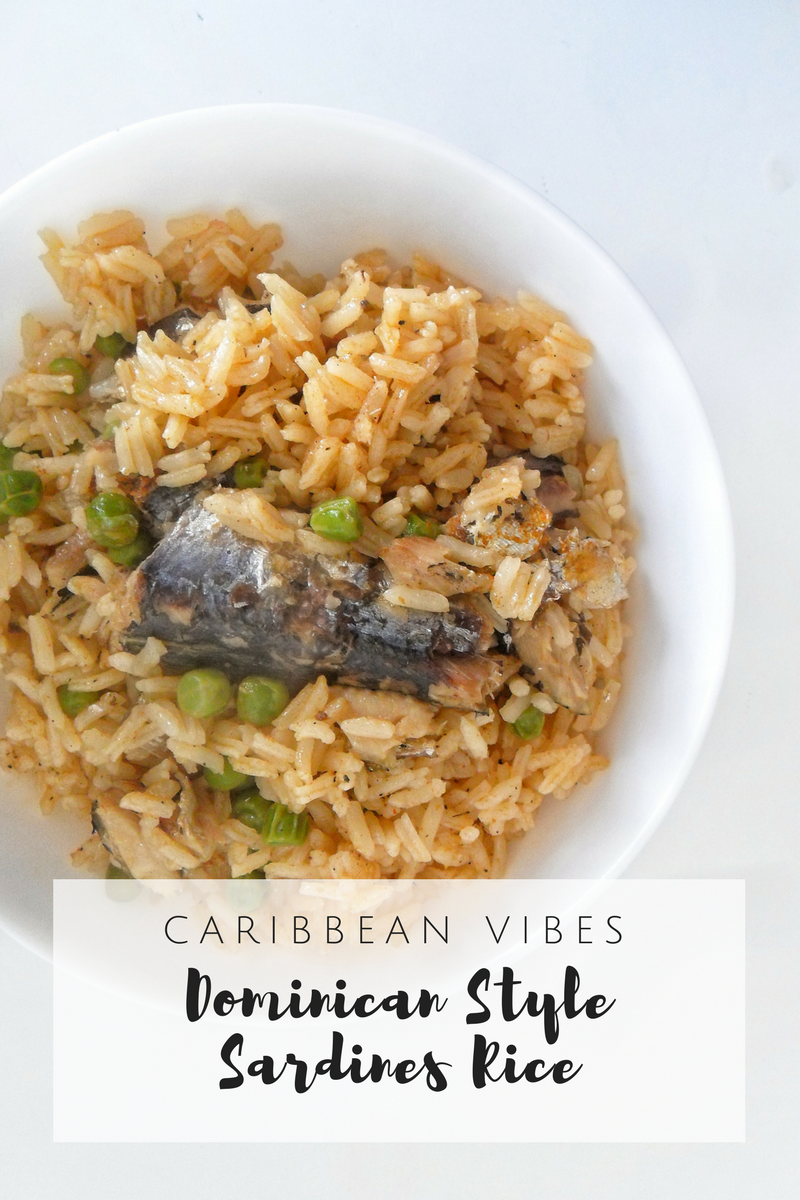
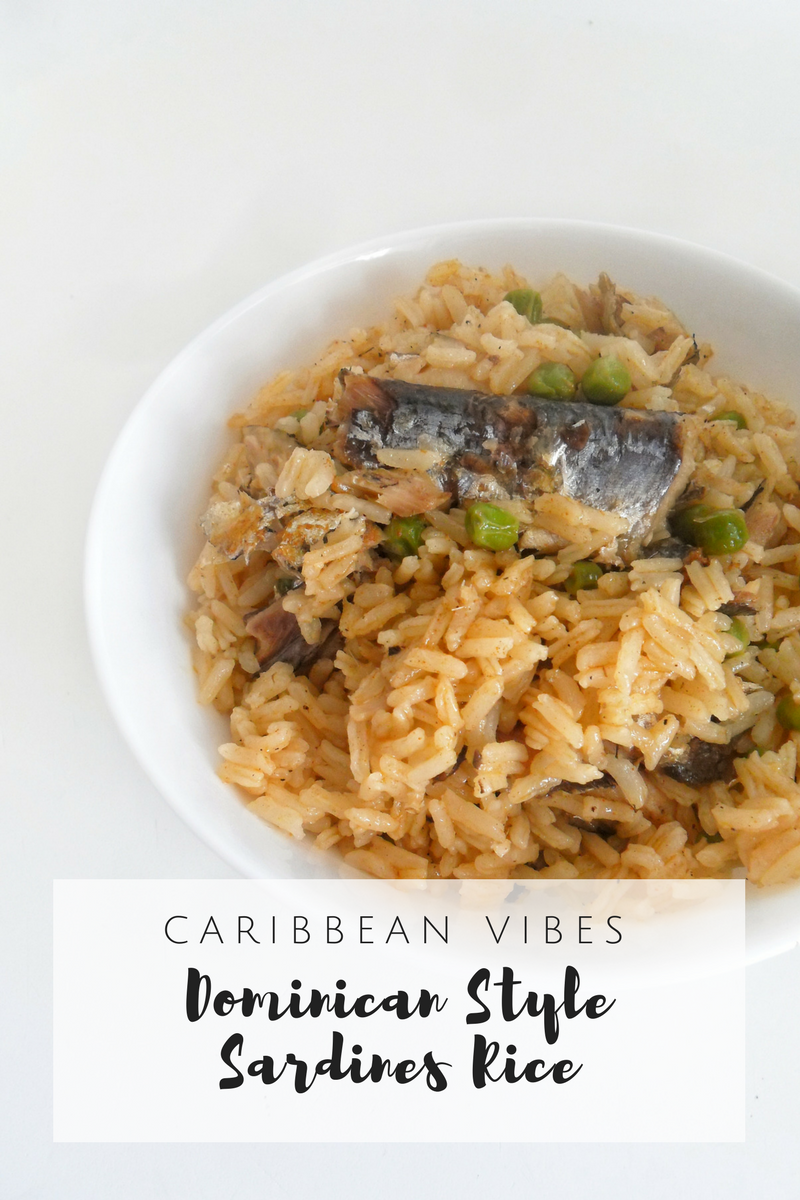
Dominican Style Spicy Rice with Sardines

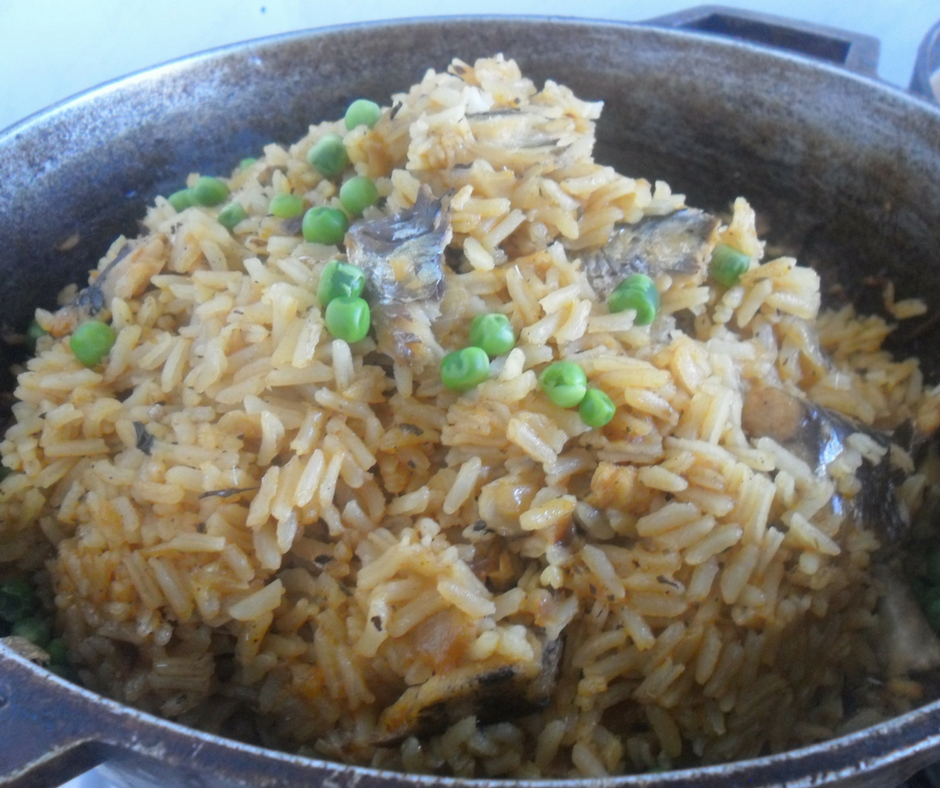
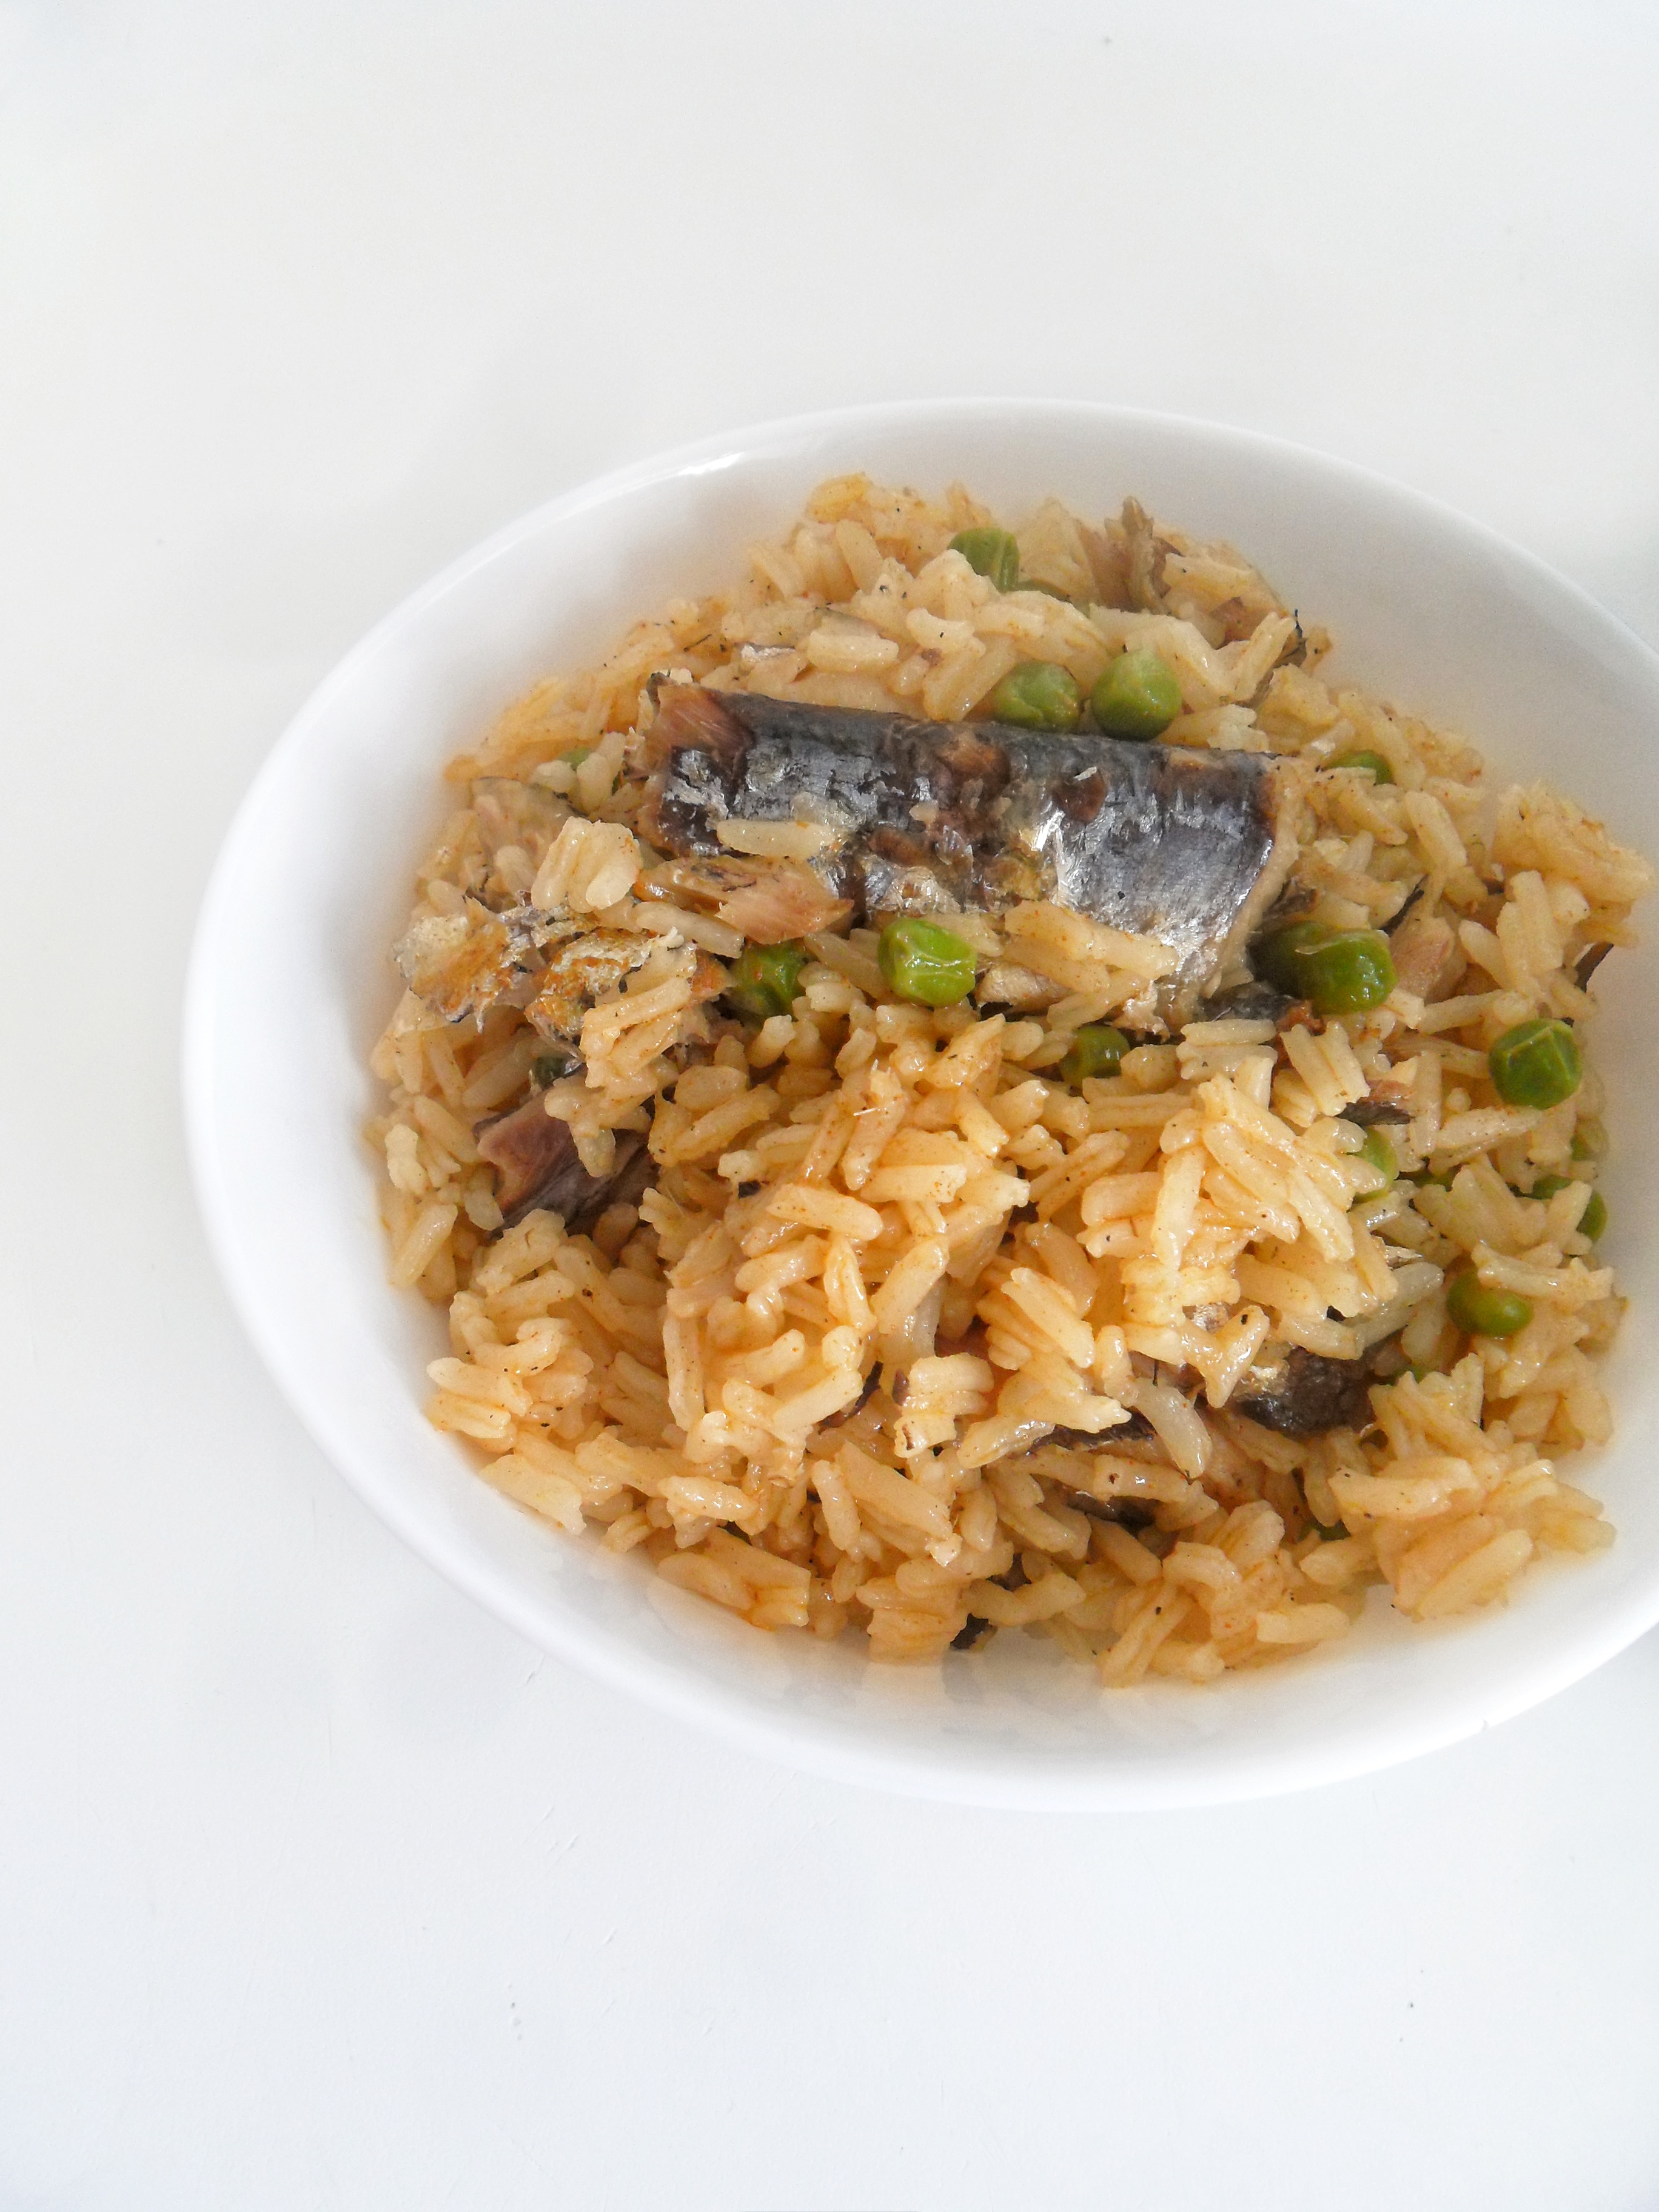
Sometimes you just need that sort of “comfort food” at hand, and for me “un locrio de pica pica”, a spicy rice with sardines, with some beans do the trick. If you have avocado on the side is even better! 😀


Budget friendly with great flavor

This is one humble dish and for me has always been a favorite, maybe because I have always loved strong flavors (aka sardines, herring, cod fish and weird veggies like “molondrón” (okra) lol) but also because it is highly nutritious and cheap. Win-Win all the way.

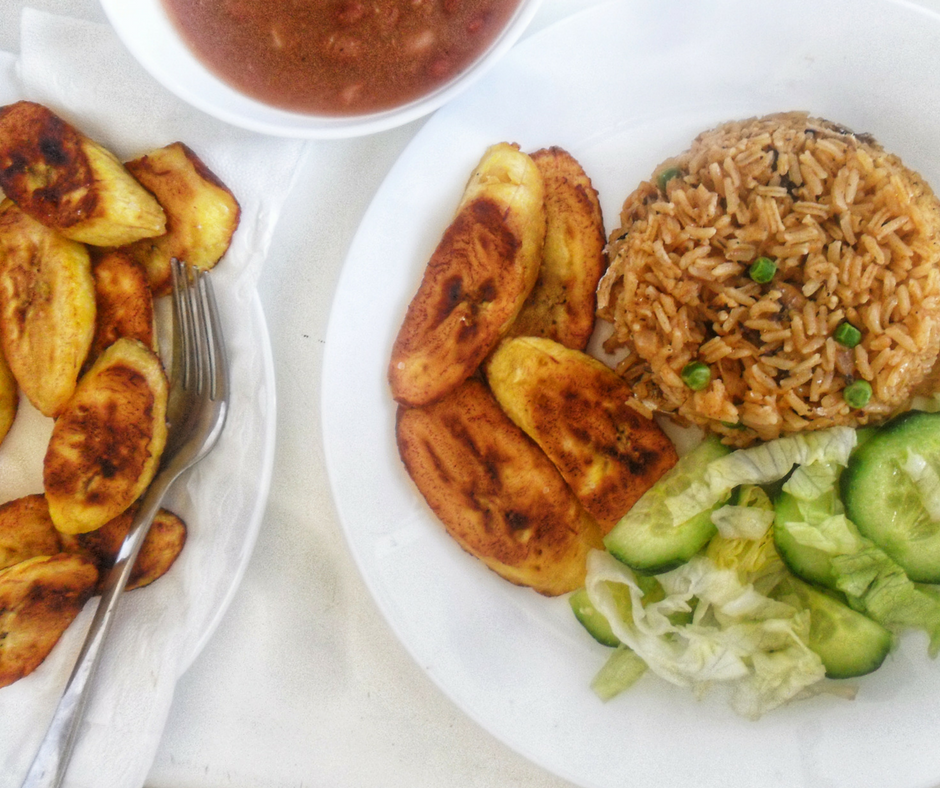
In Dominican Republic some people argue if locrio (rice mixed with either meat, fish or veggies) should be eaten with beans on the side or not (Get the recipe for Stewed Kidney Beans). I like it with beans, but also an avocado, some fresh salad and fried ripe plantains are enough Ha! Yes! We dominicans love carbs 😛

Typically in DR this rice is prepared with sardines in spicy tomato sauce (which is an horrendous spicy tomato sauce by the way) but I am not a fan of that awful tomato sauce (yuck!) so I use sardines in oil, discard the oil and add paprika for color and taste.

For this recipe you’ll need

This is how we eat it at home…

If you enjoy these recipes we share and want to see more Kasher caribbean style recipes, let us know in the comment section below and don’t forget to say hi on instagram and pinterest. We always love to hear from you!

Until next time!


Dominican Style Spicy Rice with Sardines Read More »

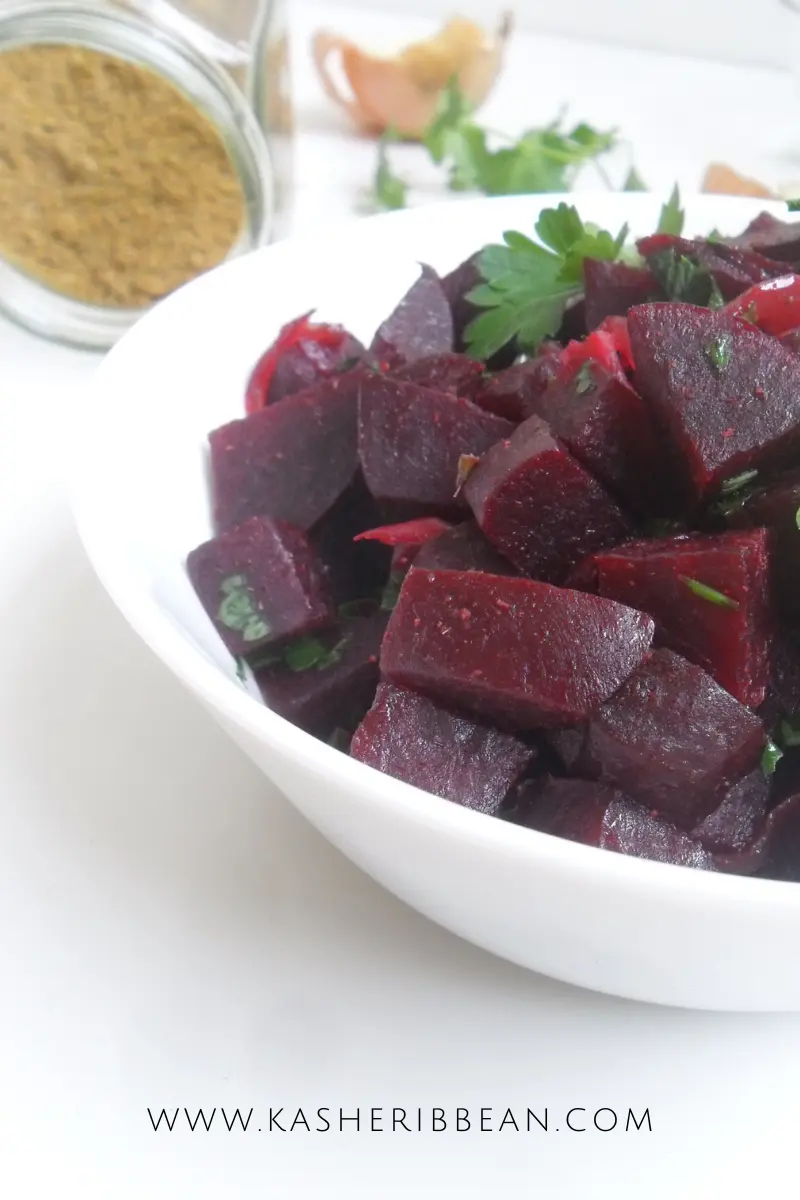
roasted beets salad

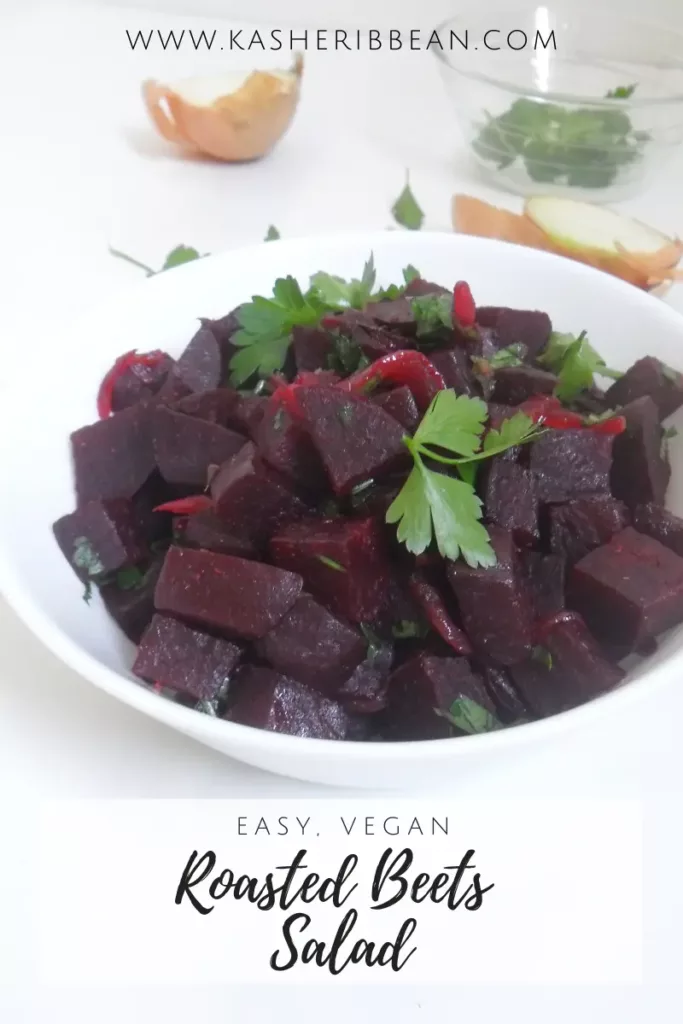
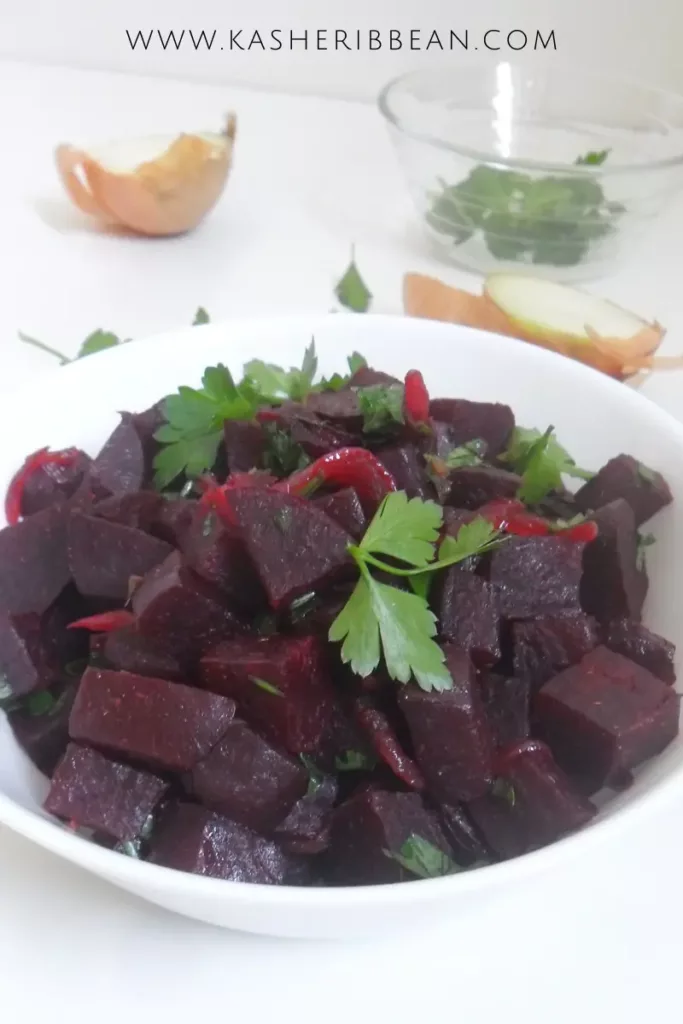
Roasted Beets Salad

Easy Roasted Beets Salad {Vegan, Gluten-Free}

Beets are a root vegetable often overlooked in the produce aisle, but they are actually very nutritious and a versatile addition to any diet. They come in a variety of colors and can be cooked in a variety of ways. Roasting is a popular method of cooking beets, because it brings out their natural sweetness, makes them tender without losing texture and enhances their earthy flavor.

This Roasted Beets Salad combines the sweetness of roasted beets with the warm and earthy flavor of cumin, creating a tasty and nutritious dish that is sure to impress.

Cumin: the perfect complement to Roasted Beets Salad

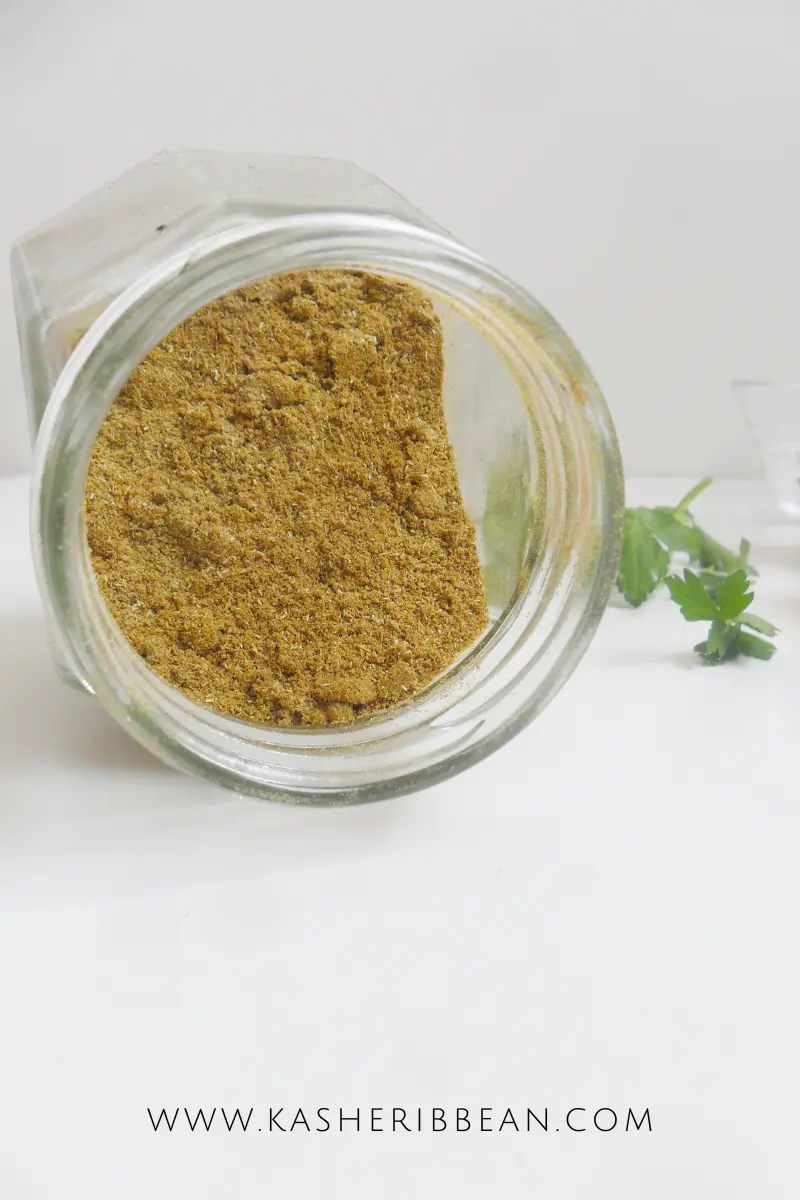
We complement this Roasted Beets Salad with the addition of cumin, which is known for its distinctive aroma and warm, earthy flavor. 

In order to bring out the cumin flavor is important to lightly heat it up in your skillet for a few seconds and then continue with the recipe. 

How to roast beets

To roast beets, start by washing them really well with a brush. Then, if they are all similar size, you can go ahead and roast them whole, in which case peeling is not necessary. 

Alternatively, you can cut the beets into evenly sized pieces, about 1-inch cubes or wedges, toss in a bowl with a little bit of olive oil and salt, coat them evenly, and spread them out on a baking sheet.

Roast the beets in a preheated oven at 400°F for about 30-40 minutes, or until they are tender and caramelized. You can check for doneness by inserting a fork or knife into the thickest part of the beet – if it slides in easily, the beets are ready.

roasted beets salad

Roasted Beets Salad {Vegan, Gluten-Free}

Course Salad, Side Dish

Ingredients
  

  • 400 gr Beets (roasted, cut into cubes)
  • 100 gr White or yellow onions (cut in julienne)
  • 50 gr Fresh parsley chopped
  • 1 Tbsp Extra Virgin Olive Oil
  • 1.5 tsp Cumin powder
  • Salt & Pepper to taste
  • Fresh Parsley, chopped for garnish (optional)

Instructions
 

  • To roast your beets, wrap each one in aluminium foil (cut them in half if they are too big) and roast for about 40 minutes to 1 hour at 200°C (about 400°F) or until they are cooked through. Let cool to room temperature, peel and dice.
  • In a frying pan, add the cumin and heat it up on low for a few seconds to bring out the flavor.
  • To the frying pan, add the olive oil and the onions and cook until they are translucent.
  • Add the beets and the parsley and cook for about 3 minutes.
  • Season with salt and pepper to taste (just a pinch might be enough since the beets are already very flavorful). Mix everything thoroughly.
  • The beets are done. Turn off the heat and garnish with some more chopped fresh parsley.
  • You can serve this salad warm or cold. Enjoy!
Keyword beets, salad, vegan

Have you make this Roasted Beets Salad or any other from the blog? Use the tag #kasheribbean to share on social media and, don’t forget to follow on instagram and pinterest to keep up with our easy recipes from us and the blogosphere!


Roasted Beets Salad Read More »

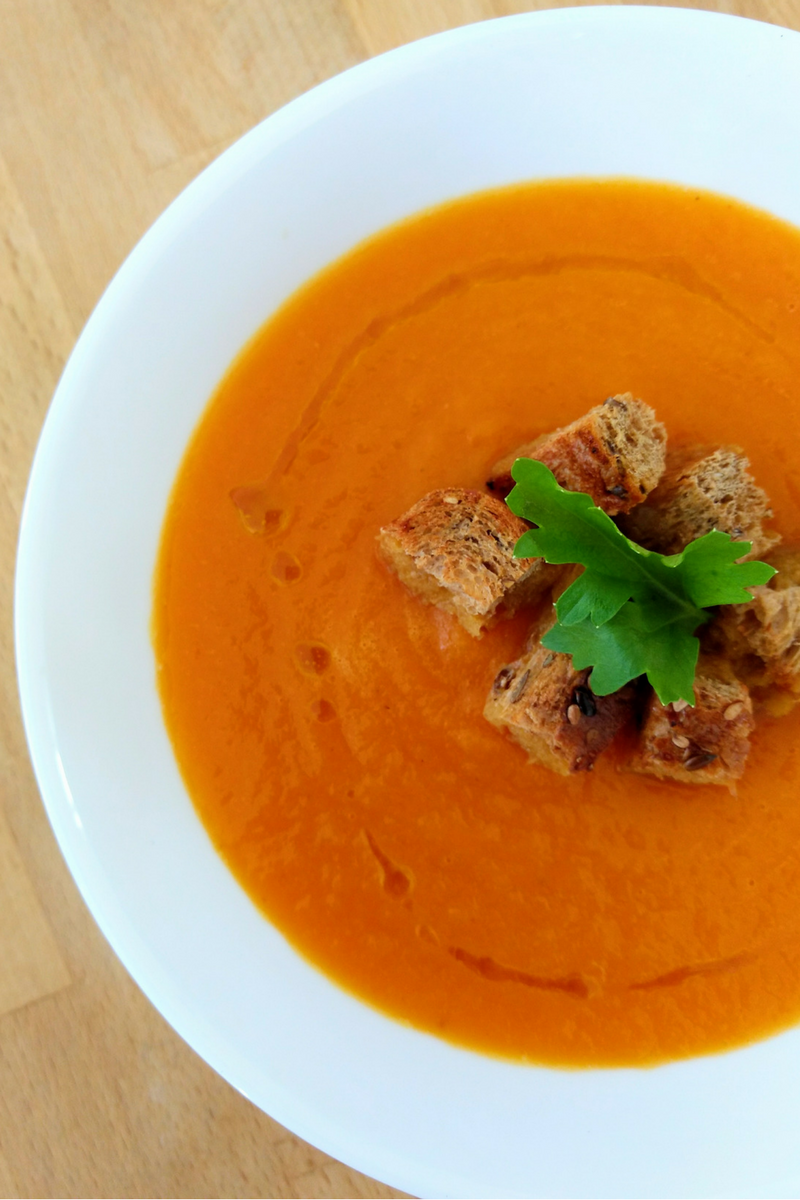
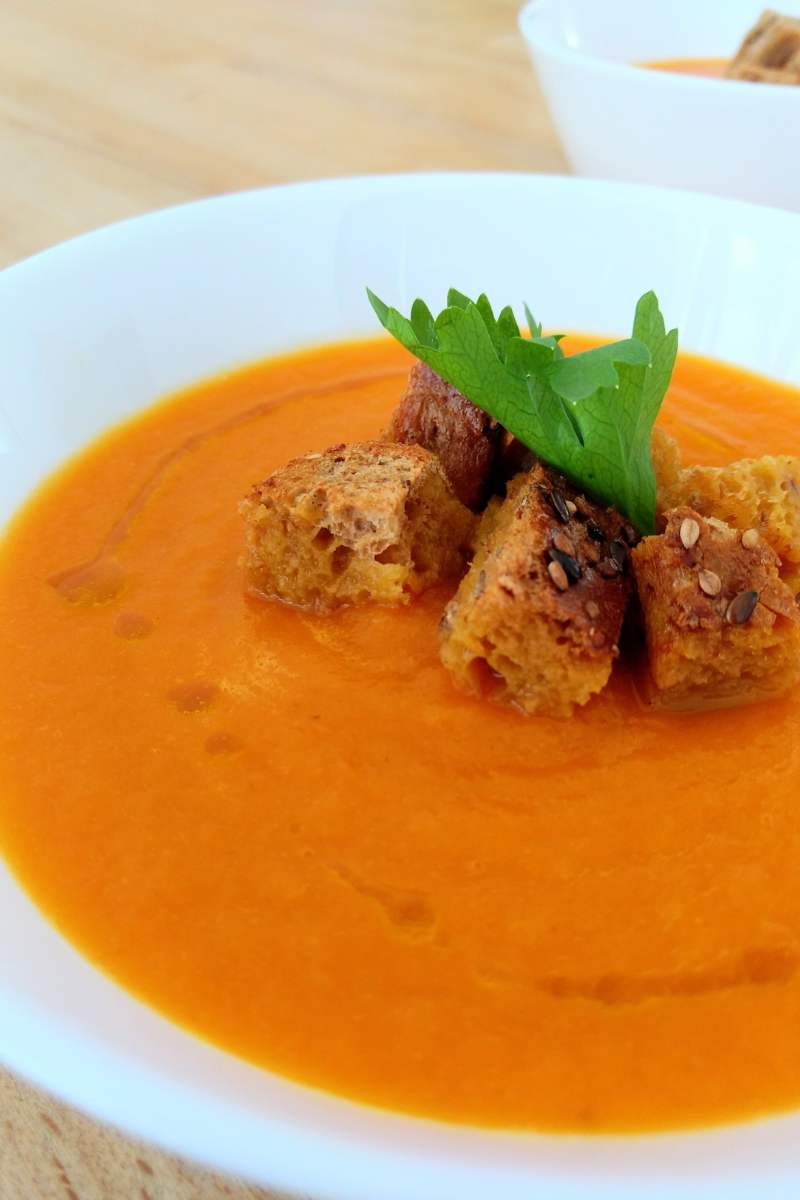
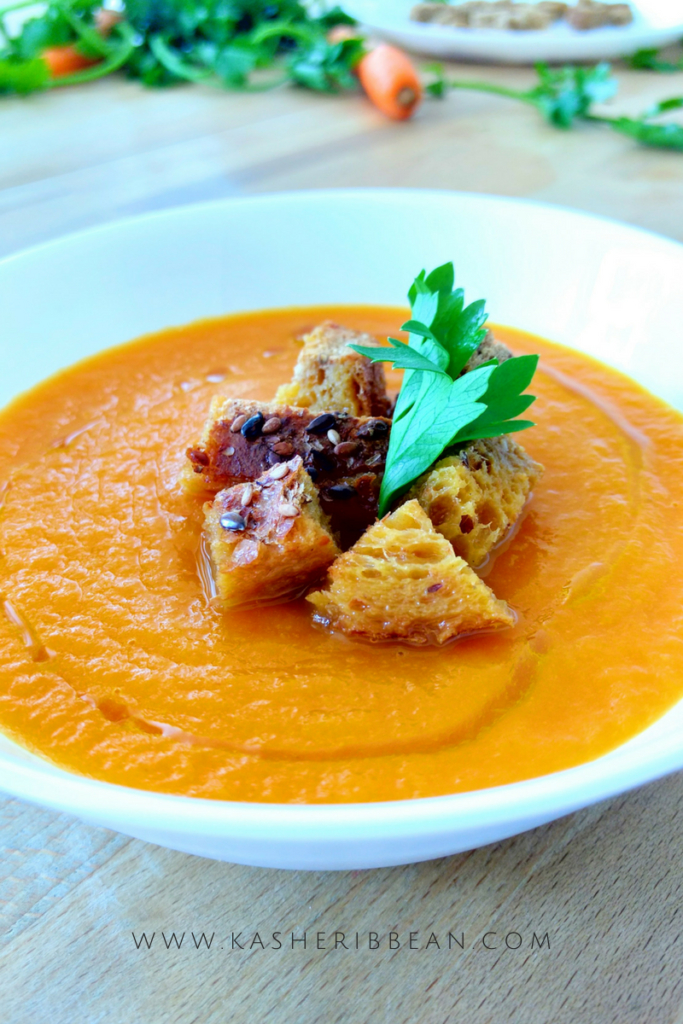
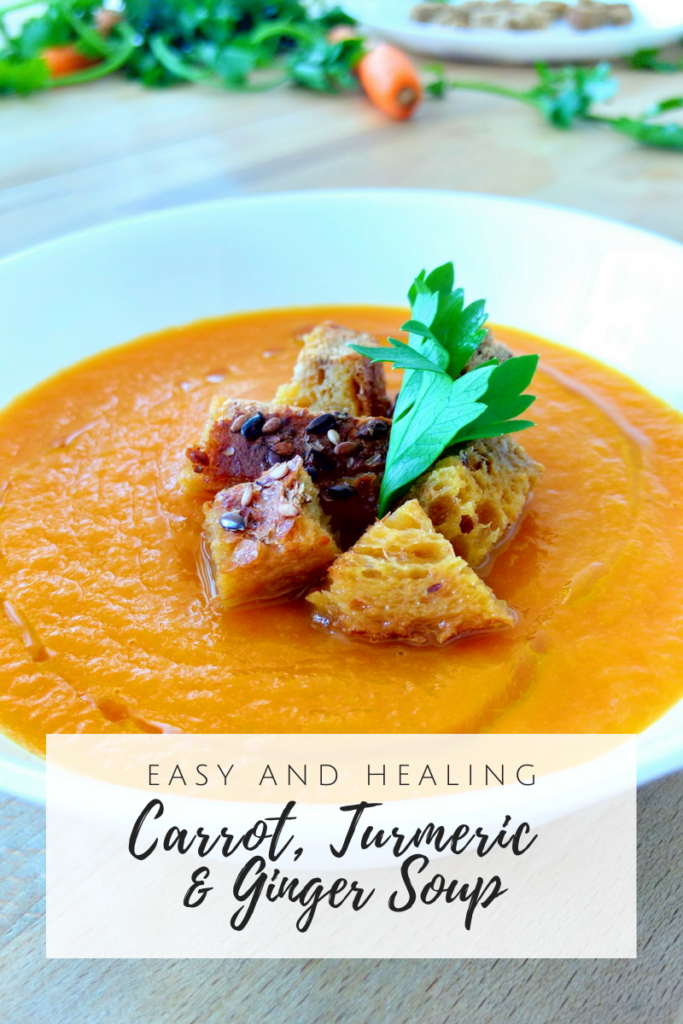
Carrot, Turmeric & Ginger Soup

Carrot, Turmeric & Ginger Soup {Vegan, Gluten-Free}

Carrots are a very versatile and nutritious vegetables, commonly used around the globe, raw and cooked, in a wide range of dishes, adding both taste and nutritional value. This particular recipe, Carrot, Turmeric and Ginger soup, is also a great opportunity for you to use those carrot tops and bottoms left behind after grating carrots. Turmeric and ginger are added for a kick, and because of their nutritional value as well. 

When buying carrots, look for firm, smooth, and brightly colored ones. They can be stored in the refrigerator, either loose or in a perforated reusable plastic bag, for up to a few weeks. To maintain their freshness, it better to remove the green tops before storing as they can draw moisture from the carrot roots. But don’t worry, you don’t have to throw them out. Use the green carrot tops for salads, pesto, pastas or garnish. 

If you forget a few carrots in the fridge, and they become soft, you can always revive them by soaking them in ice water and leave in the fridge for a few hours.

How to make Carrot, Turmeric Ginger soup

To make this Carrot, Turmeric and Ginger Soup is really easy. First, you need to create a flavorful base, which you’ll make by the sautéing the vegetables until they are somewhat caramelized. This process will provide deeper flavor than if you just add the broth right away. So, taking a little time with this step is worthy. 

Since the carrot soup has to cook for a bit, hence evaporating some of the liquid added and concentrating the flavors, I advise you to add the salt once the cooking process has finished, and specially if you used regular store-bought vegetable broth, which is often rich in sodium. 

Easy Carrot Soup

Carrot, Turmeric & Ginger Soup

Course Appetizer, Soup
Cuisine Dominican Republic

Ingredients
  

  • 100 gr Yellow onion, roughly chopped {about 2 medium onions}
  • 1 Celery stalk, chopped
  • 500 gr Carrots, chopped
  • 500 ml Vegetable broth { up to 700 ml of homemade or pre-made}
  • 10 gr Ginger root, peeled
  • 3 tsp Turmeric powder {or to taste}
  • 2 Garlic cloves, chopped {or 2 tsp of garlic powder}
  • 1 ½ tsp Salt

Instructions
 

  • To your pot add the oil and sauté the onion with a pinch of salt, until they are a nice light brown color. Be careful not to burn them or they will give an aftertaste to the soup.
  • Add the celery, carrots, ginger root, garlic, turmeric, and sauté on medium high for about 5 minutes or until you get some caramelization in the veggies.
  • Add the broth (start with 500ml. After the soup is blended you can add more if you want it thinner). Put the lid on and cook on medium low until all the veggies are cooked through. About 20 minutes.
  • Lower the heat to a minimum and using an immersion blender blend the soup until smooth. Finish by adding salt to taste.
  • Serve with a splash of olive oil or cream, and croutons.

Notes

If you use store-bought vegetable broth, make sure to buy low-sodium, and don't add your salt until the end of the cooking time.
Keyword carrots, soups
Carrot soup

Have you make this Carrot, Turmeric & Ginger Soup or any other recipe from the blog? Use the tag #kasheribbean to share on social media and, don’t forget to follow on instagram and pinterest to keep up with our easy recipes from us and the blogosphere!


Carrot, Turmeric & Ginger Soup Read More »

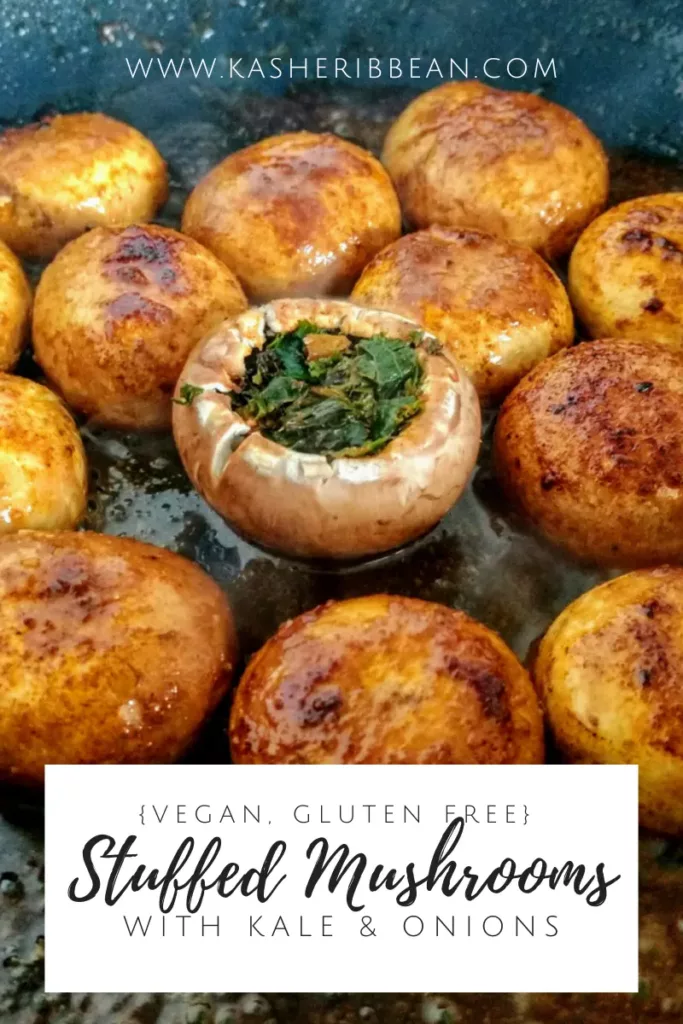
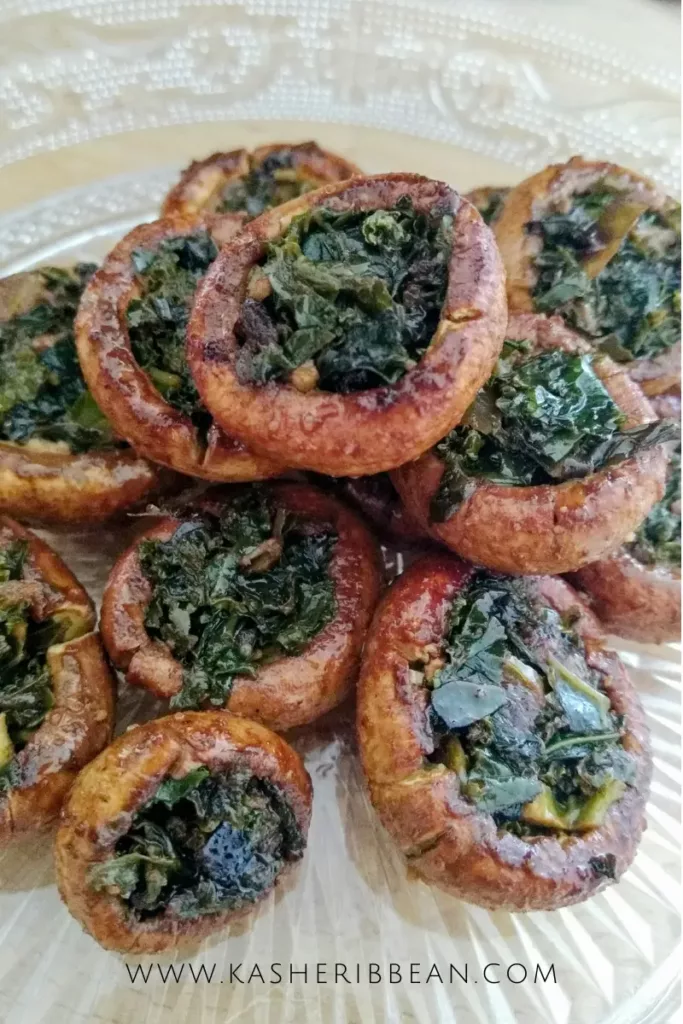
Easy {Passover-Friendly} Stuffed Mushrooms with Kale and Onions

Stuffed Mushrooms with Kale and Onions {Vegan, Gluten-Free}

Mushrooms are a delicious and versatile ingredient that can be used in a wide variety of dishes, from soups and stews to salads and stir-fries. But have you ever tried making stuffed mushrooms? These Stuffed Mushoroms with Kale & Onions are not only easy to prepare, but it’s also a crowd-pleaser that’s perfect for any occasion. 

Mushrooms are a great appetizer that can be customized to your liking. You can add other ingredients to the filling, such as meat and sausage, rice, other chopped vegetables, and even nuts. Don’t be afraid to experiment with different flavors and textures to create your own unique version.

Whether you’re hosting a party or looking for a quick and easy snack, these stuffed mushrooms with Kale & Onions are sure to be a hit. So next time you’re in the mood for something savory, earthy and delicious, give this recipe a try!

Mushrooms are very delicate so you have to handle with care, but also, they grow around dirt and soil and can be quite dirty so, it is important to wash them throughly. 

How to clean cremini mushrooms

You probably have heard others saying that you should never wash mushrooms, because they absorb a lot of water. A popular advice is to gently wipe the surface with a damp paper towel. The way I do, gets the best of both worlds. 

First, soak mushrooms for just a few minutes, that way to you eliminate all the dirt from the surface the easy way, as well as any bug that might be inside. 

After that, you can gently wipe the surface with a damp paper towel or simply place on a bed of paper towel or a clean kitchen towel to remove excess water. 
 

A zero-waste recipe

Once the mushrooms are clean, go ahead and remove the bottoms, which you can chop finely with the kale and use in the stuffing. 

For this recipe I am using kale, but  you can use spinach or other veggies you have on hand, and use the stems as well. Kale stems can be a bit hard, so I like to blanch them for a few seconds, and they are ready to use. 

Give the earth and your pocket a favor and don’t throw them away, you can always use them for stuffing, salads, rice, pastas, curries, soups, stews and many more preparations!

Now, let’s get into it.
 

Stuffed Mushrooms with Kale and Onions {Vegan, Gluten-Free}​

Course Appetizer, Side Dish

Ingredients
  

  • 250 gr Cremini Mushrooms clean, bottomless
  • 2 tsp Paprika
  • 1/4 tsp Curry powder
  • 1/4 tsp Salt
  • Juice from 1/2 lemon

For the Kale

  • 250 gr Kale chopped
  • 100 gr White onion finely chopped
  • 2 Tbsp Paprika
  • 2 Tbsp Extra Virgin Olive Oil
  • Salt & Pepper to taste

To finish the Mushrooms

  • 2 Tbsp Extra Virgin Olive oil
  • 1 tsp Paprika

Instructions
 

First, season the mushrooms:

  • Season the mushrooms with salt, paprika, curry and lemon juice and set aside until ready to use.

Then, prepare the kale:

  • Sautee onions with the olive oil on medium high, add a pinch of salt and cook until they lightly caramelized.
  • Add the chopped kale and seasonings, lower the heat and cook with the lid on for about 8 minutes, or until the kale is soft.
  • Take the lid off and continue to cook on medium high for 2-3 more minutes so that excess moisture can evaporate.
  • Remove the kale from the pan and set aside to cool down. DO NOT WASH THE PAN. You'll use it later to cook the mushrooms.

Finish the stuffed mushrooms:

  • Stuff the mushrooms with the help of a tea spoon.
  • Remember the pan full of flavor where you cooked your kale?? Add Extra virgin olive oil and paprika. Heat up for a few seconds until fragrant.
  • Add the stuffed mushrooms, cooking first the cap, then flip and cook on the other side on medium high, until they get a nice color on both sides.
  • Serve hot, warm or cold as an appetizer or side dish.
Keyword Gluten-free, passover-friendly, side dish, vegan

Have you make this recipe or any other from the blog? Use the tag #kasheribbean to share on social media and, don’t forget to follow on instagram and pinterest to keep up with our easy recipes from us and the blogosphere!


WhatsApp
Facebook
Pinterest
Telegram
Email
Print

Easy {Passover-Friendly} Stuffed Mushrooms with Kale and Onions Read More »

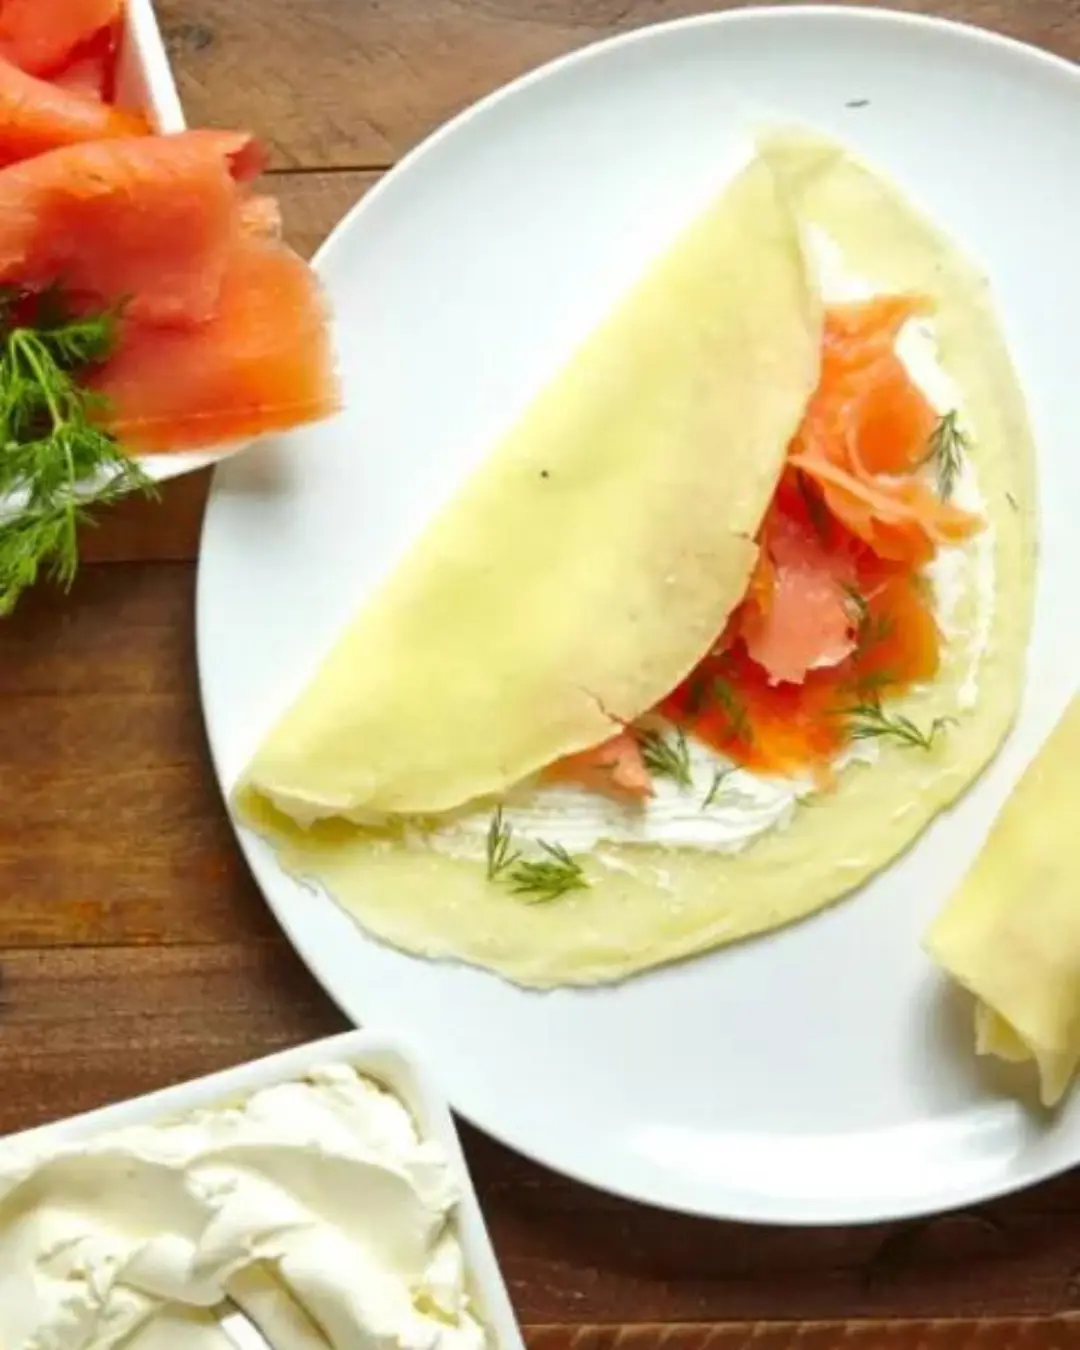
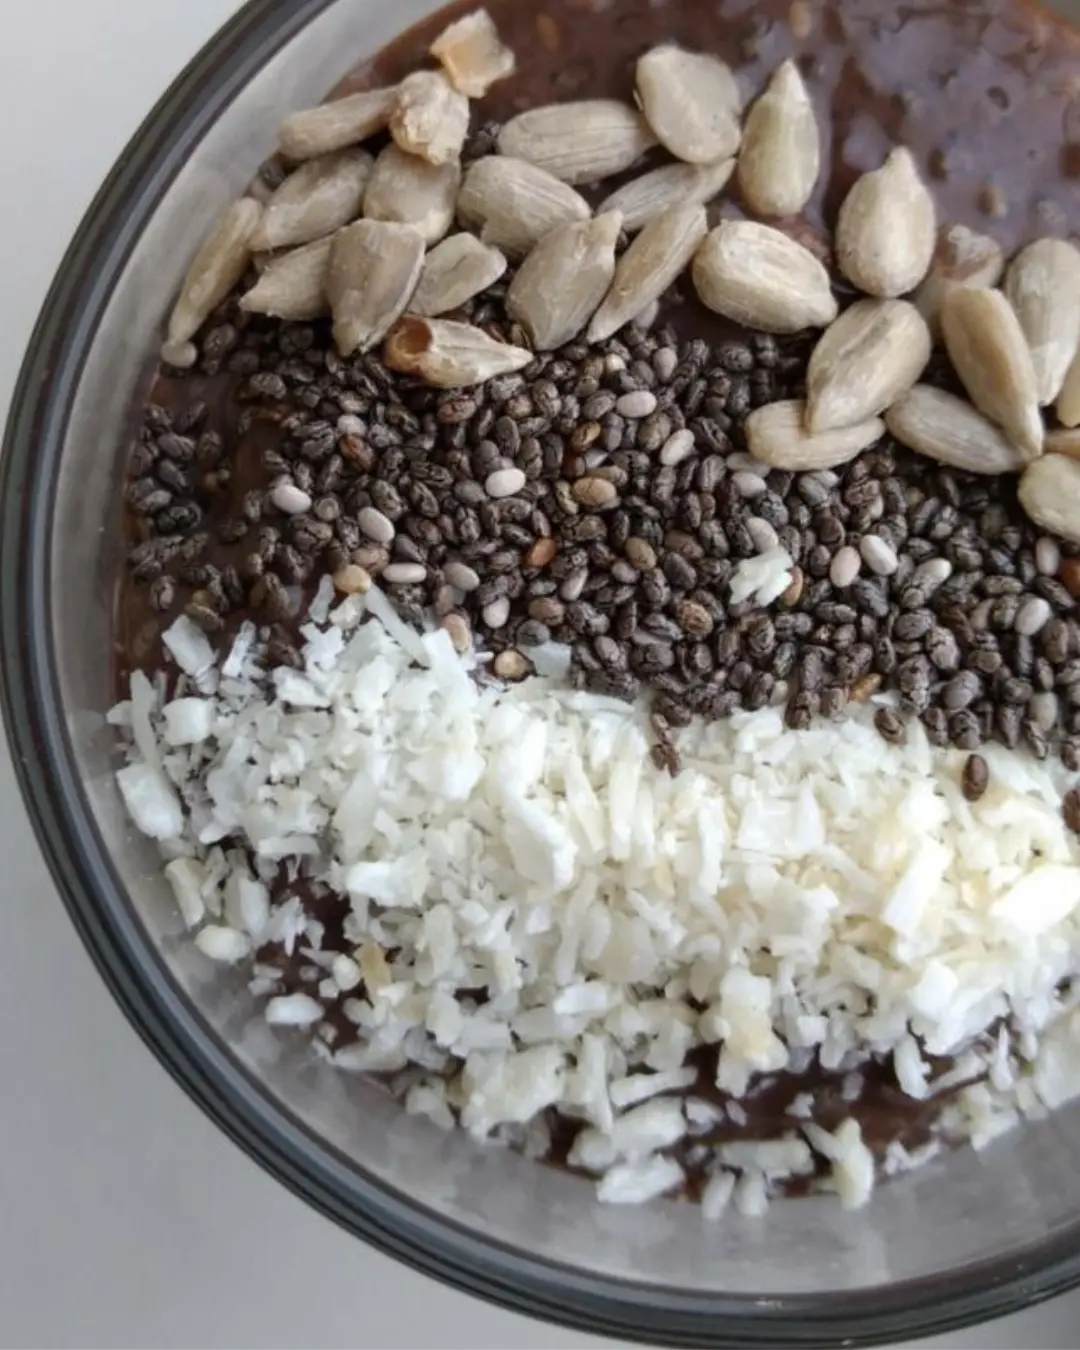
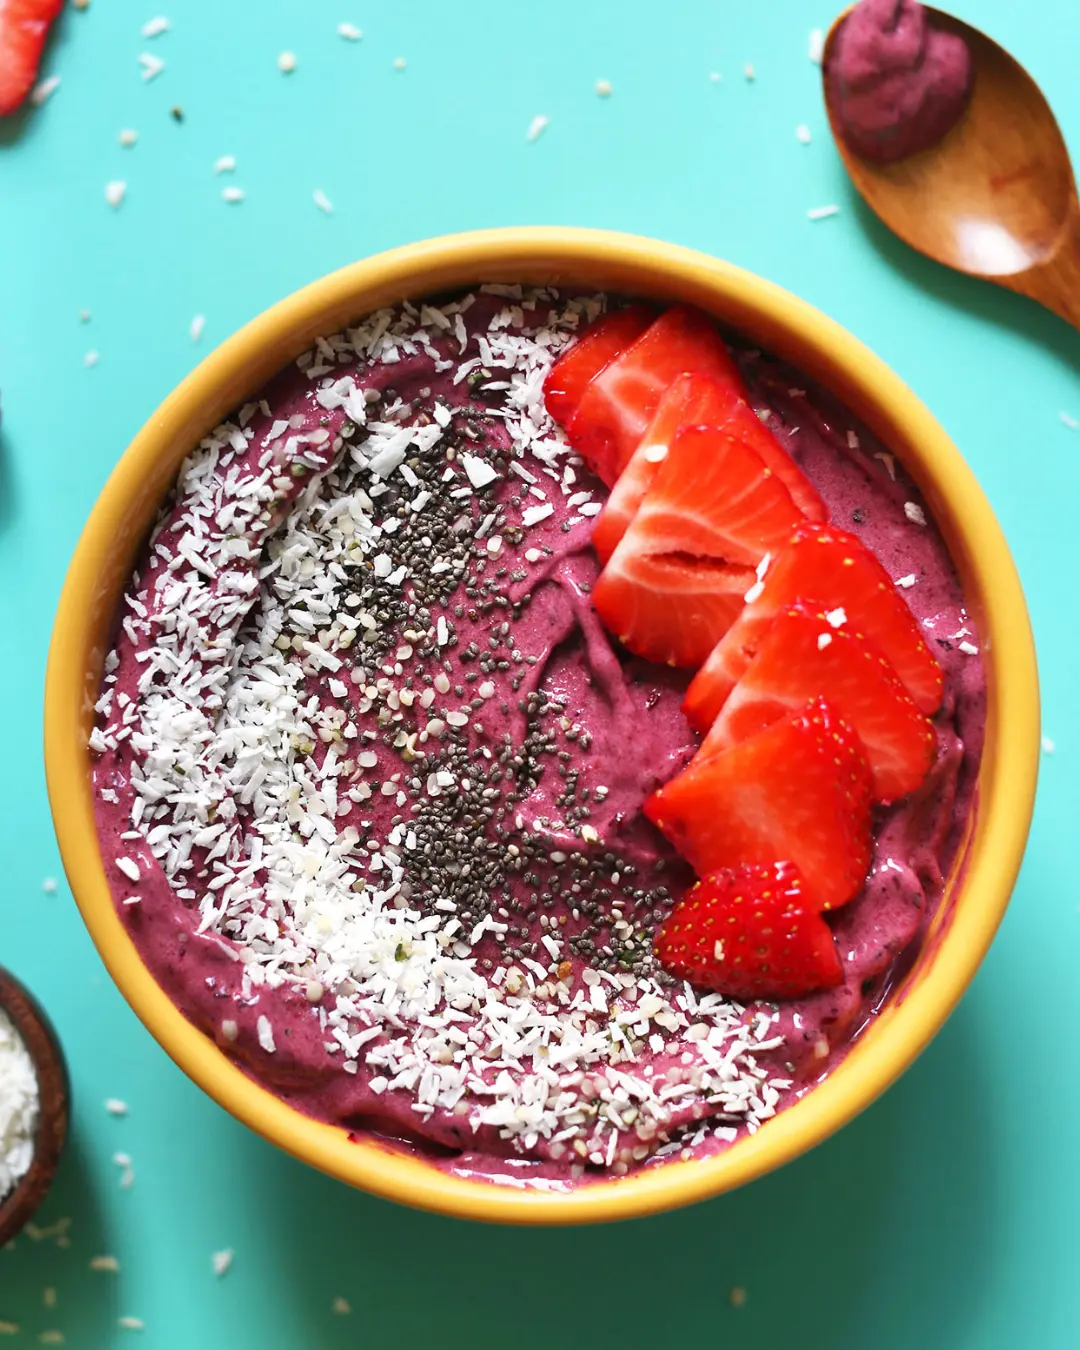
10 Matzot-Free Breakfasts Ideas {to enjoy during Pesah and All Year Round}

Top 10 Matzot-free Breakfasts to enjoy during Passover and All-Year Round

Pesah starts in a few days (Yay!) and that means you need to get creative in the kitchen. Seven days without the common cereals for breakfast is not an easy take for many (I also struggle to think out of the box sometimes), and maybe you are one of those people that get tired of just eating matzot all the time (I know I do!). We have good news! We have put together these 10 matzot-free simple breakfast ideas that go beyond Passover Granola and Passover Toasts

Are you looking for ideas for Passover dinner? Check Out: 5 Full Menu ideas to cover all your Passover needs

We hope you found some inspiration within these 10 Matzot-free Breakfasts ideas to enjoy during Passover, or maybe even create your own. We salute you from the Holy Land!

Until Next time!

Have you make a recipe from the blog? Use the tag #kasheribbean to share on social media and, don’t forget to follow on instagram and pinterest to keep up with our easy recipes, cooking videos and more! 

10 Matzot-Free Breakfasts Ideas {to enjoy during Pesah and All Year Round} Read More »

5 Full Menu Ideas for Passover {Classic, Modern, Dairy, Vegan & Superfood}

5 Full Menus to Cover your Passover needs {Classic, Modern, Dairy, Vegan & Superfood}

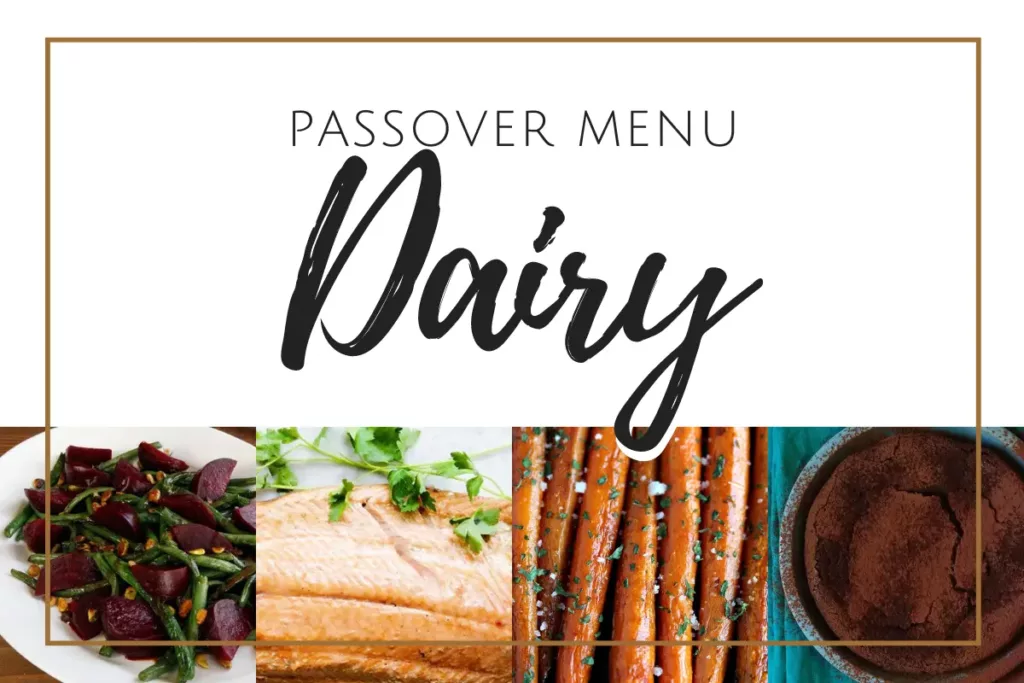
If at any point you have felt overwhelmed and with no idea what to cook for Passover, you are in the right place my friend, because here we have put together for you 5 Full Menu Ideas to cover all your Passover needs, whether you love the classics, you want a more modern approach, you love dairy, you are vegan or are into superfoods, we got you covered.  Each menu has 1 haroset recipe, 5 entrees, 3 main dishes, 5 sides dishes and 5 sweet treats. 
 
Since we are Sepharadim, we included some recipes with kitniot but, don’t panic; almost all recipes are grain free anyways. Let’s go! 

Passover Menu #1: The Classic

Passover Menu #2: The Modern

Passover Menu #3: The Dairy

Veggie lover Menu for Shavuot

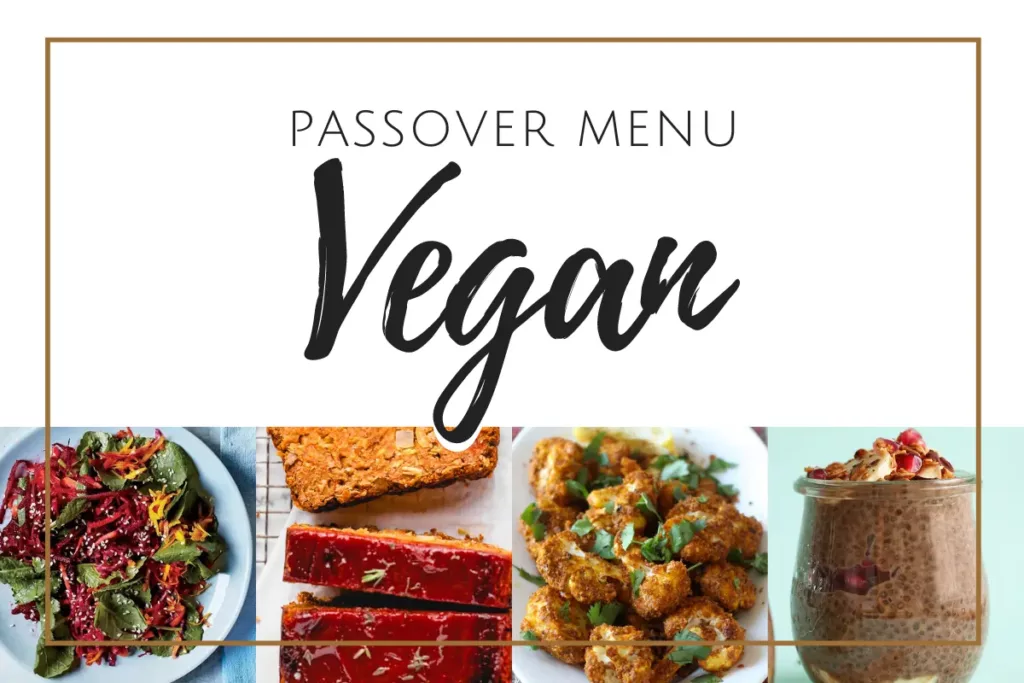
Passover Menu #4: The Vegan

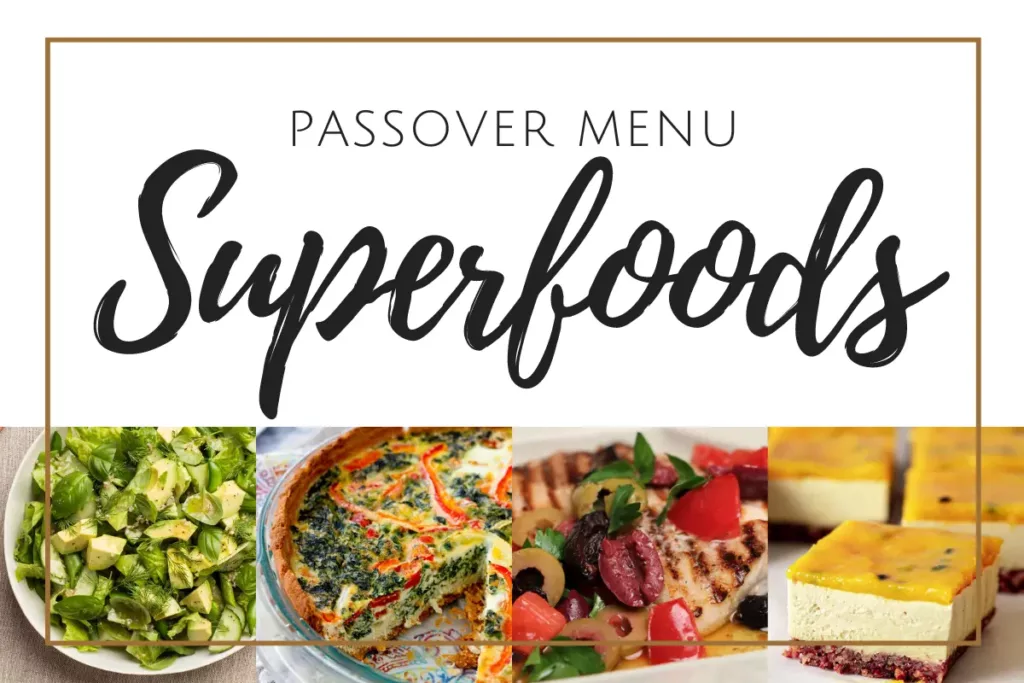
Passover Menu #5: The Superfoods

We hope you found some inspiration or maybe even a full menu for your very own Passover dinner. Follow on instagram and pinterest for more! We always love to hear from you.  
WhatsApp
Facebook
Pinterest
Telegram
Email
Print

5 Full Menu Ideas for Passover {Classic, Modern, Dairy, Vegan & Superfood} Read More »

3 Ingredients Peanut Butter Cookies {Gluten-Free, Passover-Friendly}​

3 Ingredients Peanut Butter Cookies {Gluten-Free, Passover-Friendly}

I have been experimenting for a few years now with gluten-free and grain-free baking, and since Pesach is around the corner, I wanted to share with you, two cookies I really love. Of course I hope you come to love these cookies as well because they are the easiest cookies ever.  

Are you allergic to peanuts? You might want to try these Coconut Macaroons instead. 

These cookies are perfect because: 

 – They are passover-friendly 

– They only use a handful of ingredients you probably have at home

– You don’t need any fancy tool or equipment, just a bowl, a fork and a baking sheet.


Easy, right?

3 ingredients Peanut Butter Cookie {Gluten-Free, Passover-Friendly}

Servings 15 Cookies (20 gr each)

Ingredients
  

  • 205 gr Creamy Peanut Butter
  • 50 ml Eggs
  • 50 gr Granulated Sugar
  • Pinch of salt

Instructions
 

  • Preheat your oven to 350ºF (180ºC) and line your baking sheet with a silicon mat or parchment paper.
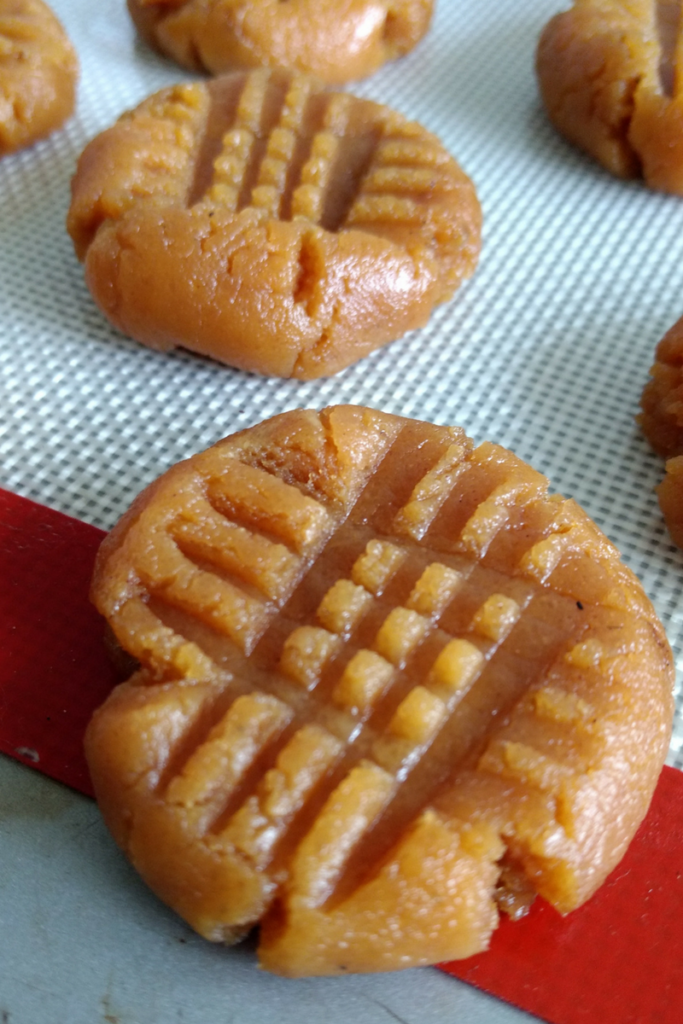
  • In a bowl, combine peanut butter, sugar and eggs and mix very well with a fork or spatula, until everything is combined and you get a dough with a thick consistency. If you are adding mix-ins, add them now.
  • Portion little balls of 20 grams (triple the recipe to make them bigger)and place over your prepared baking sheet.
  • Flatten each ball lightly by pressing with a fork.
  • Bake in a preheated oven for 8 minutes (if you are making bigger cookies you might need to adjust your baking time)
  • The cookies are done when they are firm to the touch and, lightly brown at the bottom and have a matte finish. 

Notes

Optional add-ins:
Cinnamon 
Nutmeg
Chocolate Chips 
Roasted Peanuts 
Keyword baking, cookies, Gluten-free, passover, sweet treats

Did you try this recipe?
Share your photos with us on social media by using the hashtag #kasheribbean. We want to feature you!  And don’t forget to follow along on instagram and pinterest for more tips, recipes and inspiration.

WhatsApp
Facebook
Pinterest
Telegram
Email
Print

3 Ingredients Peanut Butter Cookies {Gluten-Free, Passover-Friendly}​ Read More »